

paint microscopy process
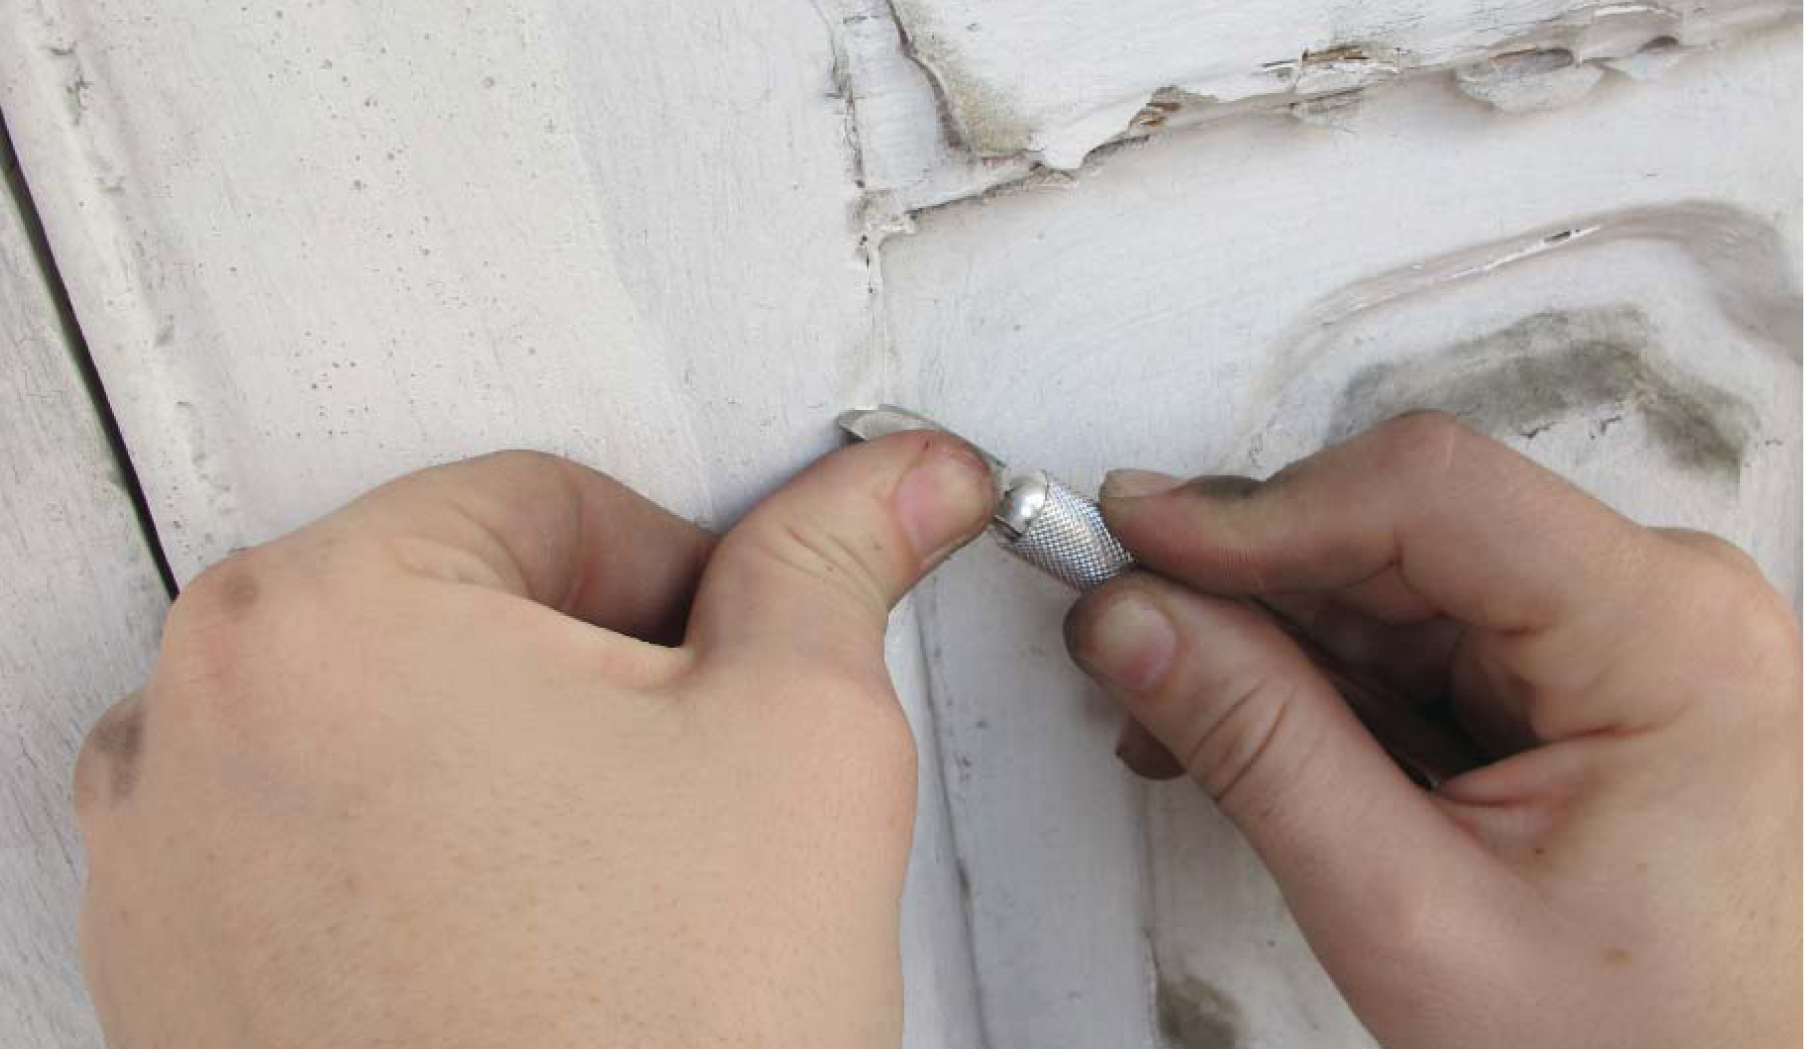
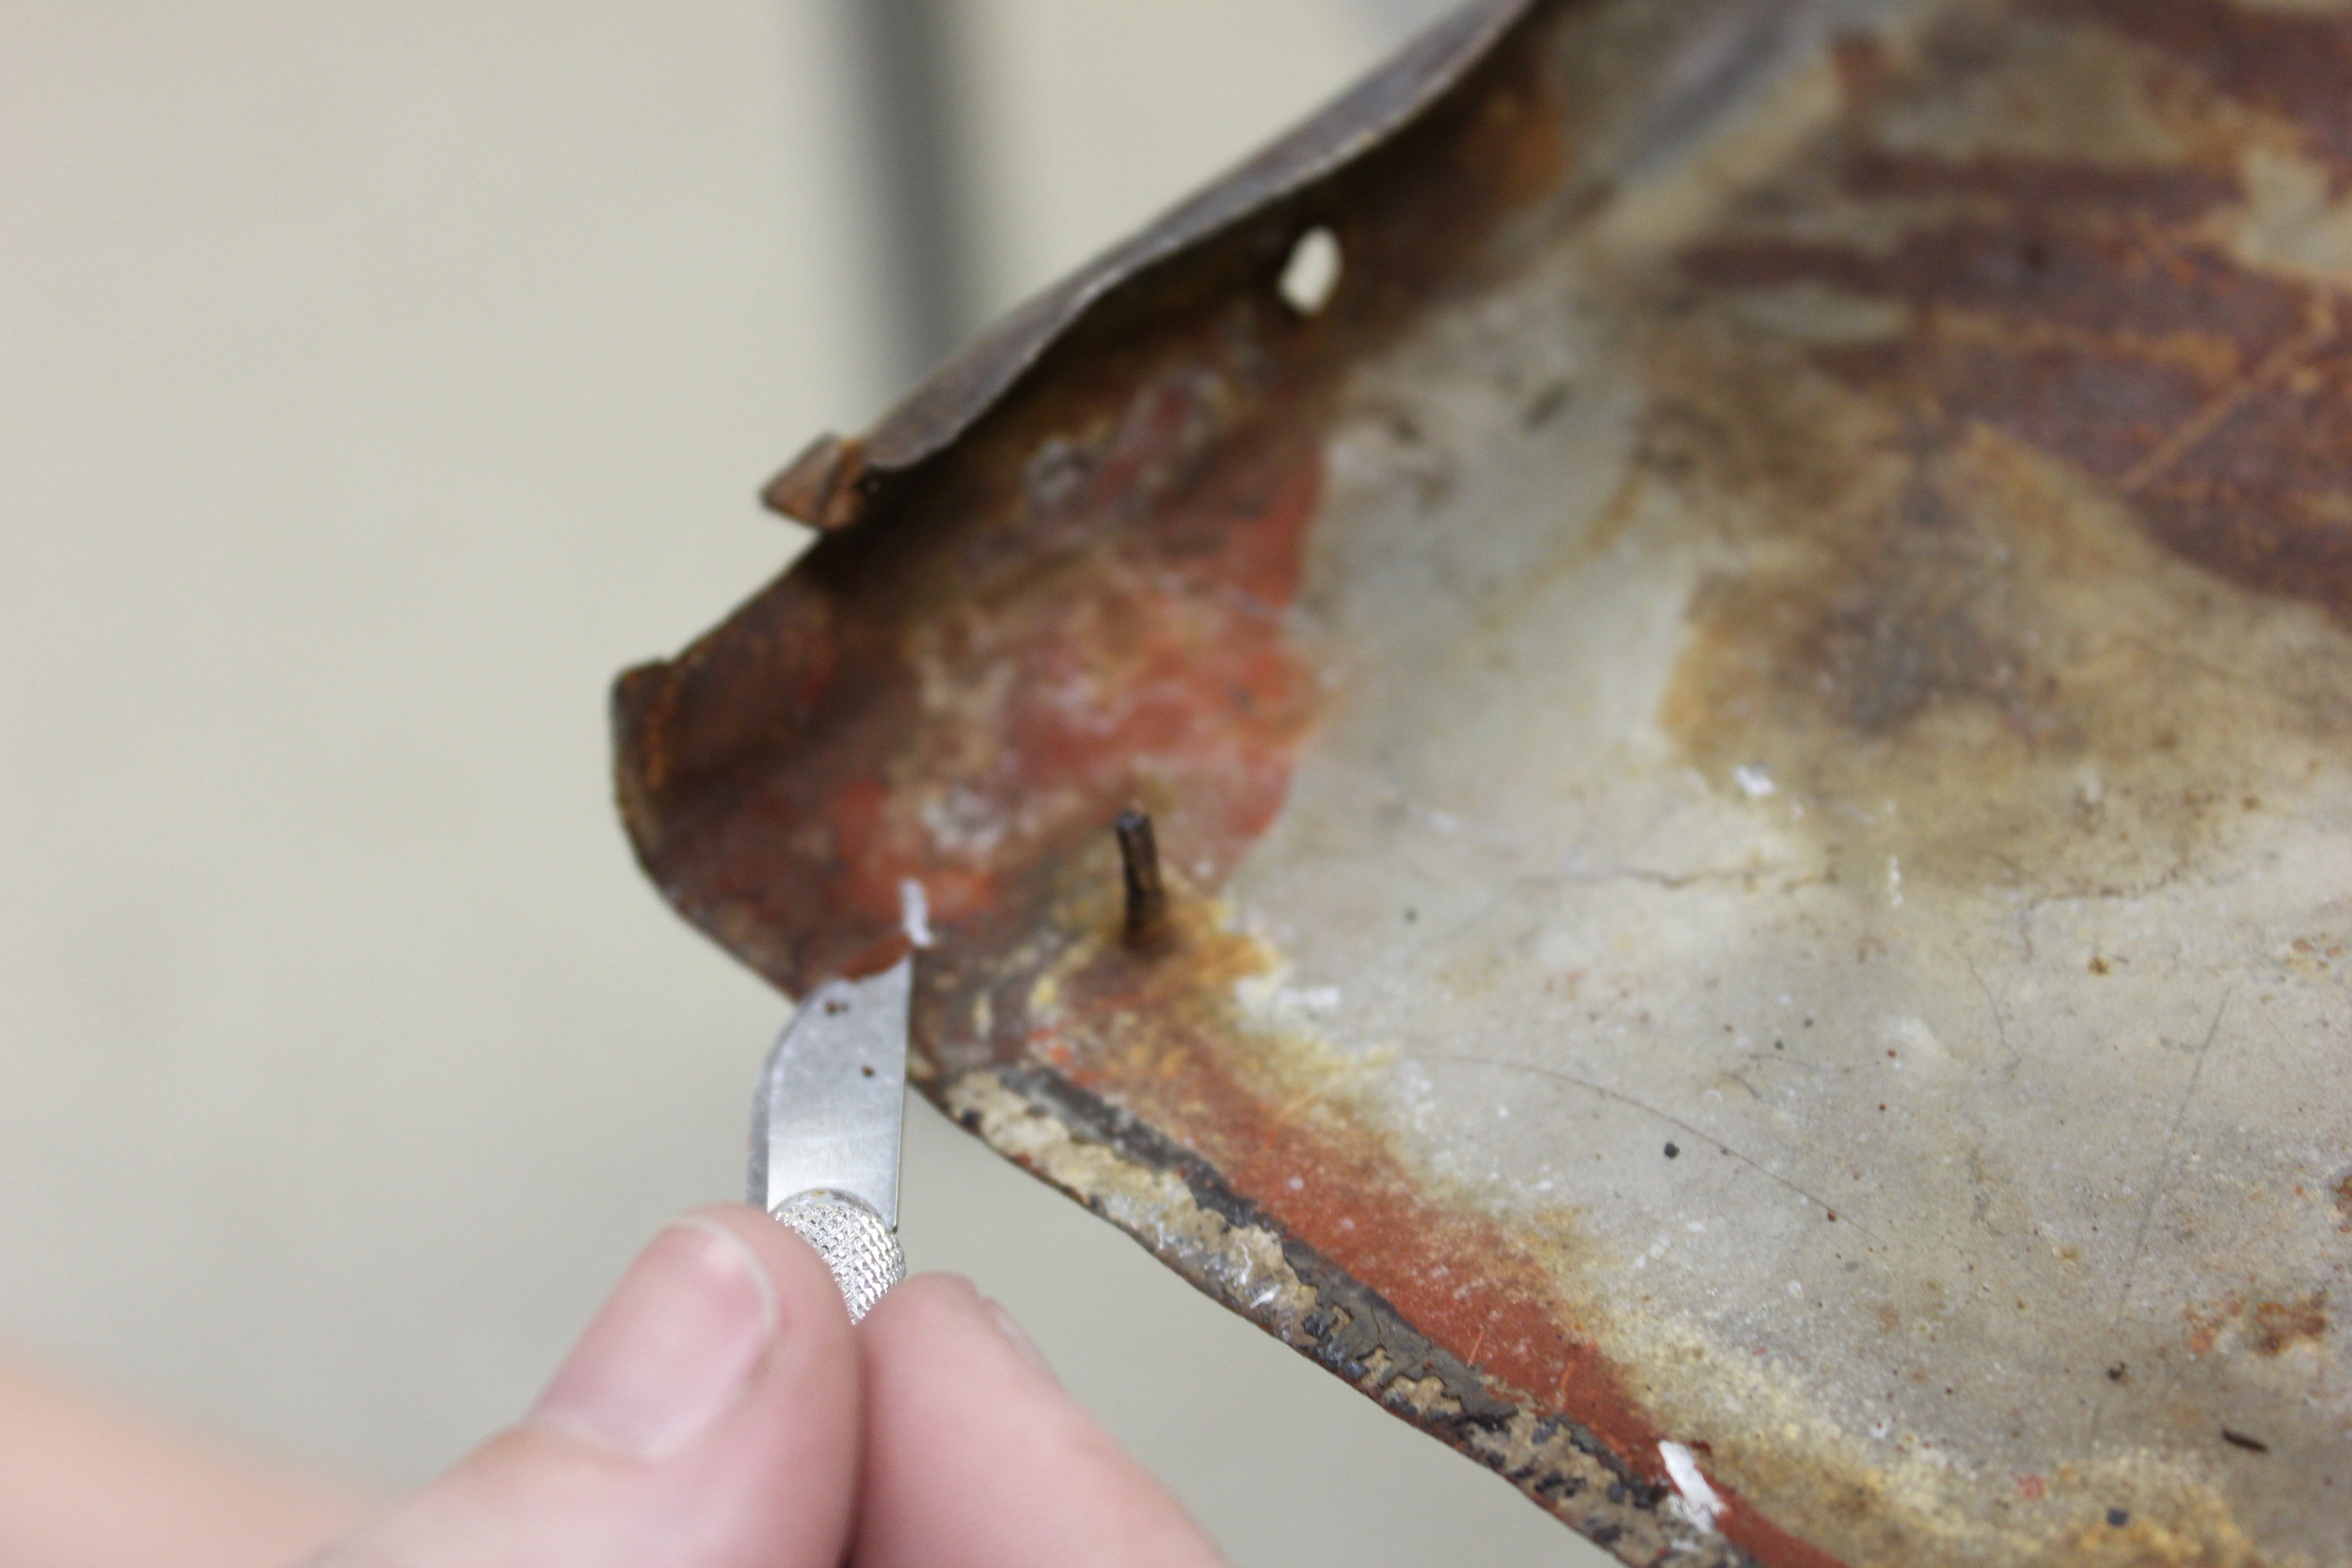

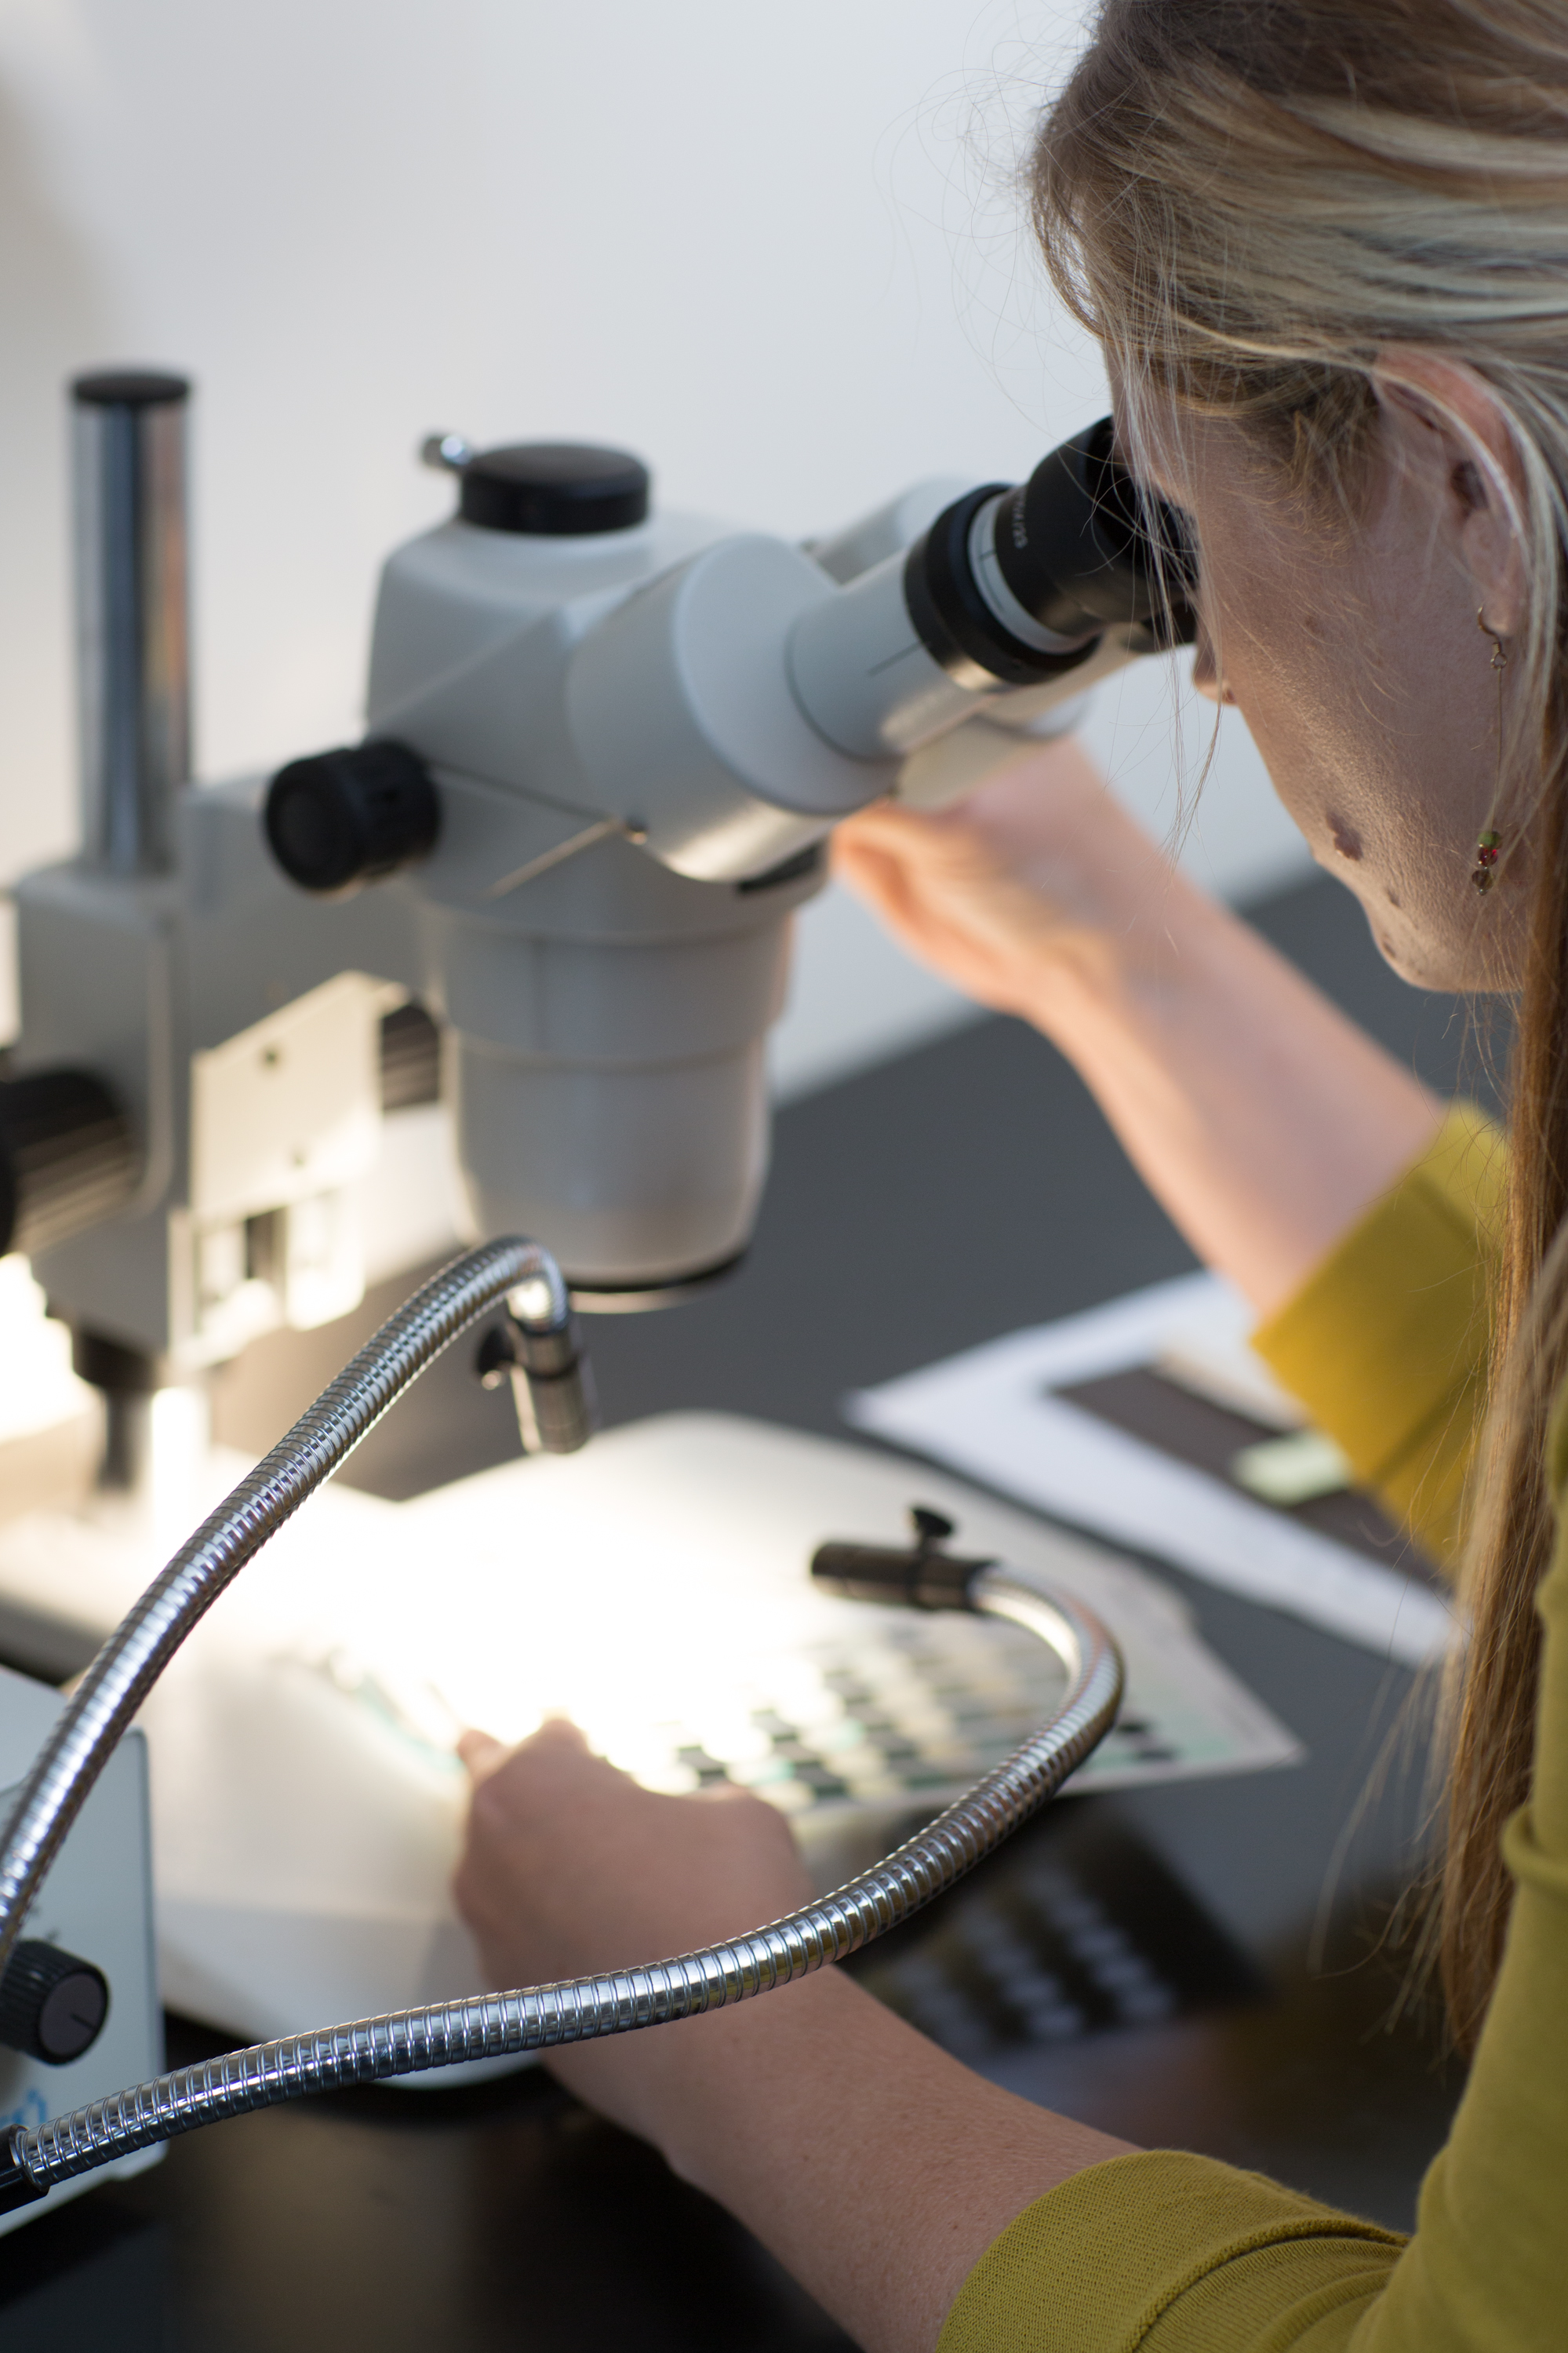
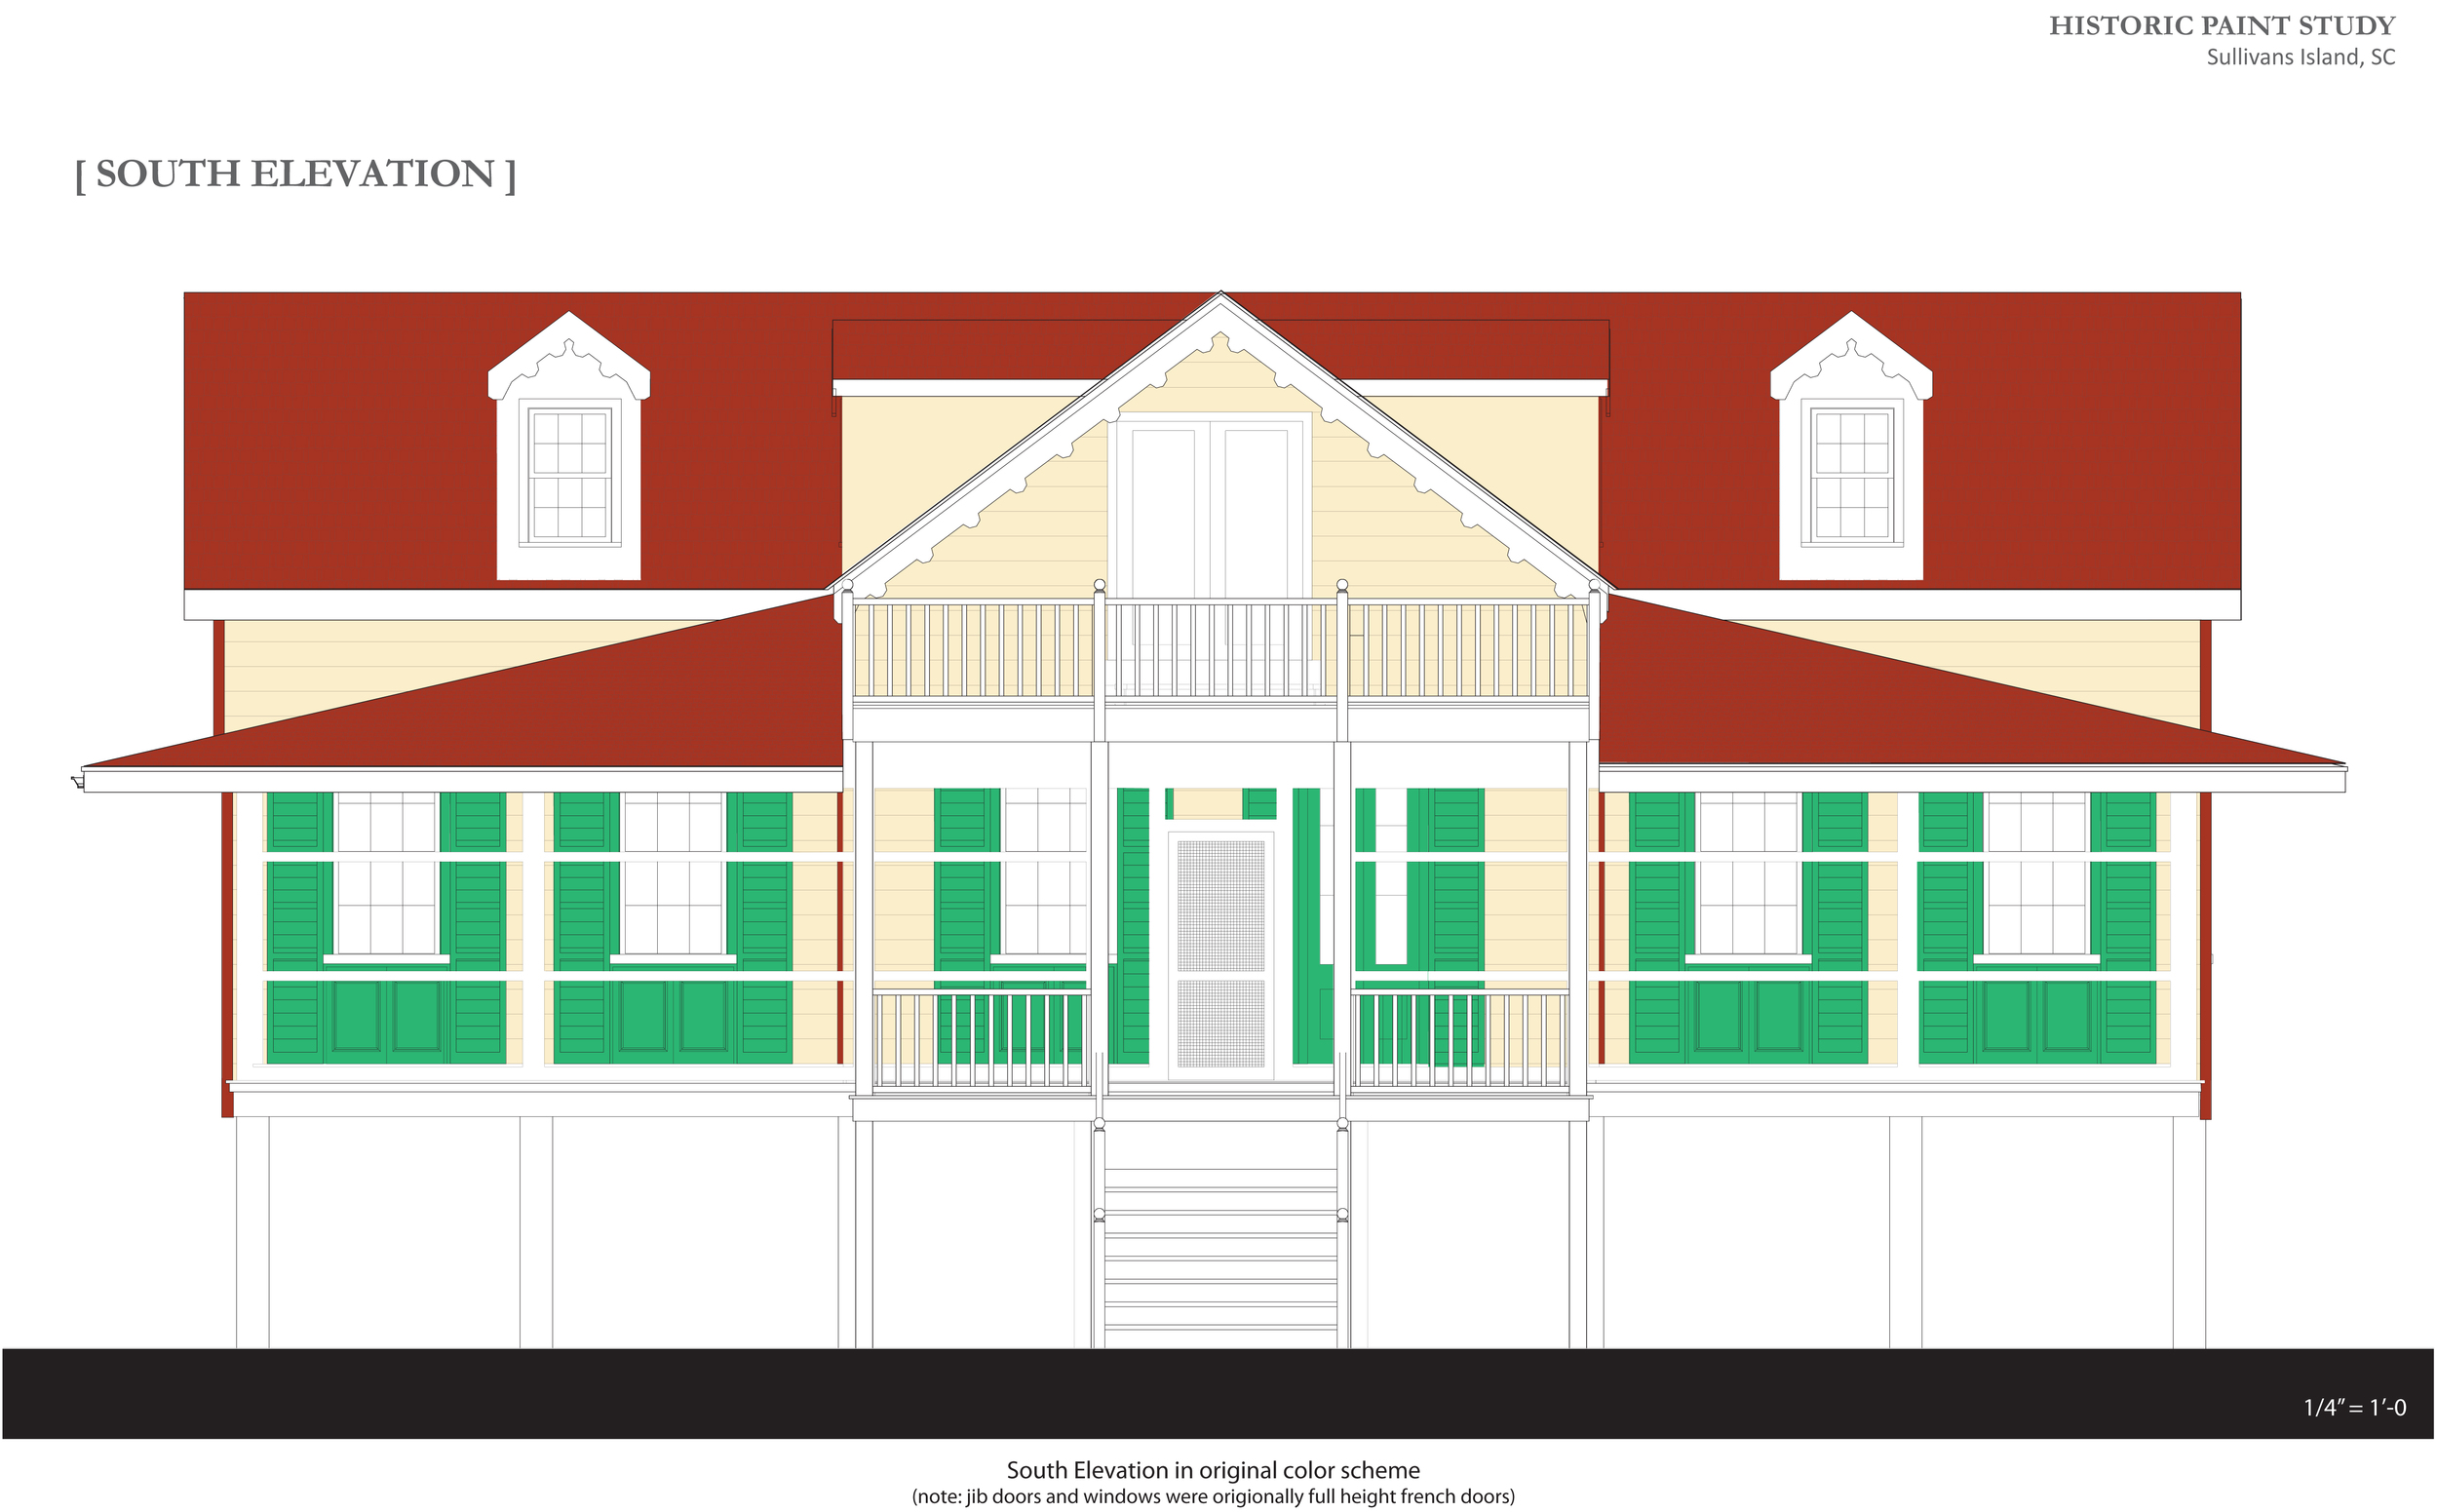
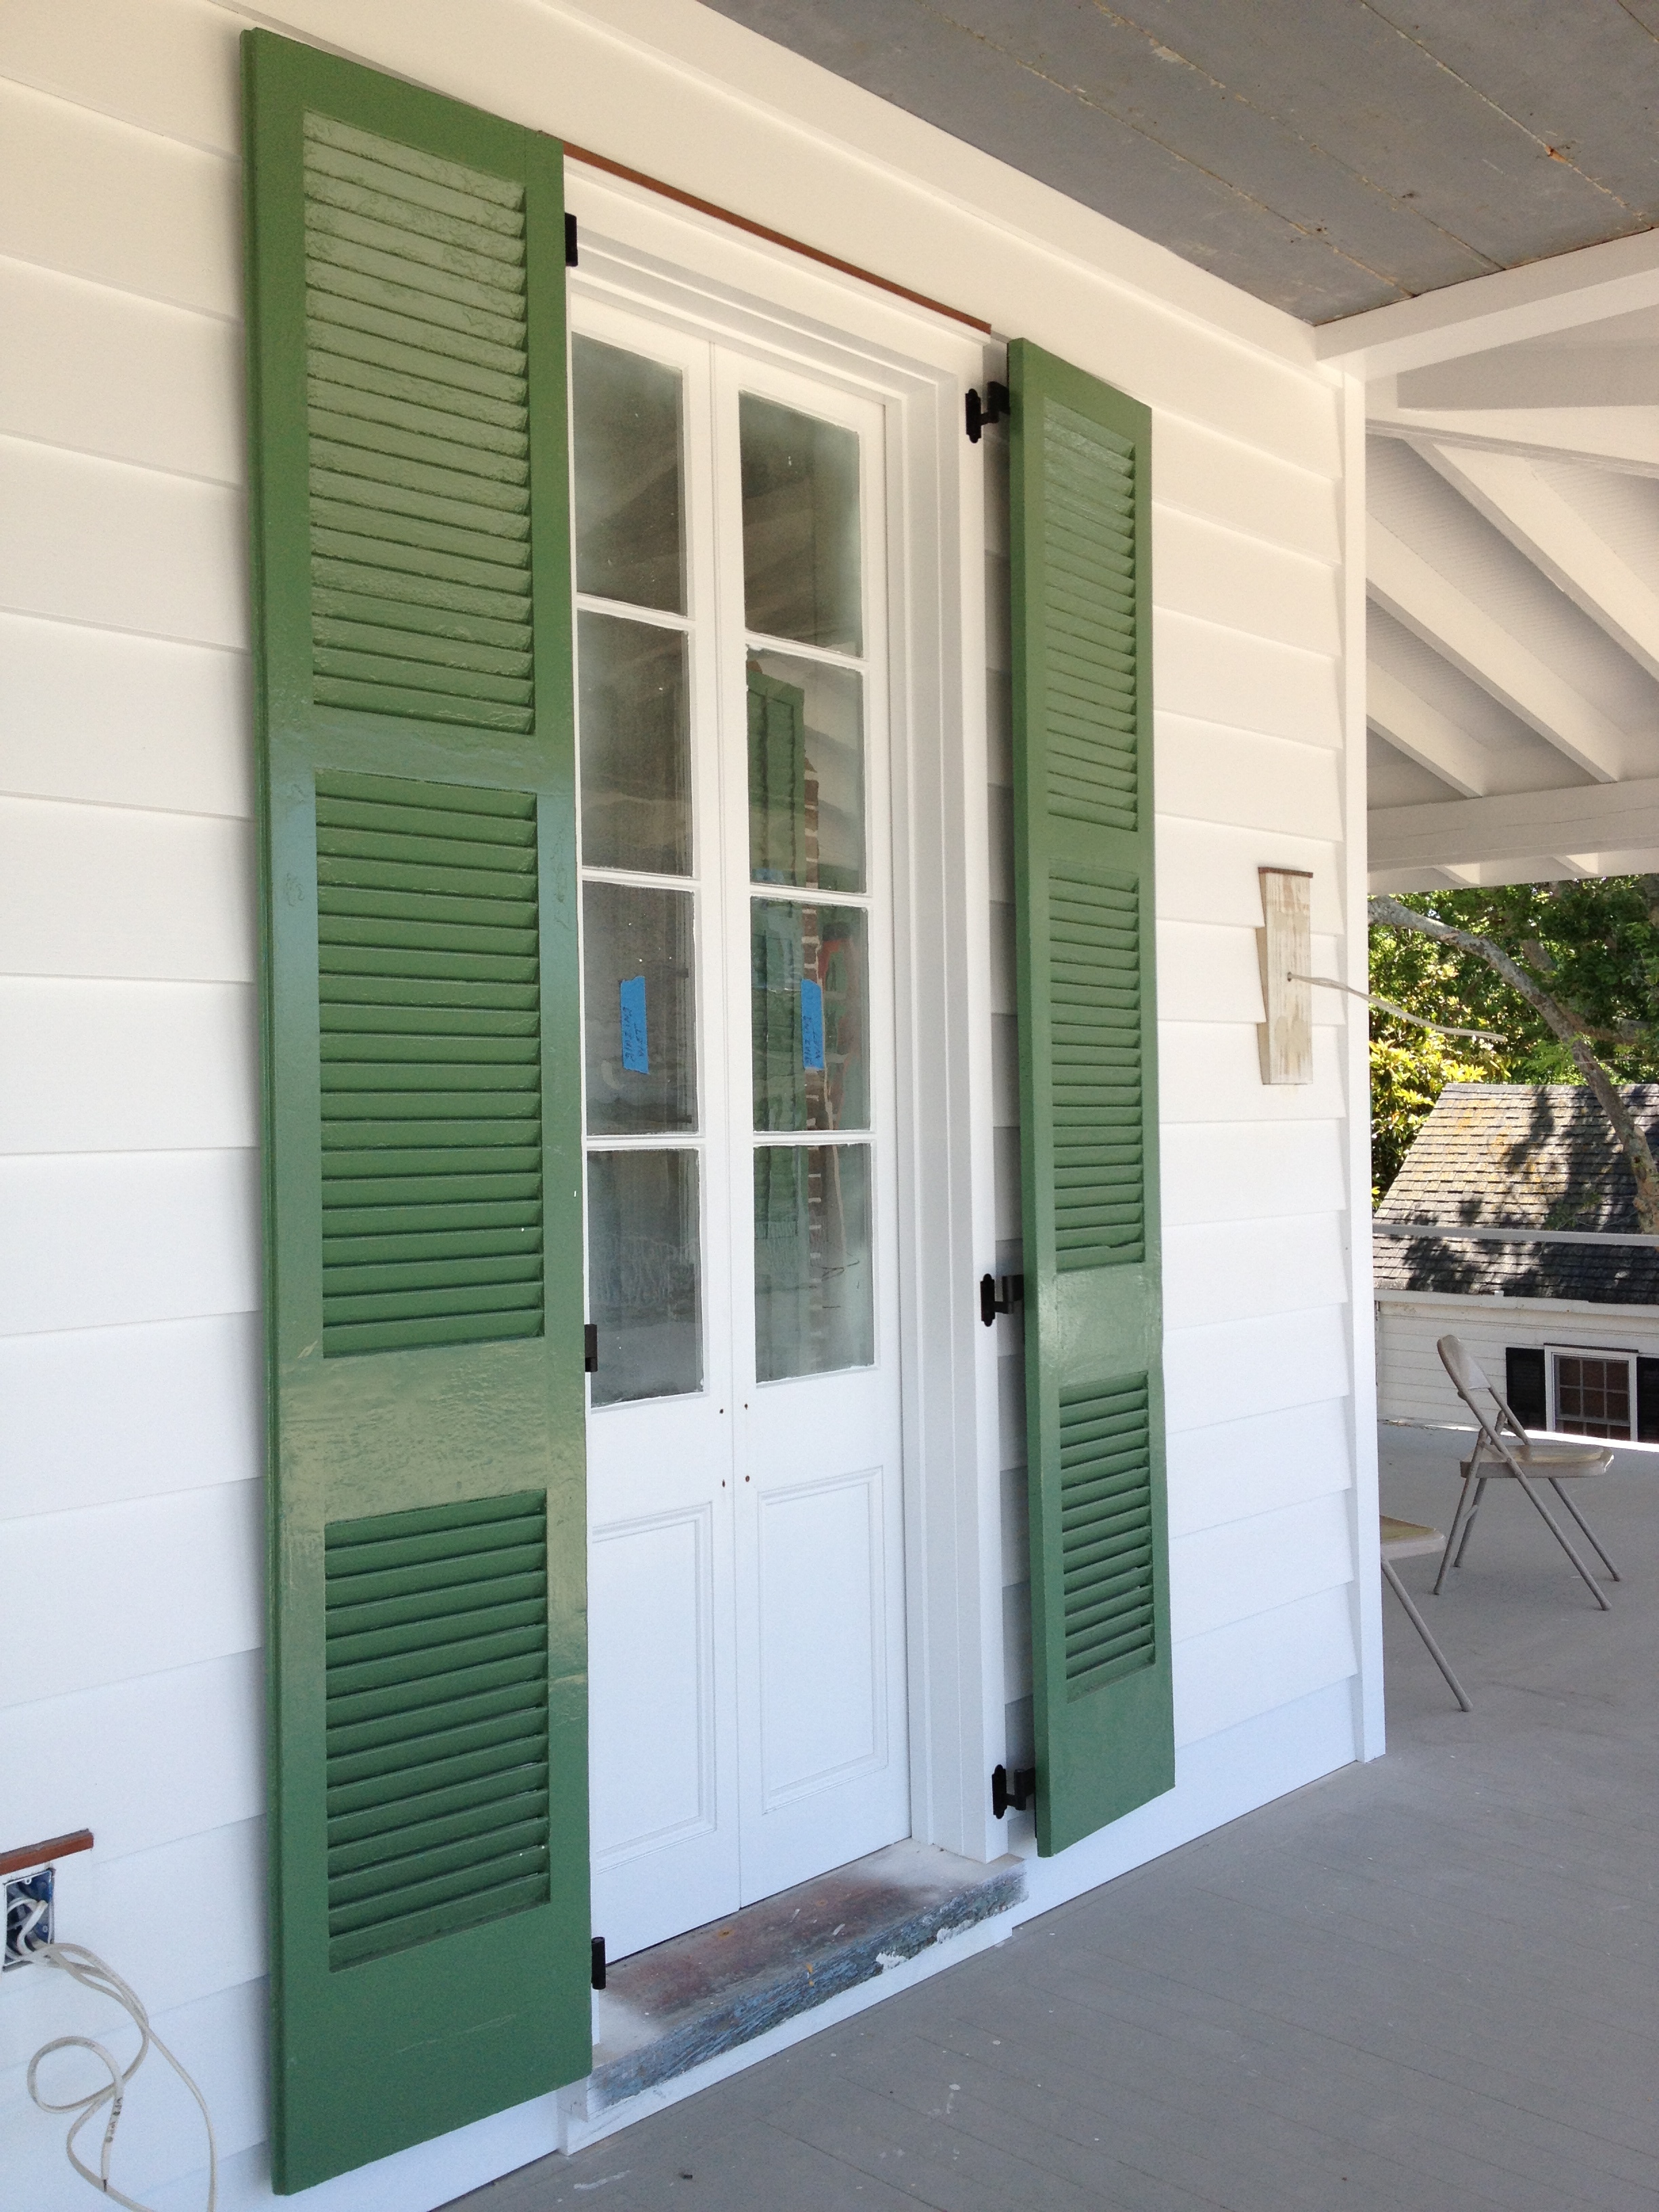

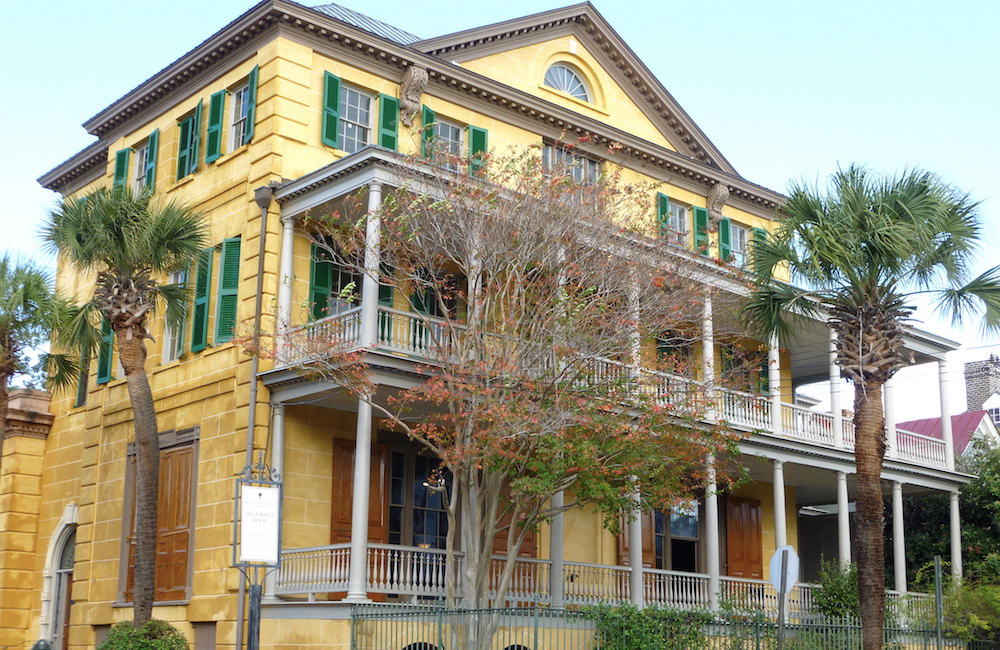
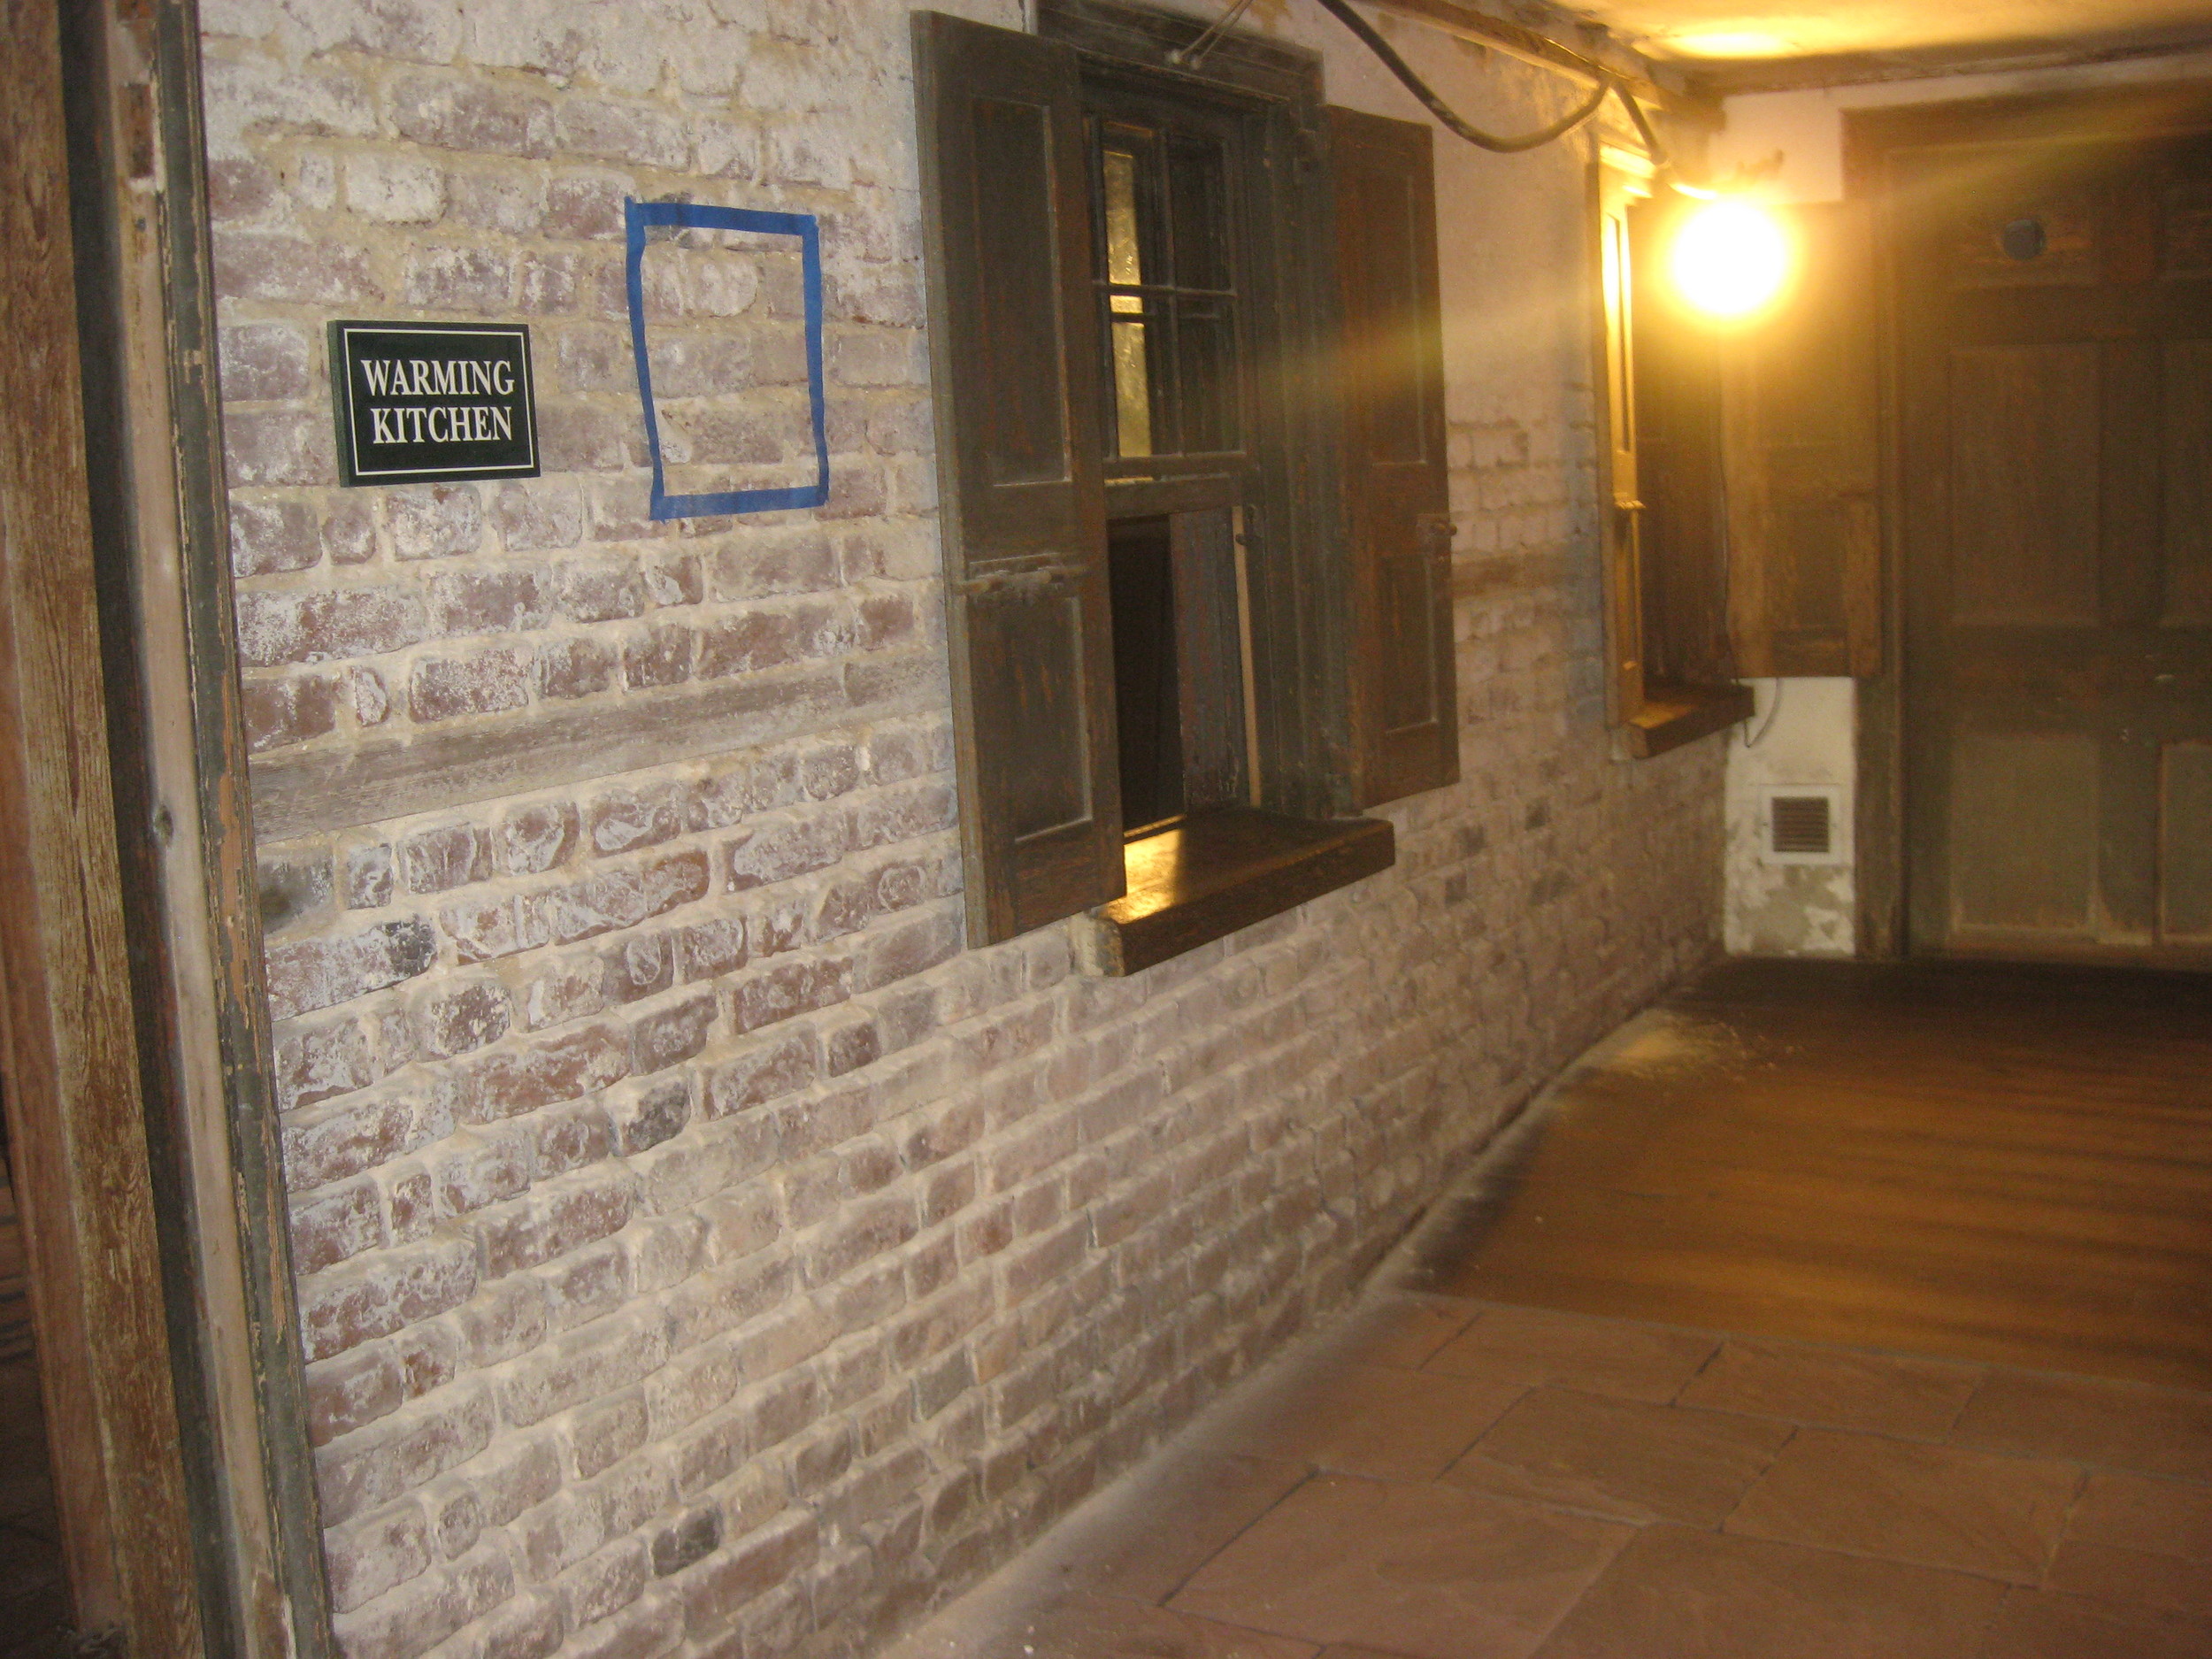
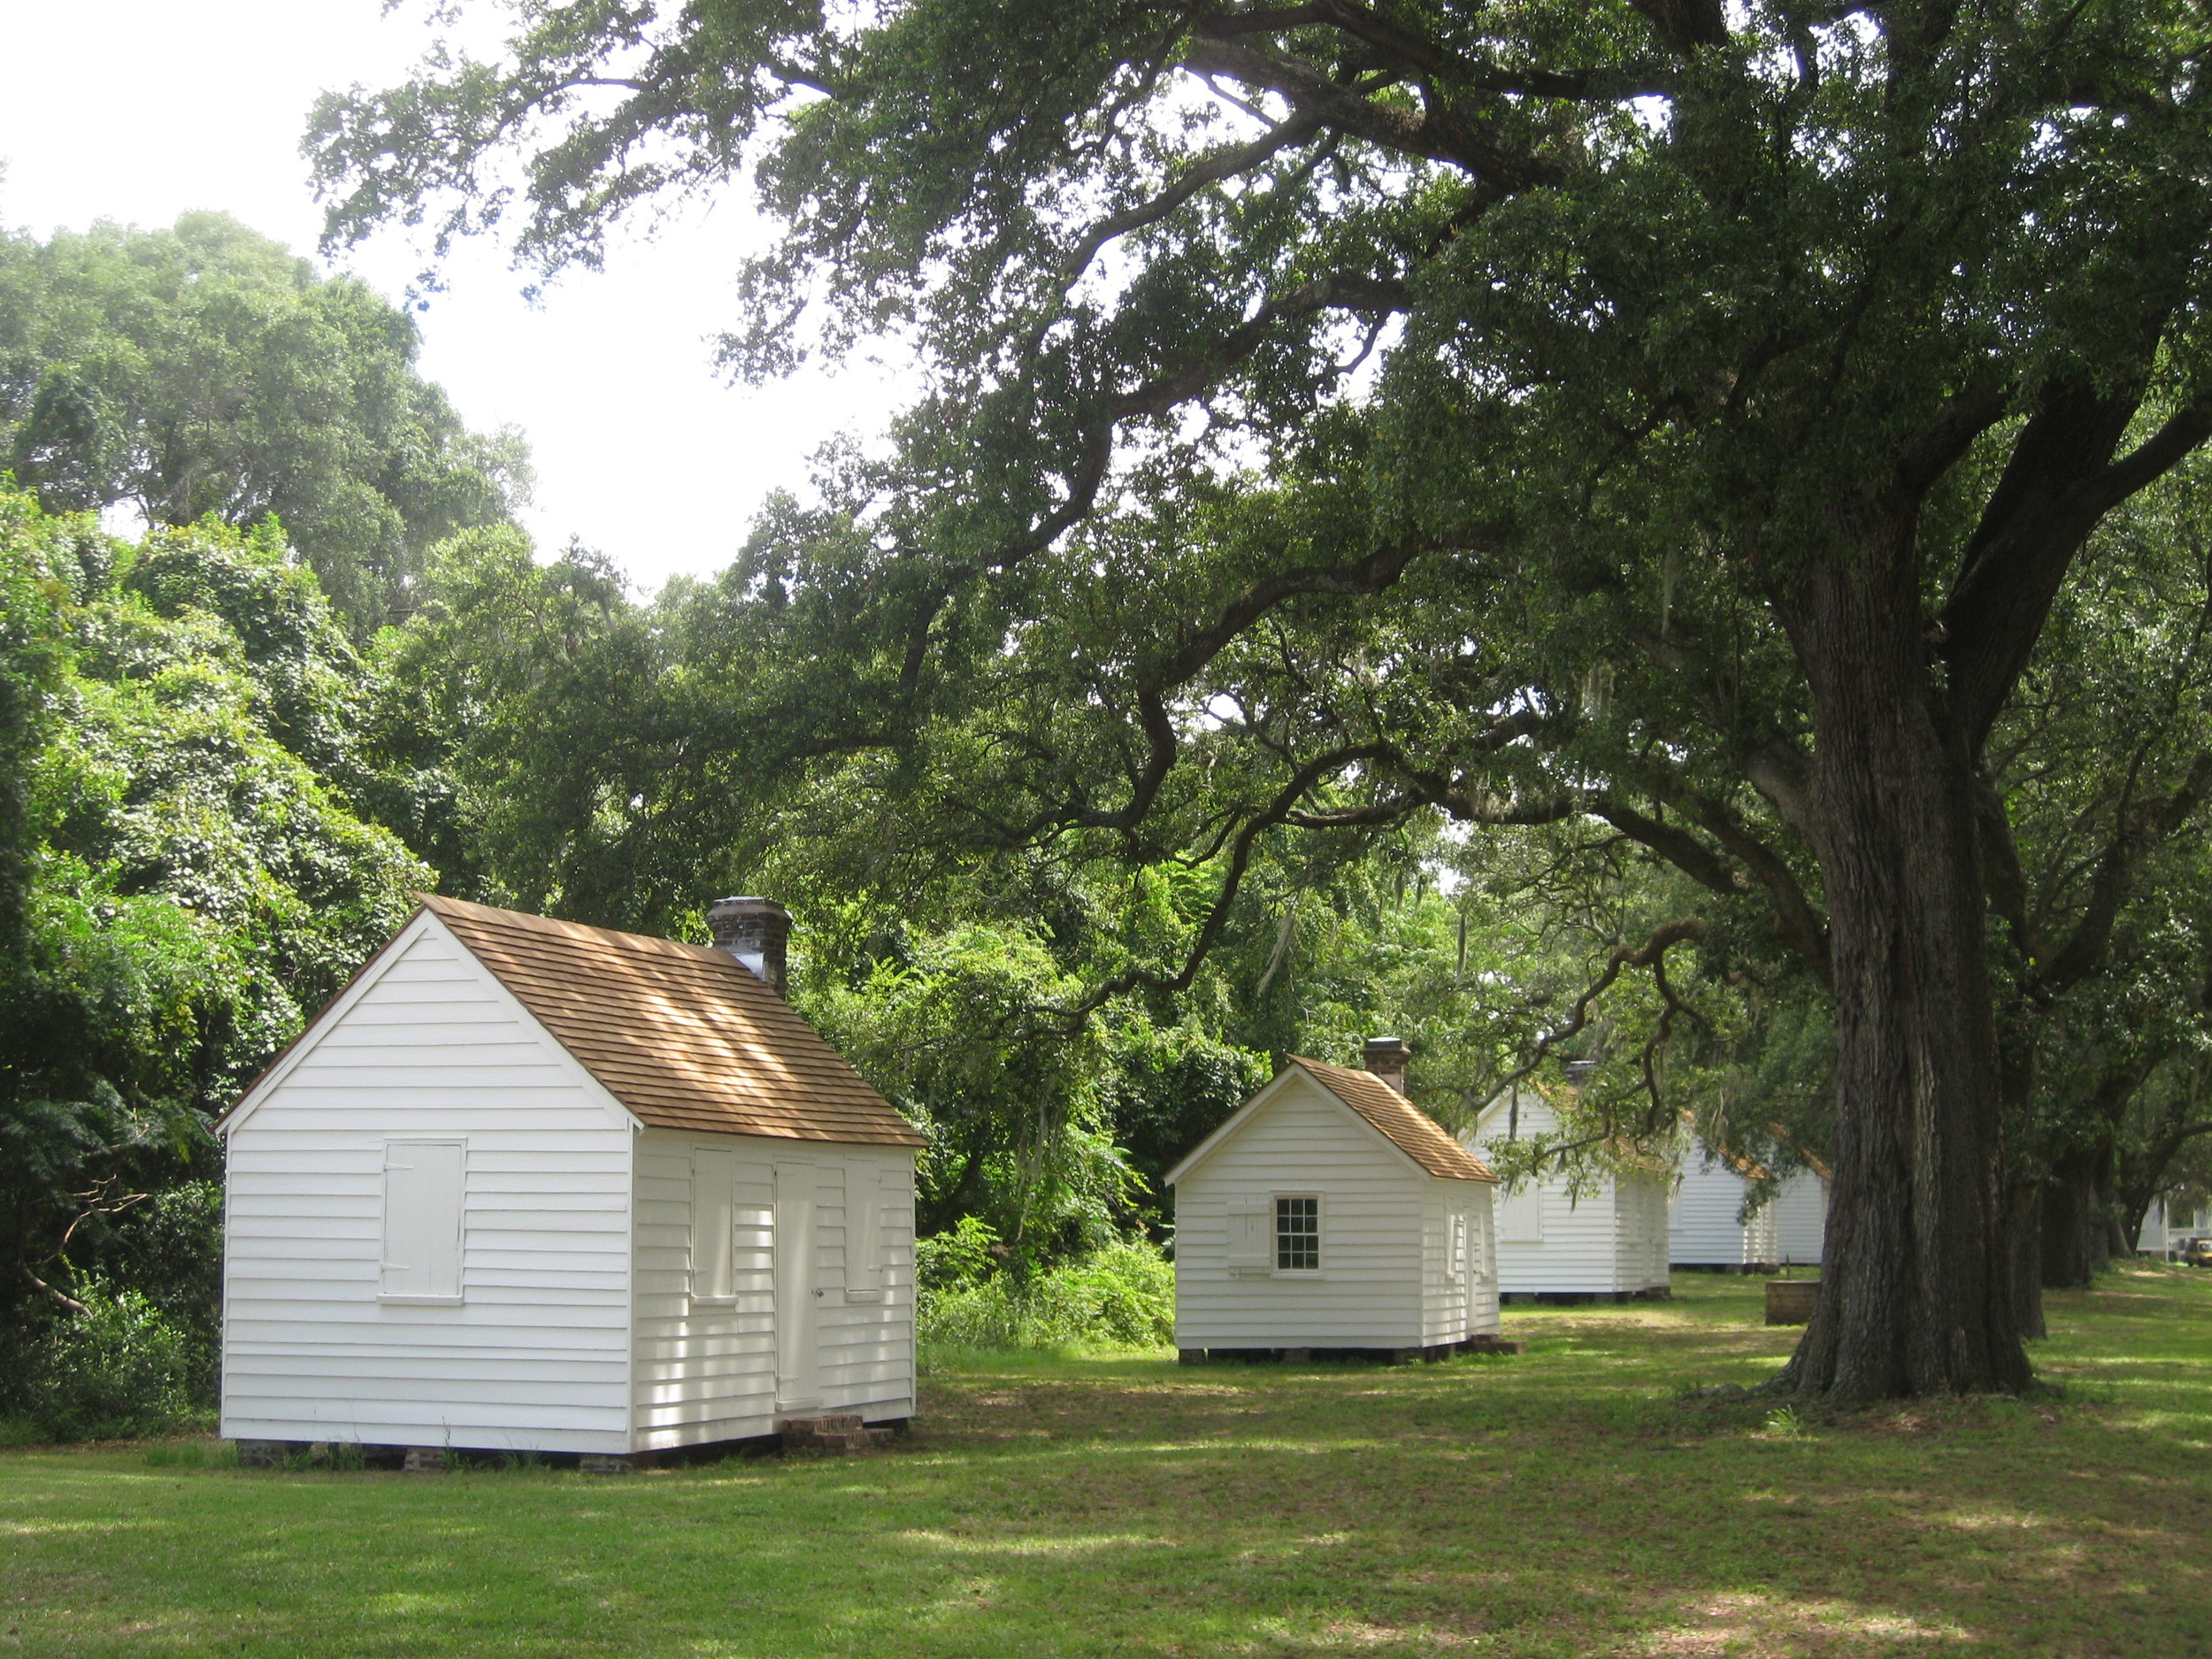
Paint microscopy begins with an on-site investigation and removal of paint samples. Sample locations are selected through careful examination of the building, sometimes combined with archival research, to determine sample locations that will provide the most useful information about the paint history of the building. Exposures using mechanical or chemical means is often helpful to determine the best sample locations. This tool is also useful in the later stages of a paint study for confirming findings observed in cross-sections, uncovering decorative painting schemes, and matching historic finishes to modern paint lines.
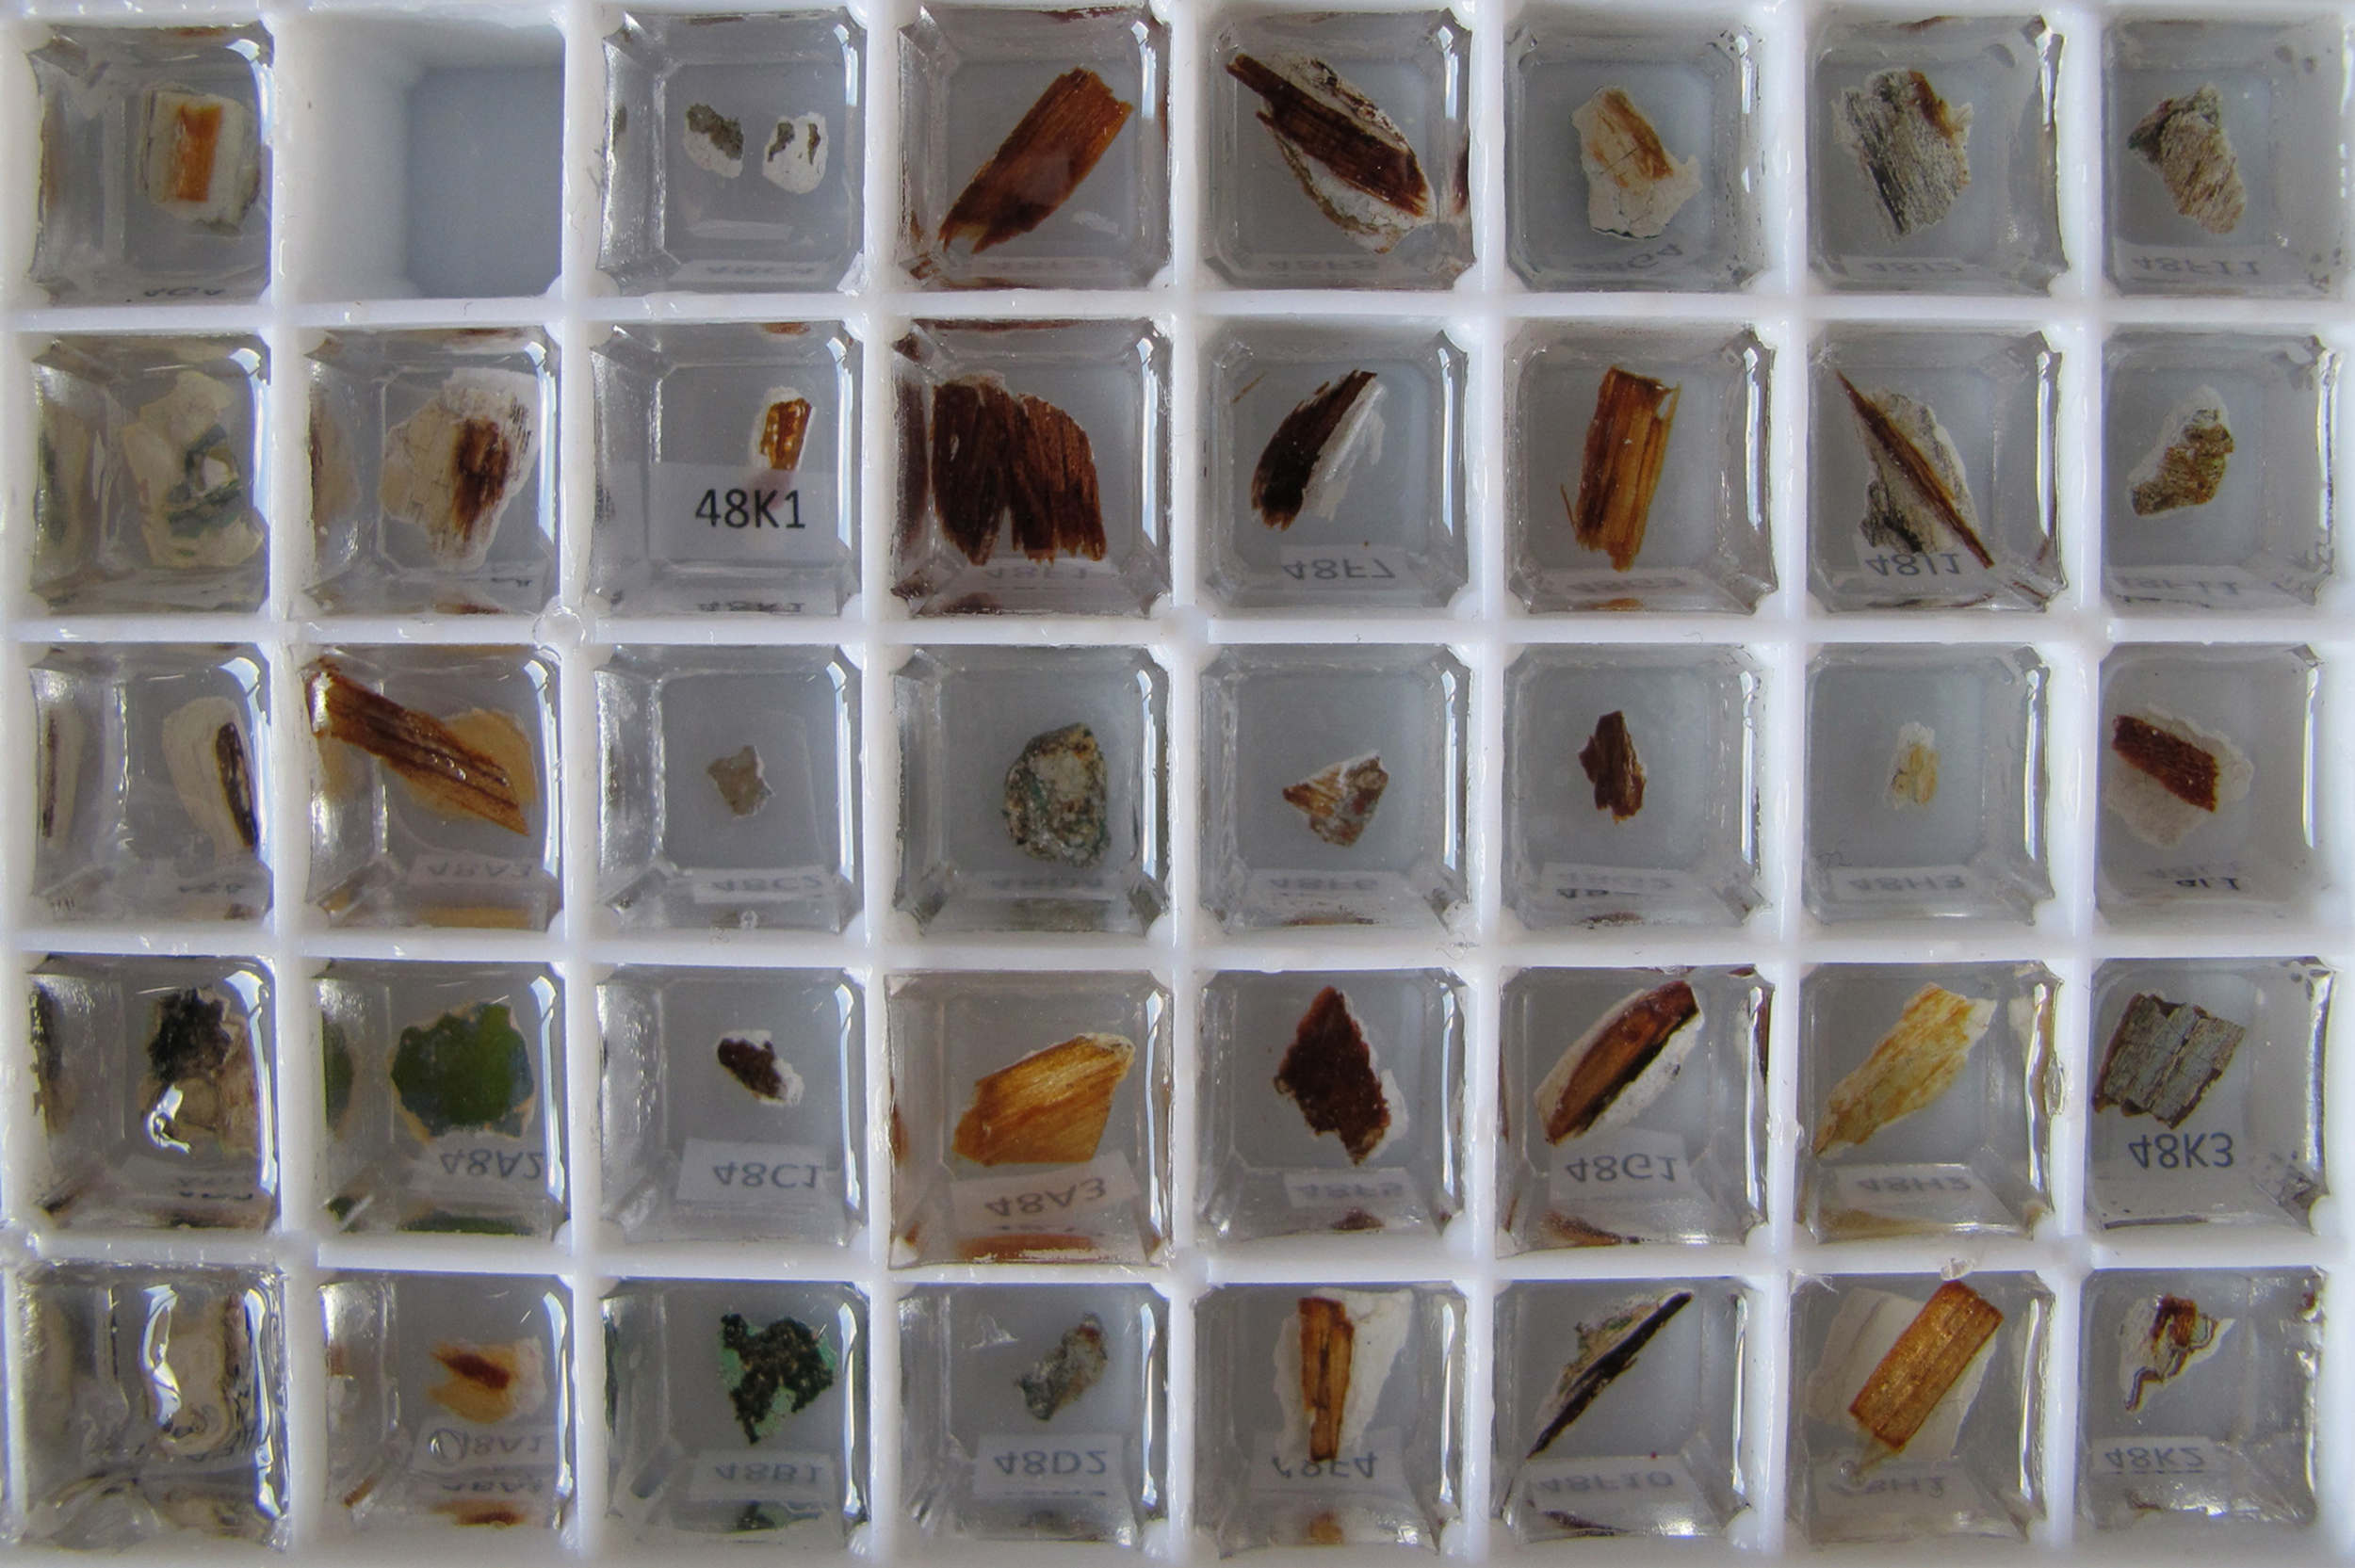
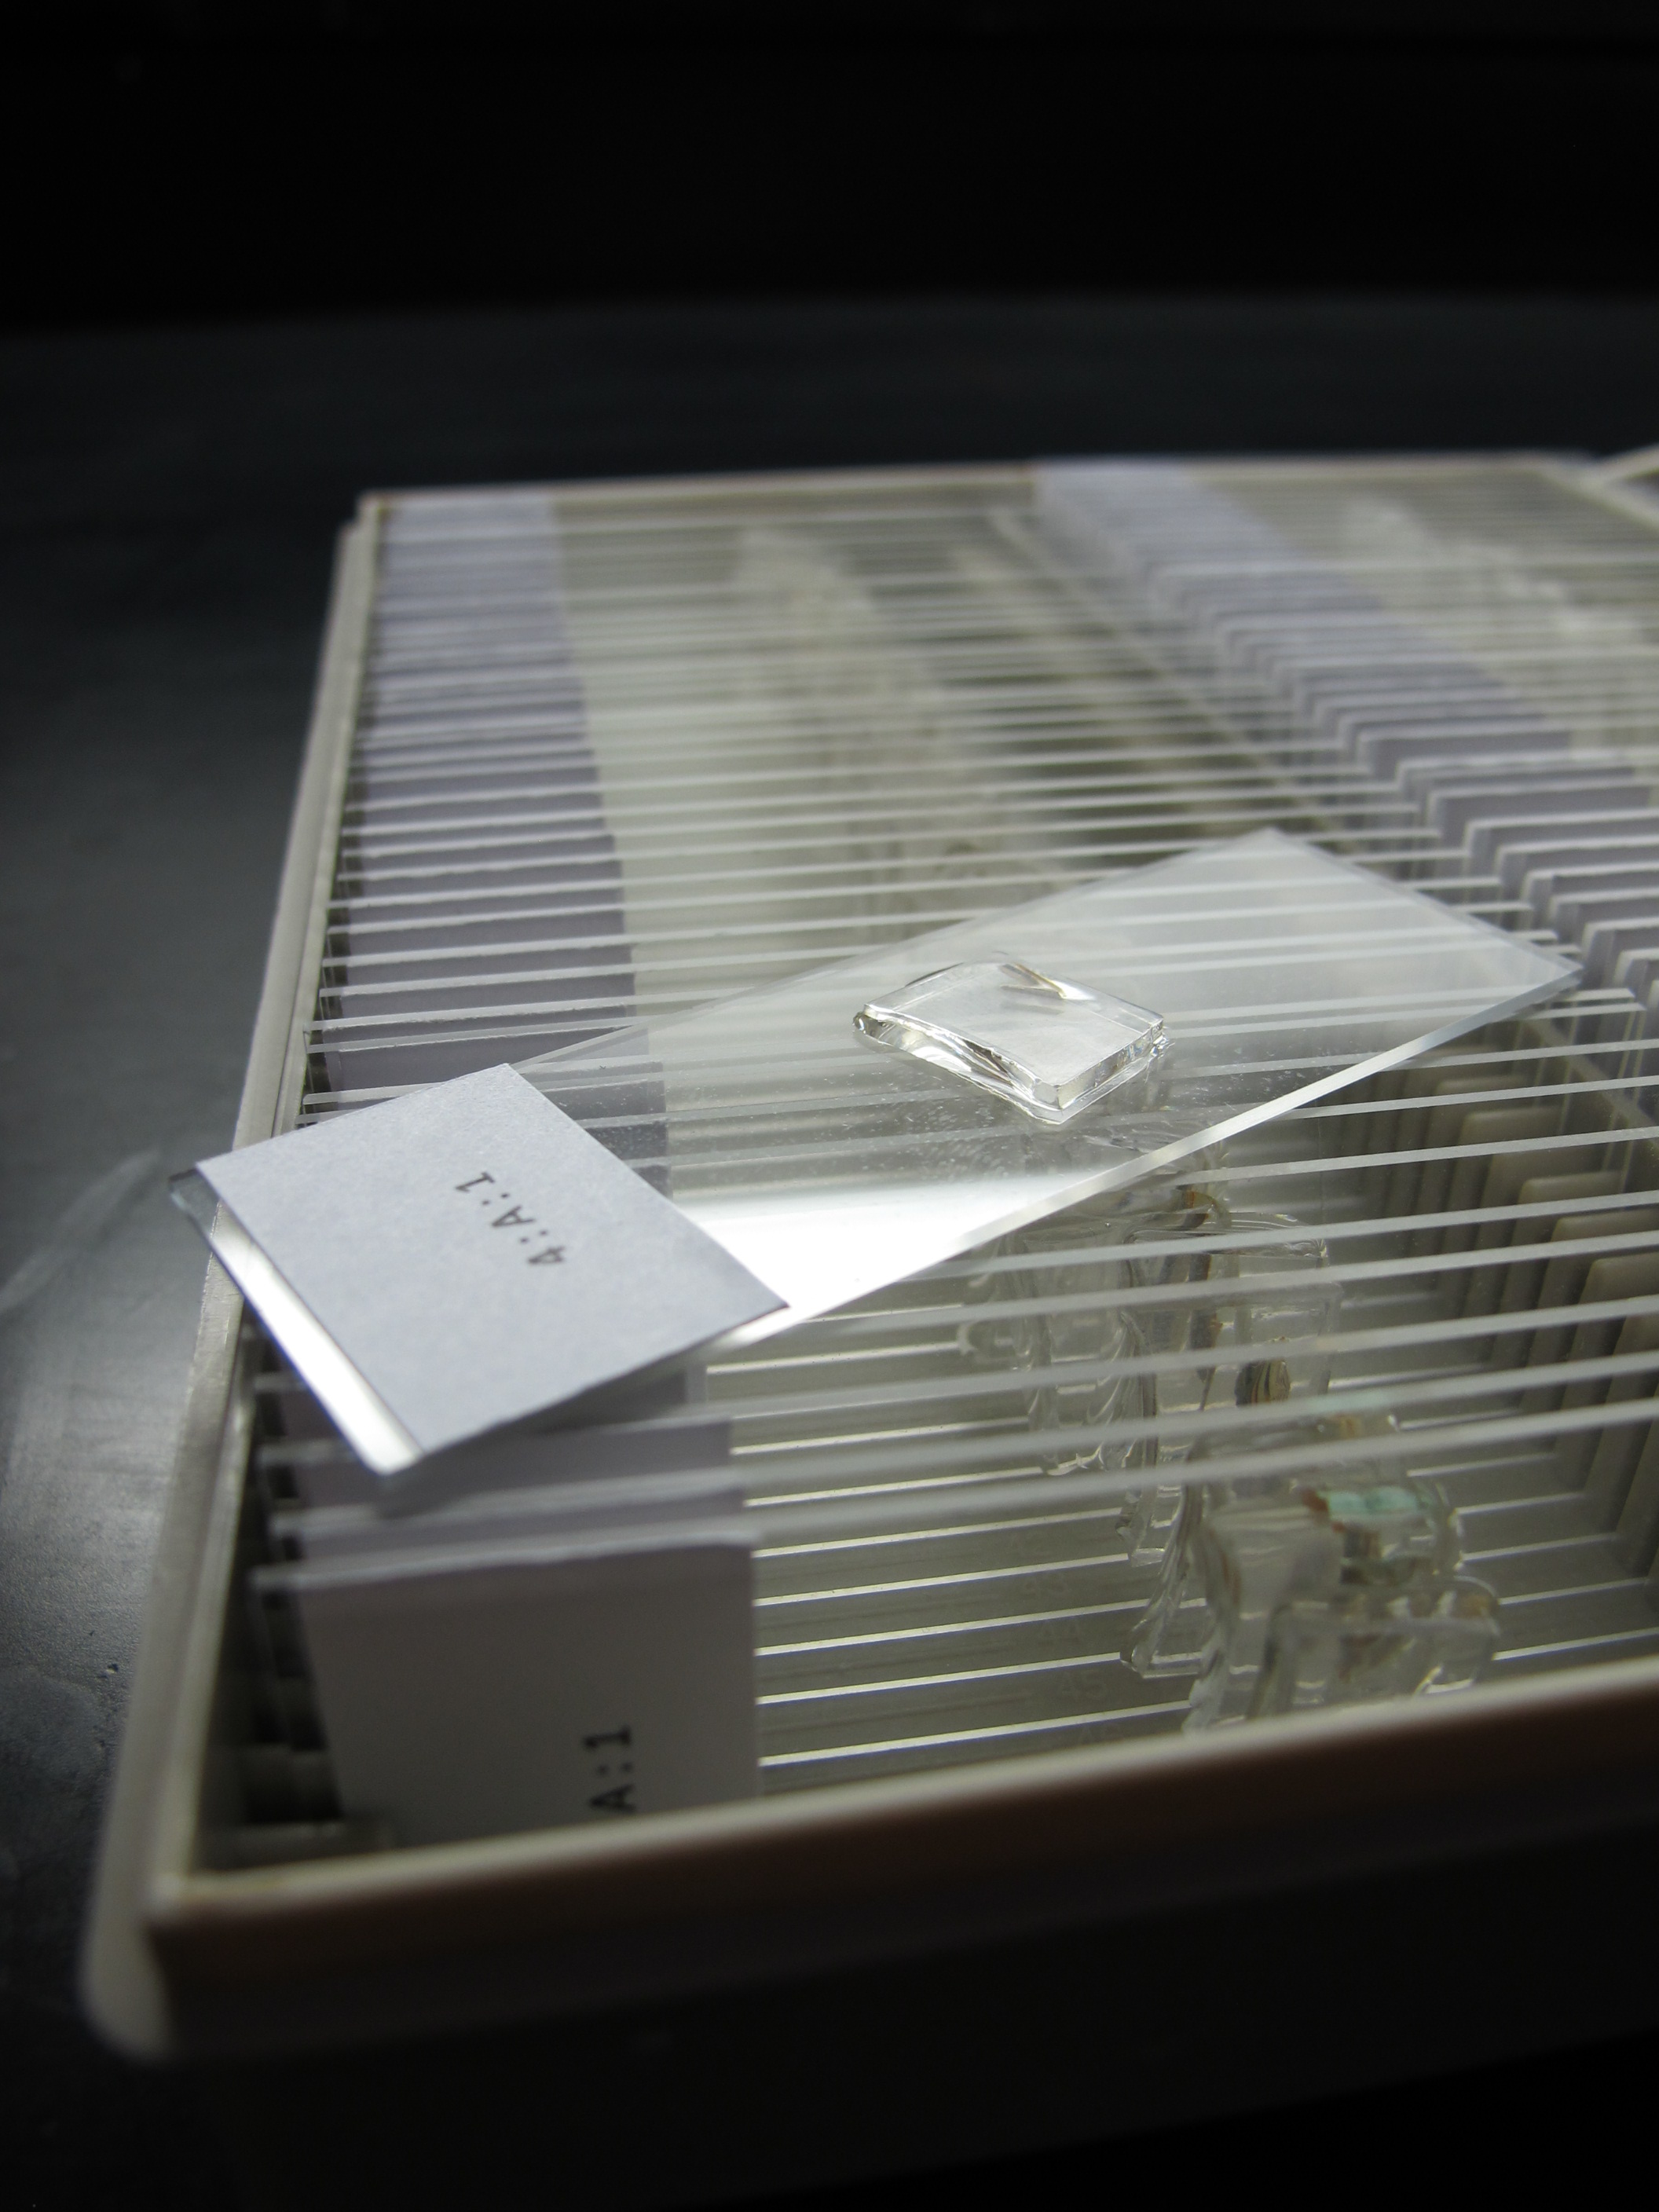
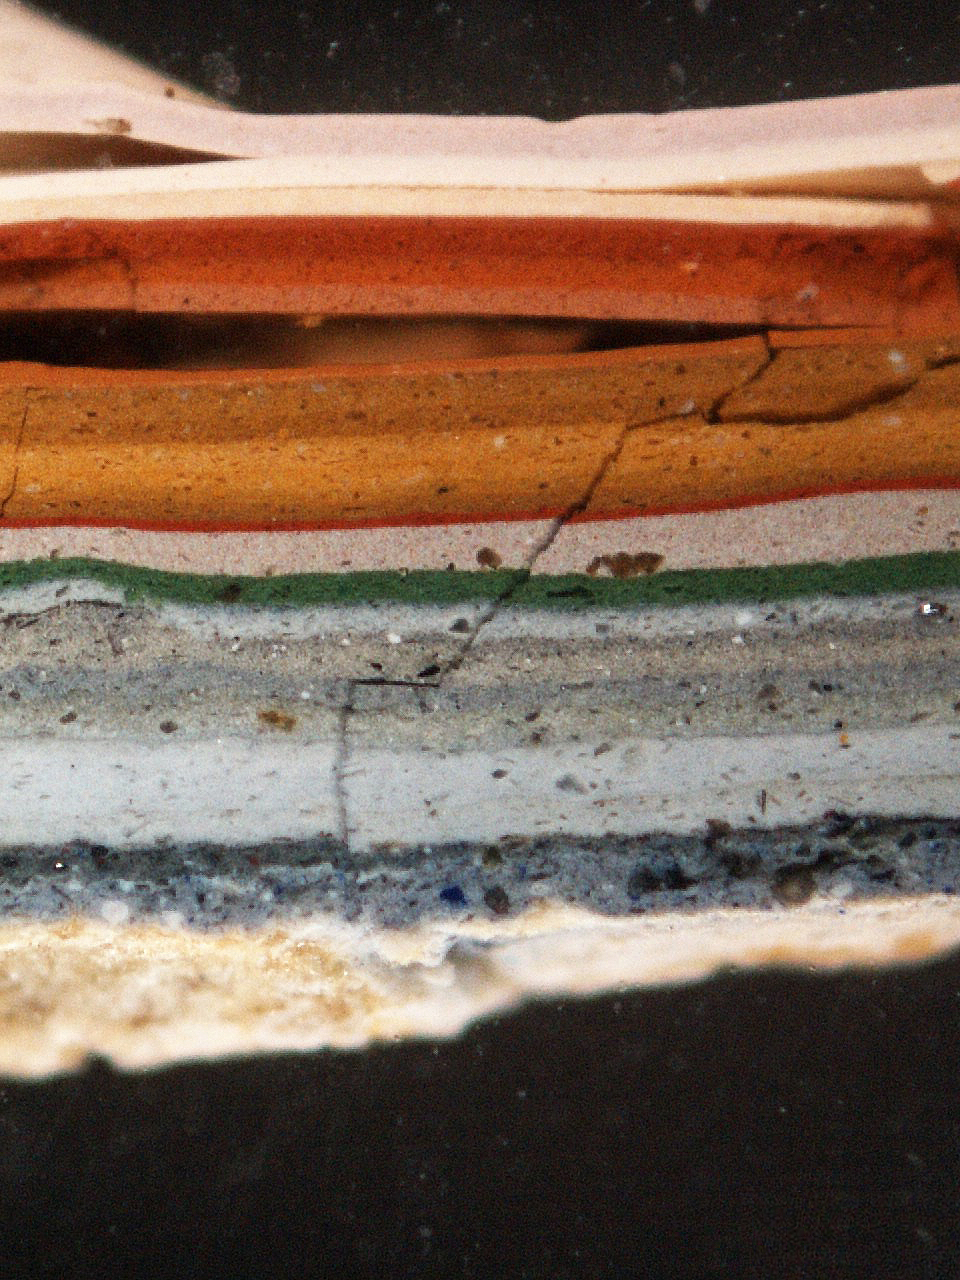
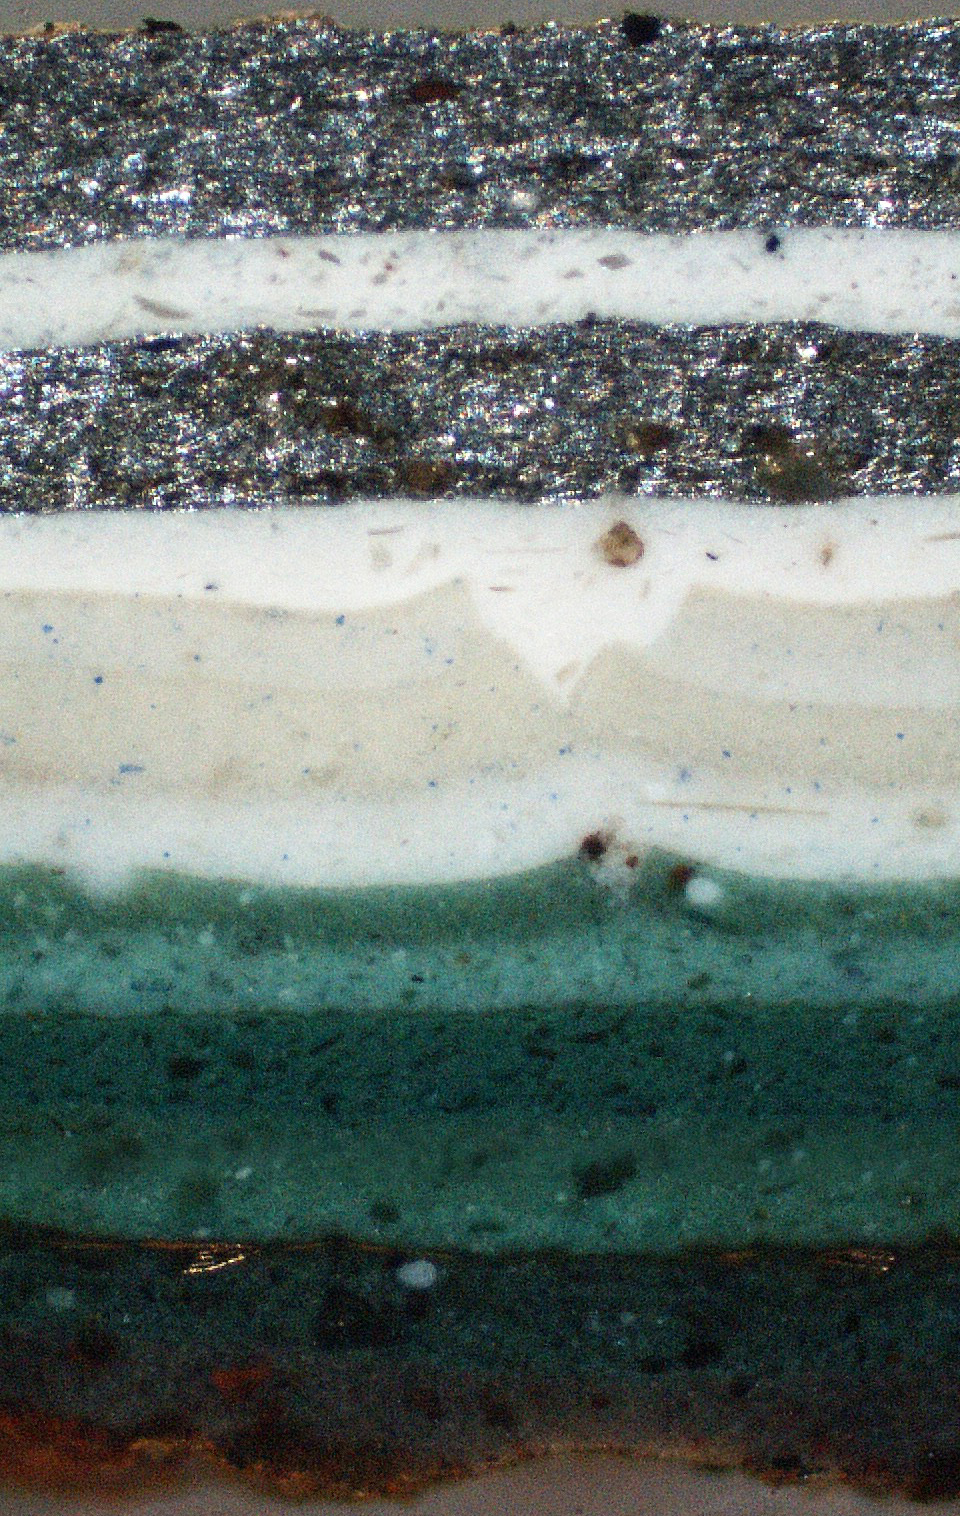
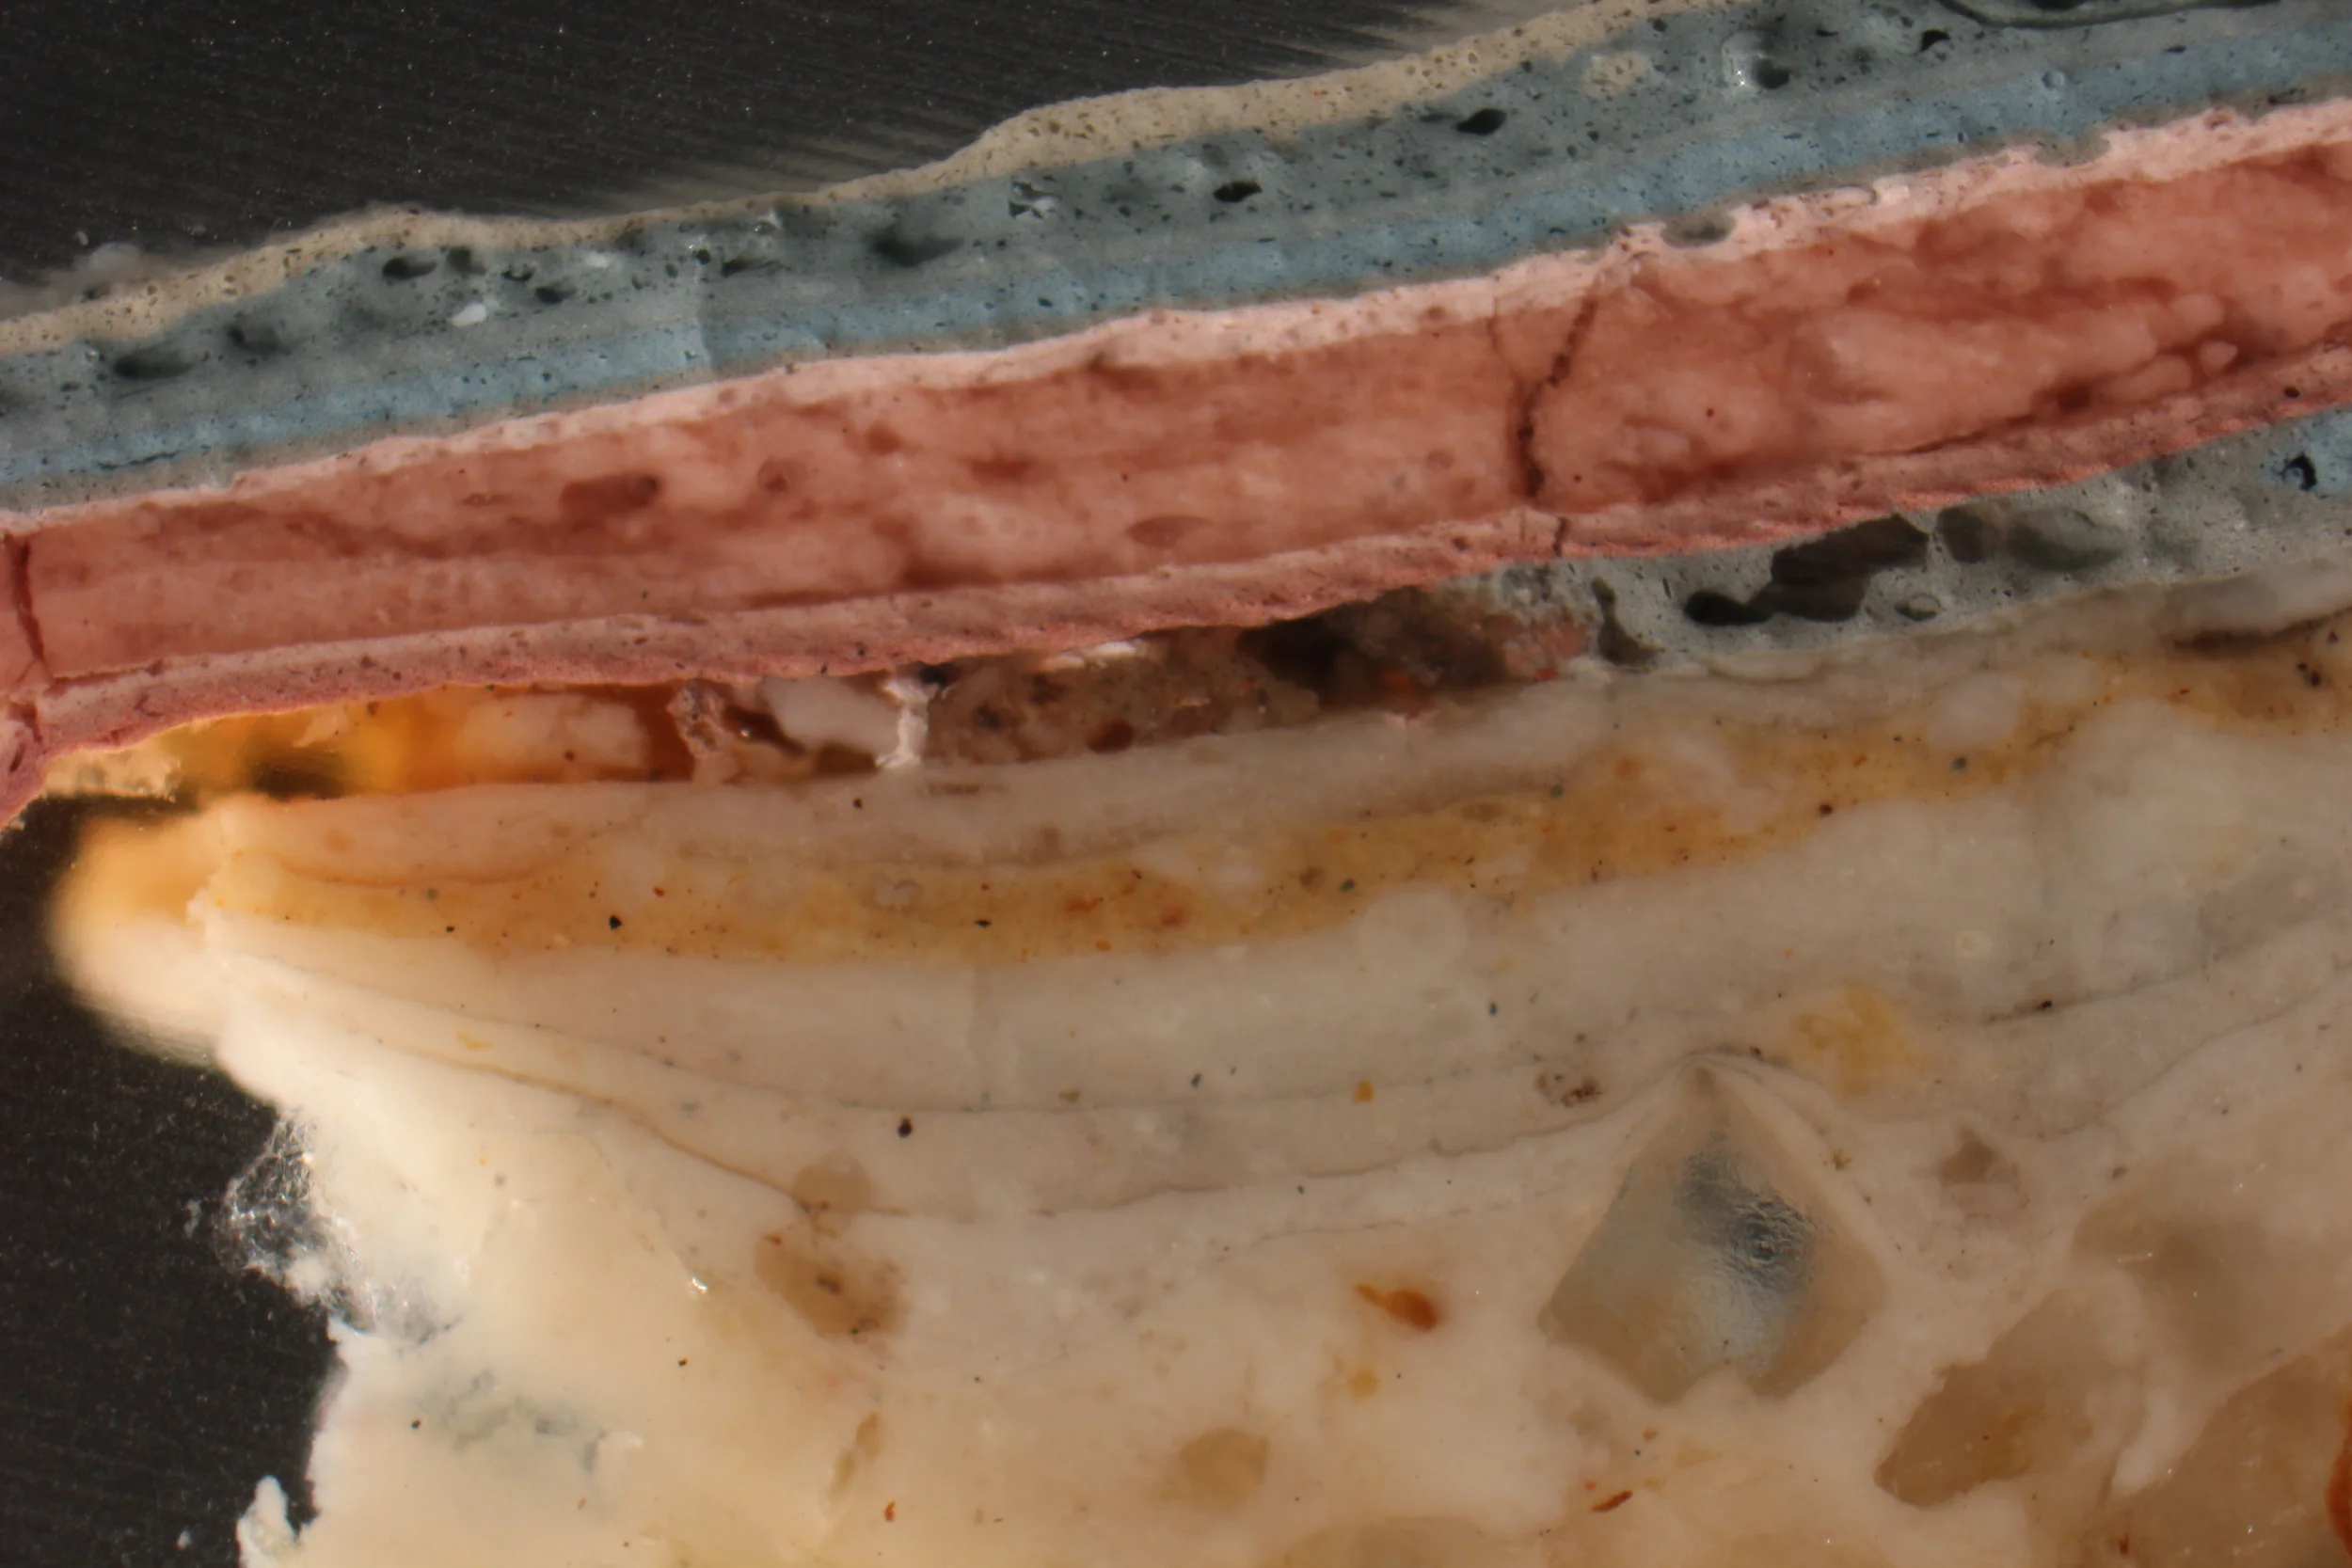
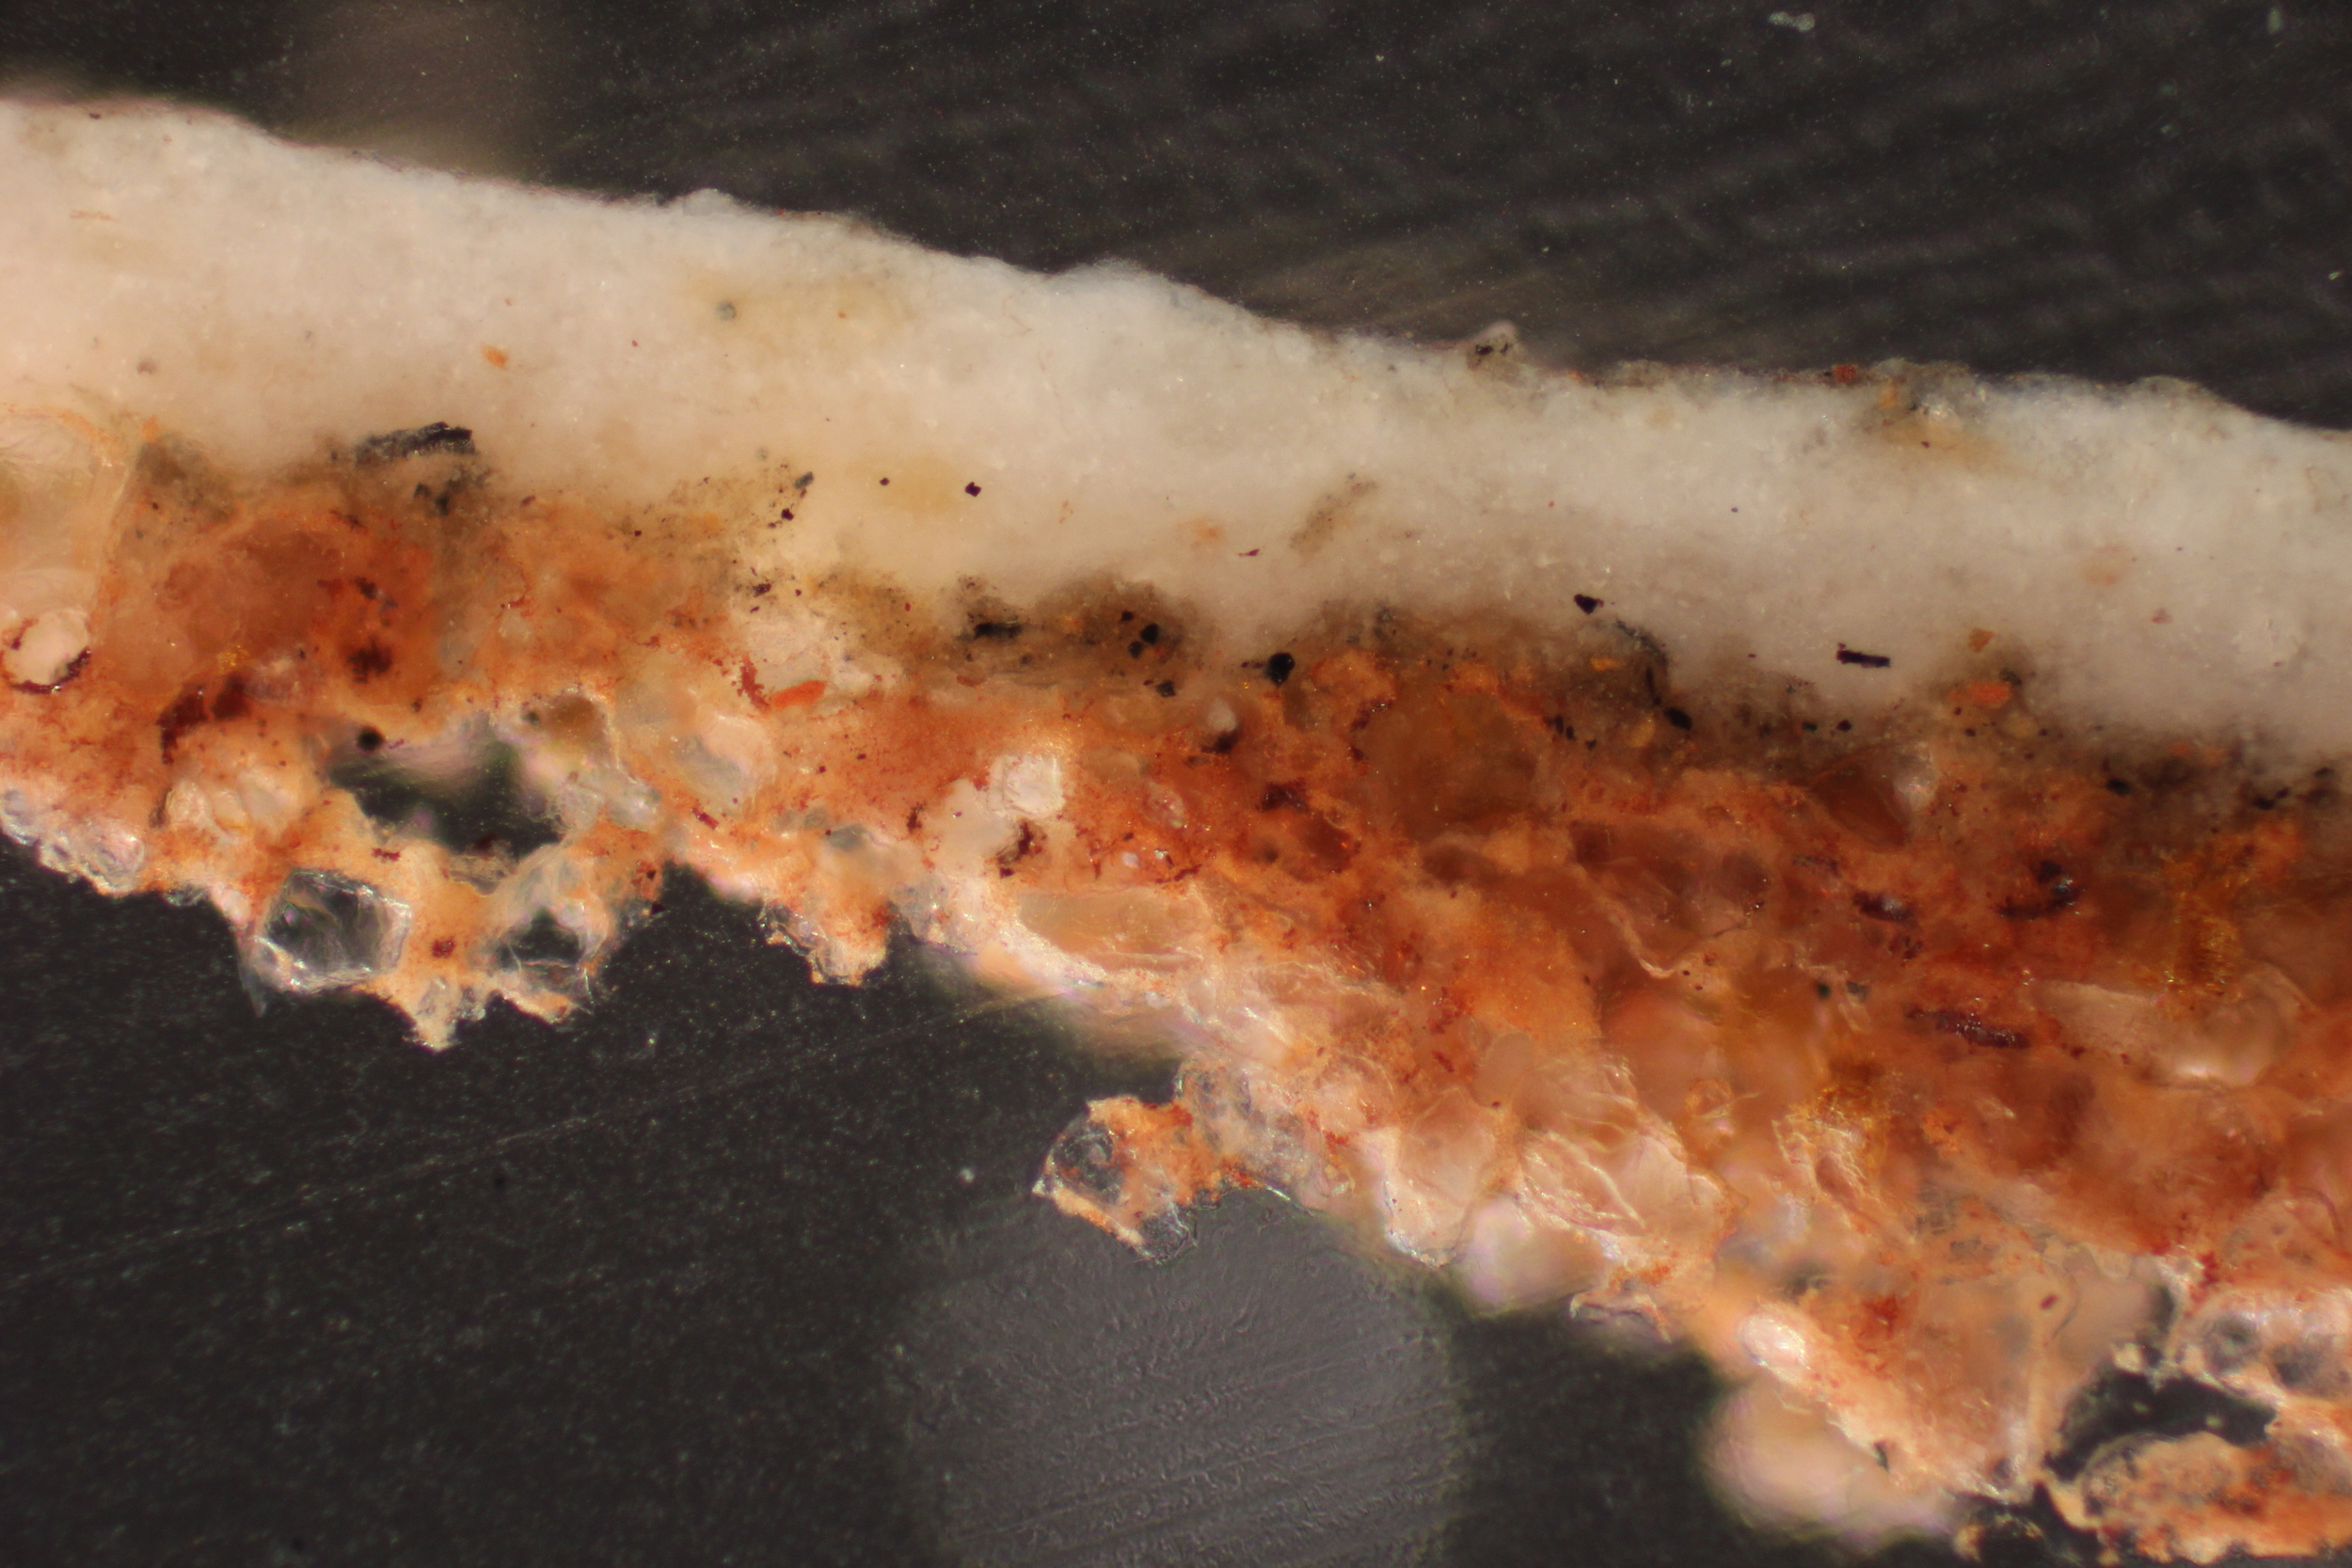
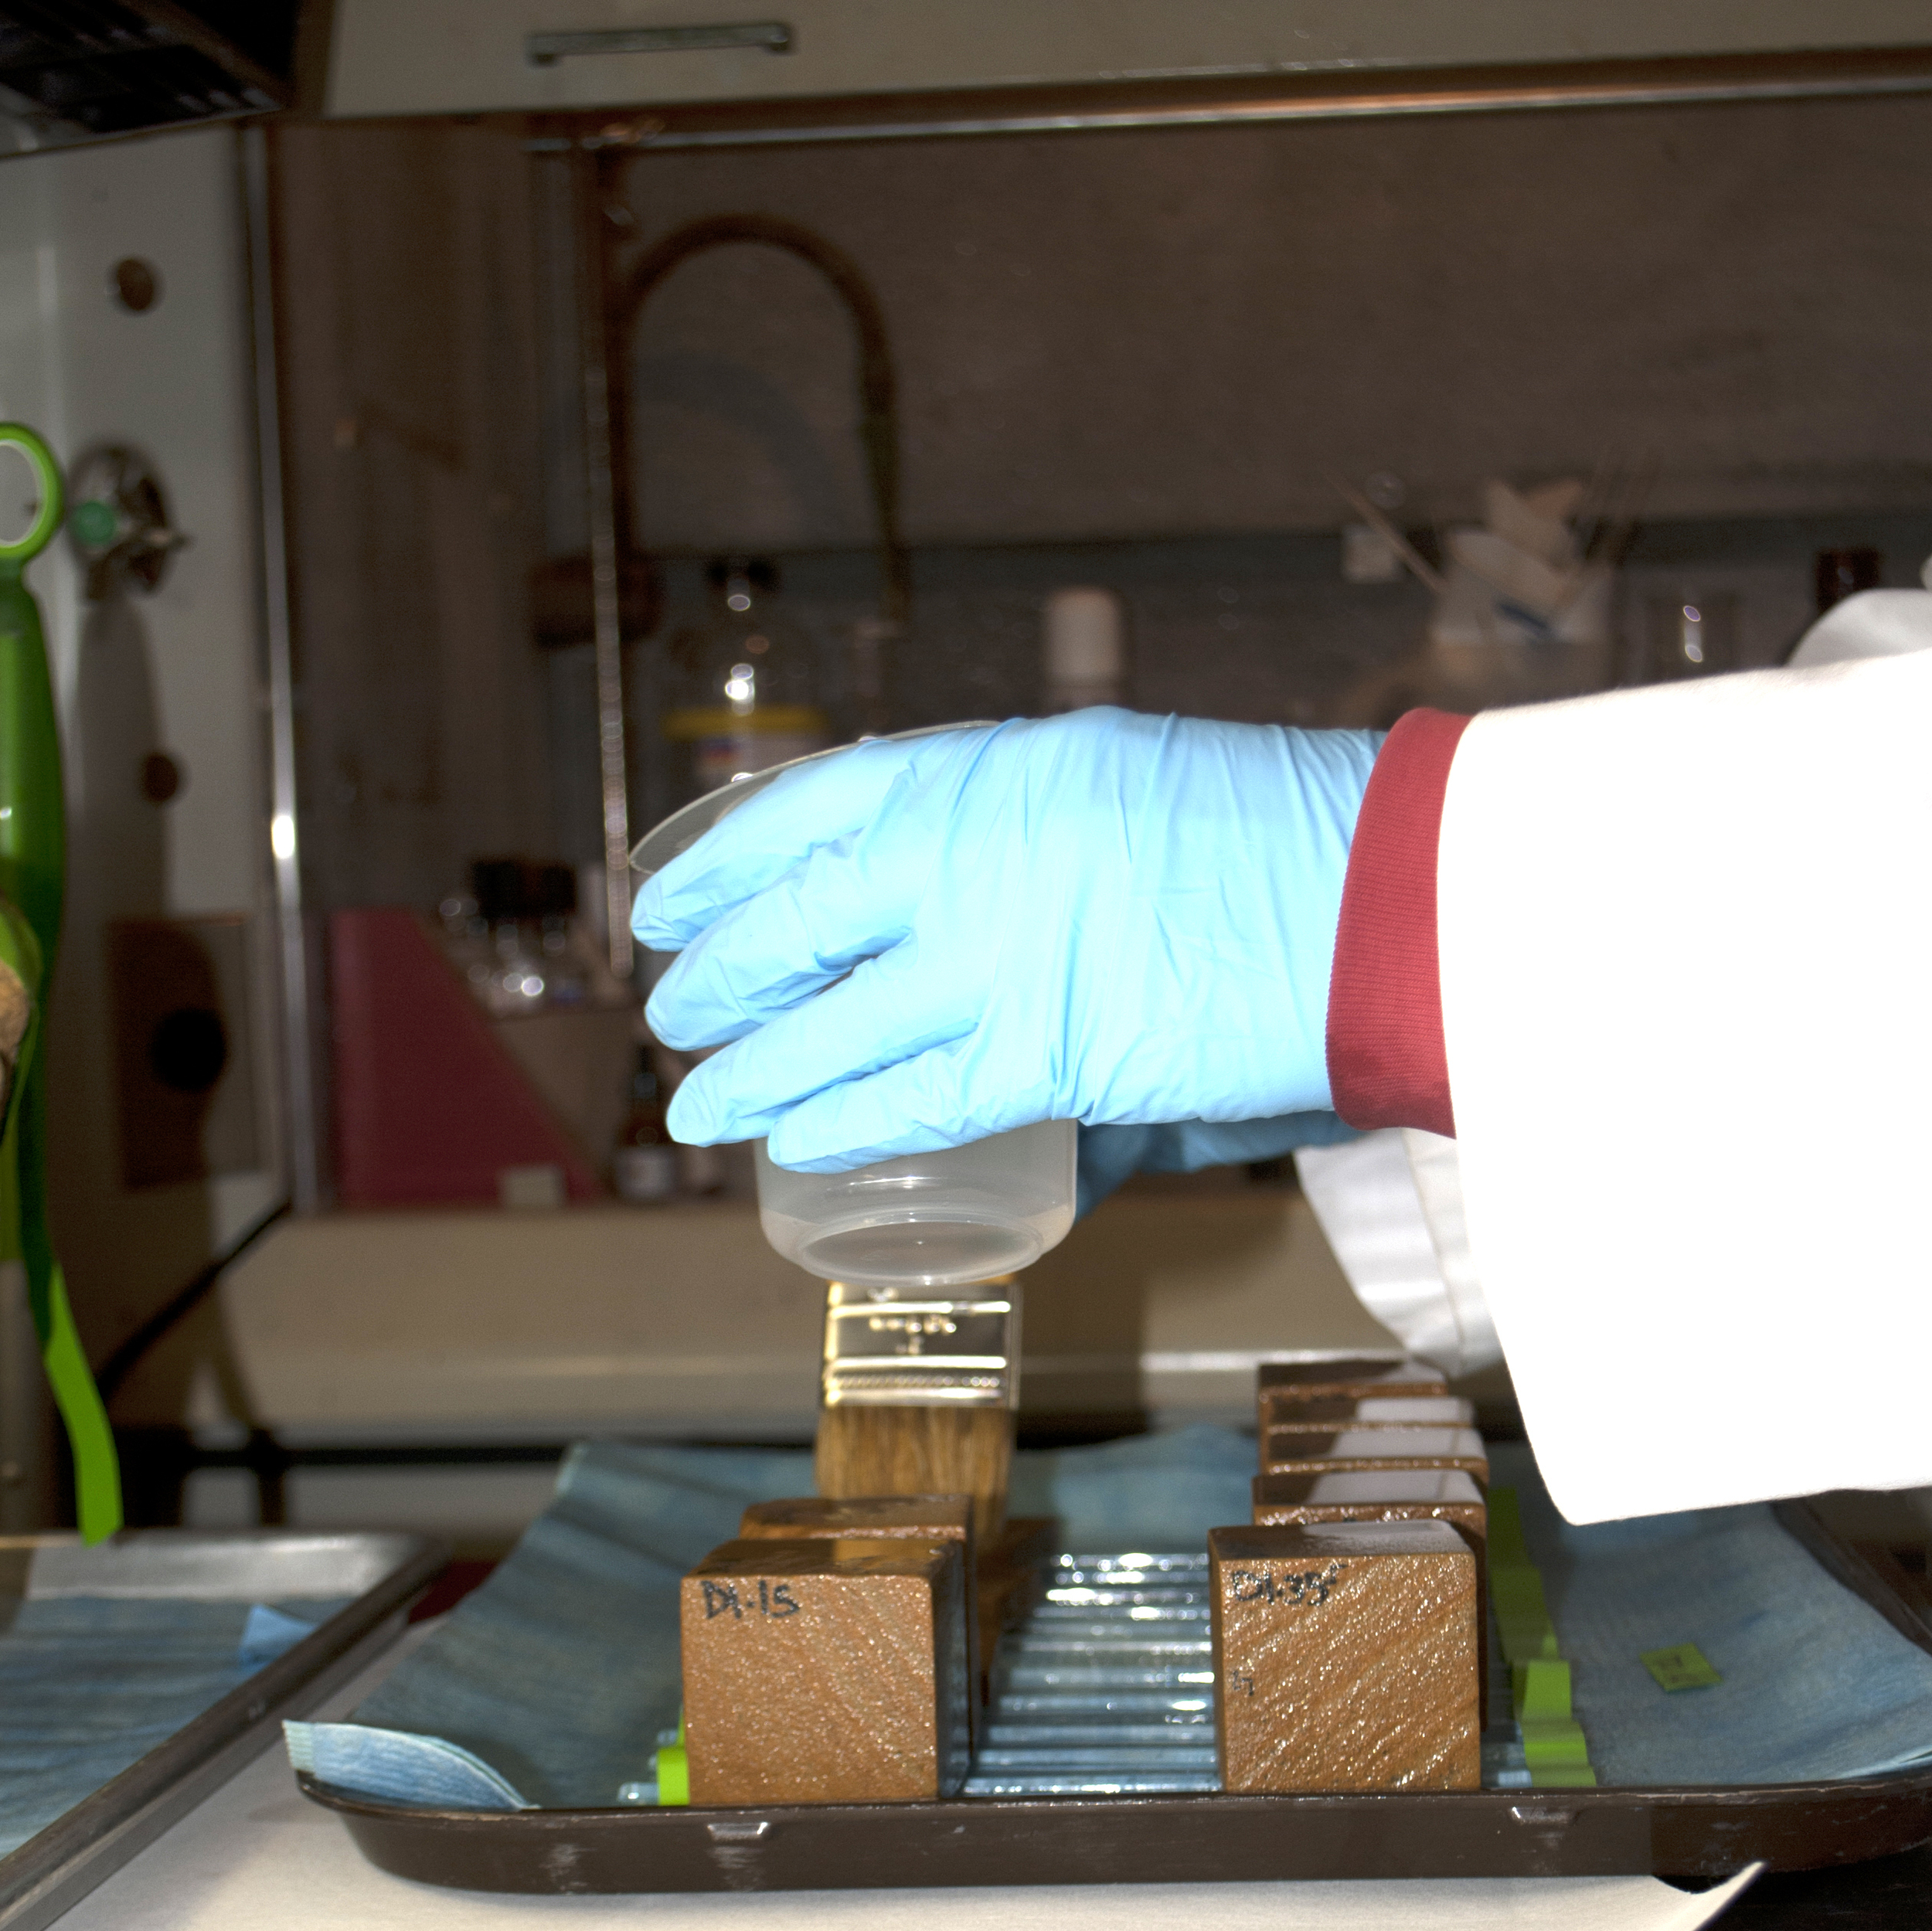
After an on-site sampling, paint samples are brought back to the Meadors laboratory for examination, processing, and analysis. Following examination with a low-power stereomicroscope, the most intact samples are selected for analysis. Samples are cast into resin cubes, cut into cross-sections, polished, and mounted onto microscope slides for analysis.
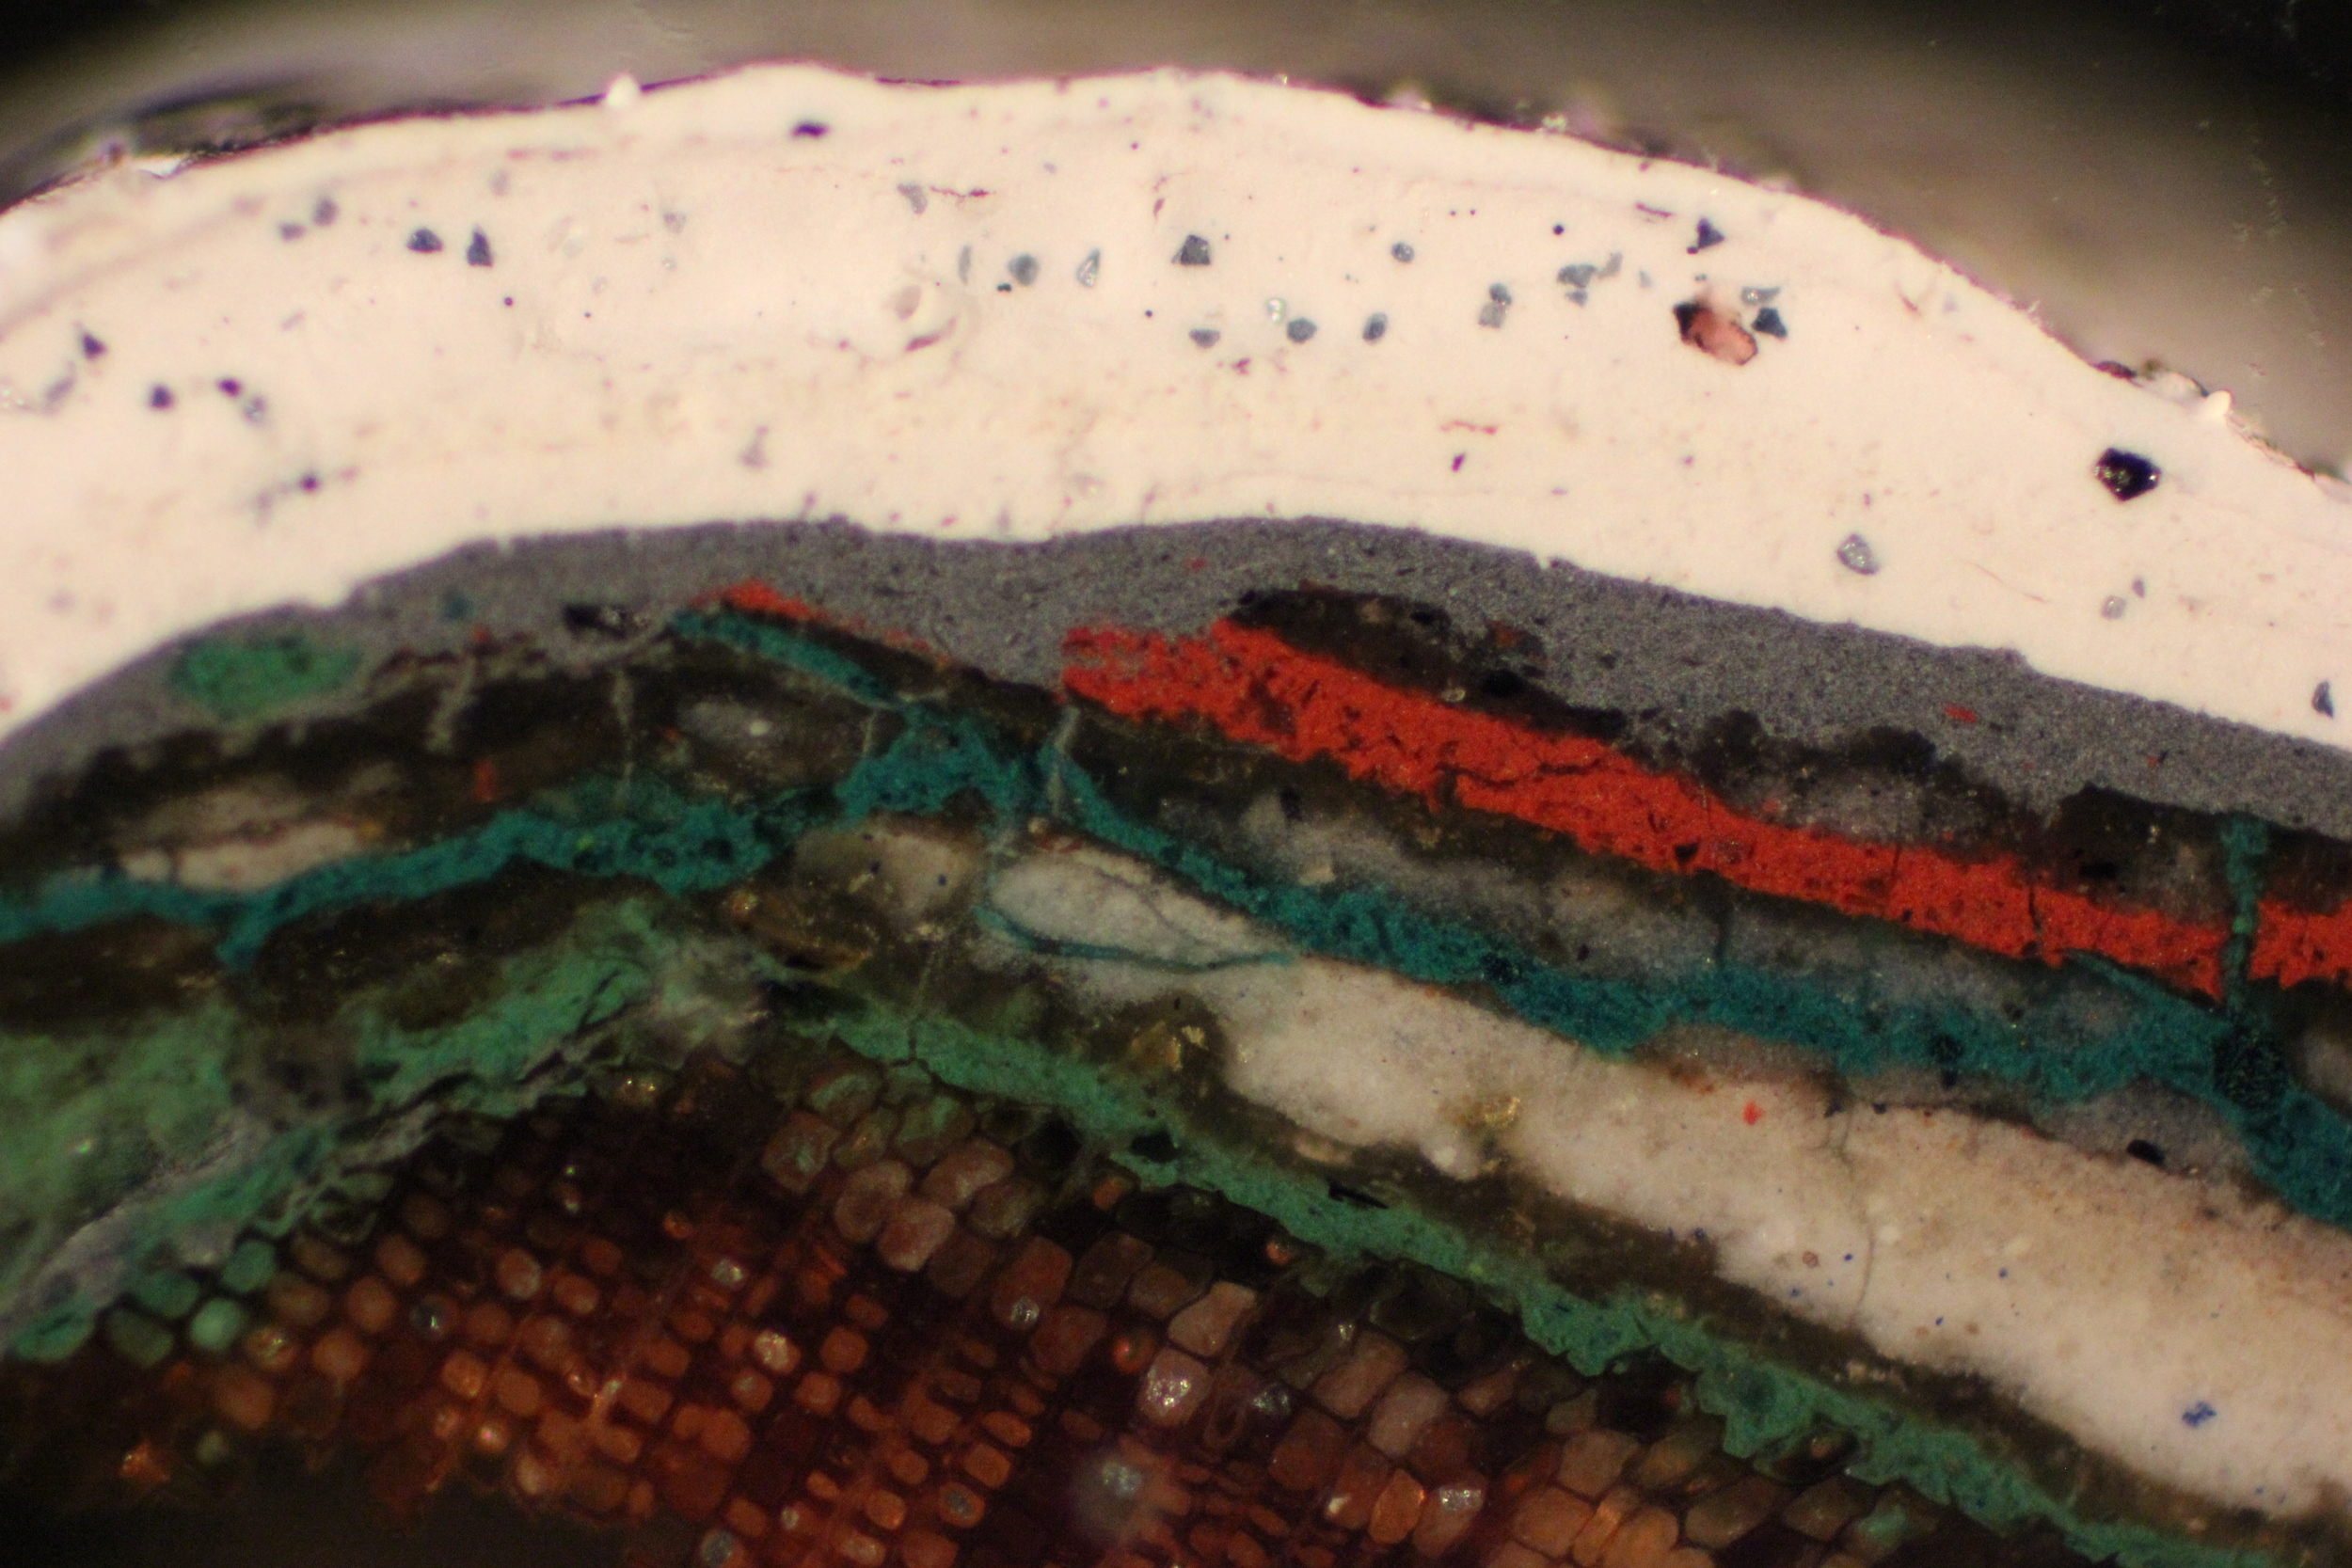
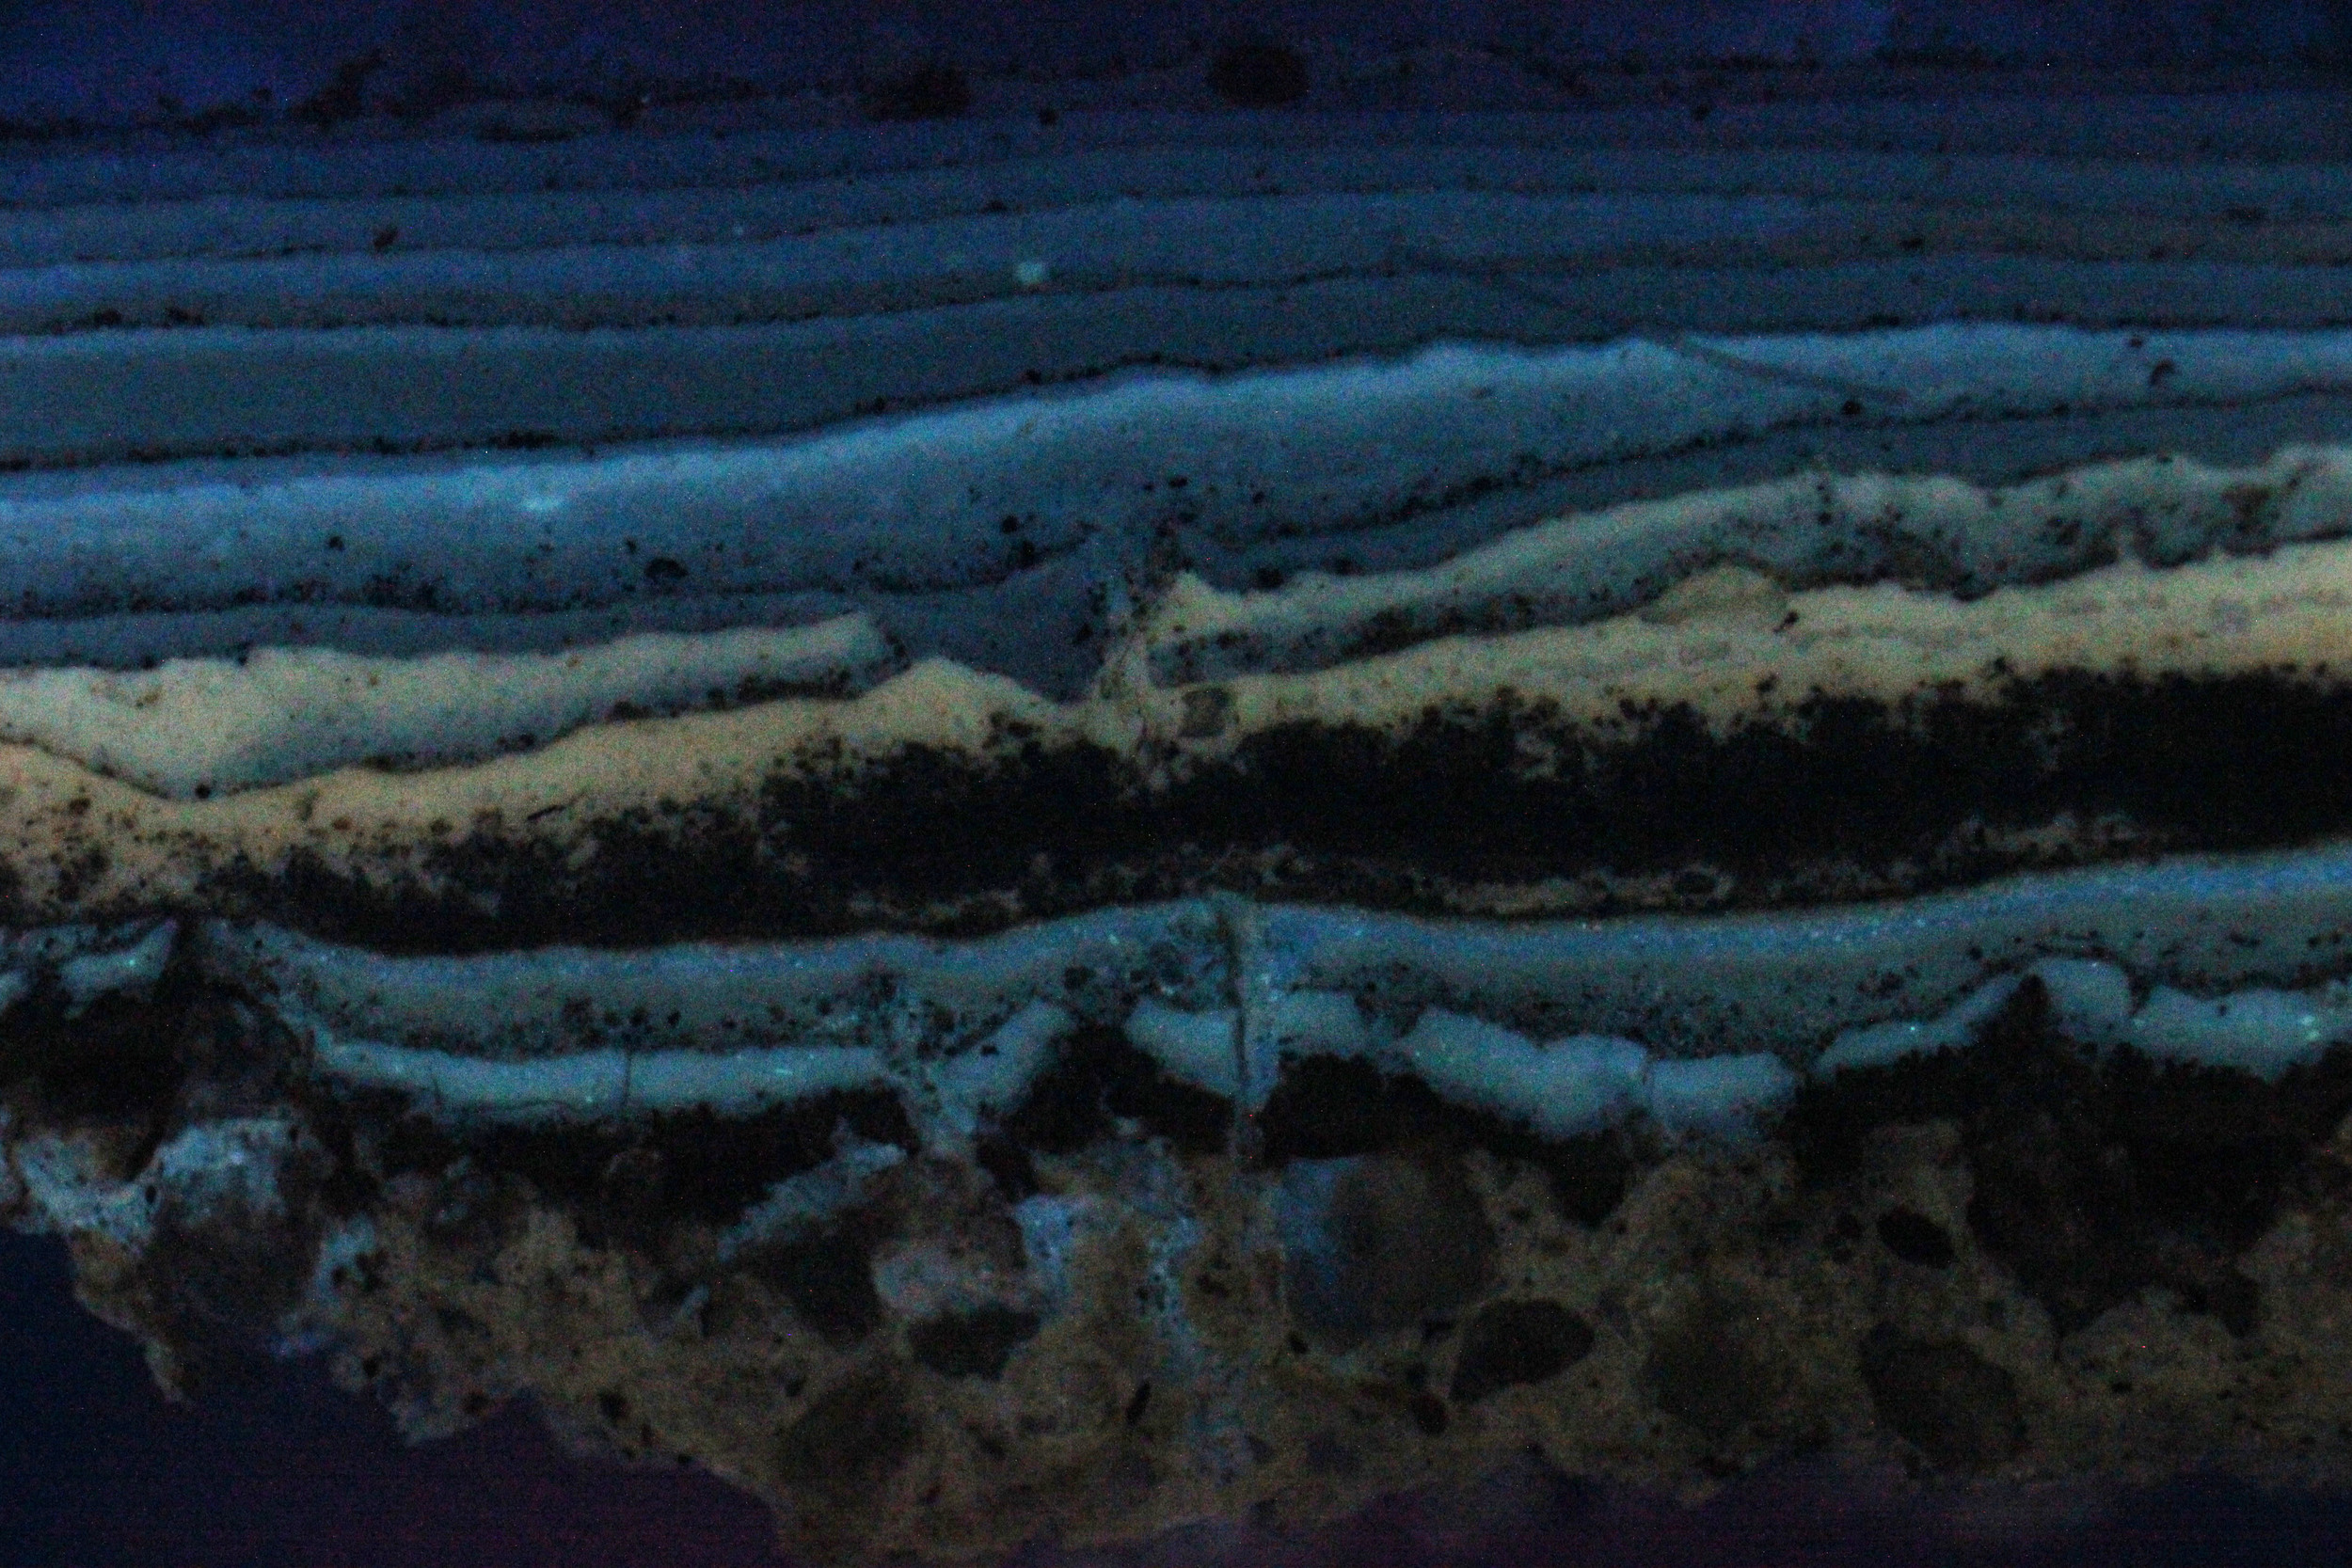
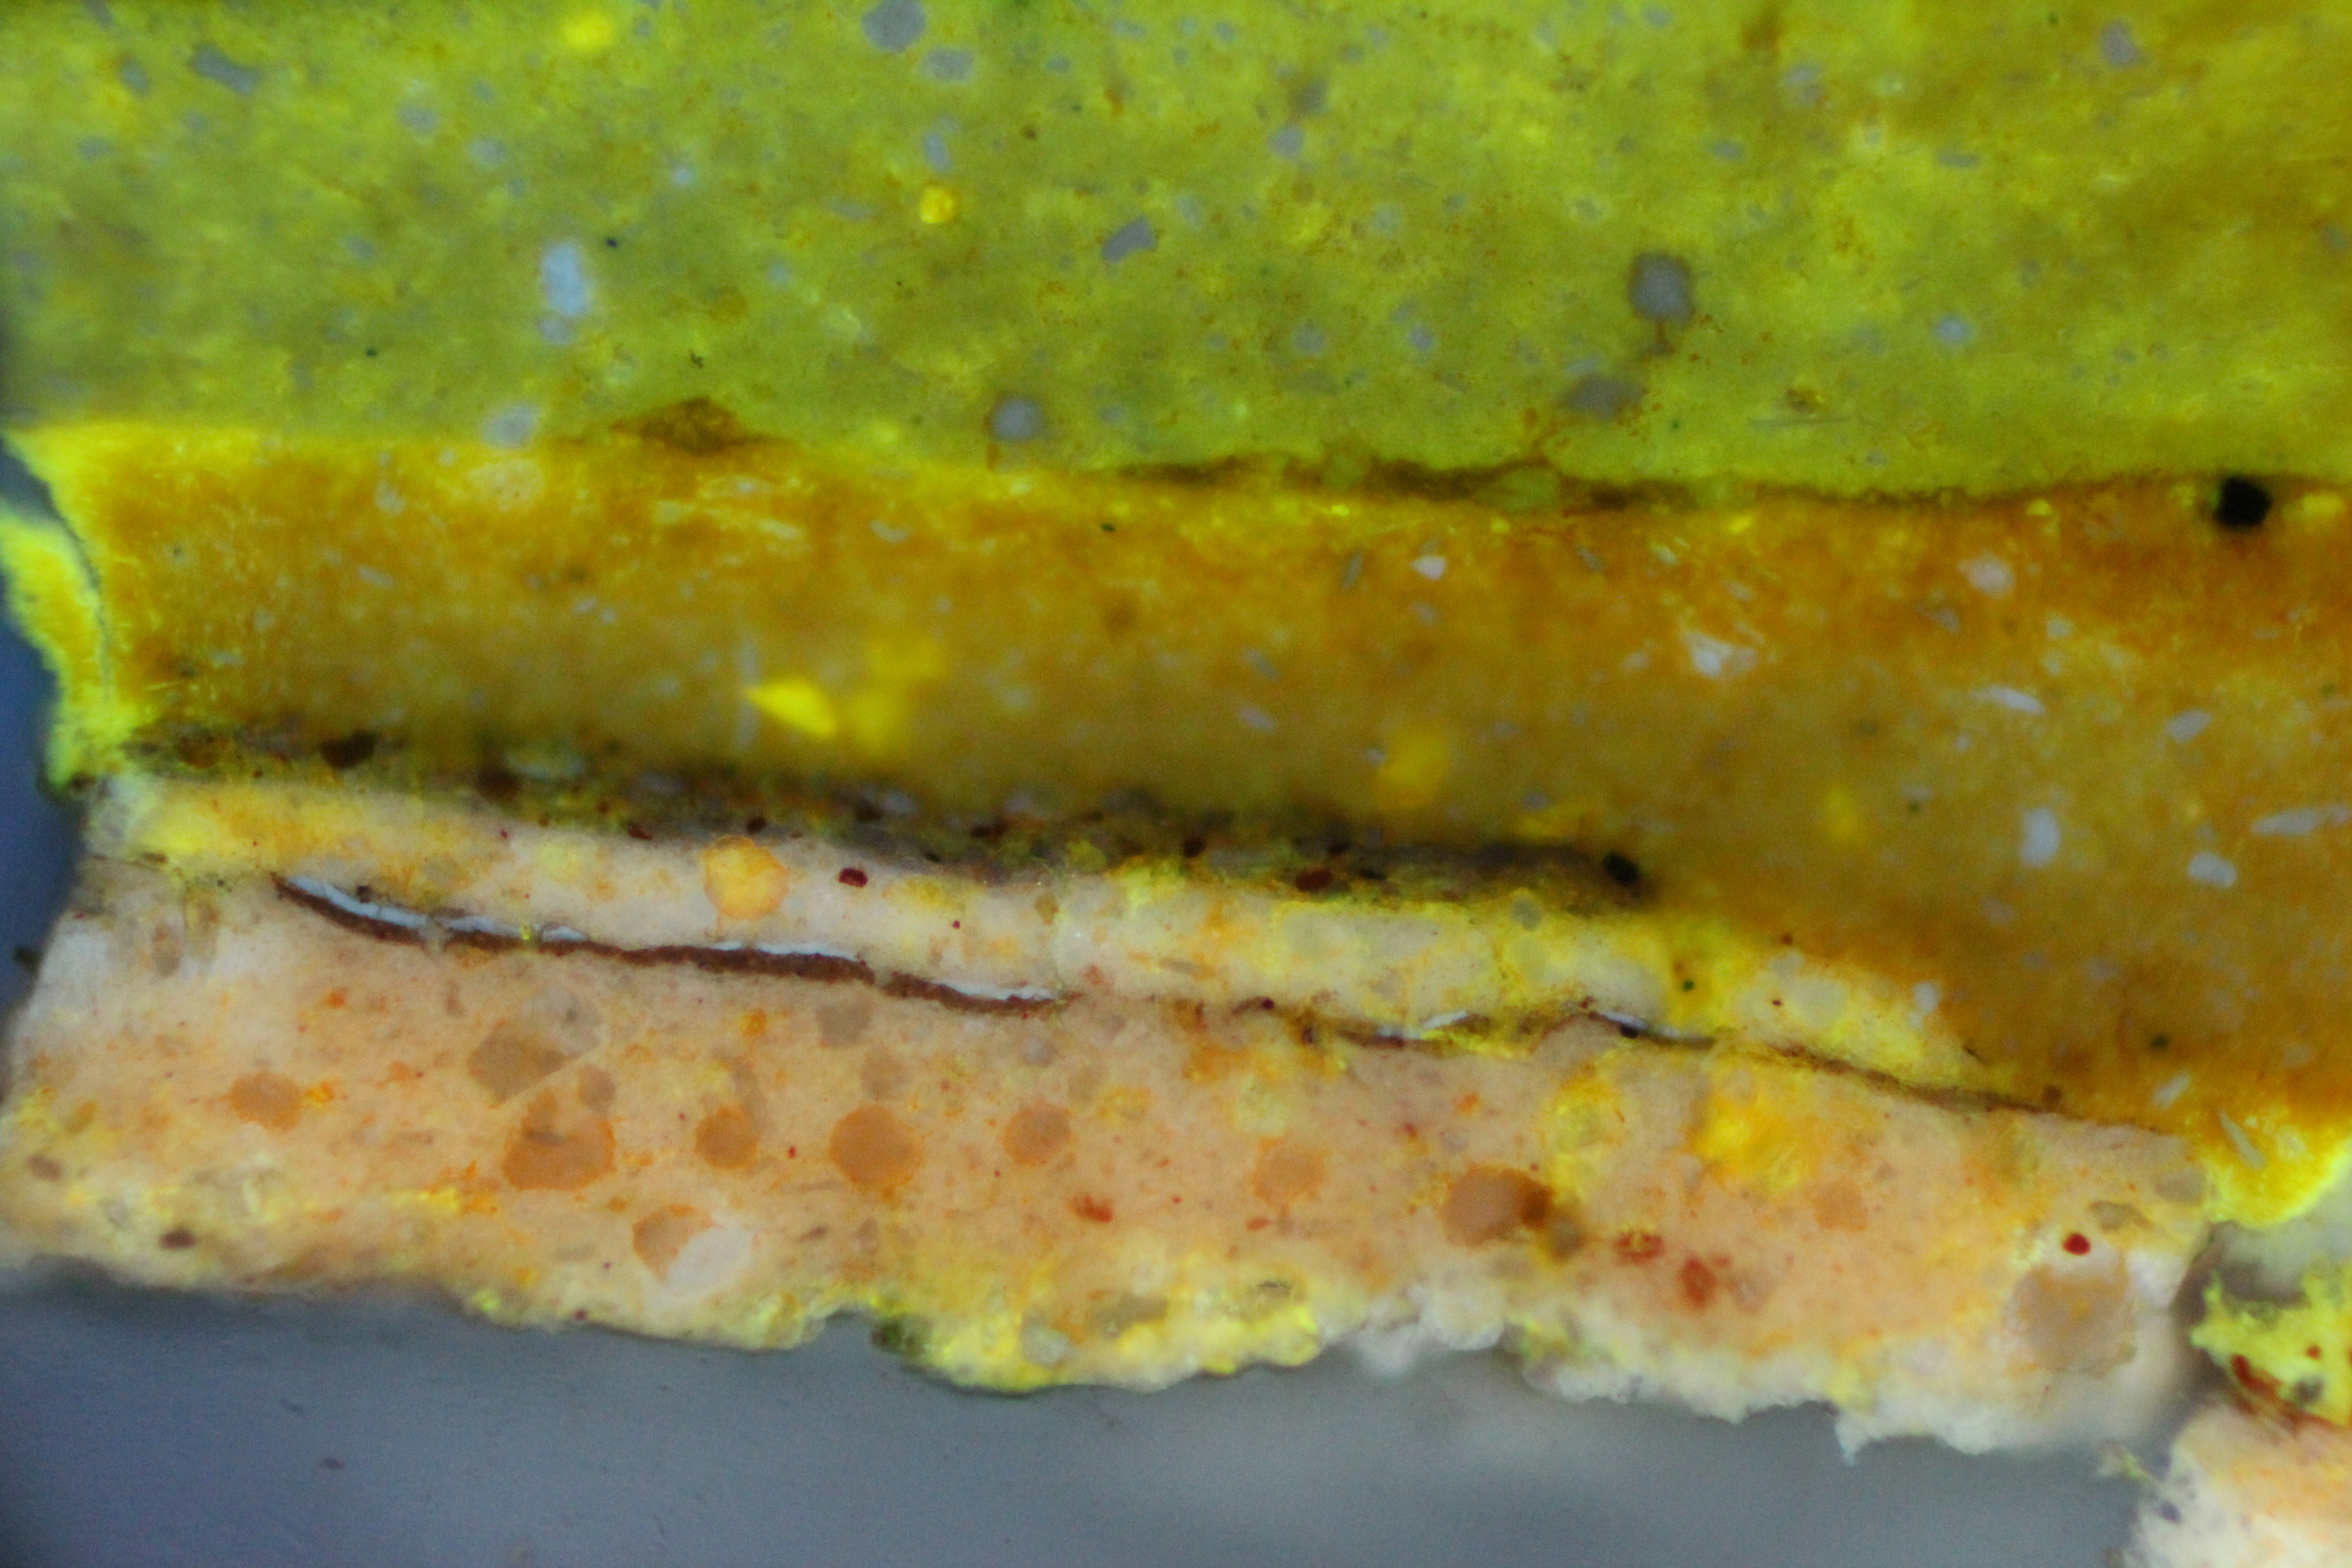
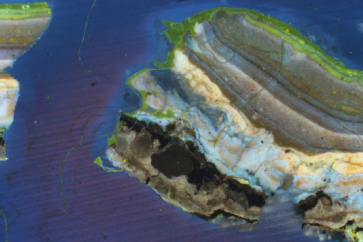
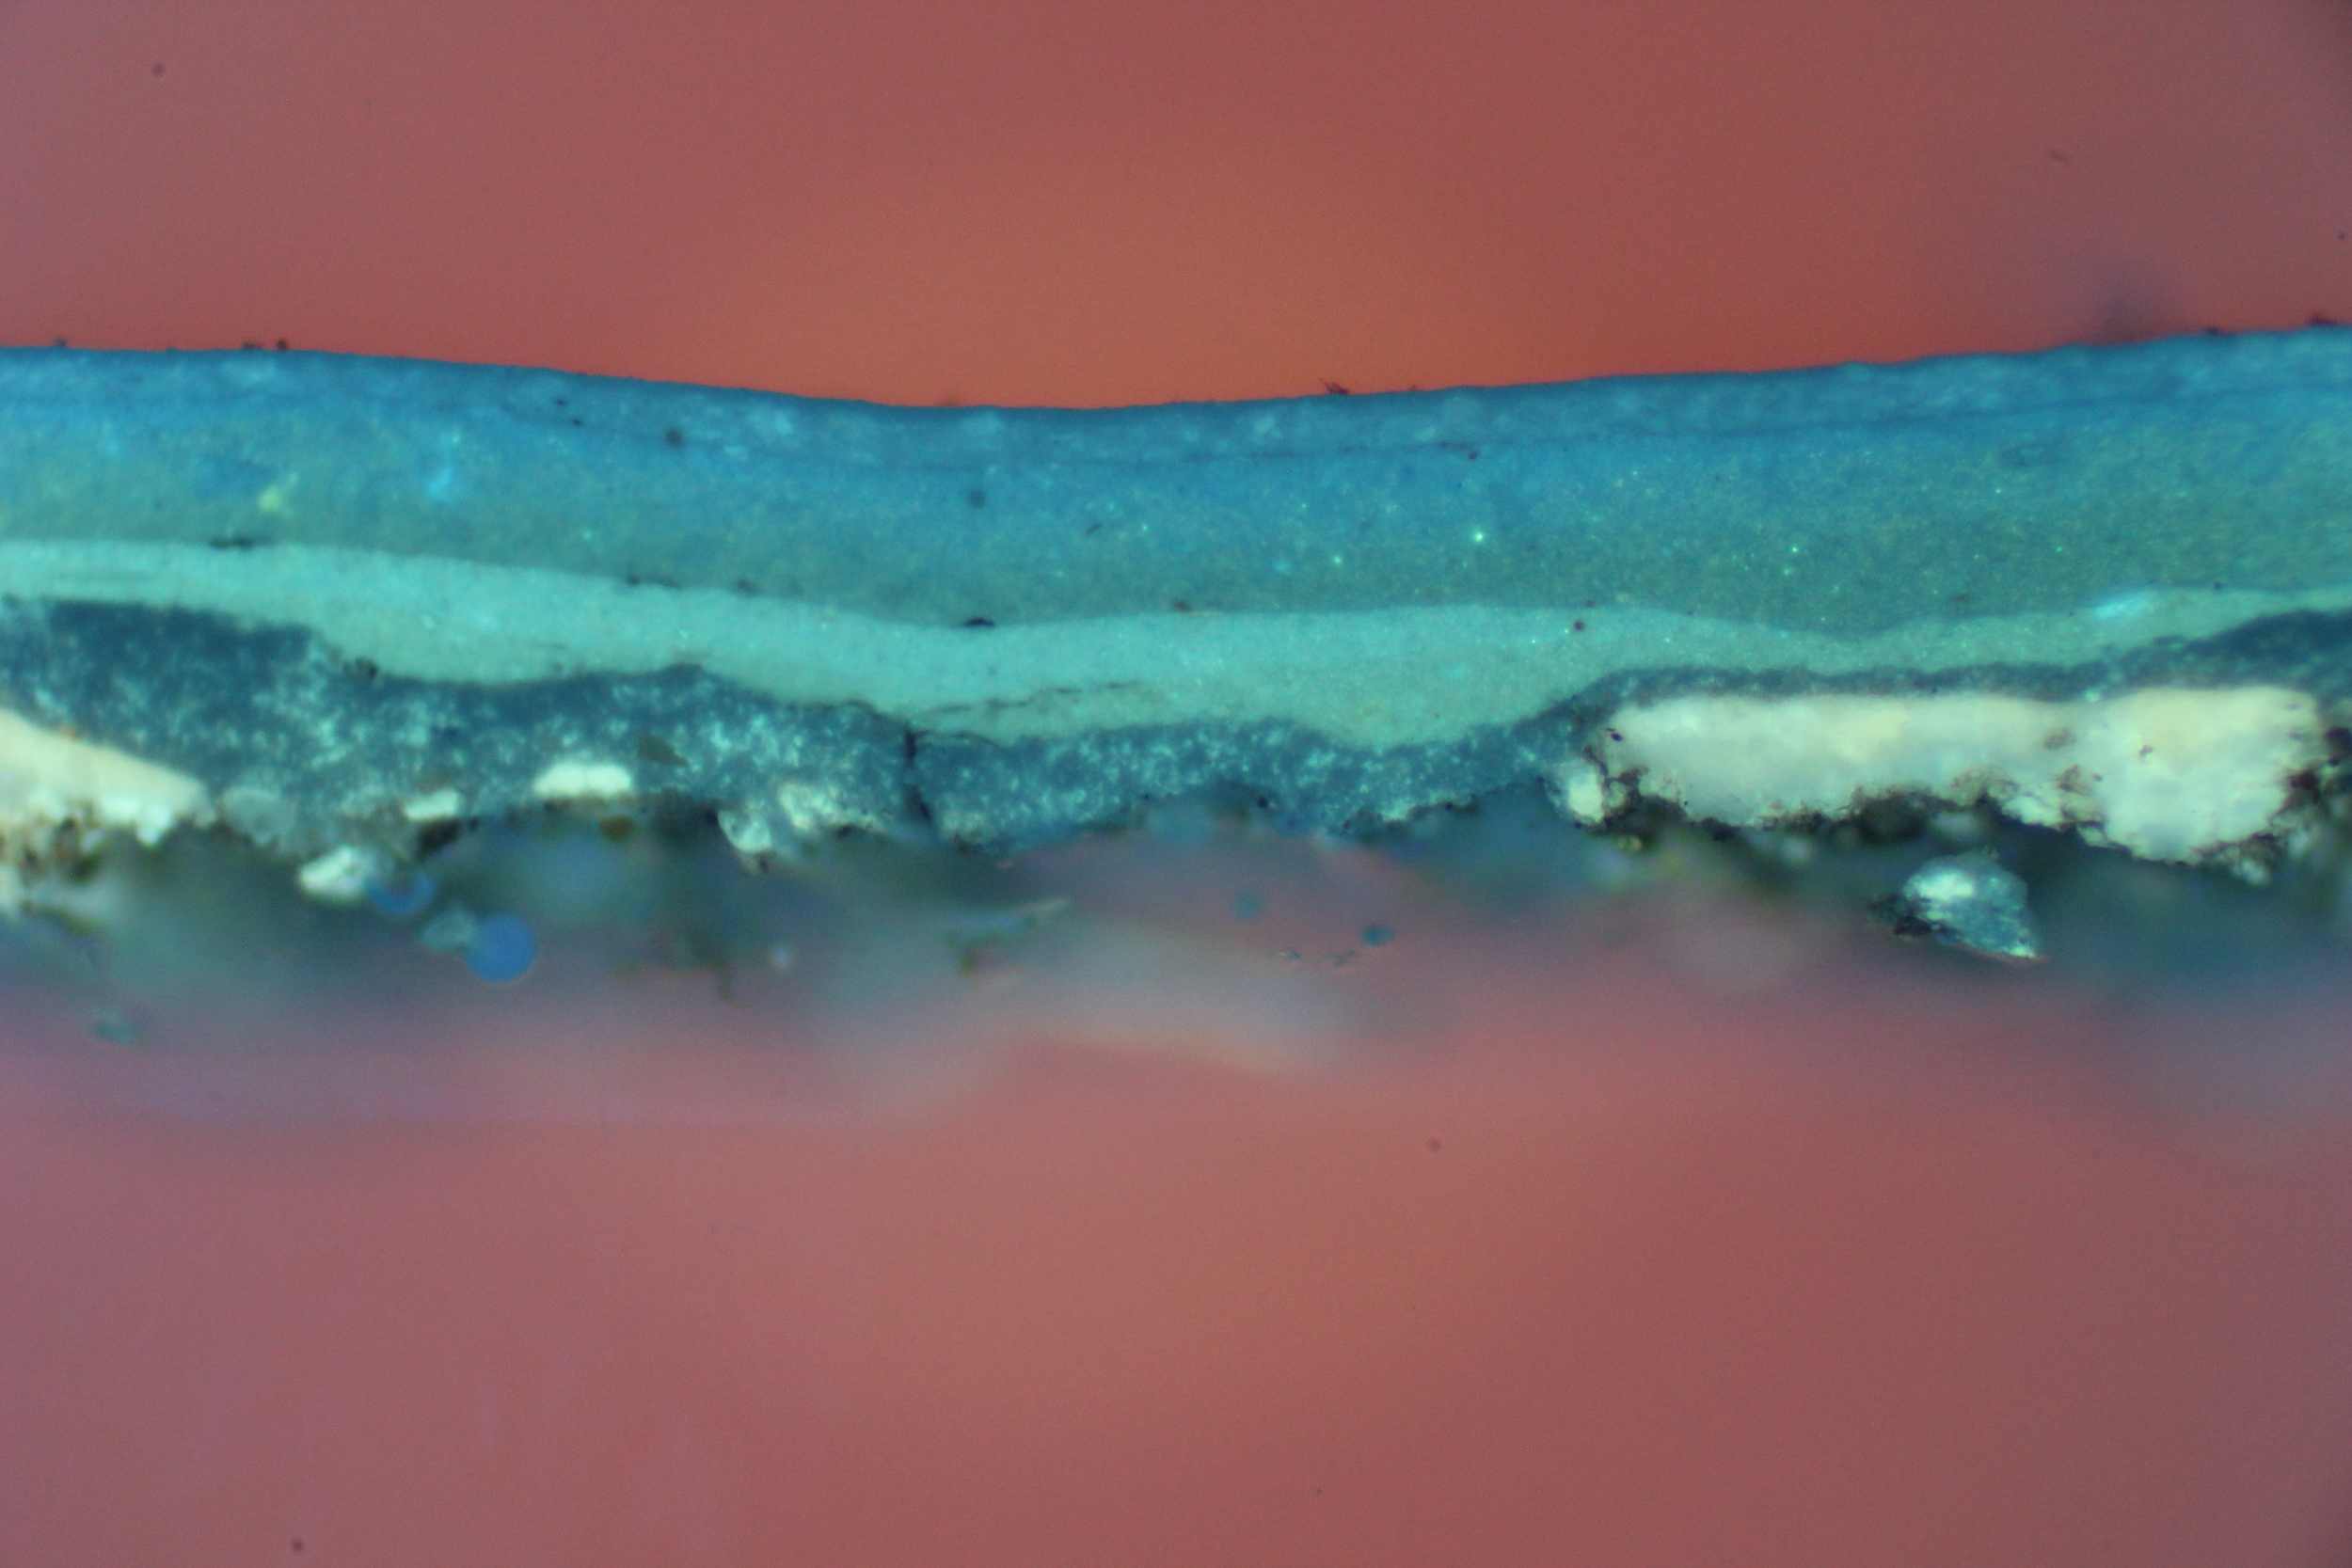
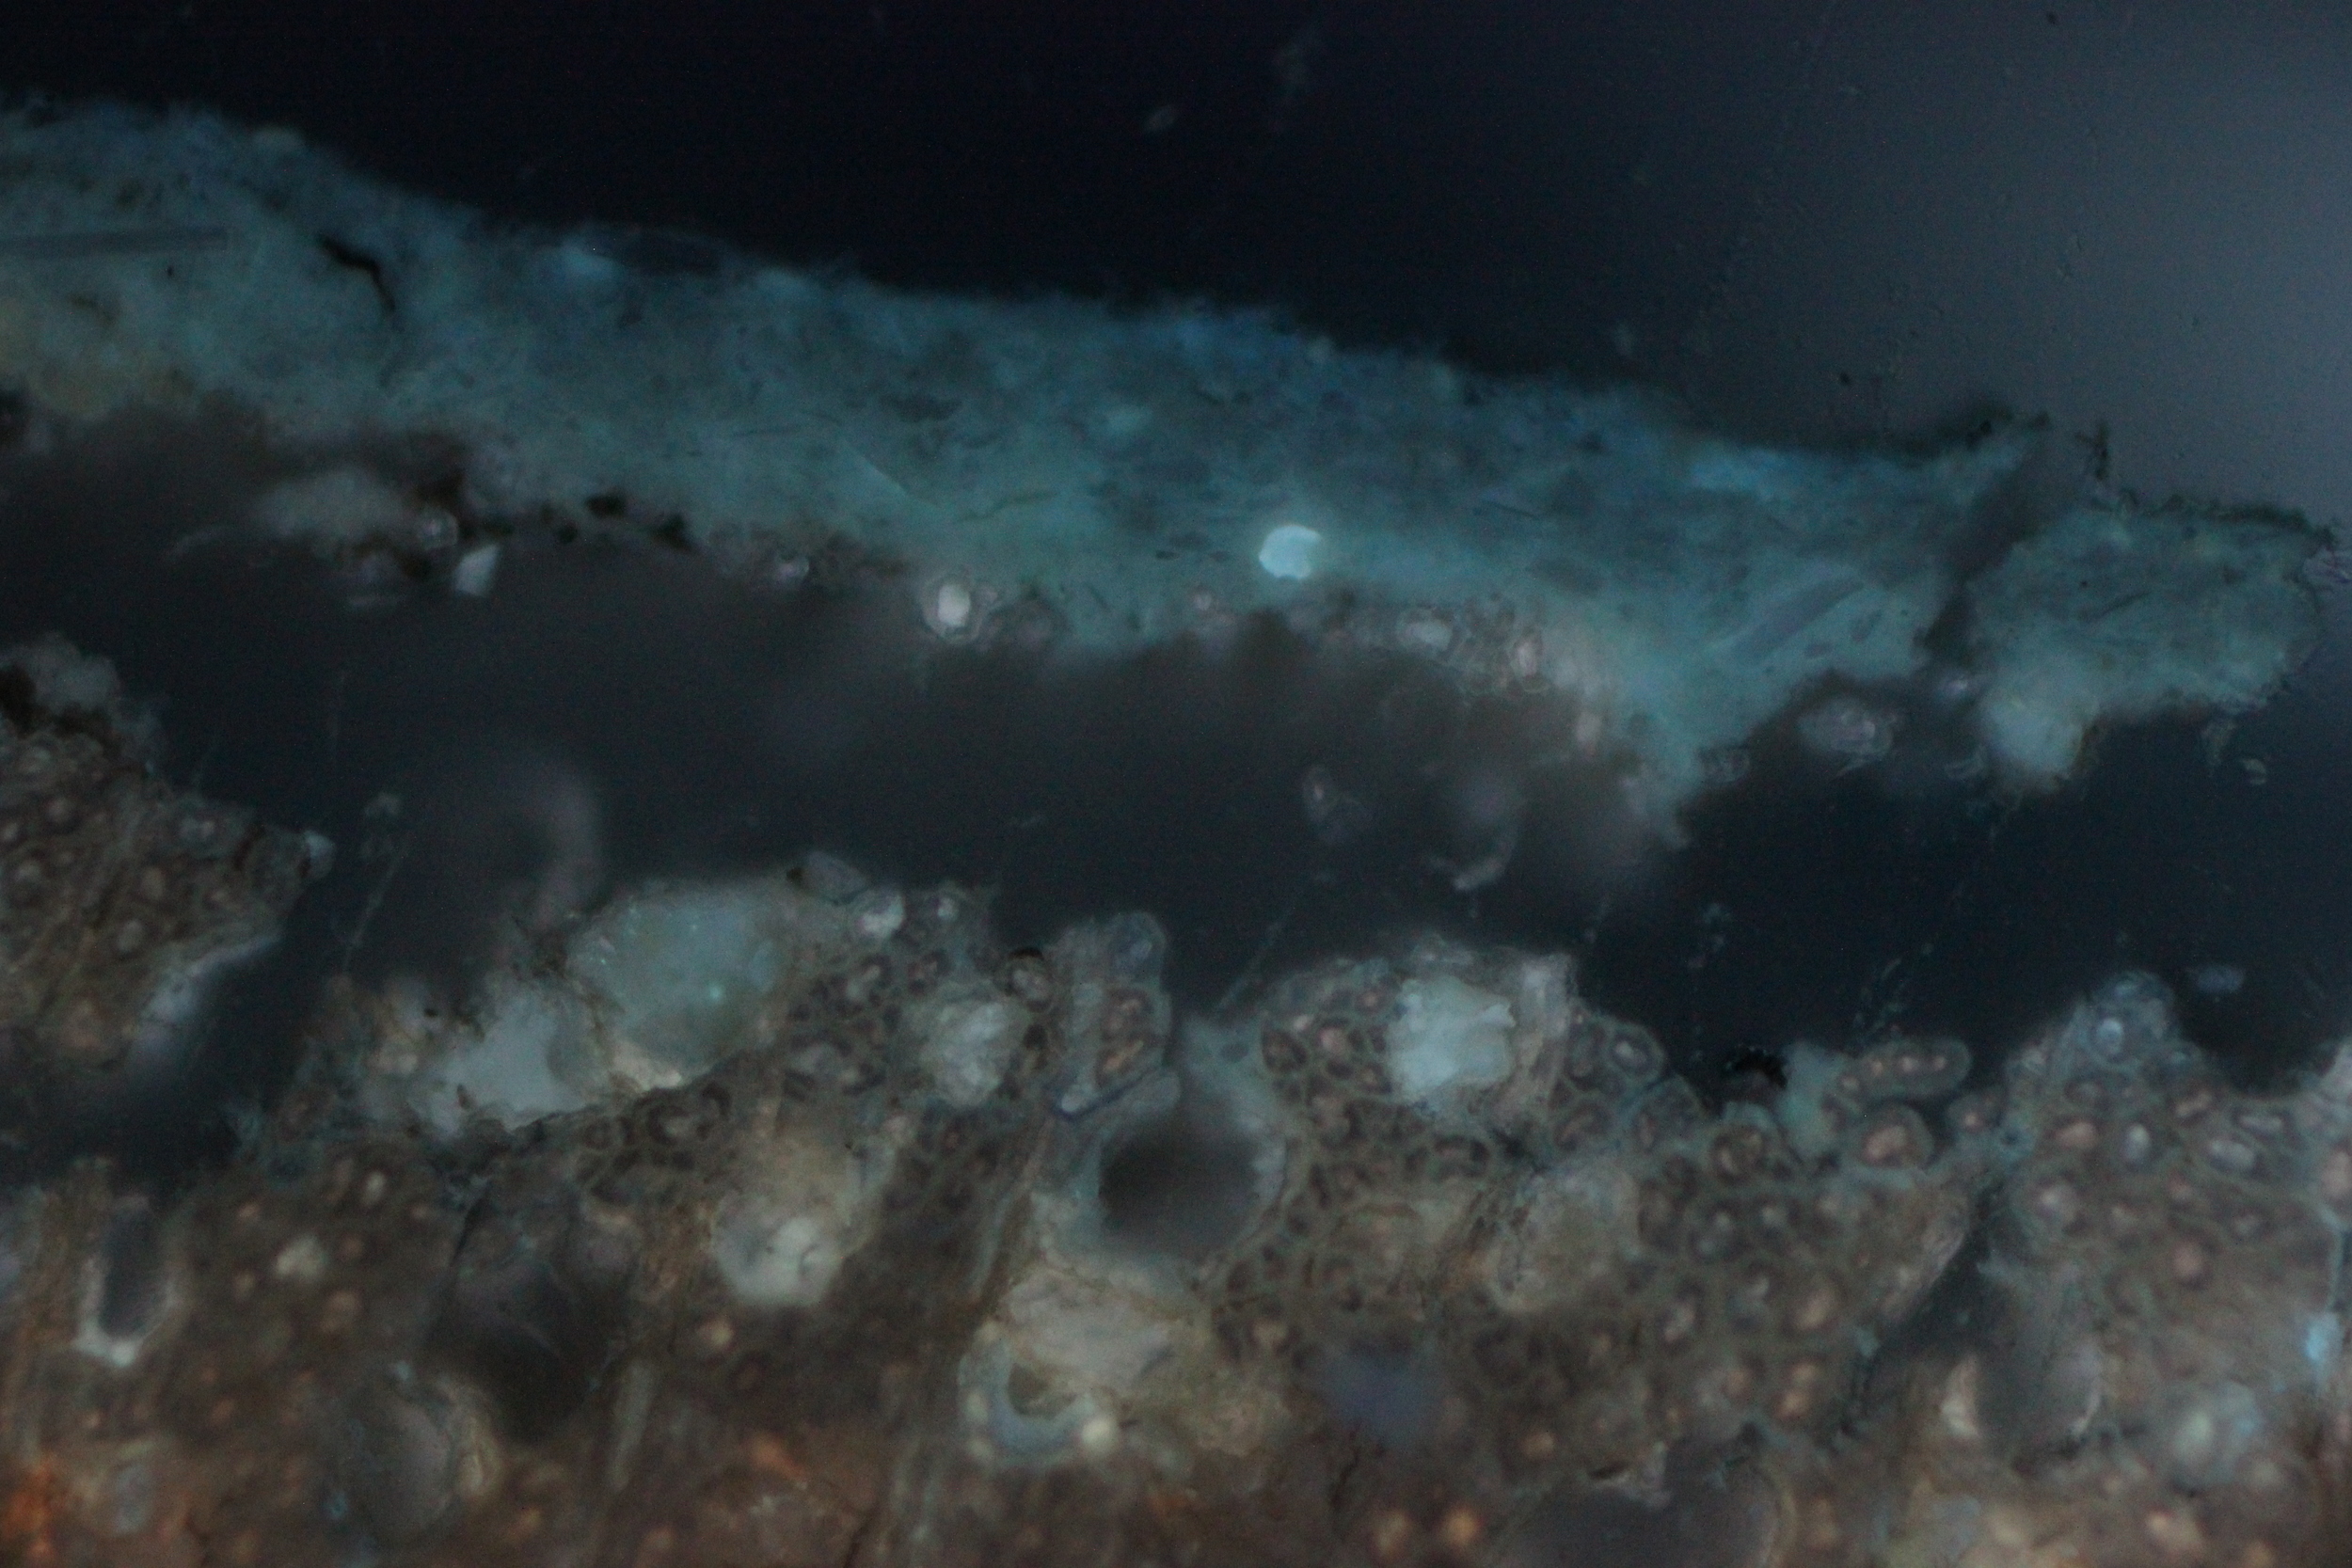
Microscopic analysis of paint cross-sections is performed with a compound fluorescence microscope with magnifications ranging from 40-400 times. Cross-sections are examined and photographed in both reflected and ultraviolet light. The use of ultraviolet illumination provides information that cannot always be gleaned from reflected visible light alone. Ultraviolet light can help identify varnishes and shellacs, binder types, and pigments through autofluorescence and staining. It can also help distinguish between sequences of paint layers that might not be easily differentiated in reflected light. The result of paint analysis is a well-documented report with photomicrographs of each sample in both reflected and ultraviolet light.
mortar, stucco, and plaster analysis

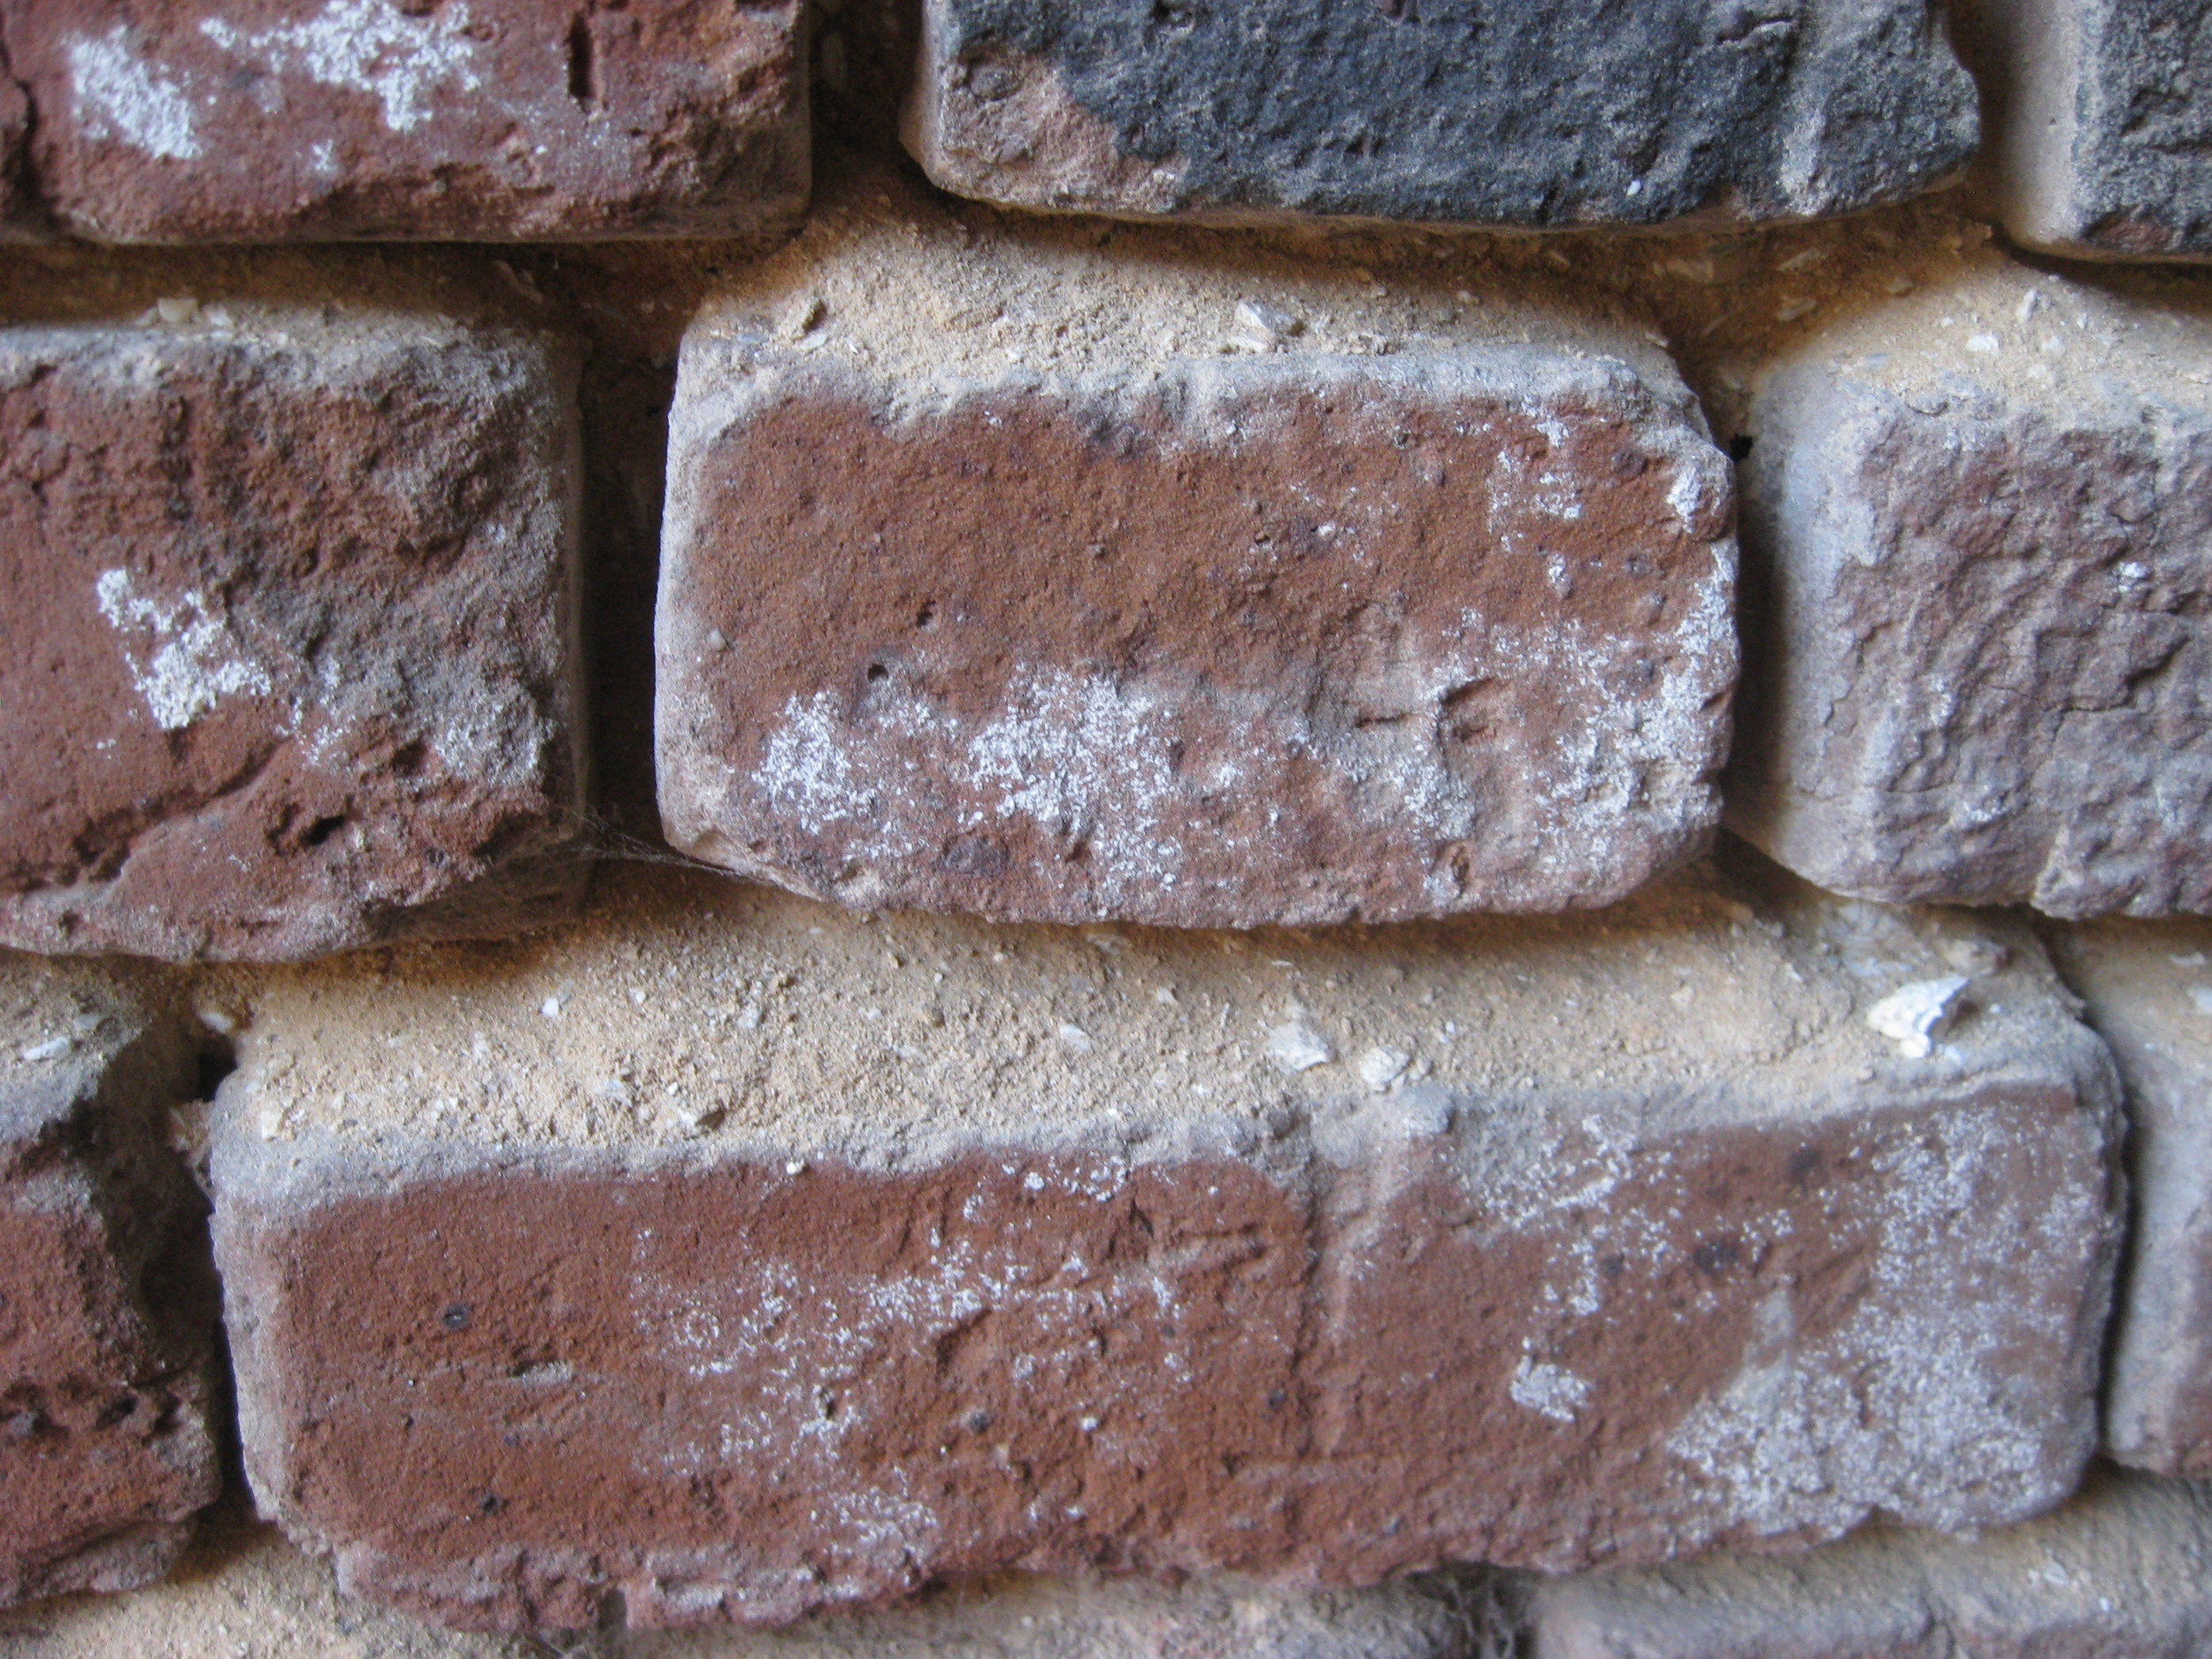
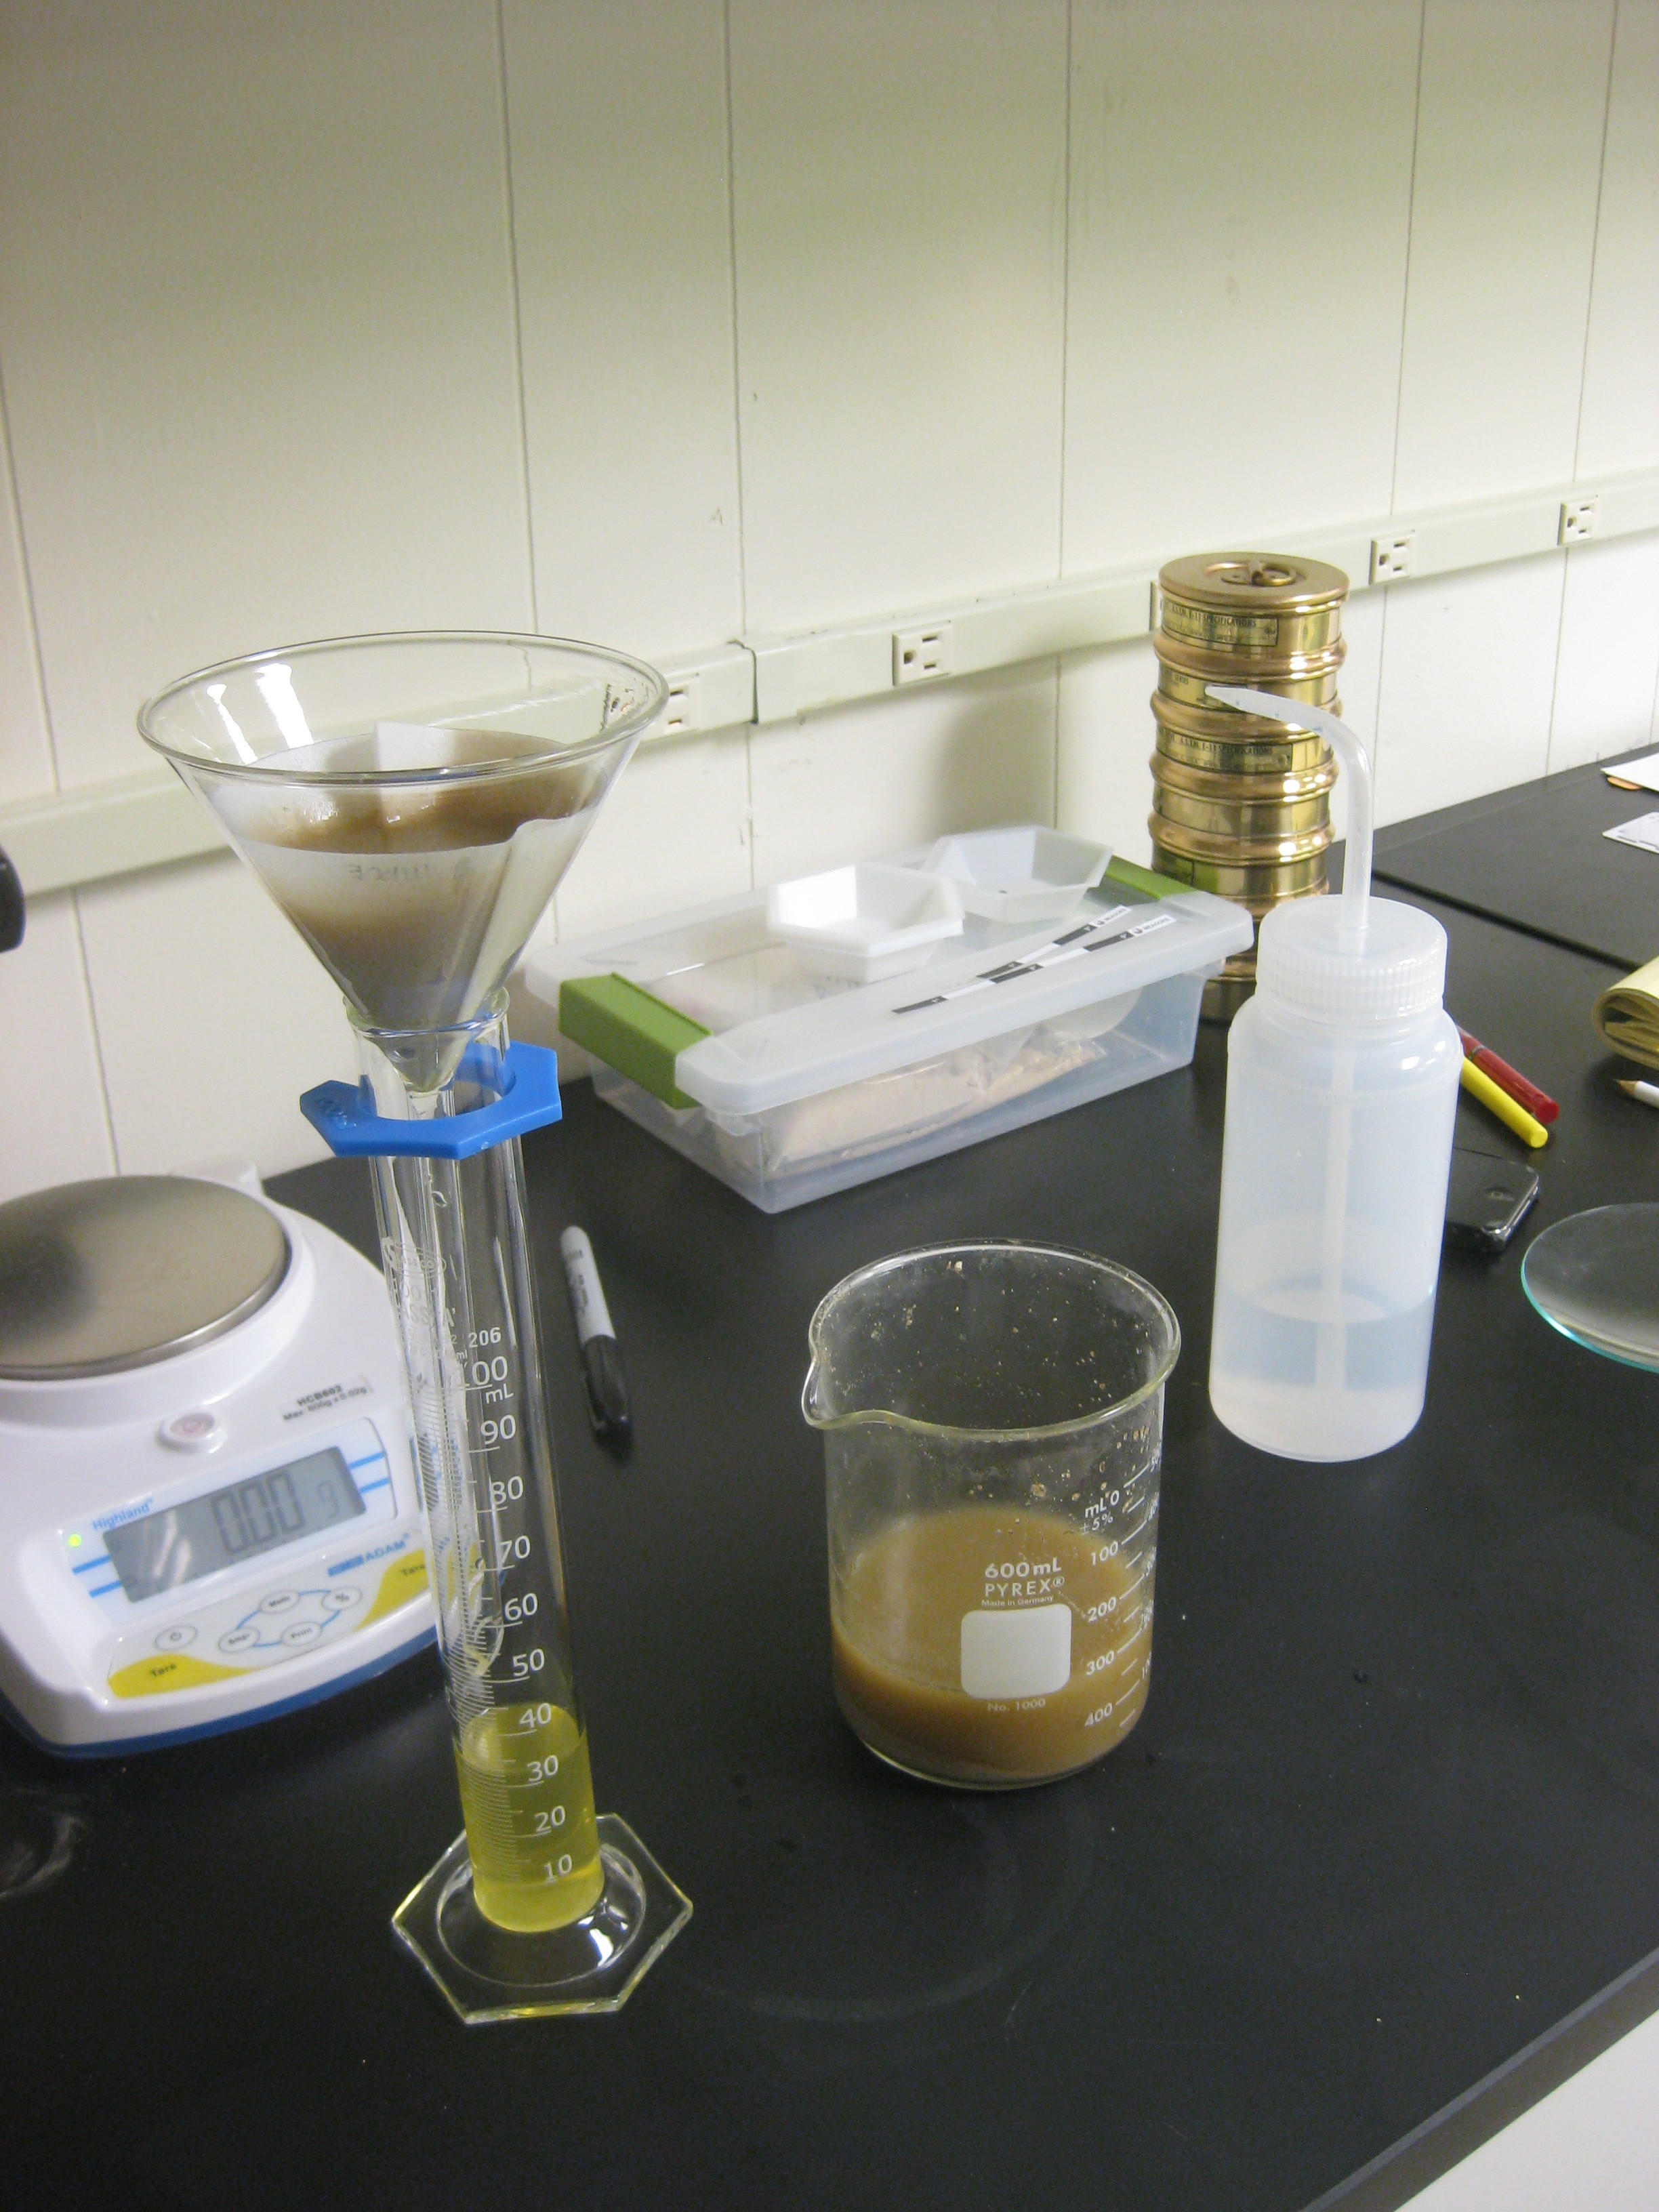


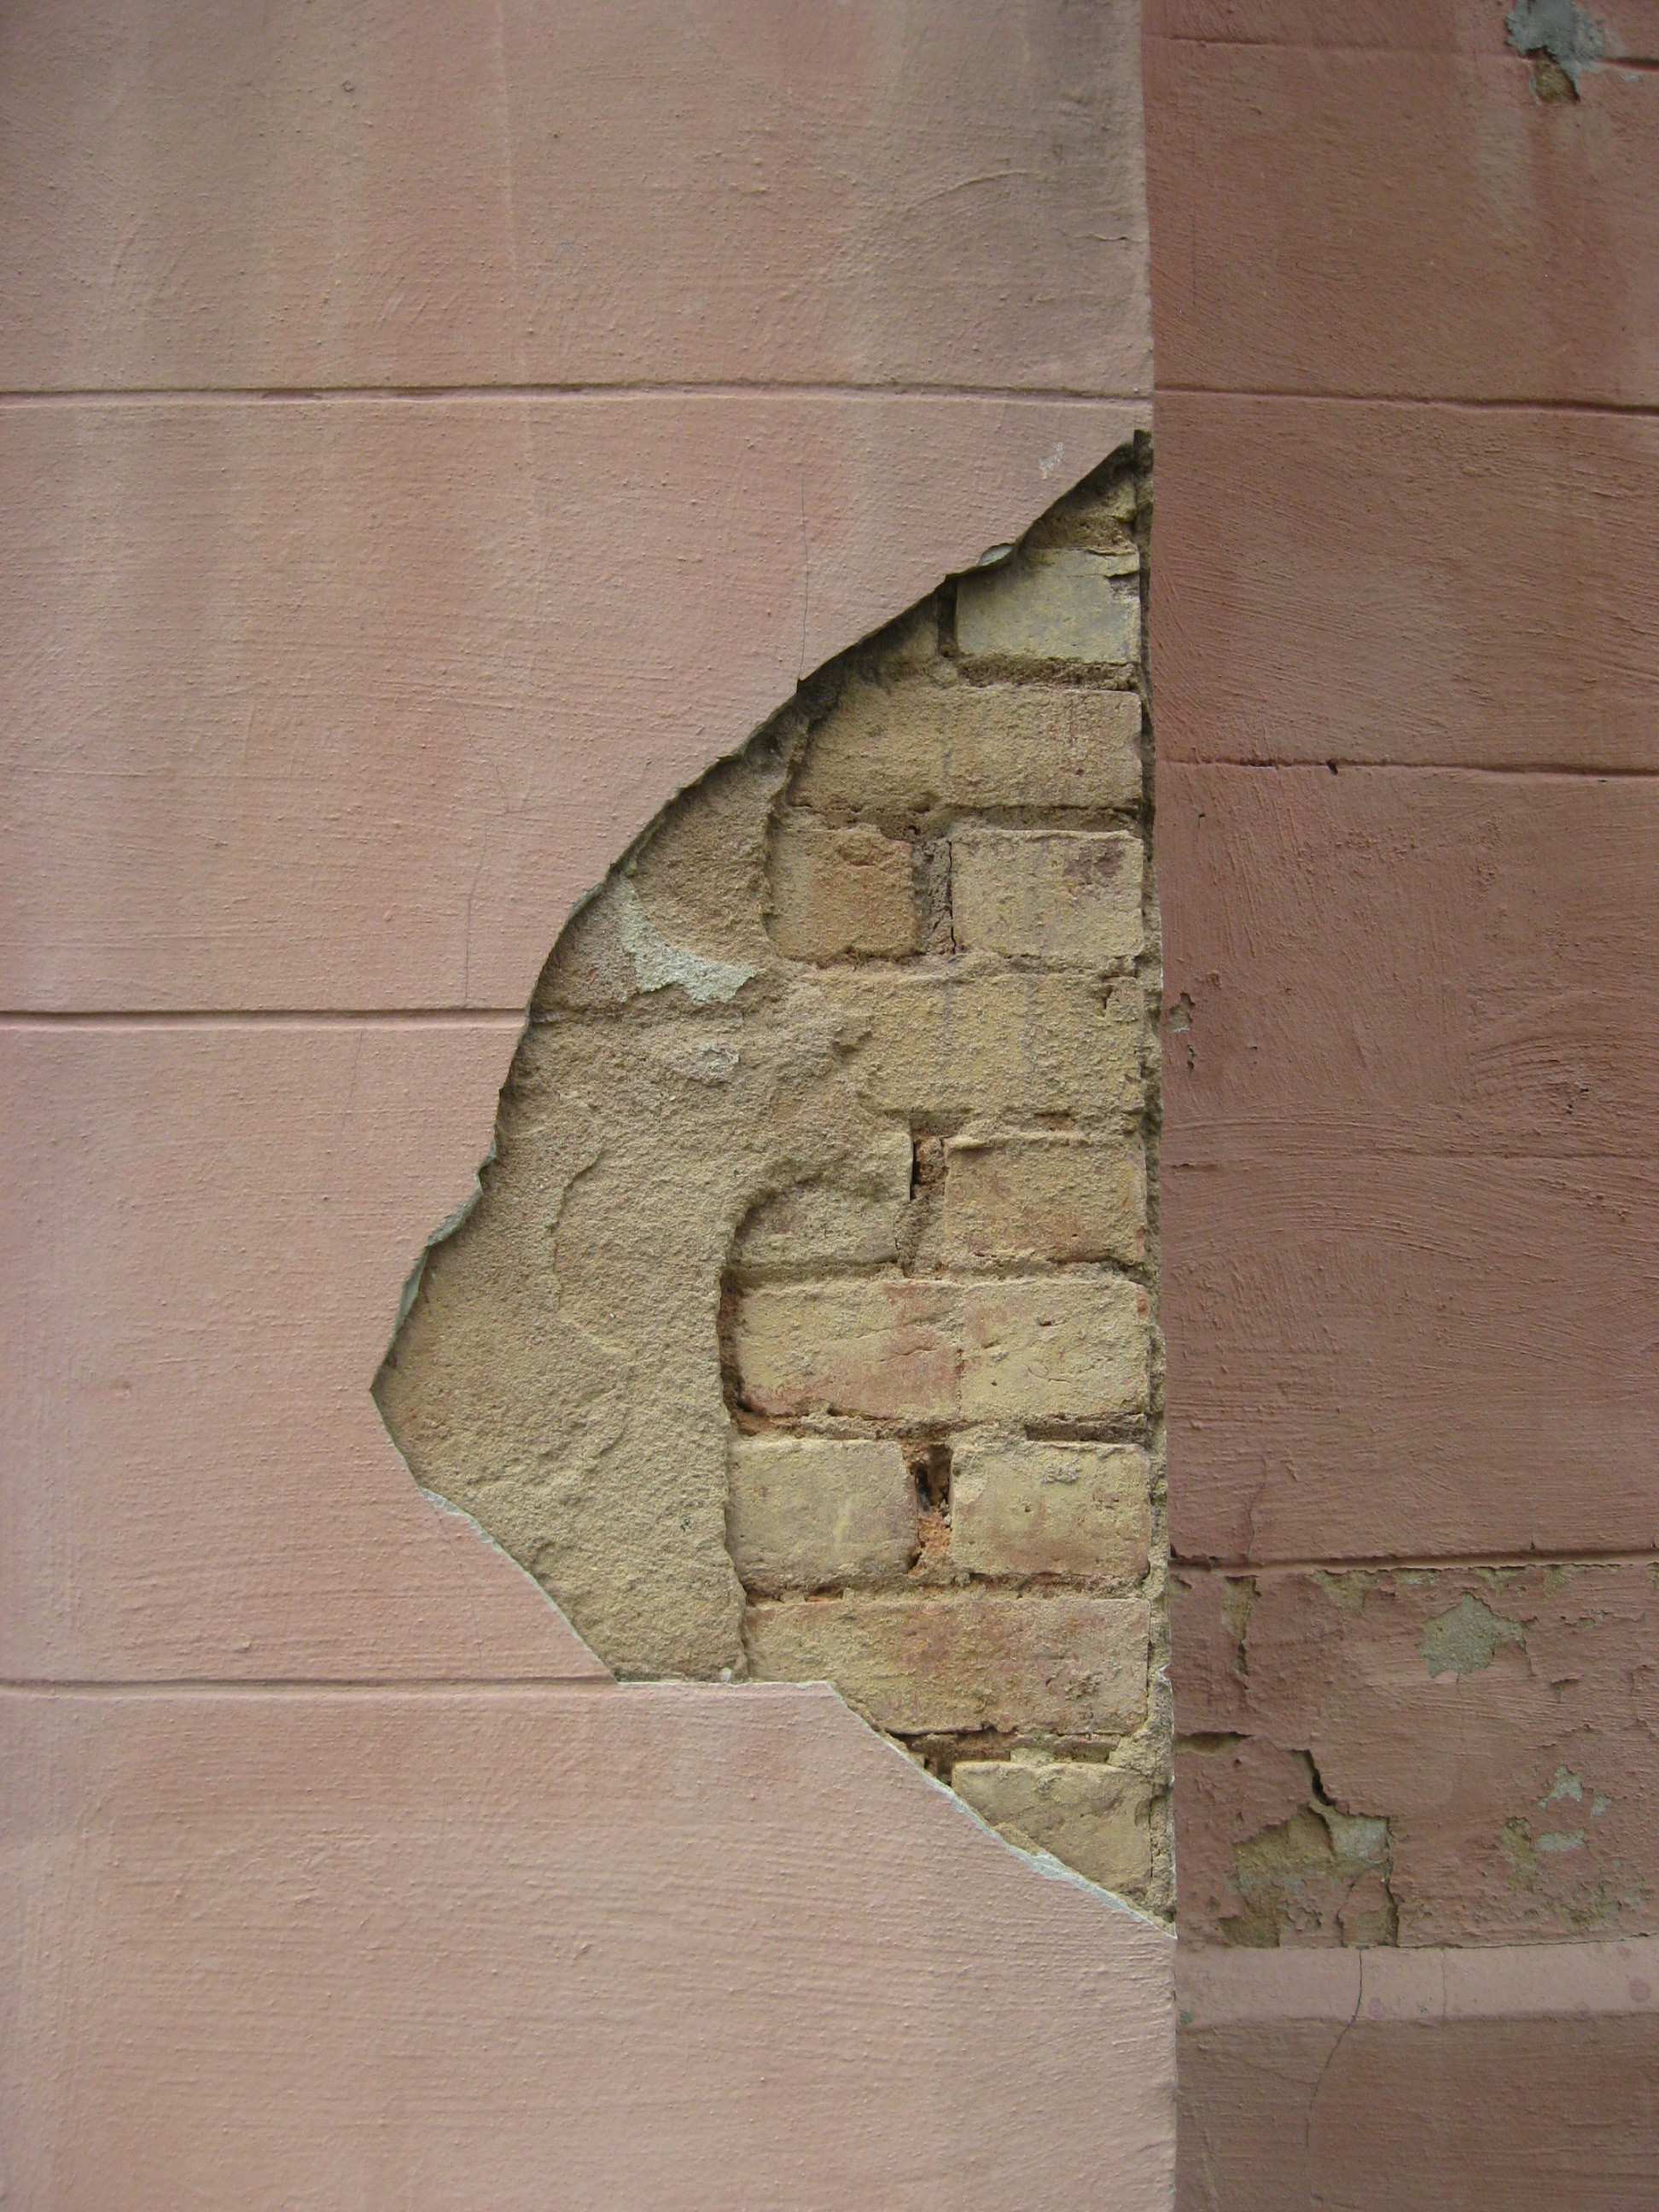

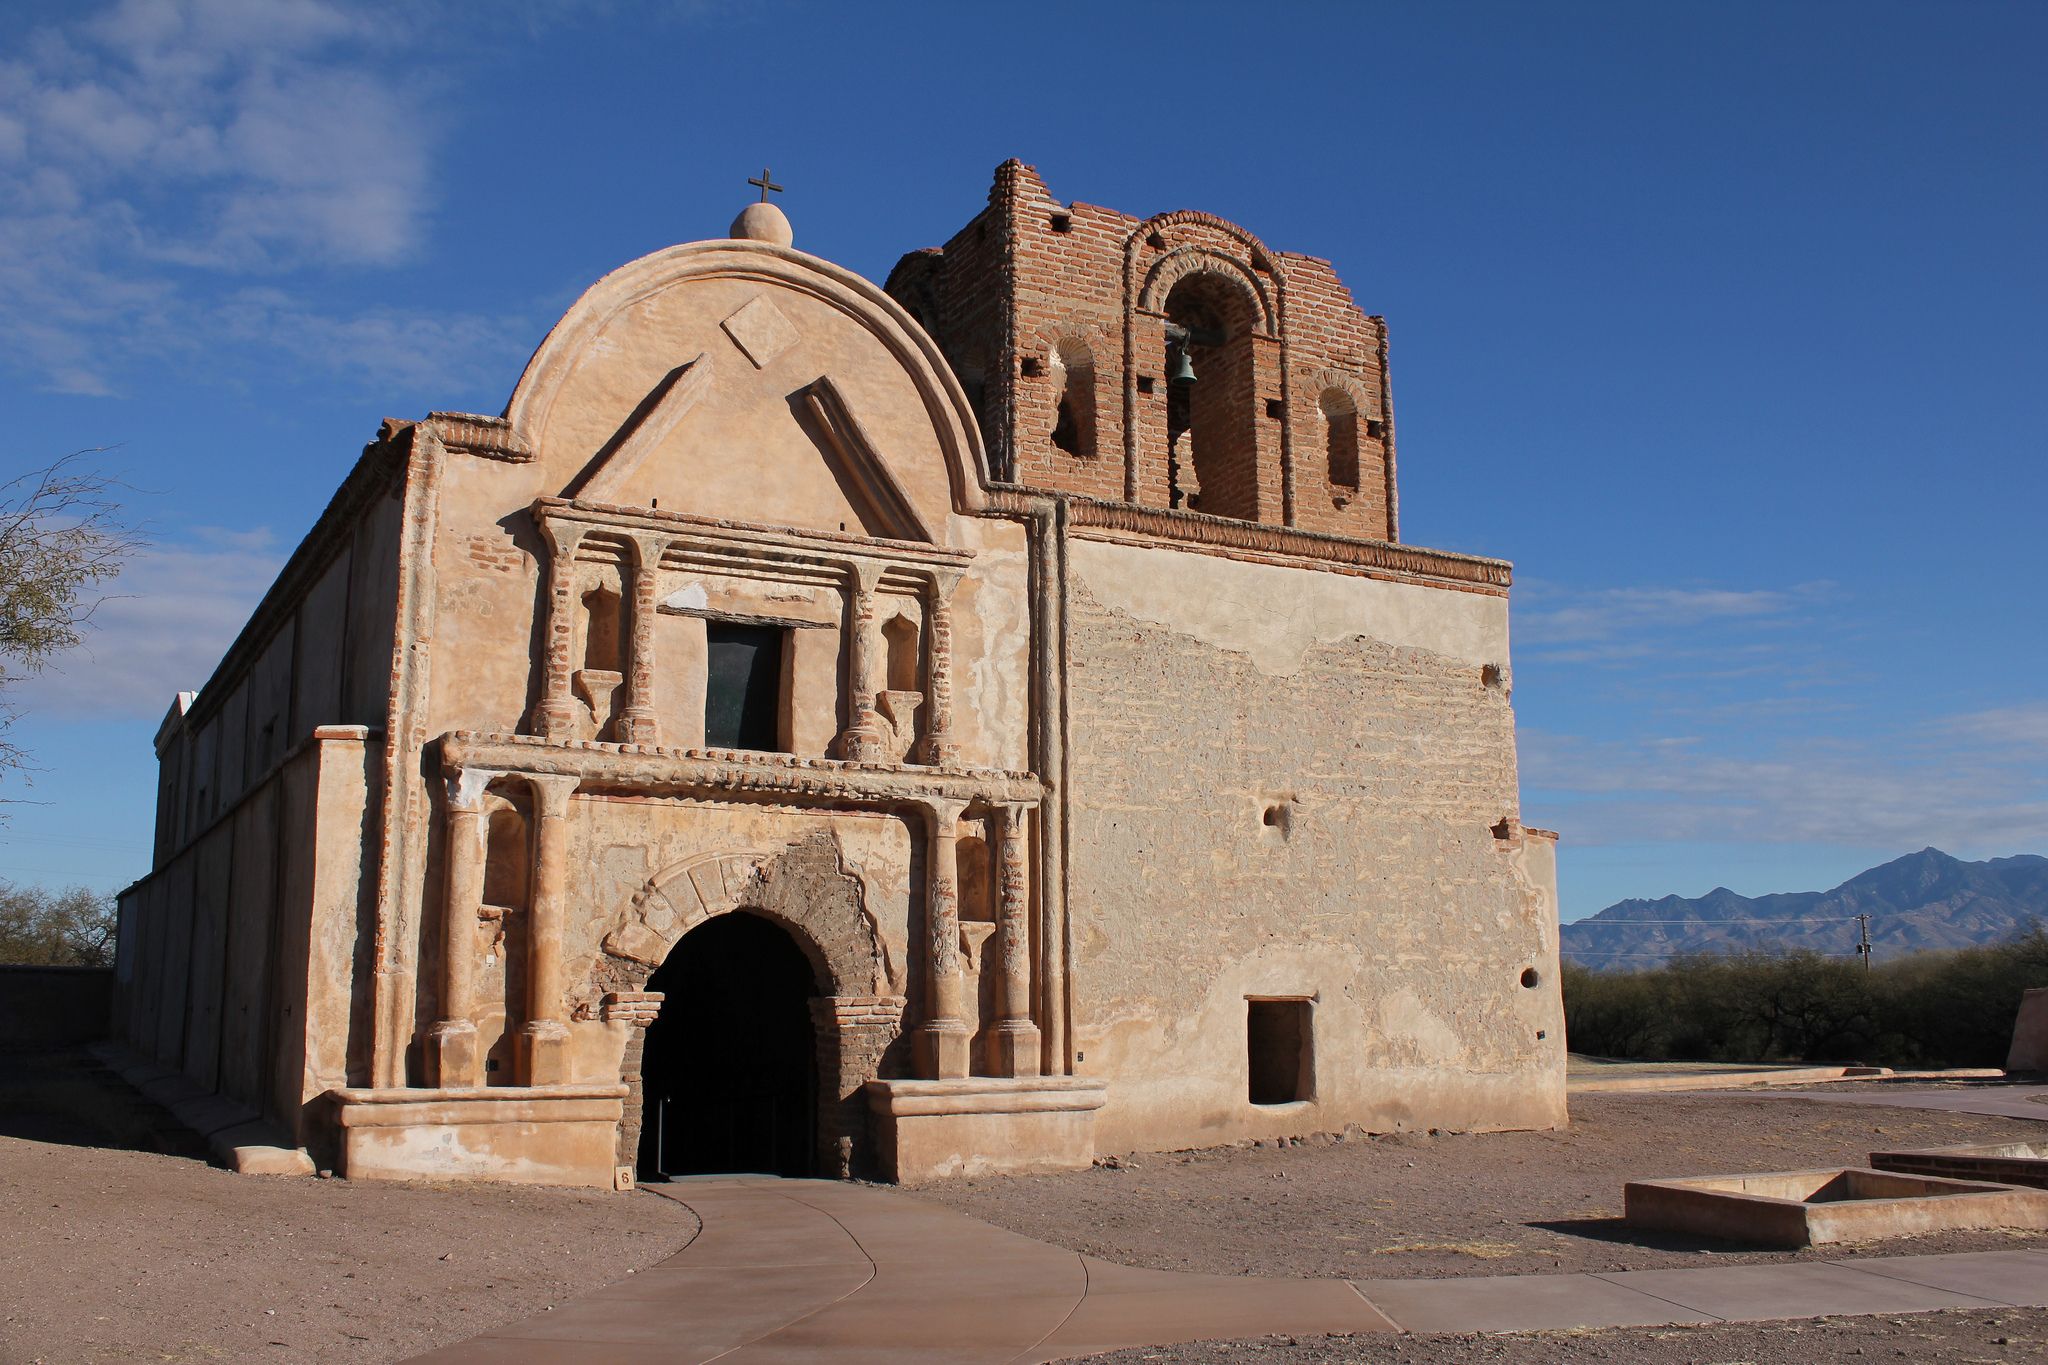
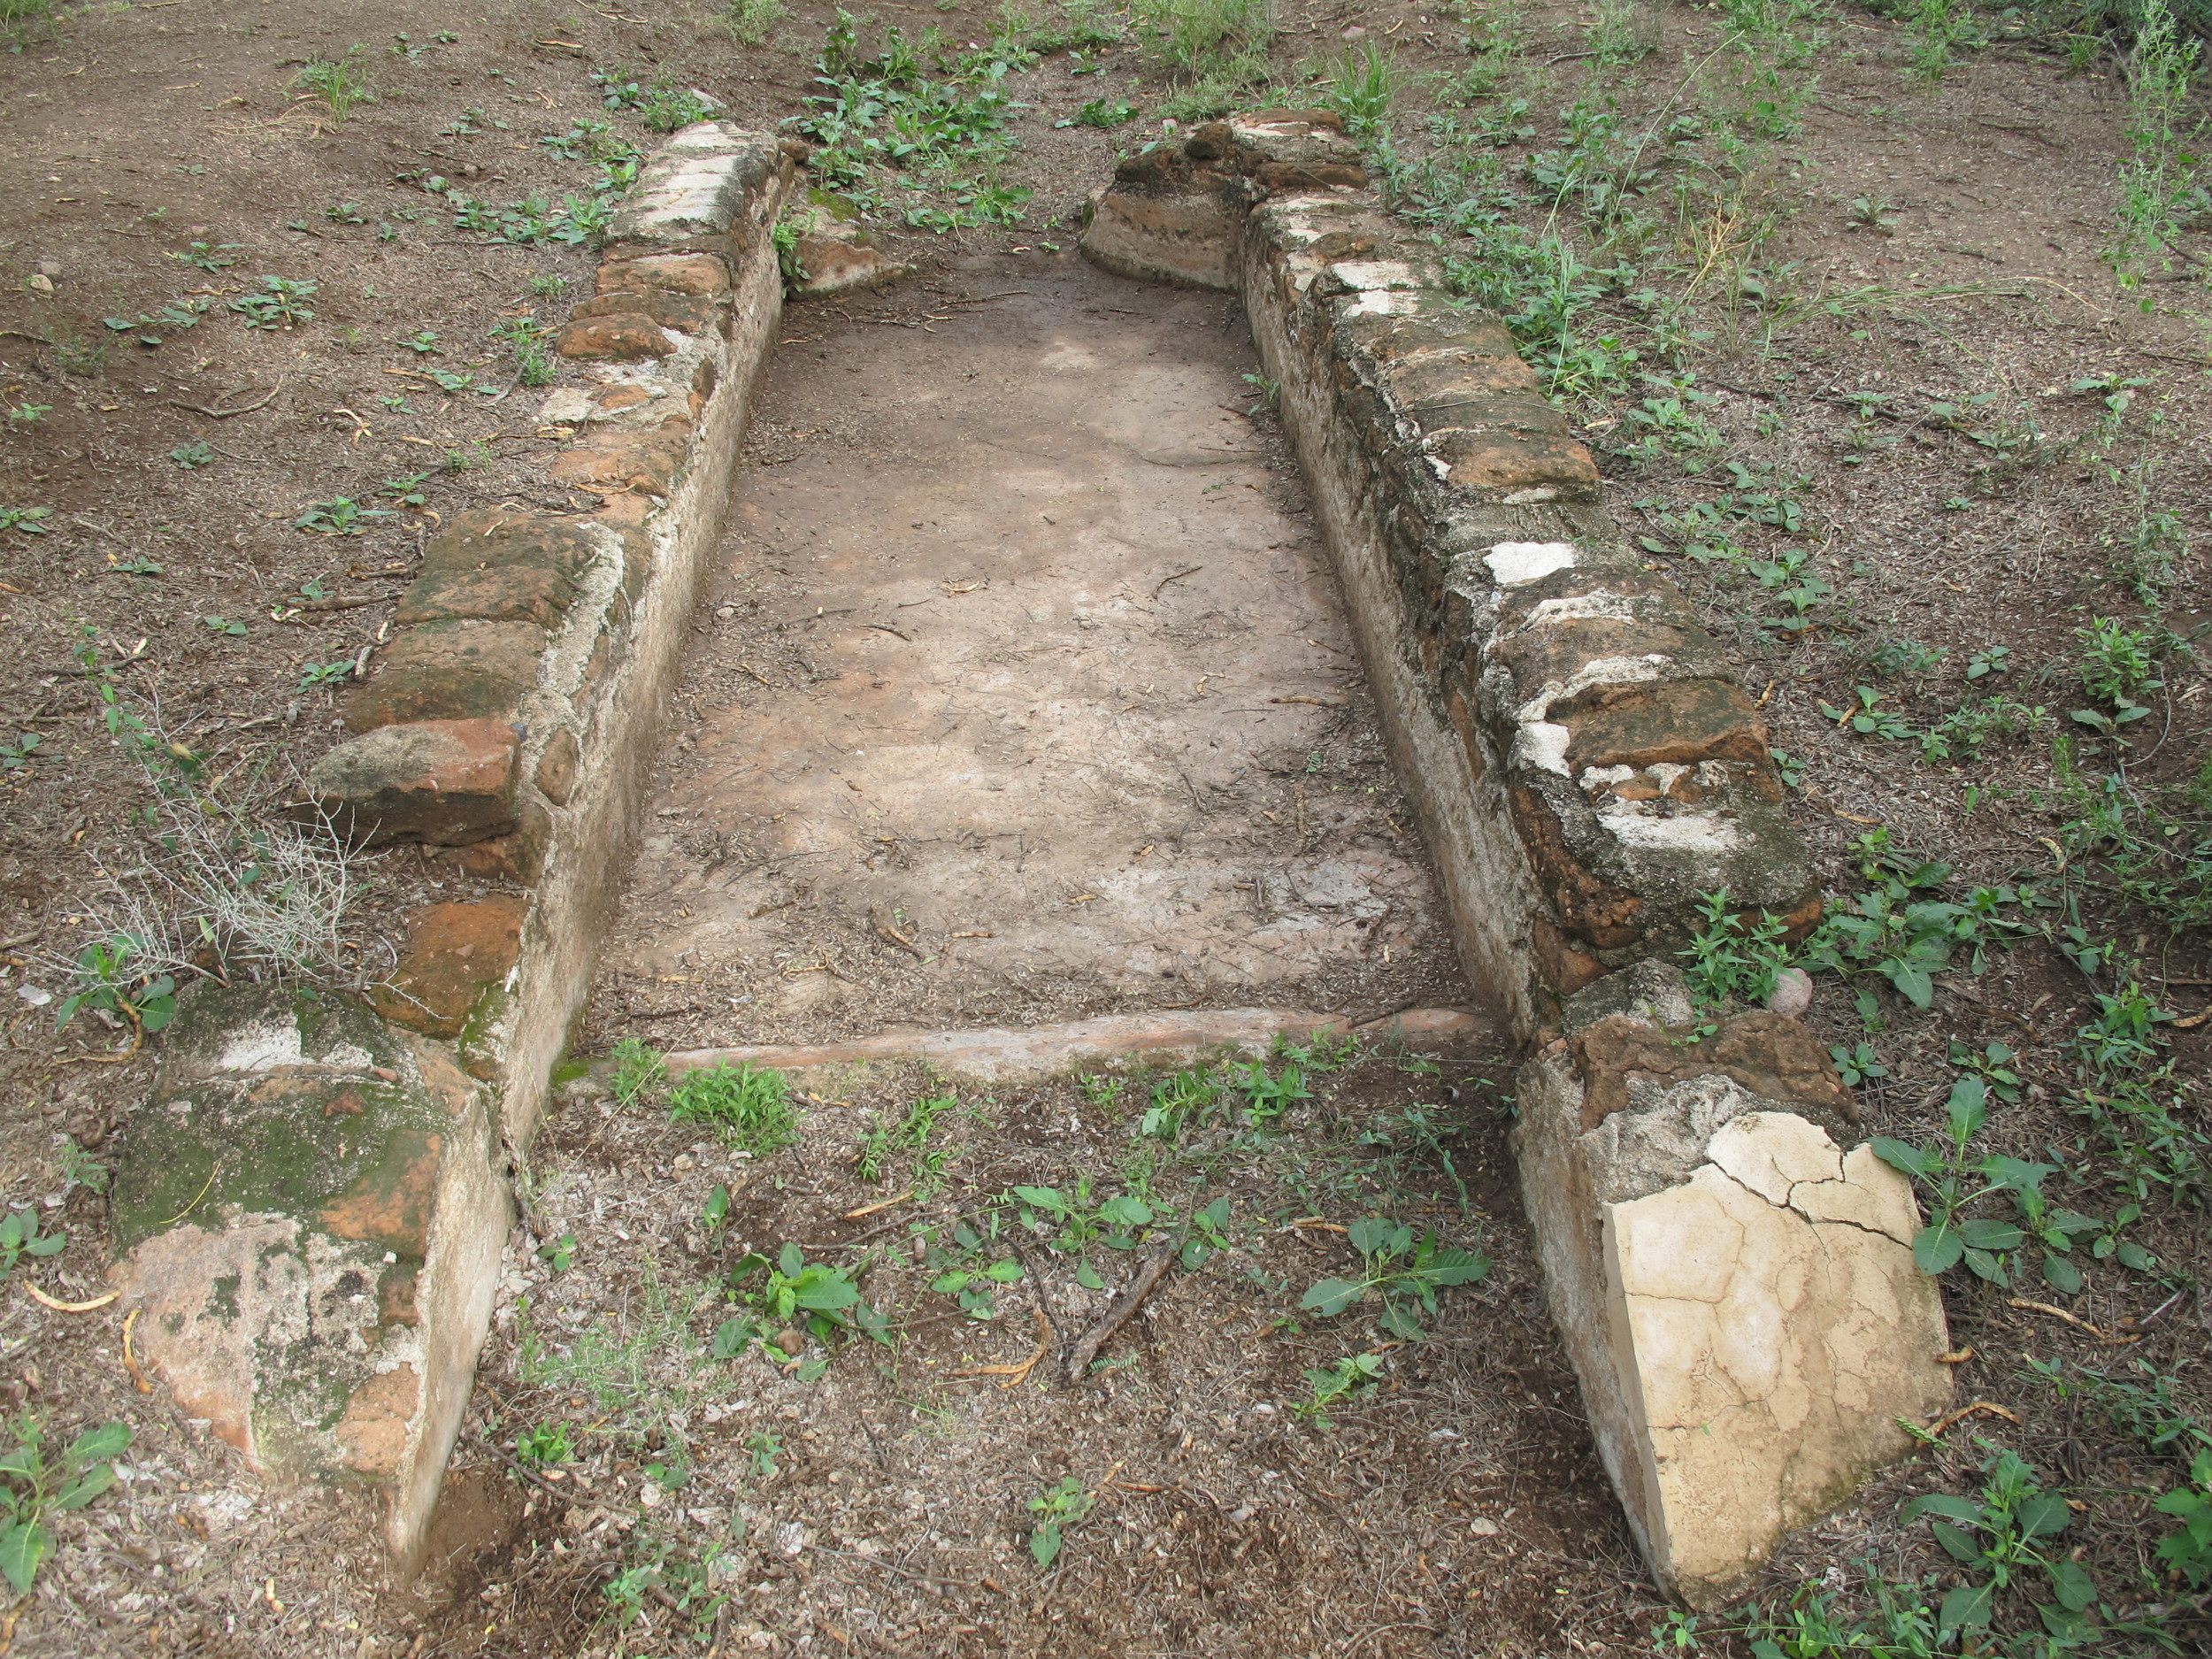
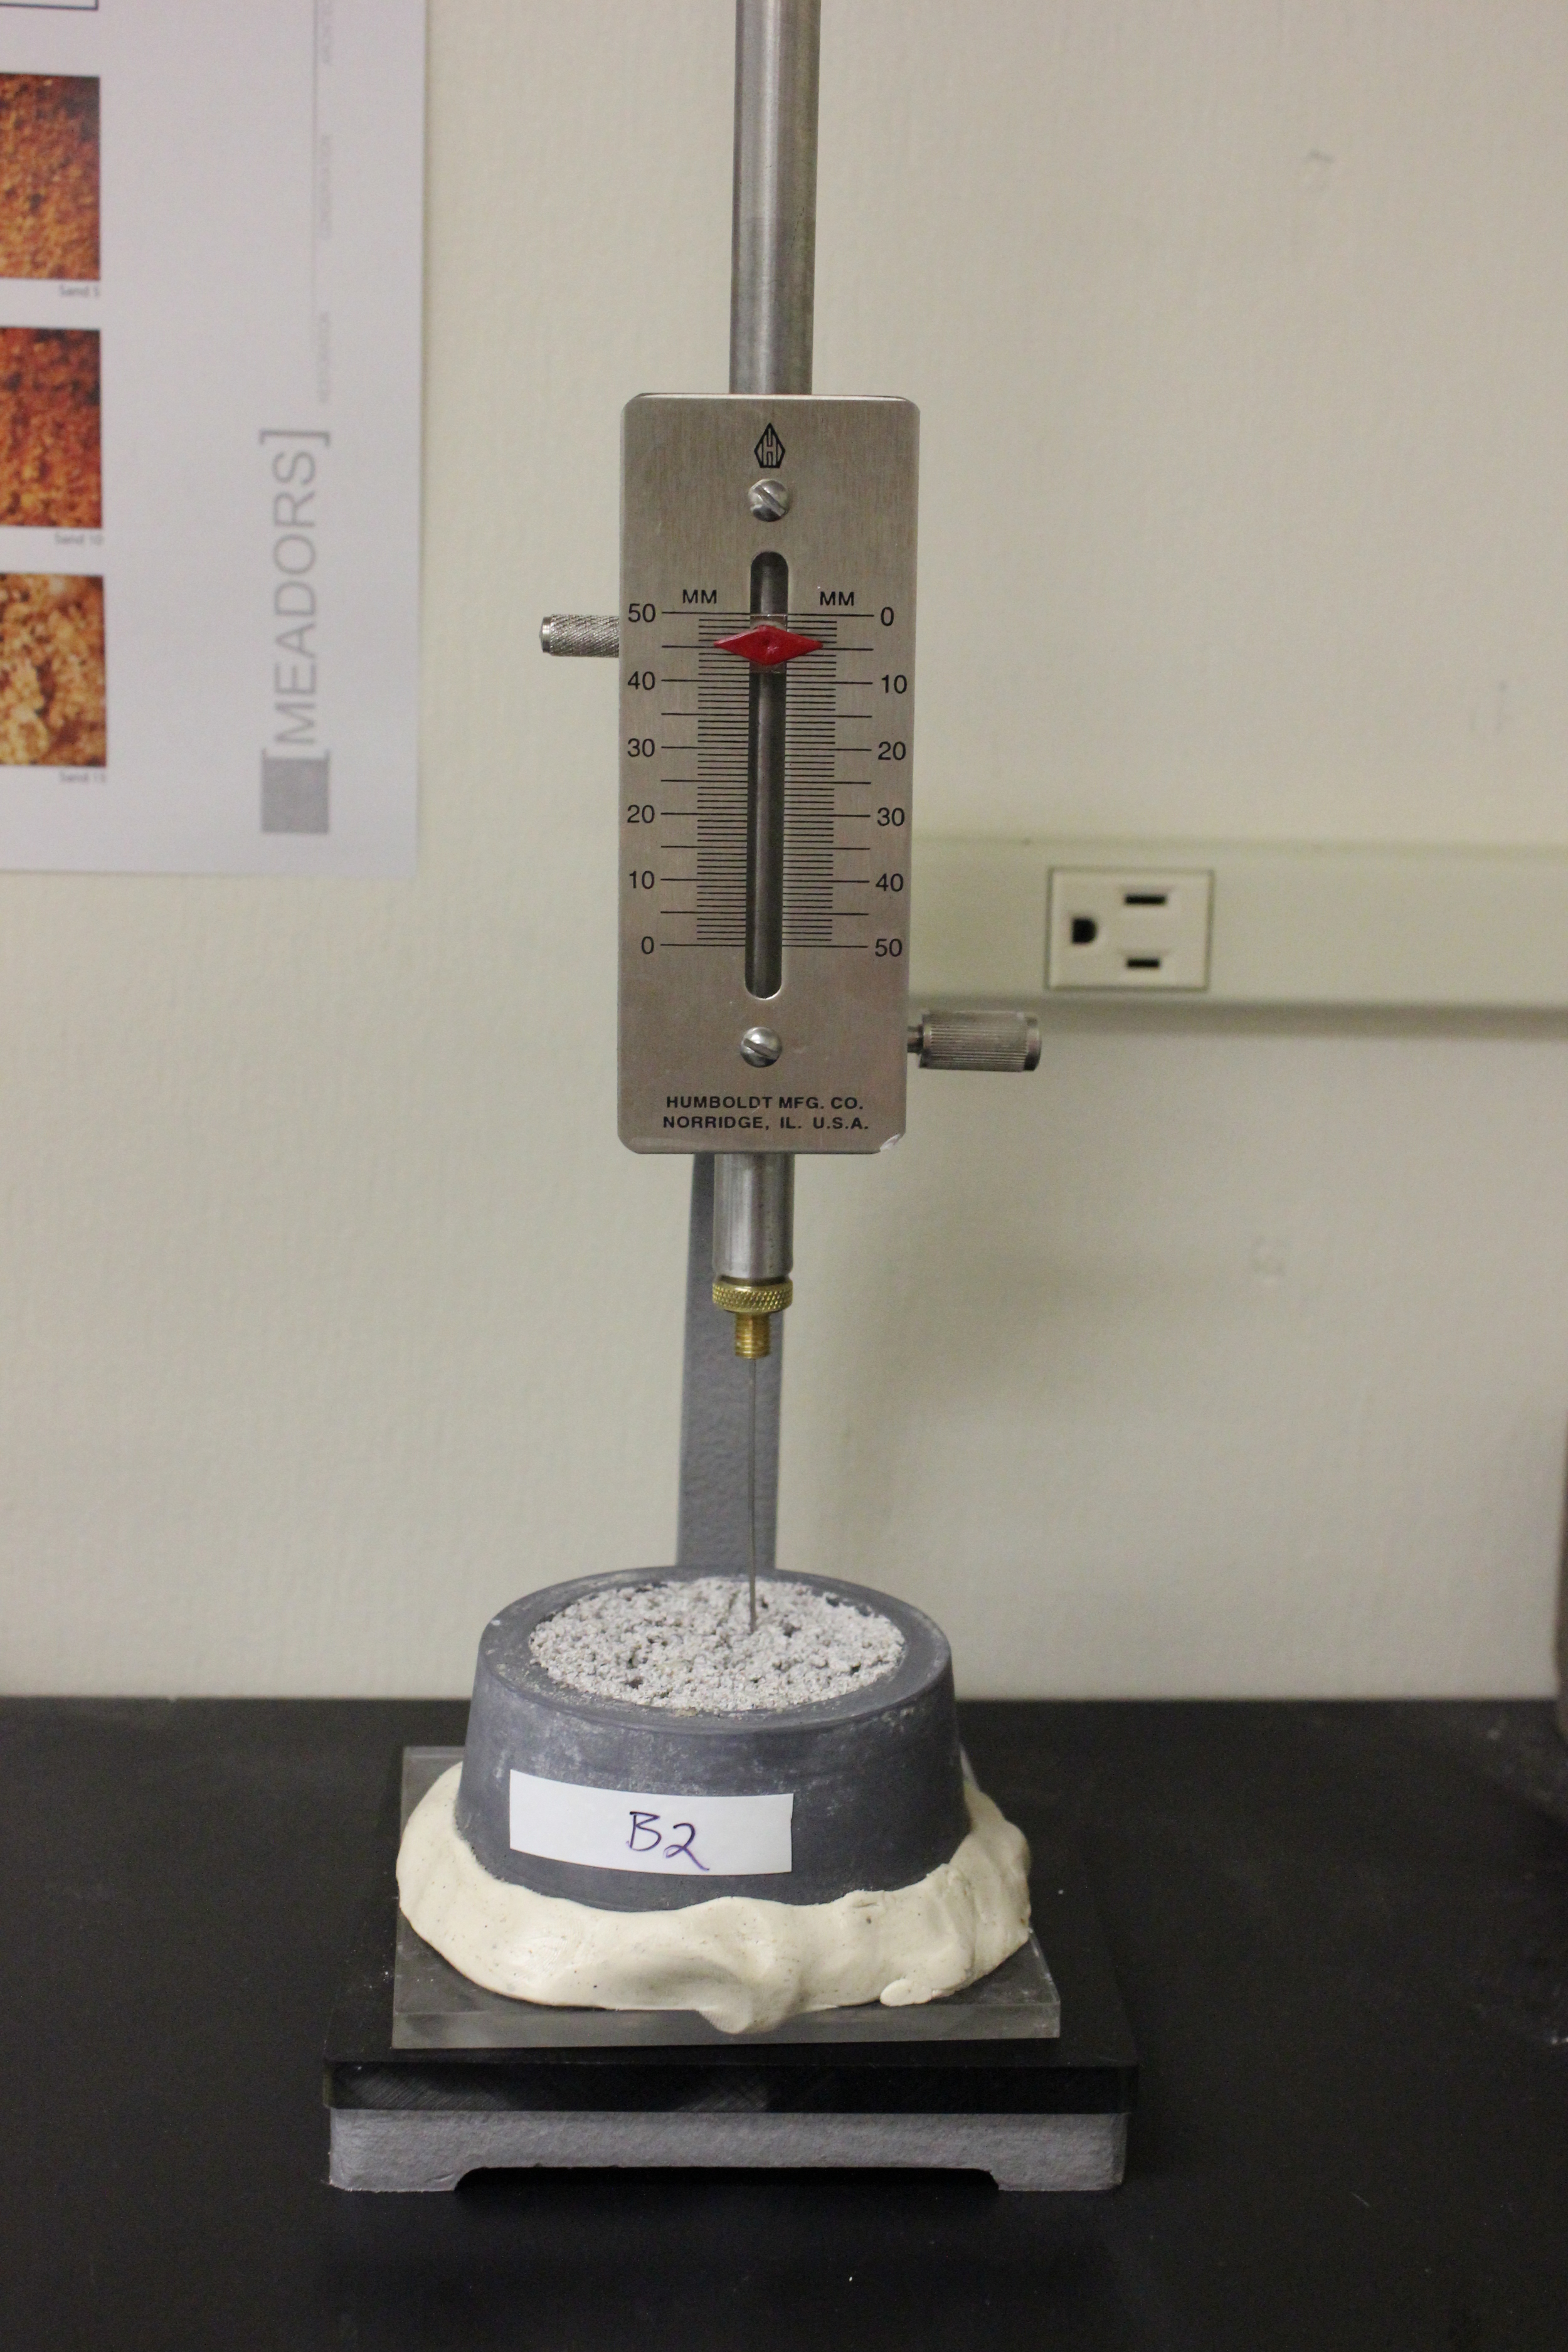
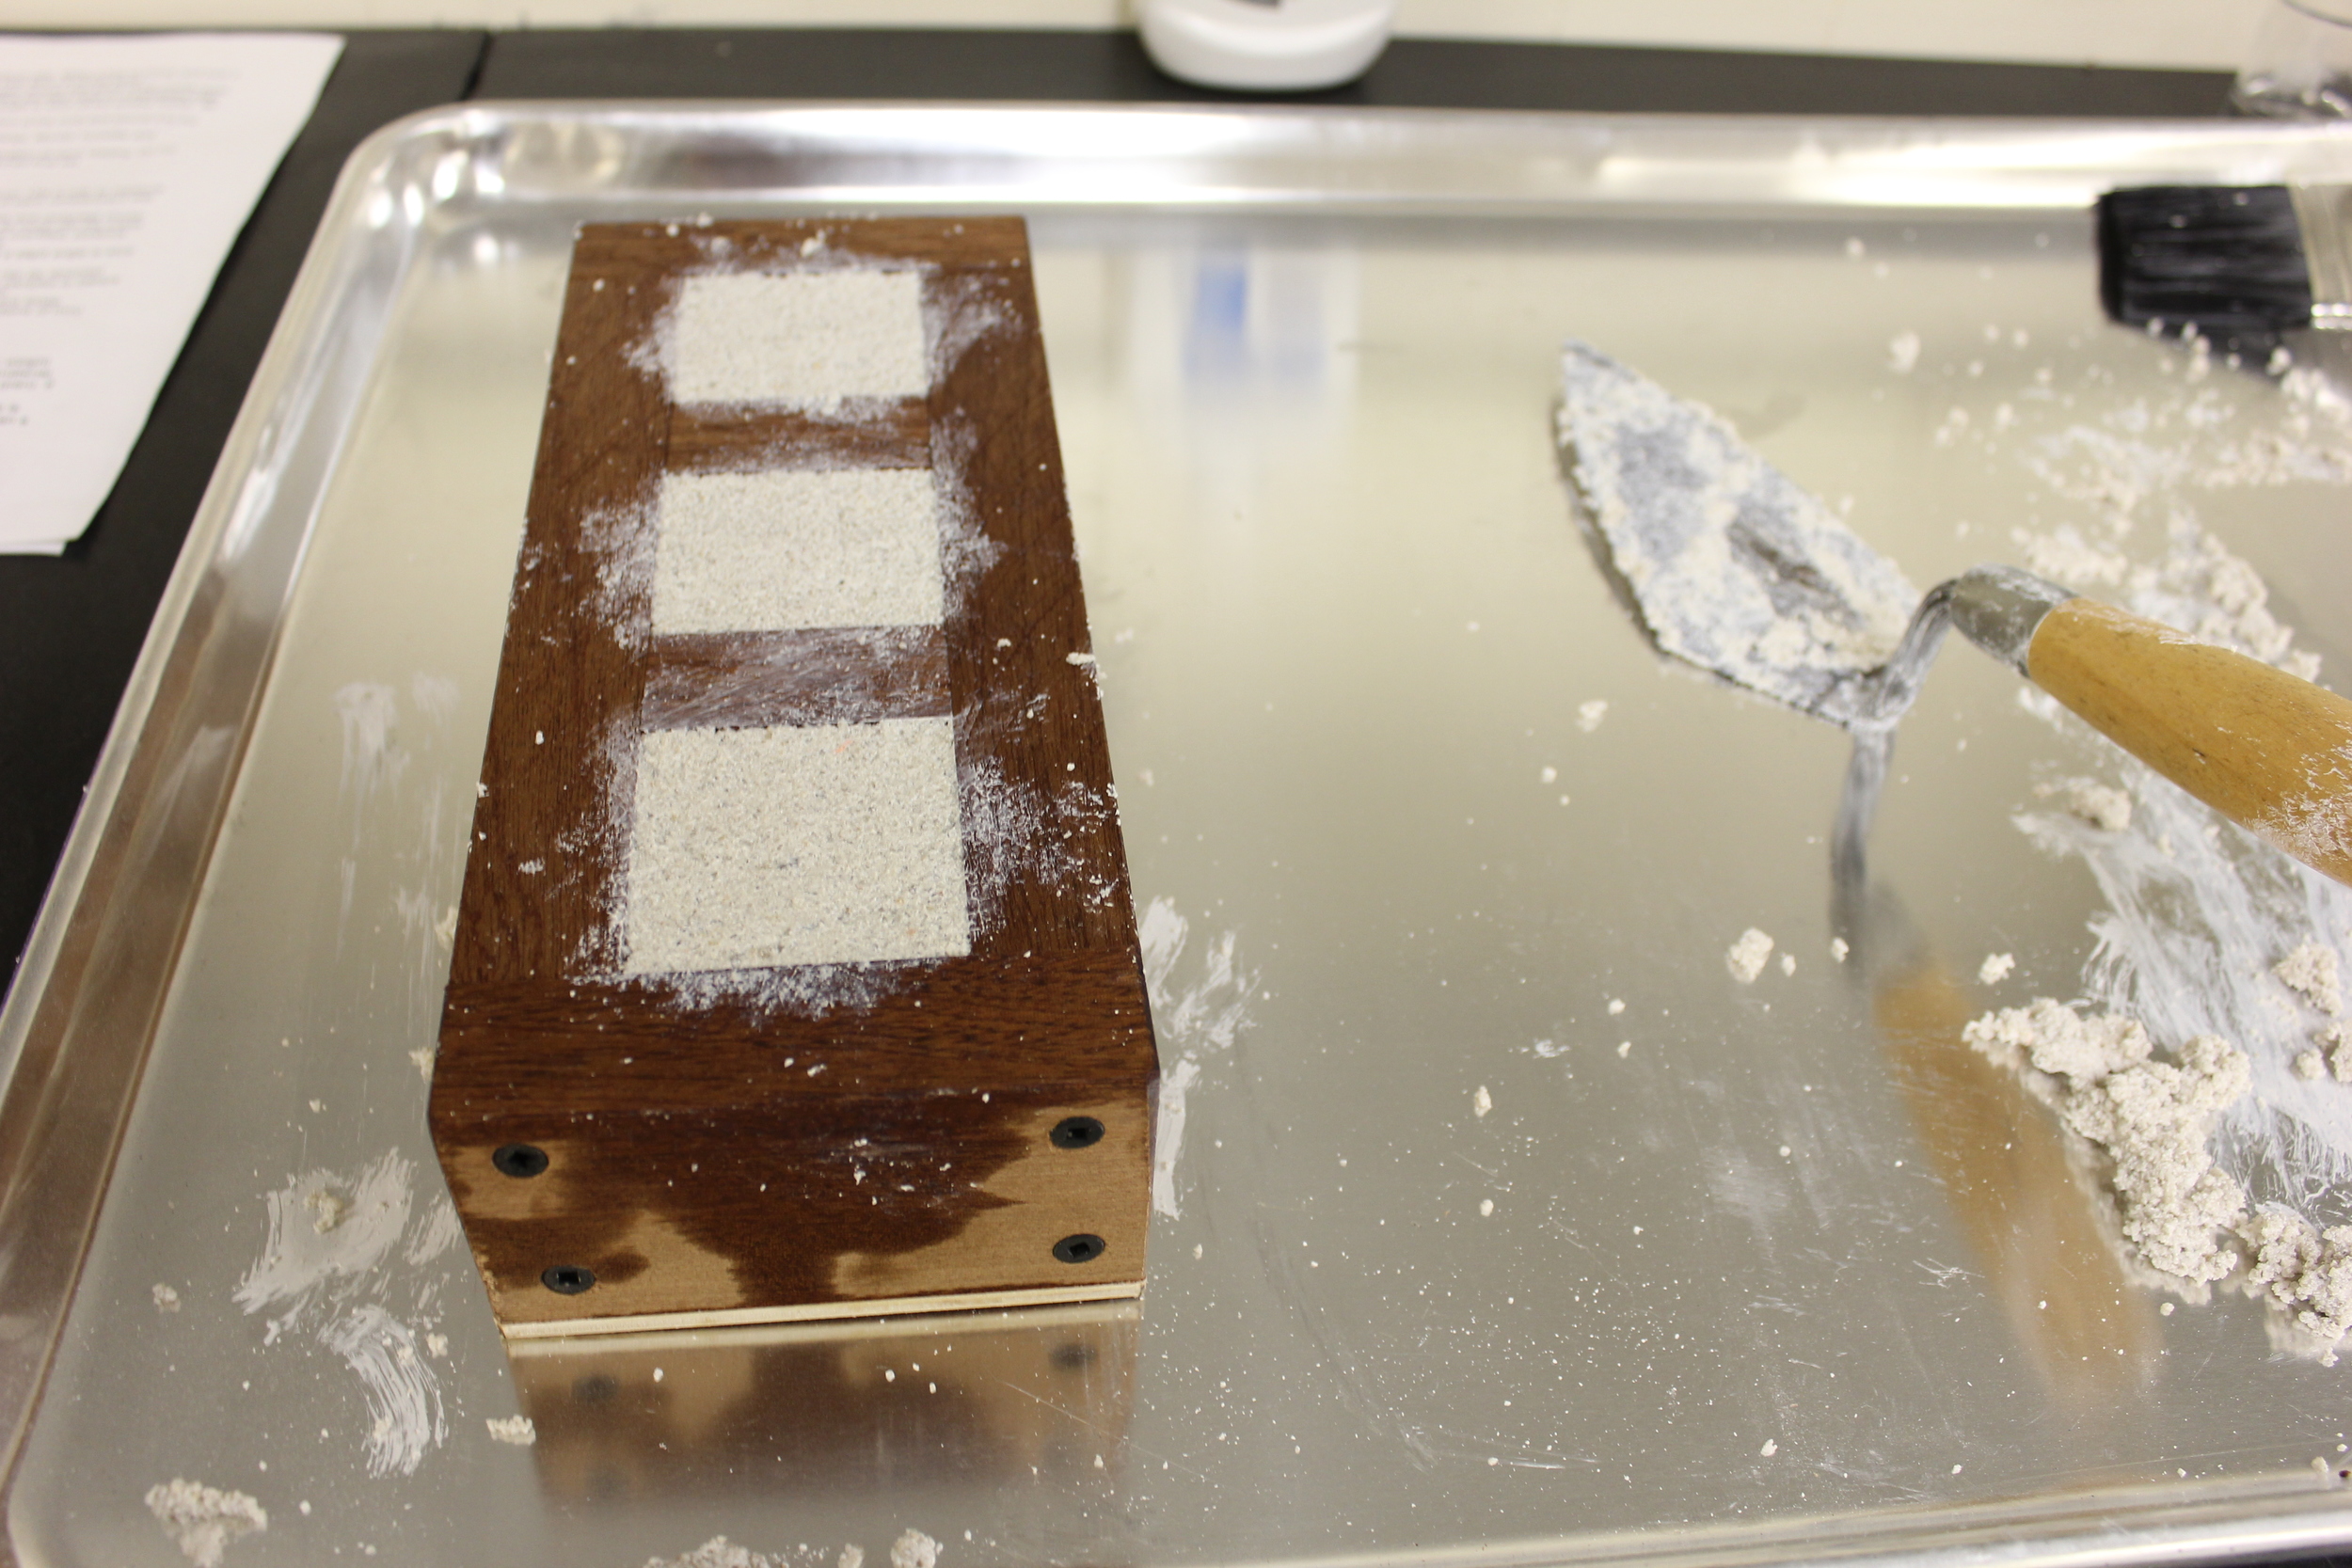
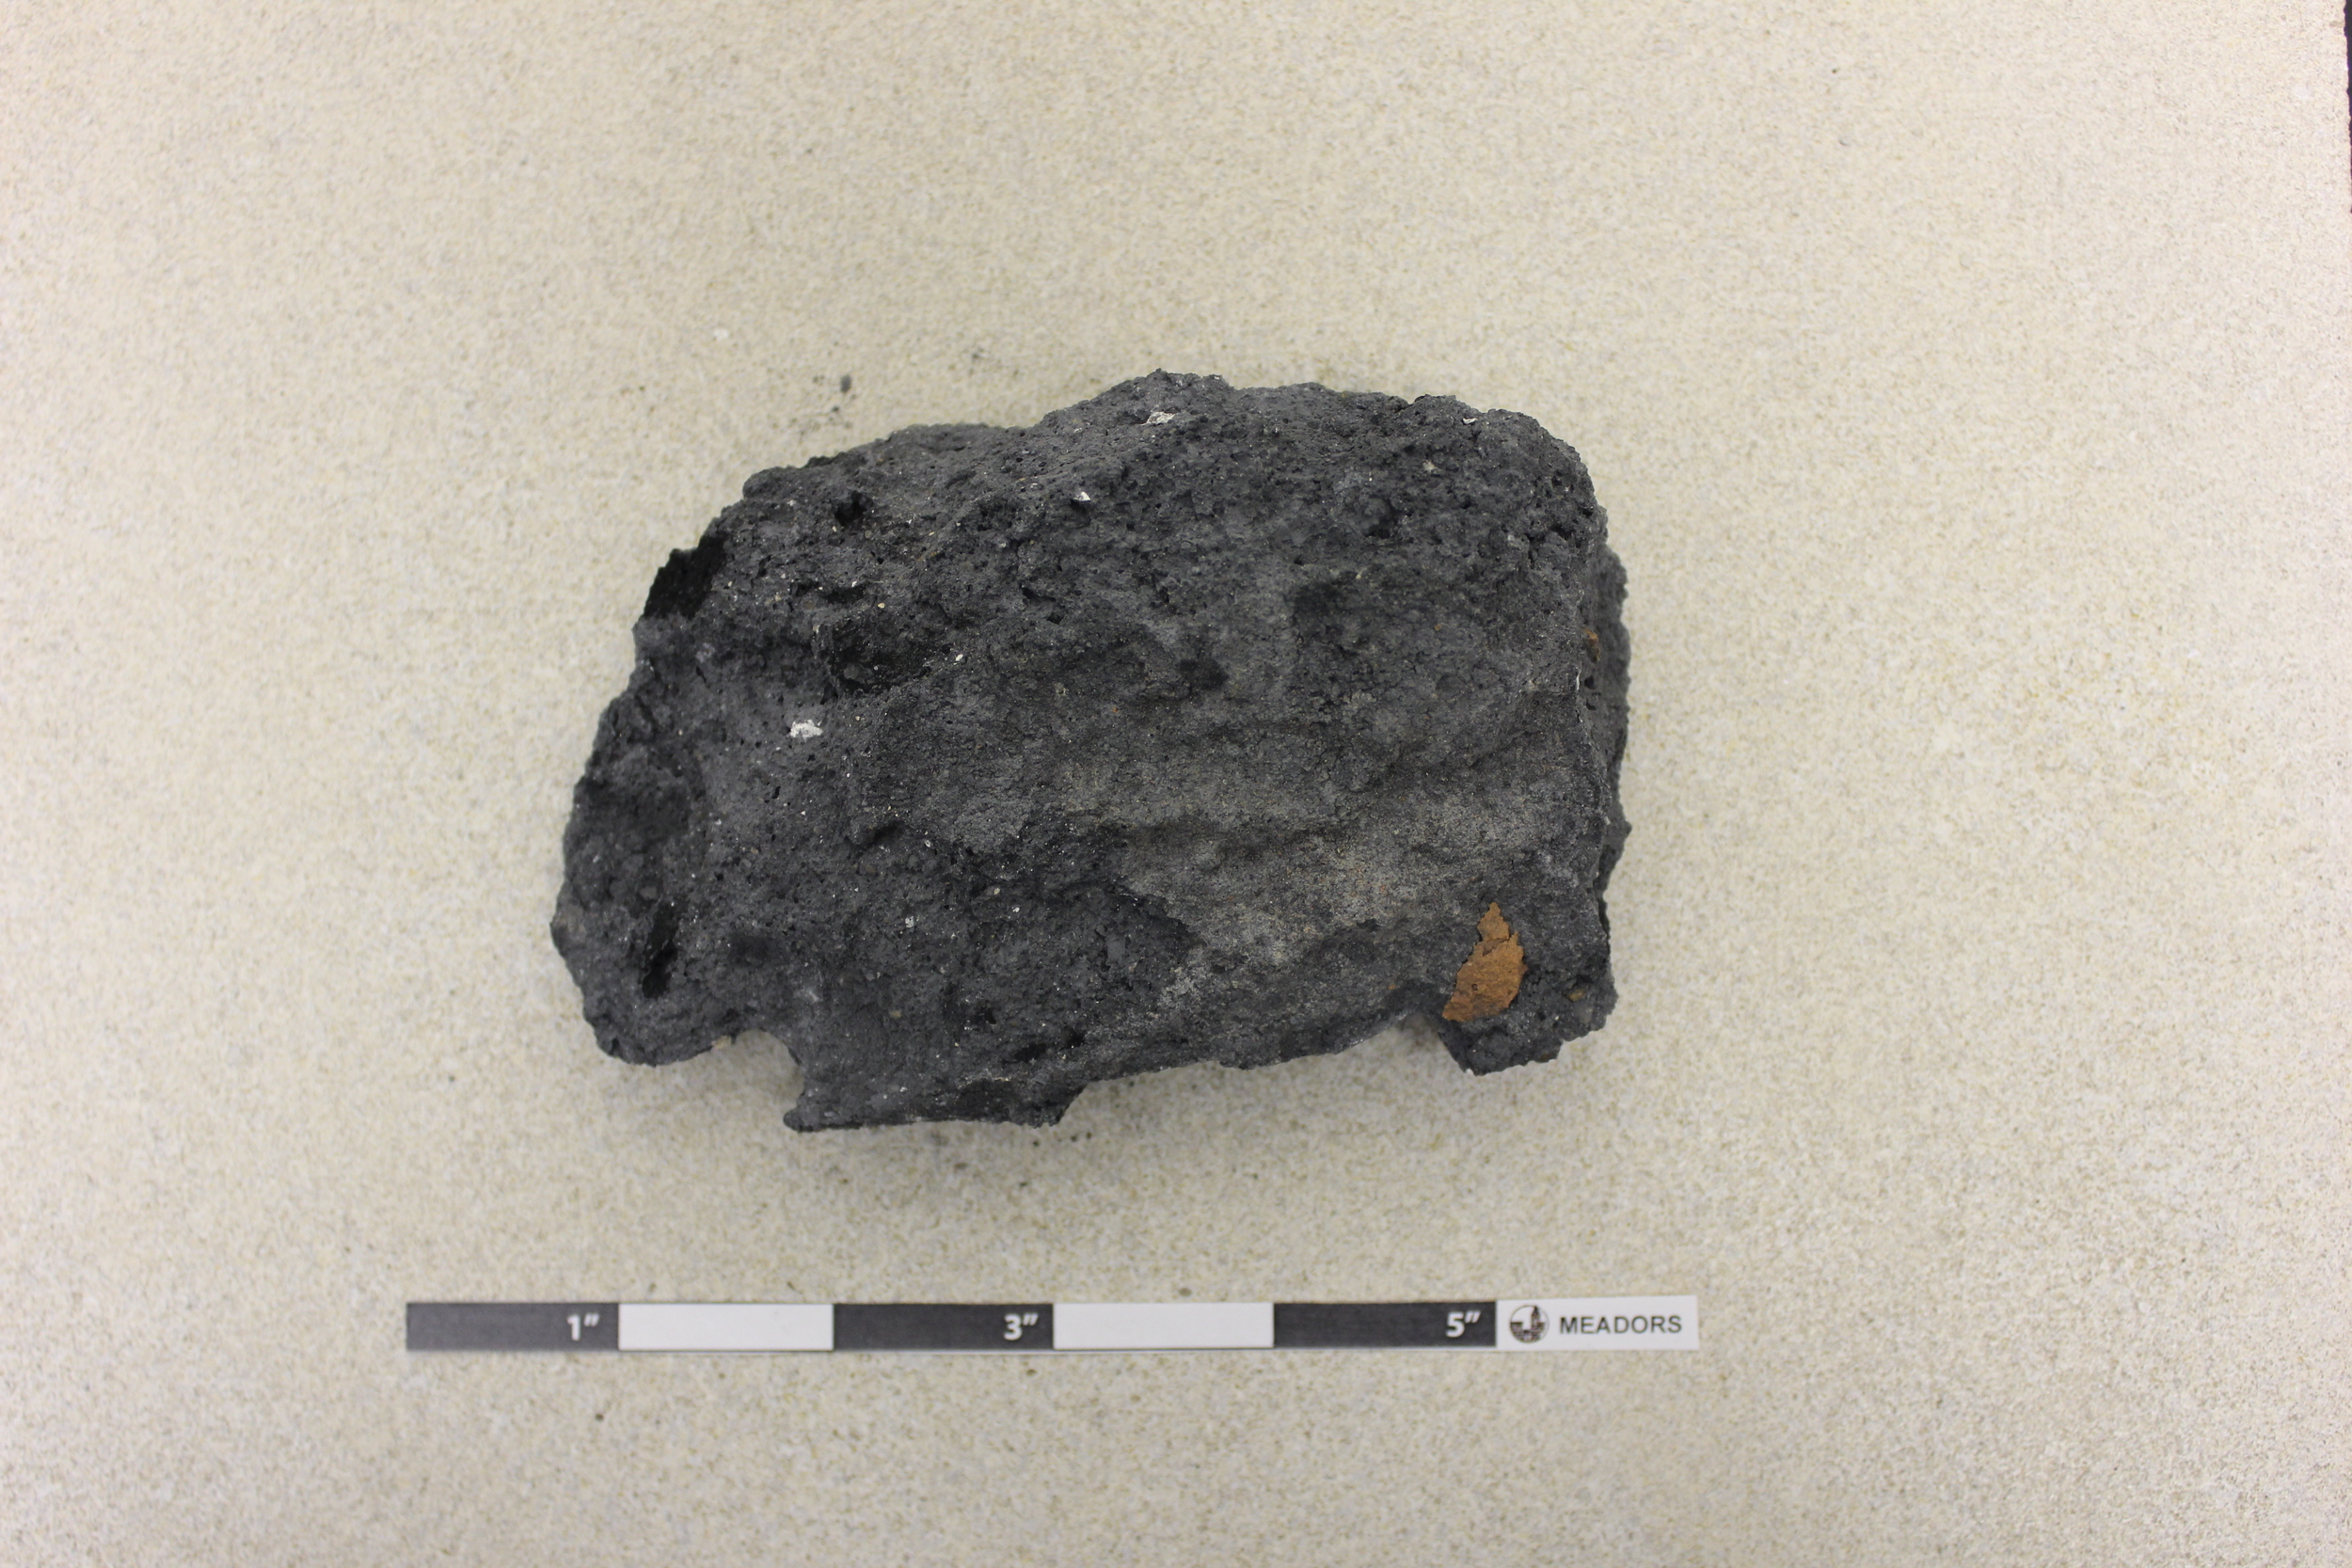
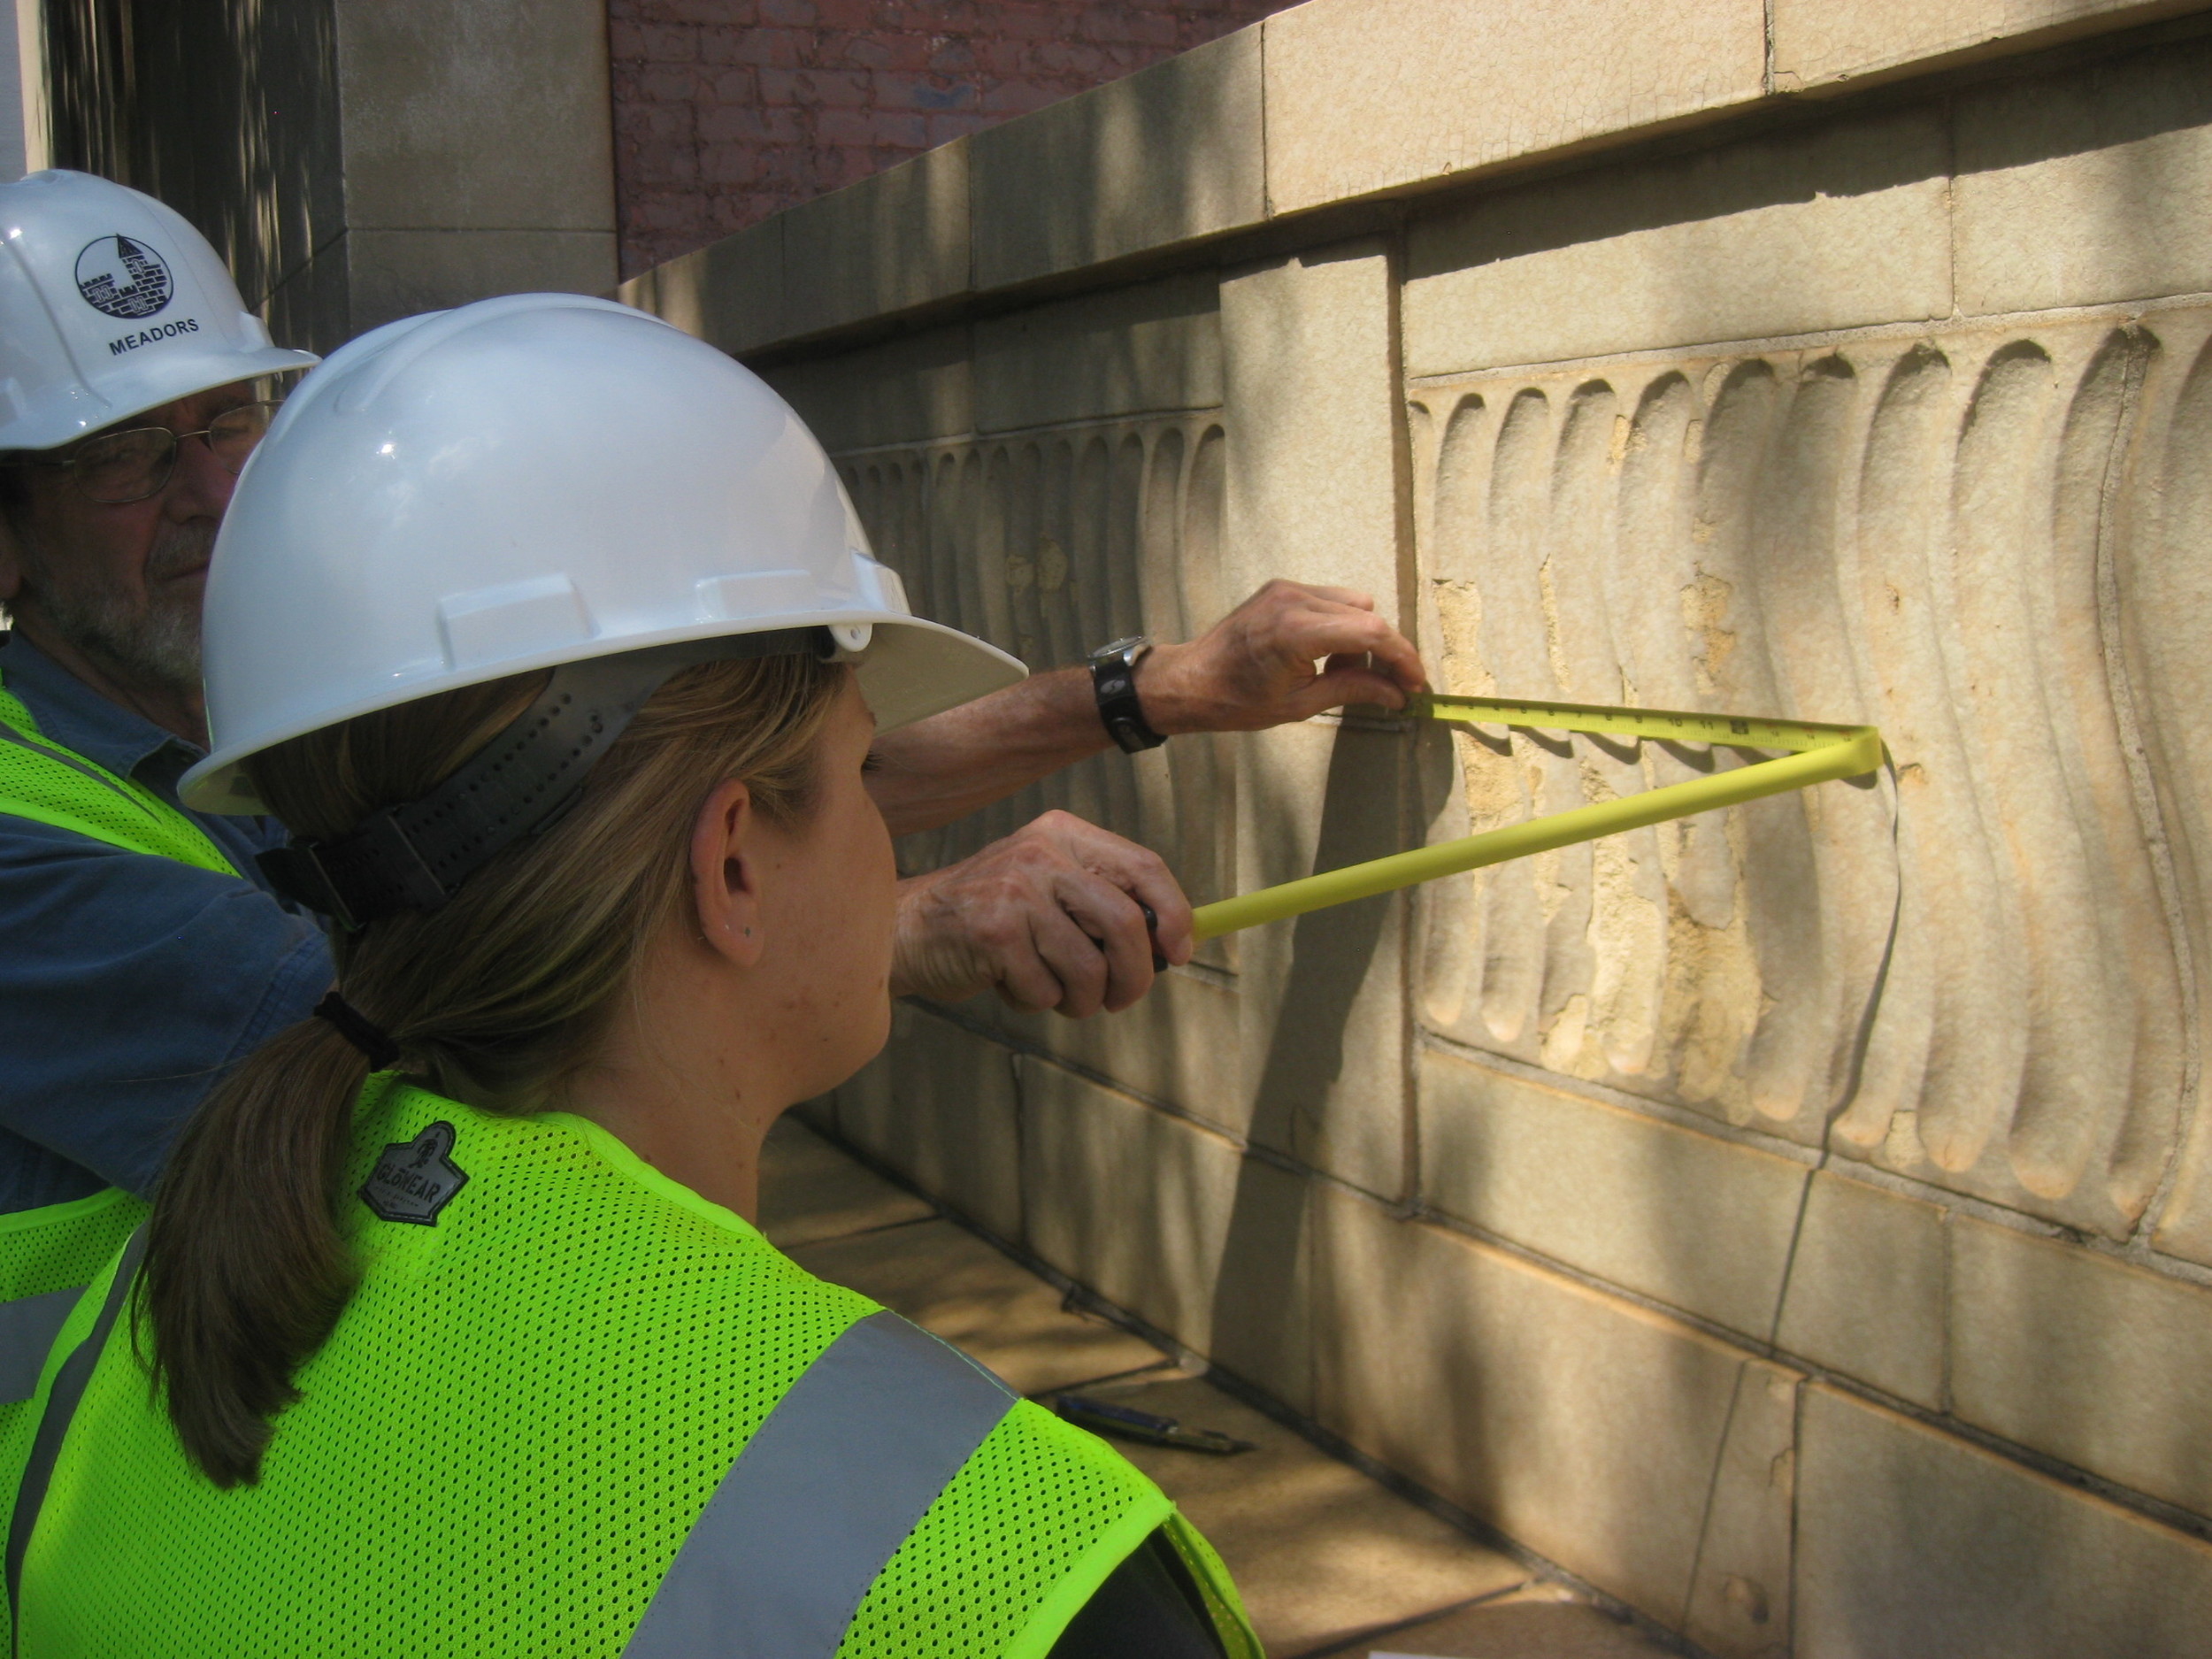
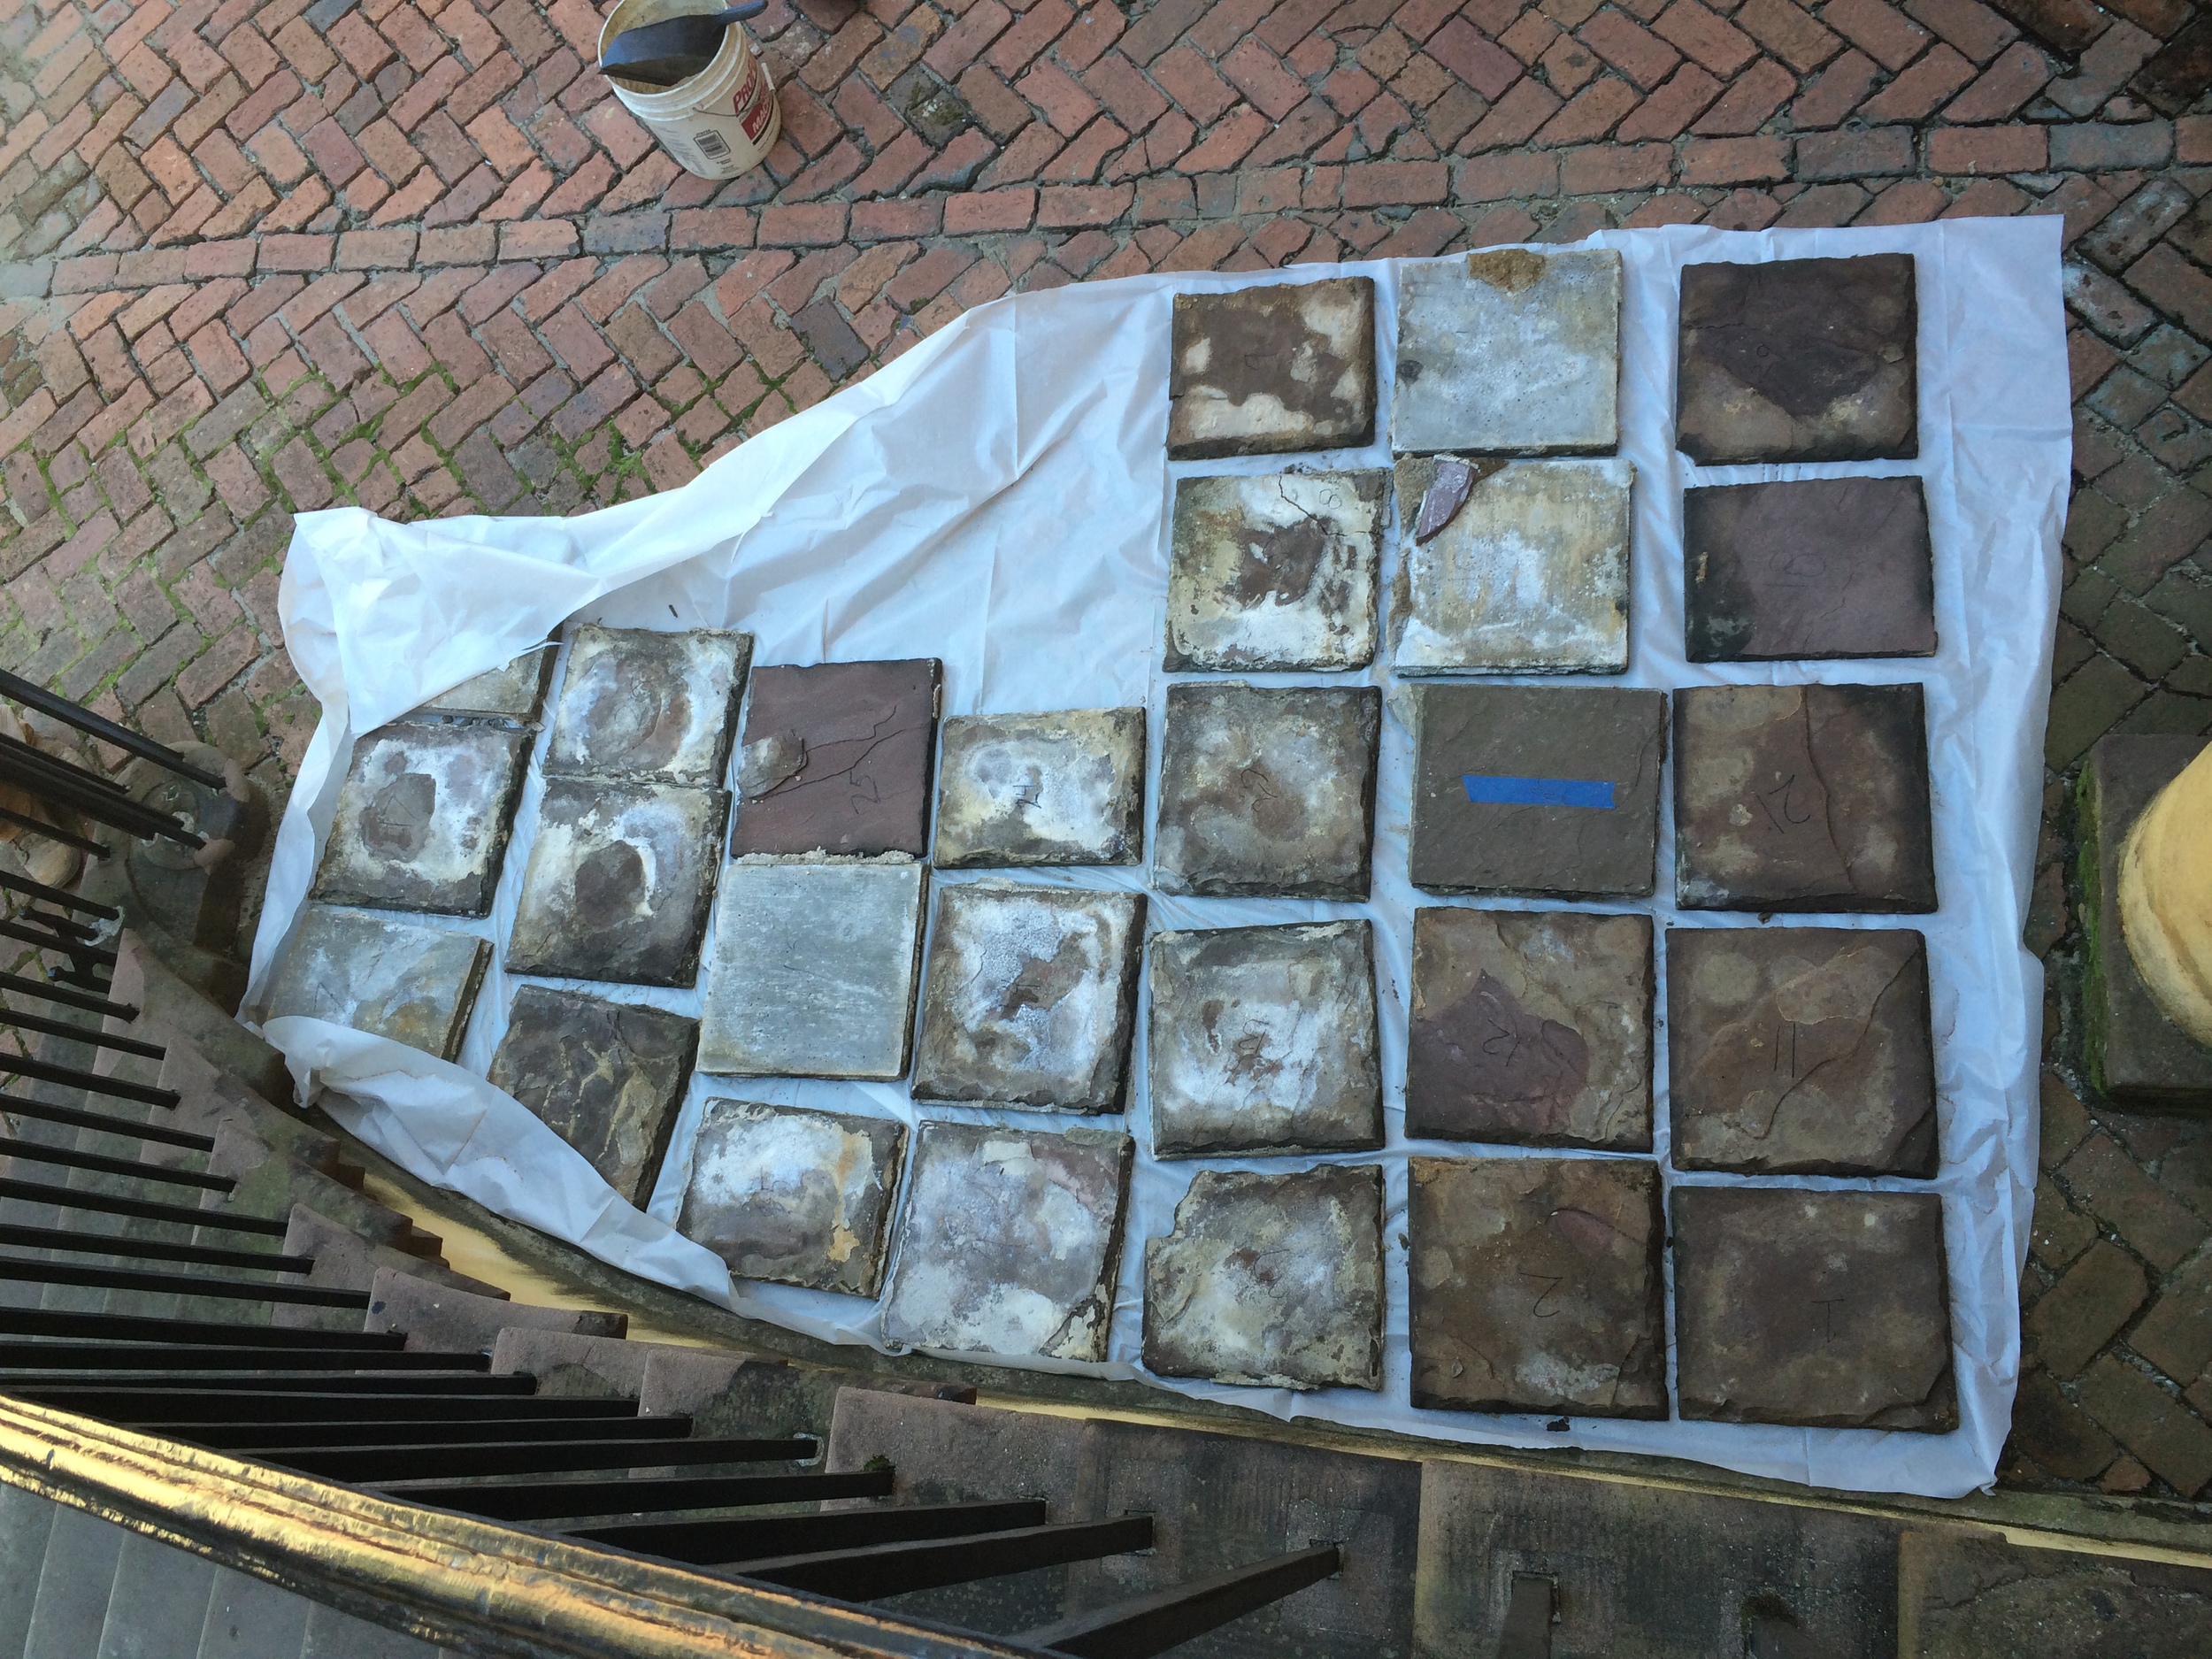
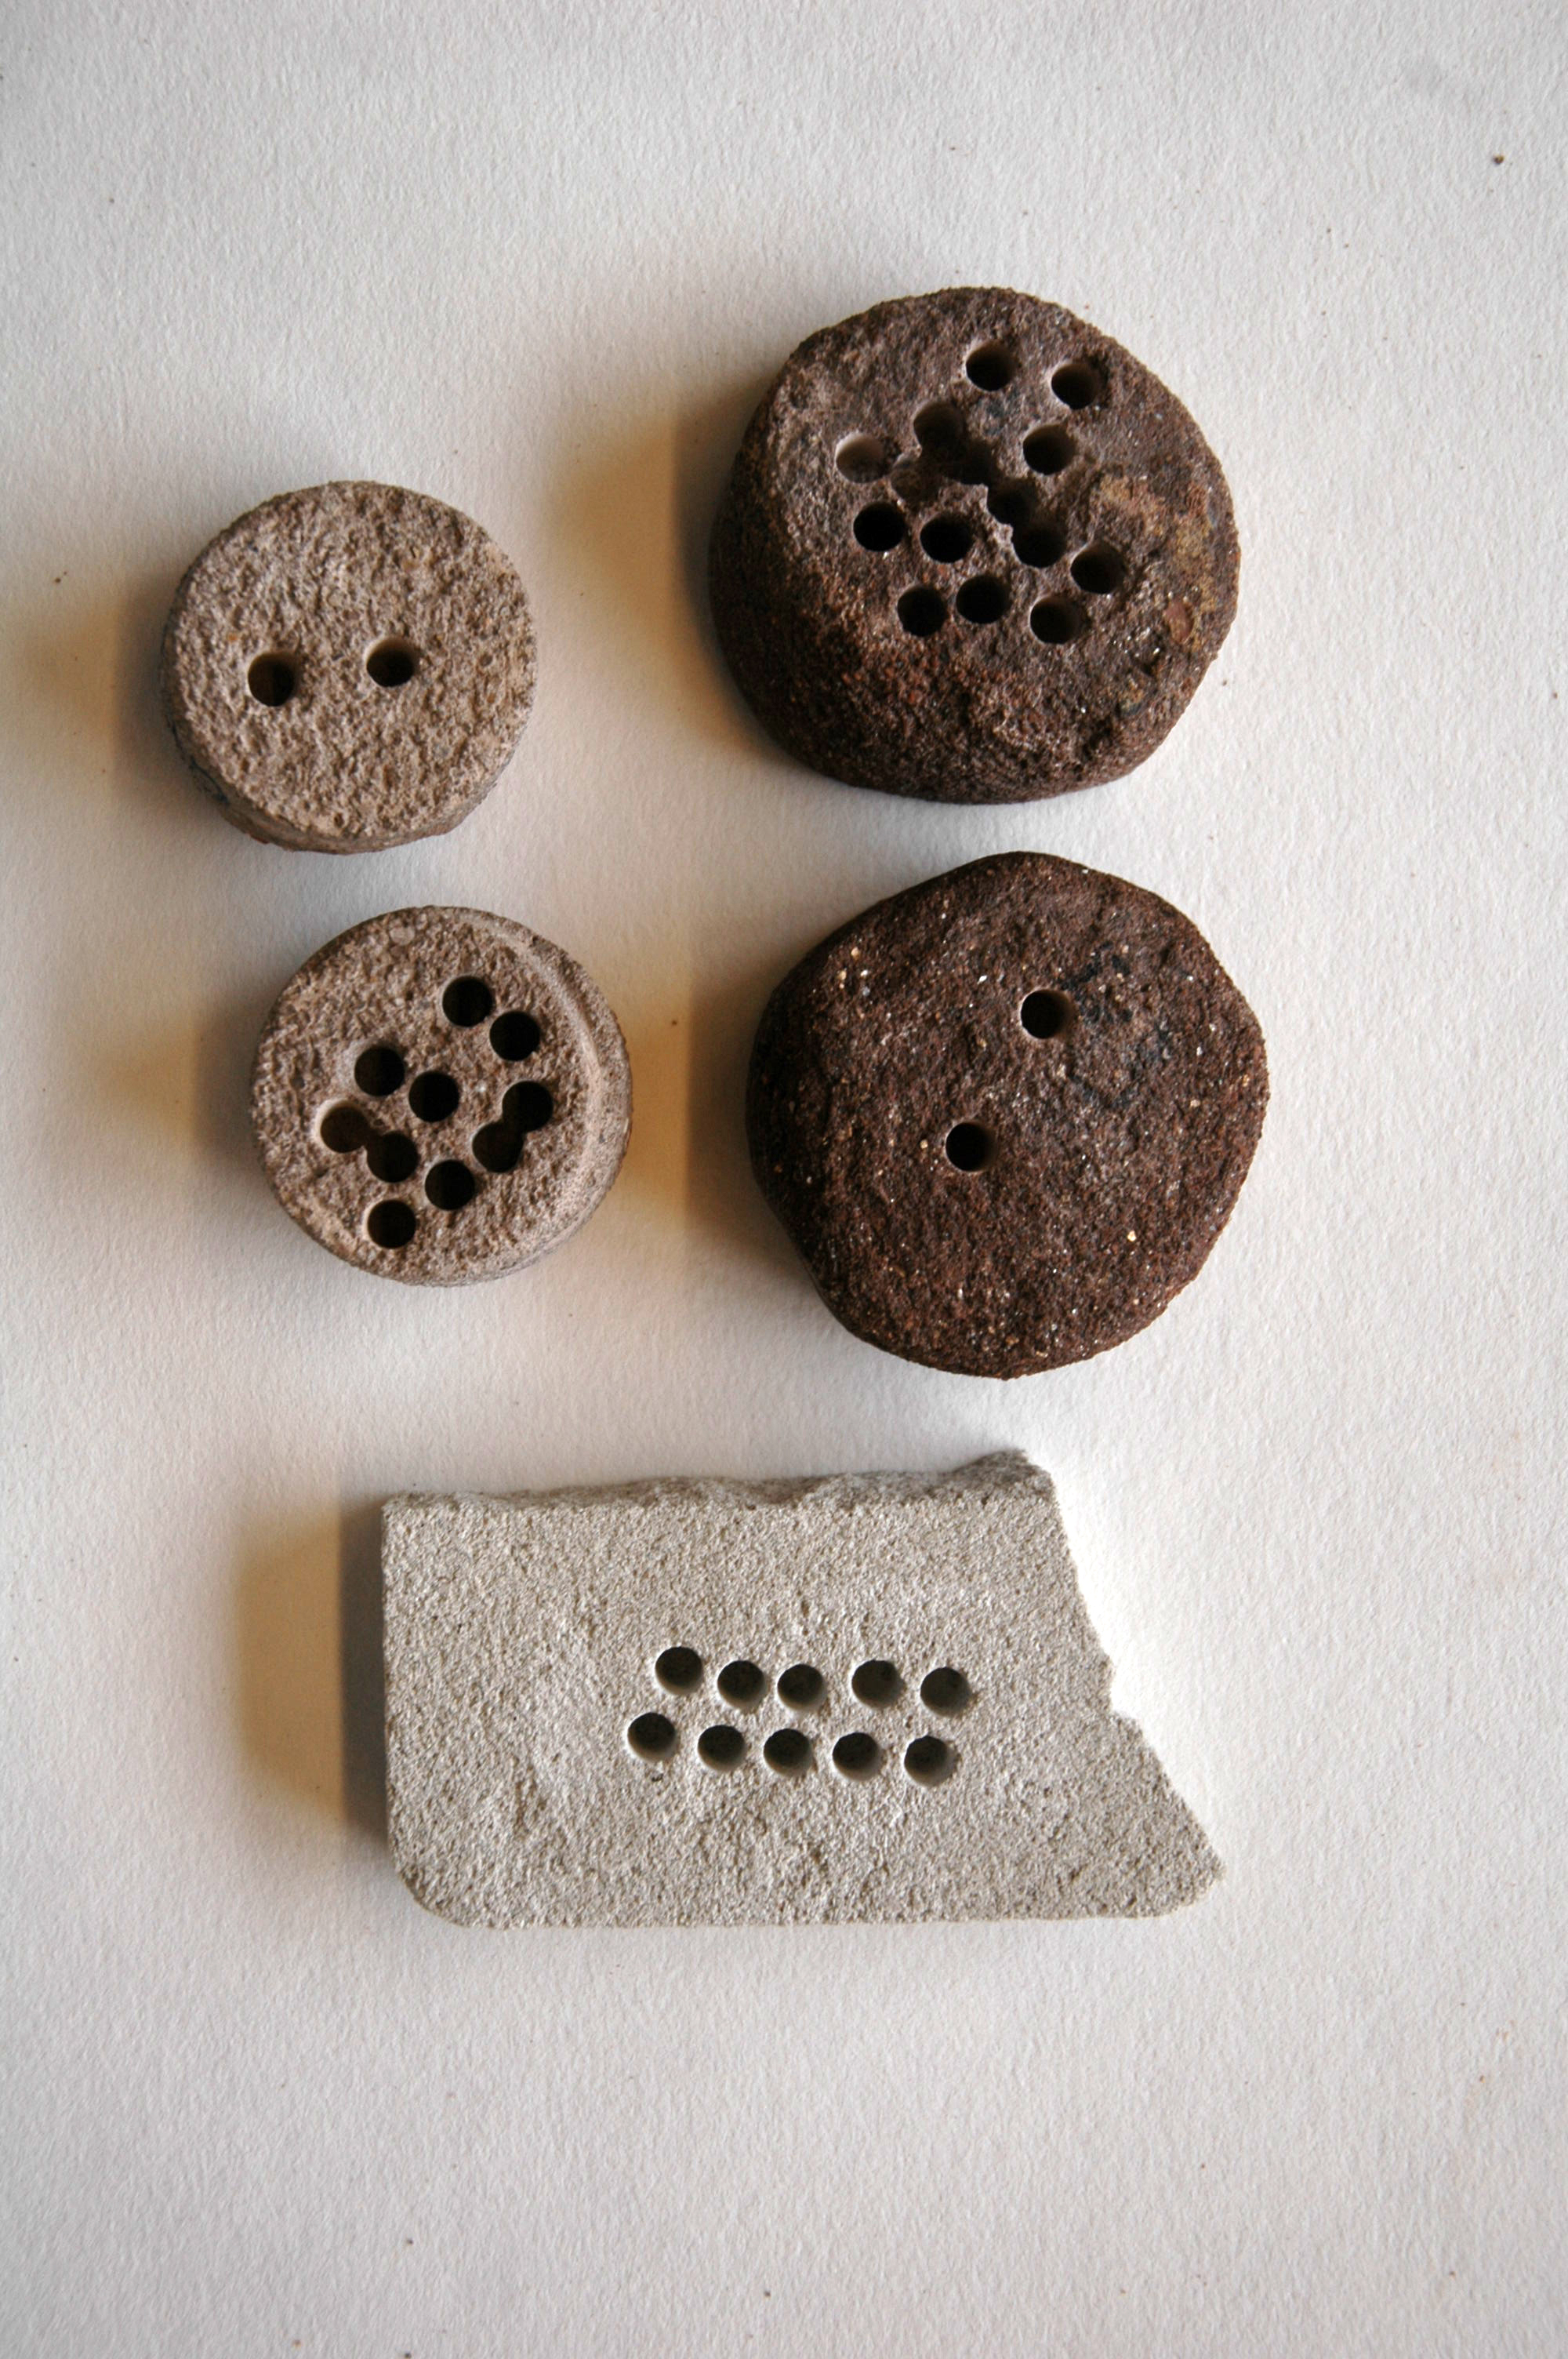
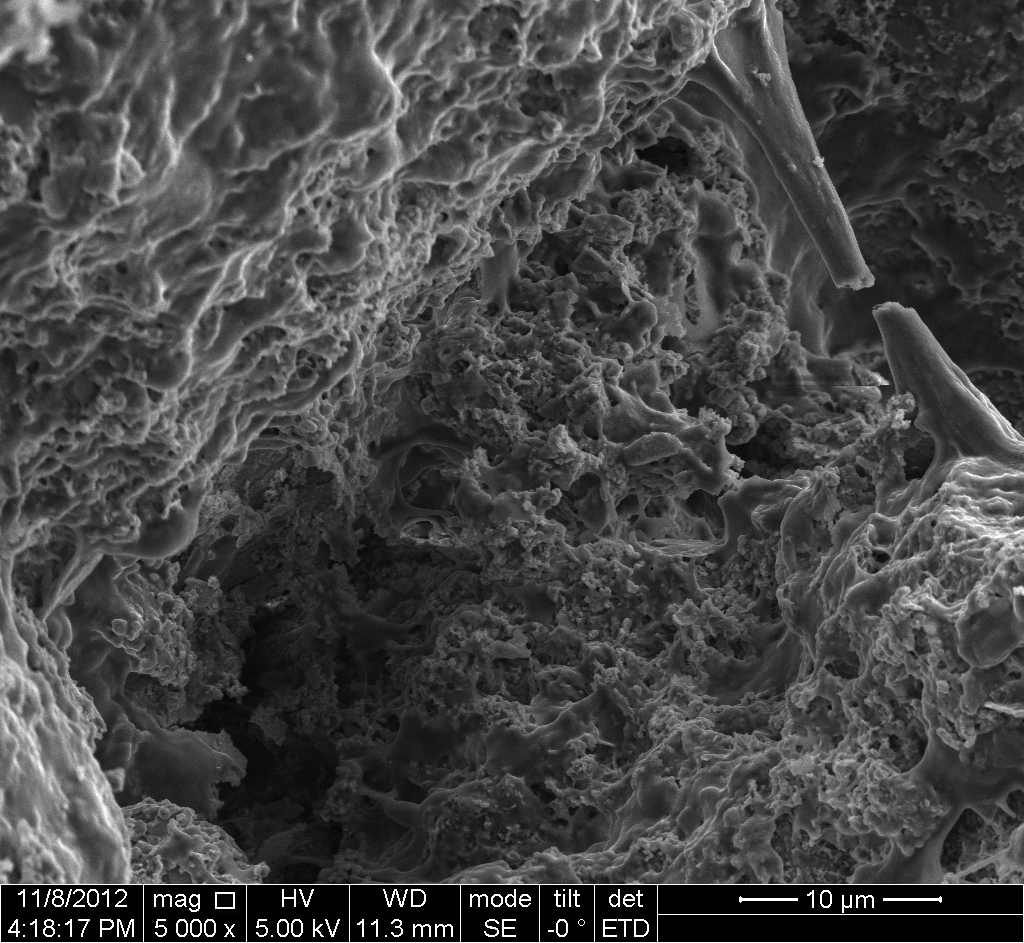
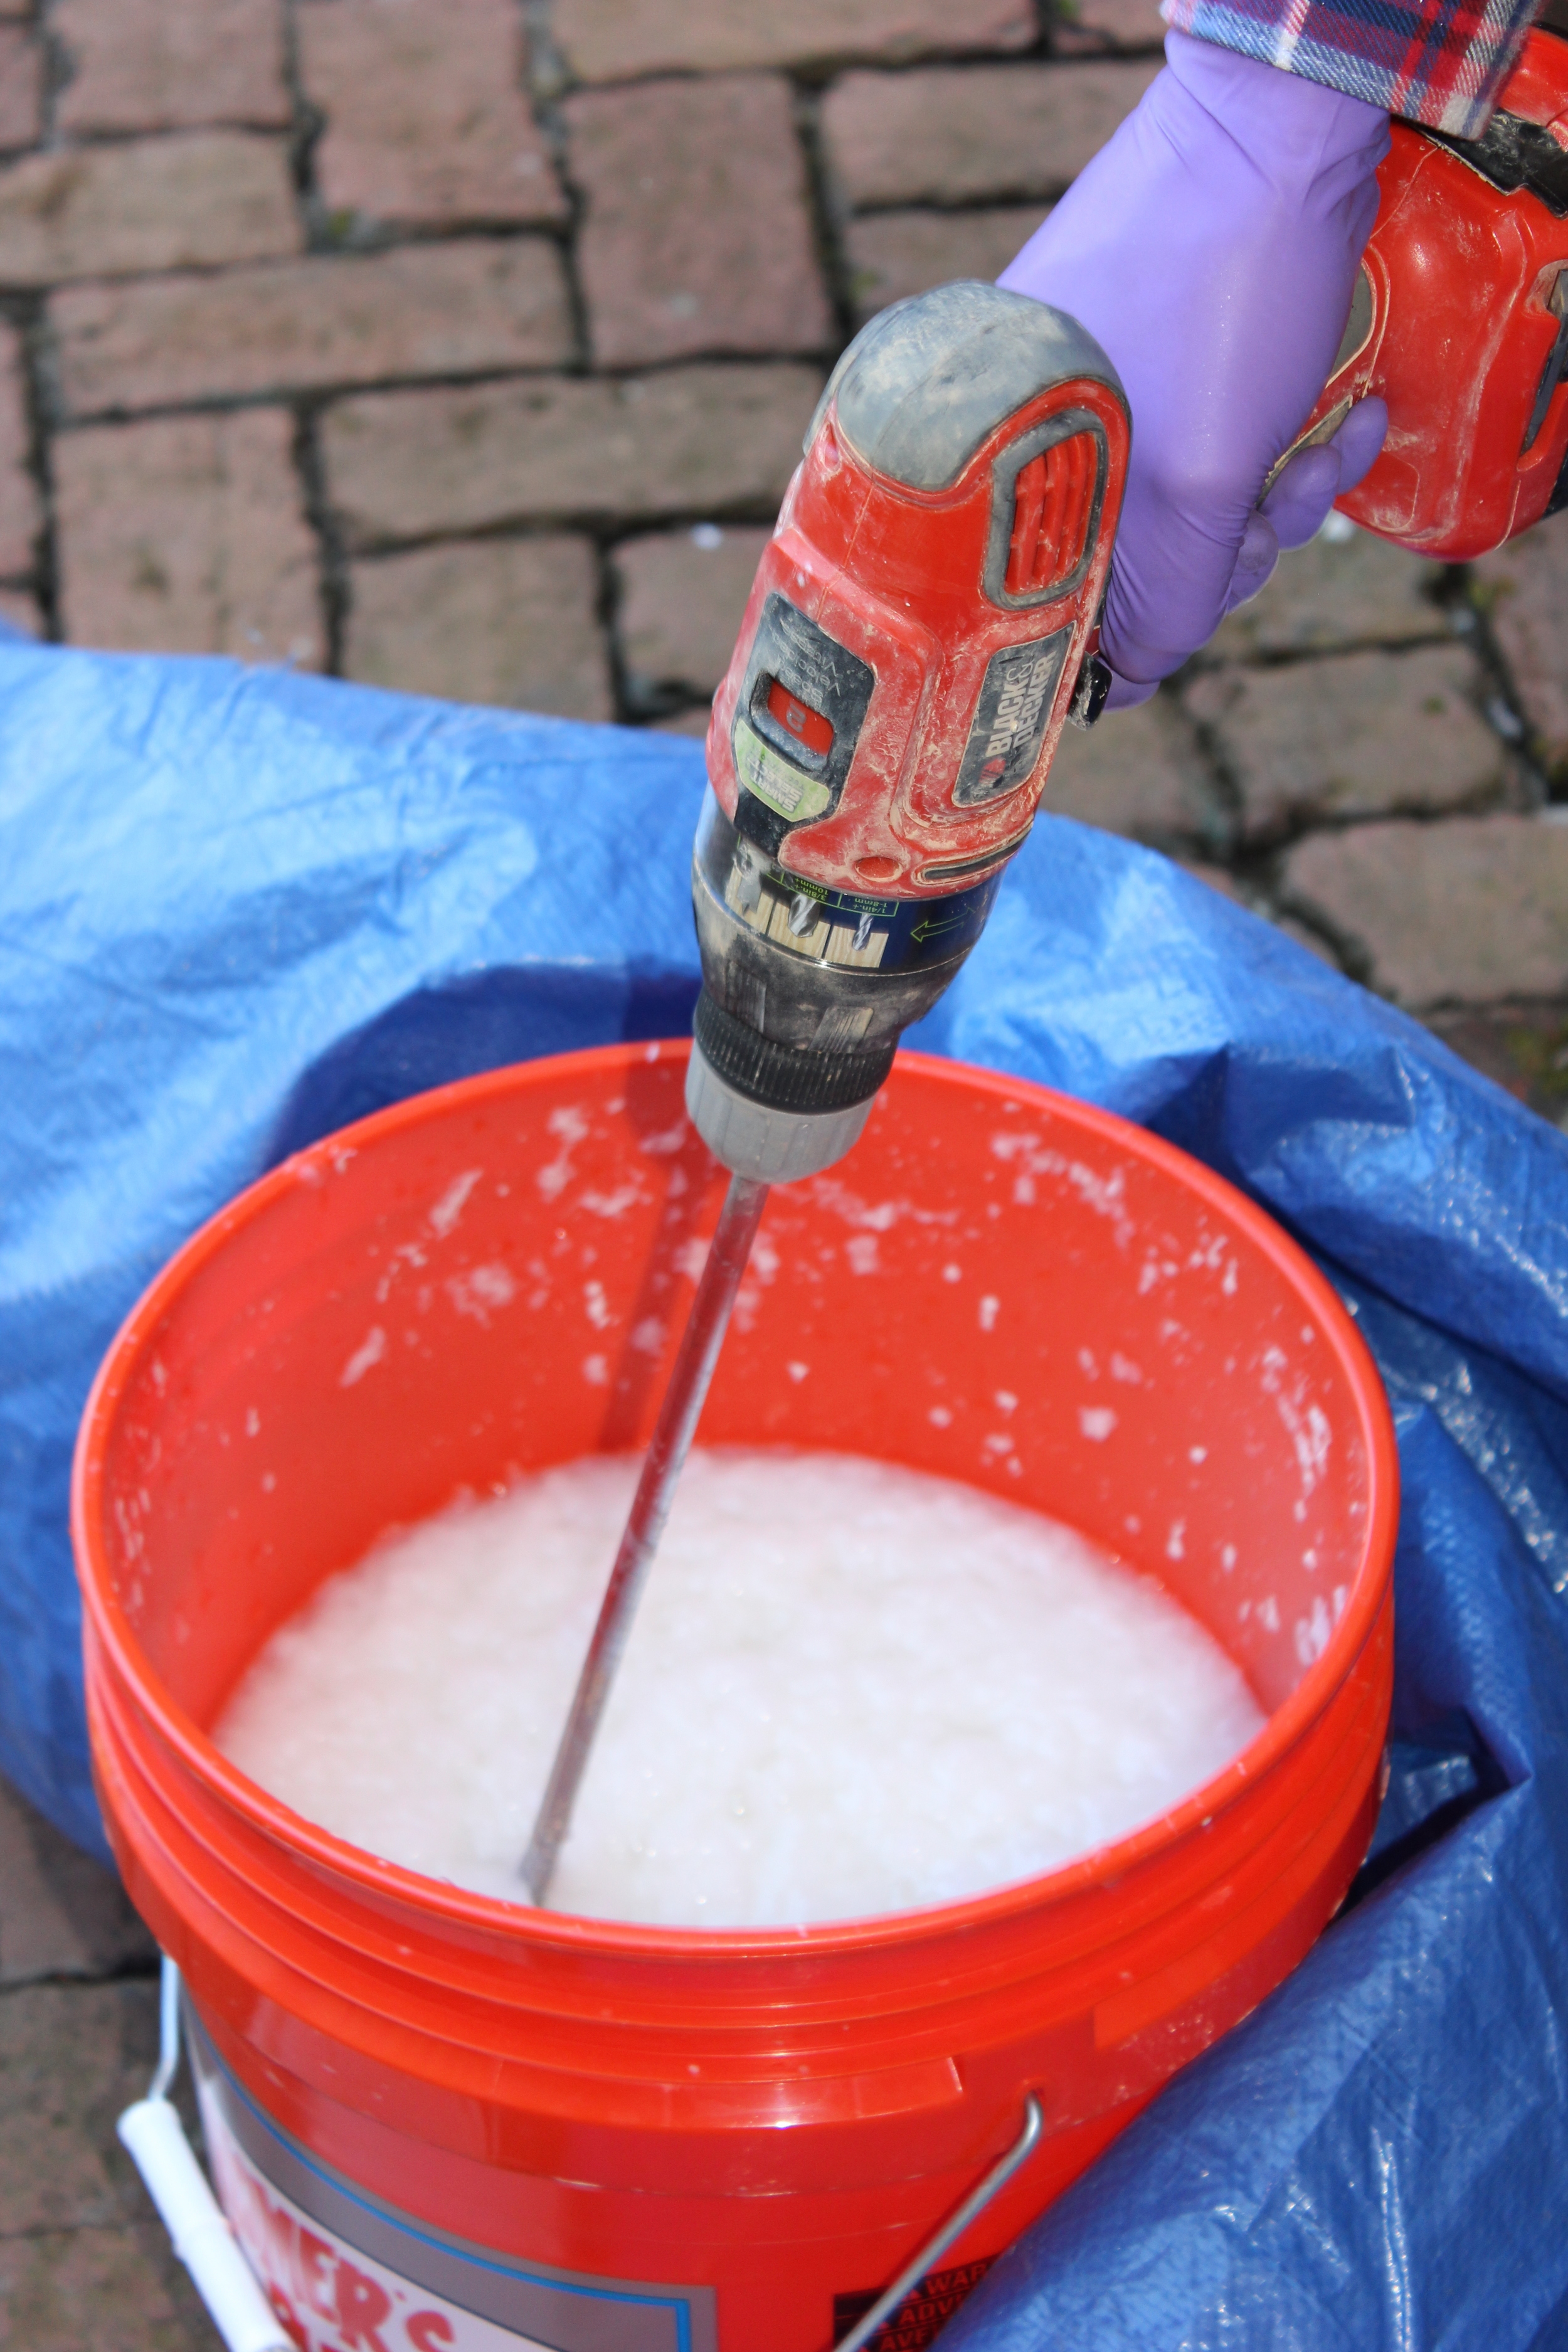
Physical and chemical analysis of historic mortars, stuccos, and plaster is an important part of architectural conservation. Although the creation of these materials has become standardized today, the formulations used during the original construction of many historic structures were highly variable and depended on the individual mason or plasterer making it necessary to perform such laboratory testing on each specific rehabilitation project. The goal of an analysis is to determine the original components and formulations of the material as well as understand the possible causes for deterioration and failure. Testing begins with sampling on site in order to obtain materials for laboratory testing and assess the current deterioration conditions.
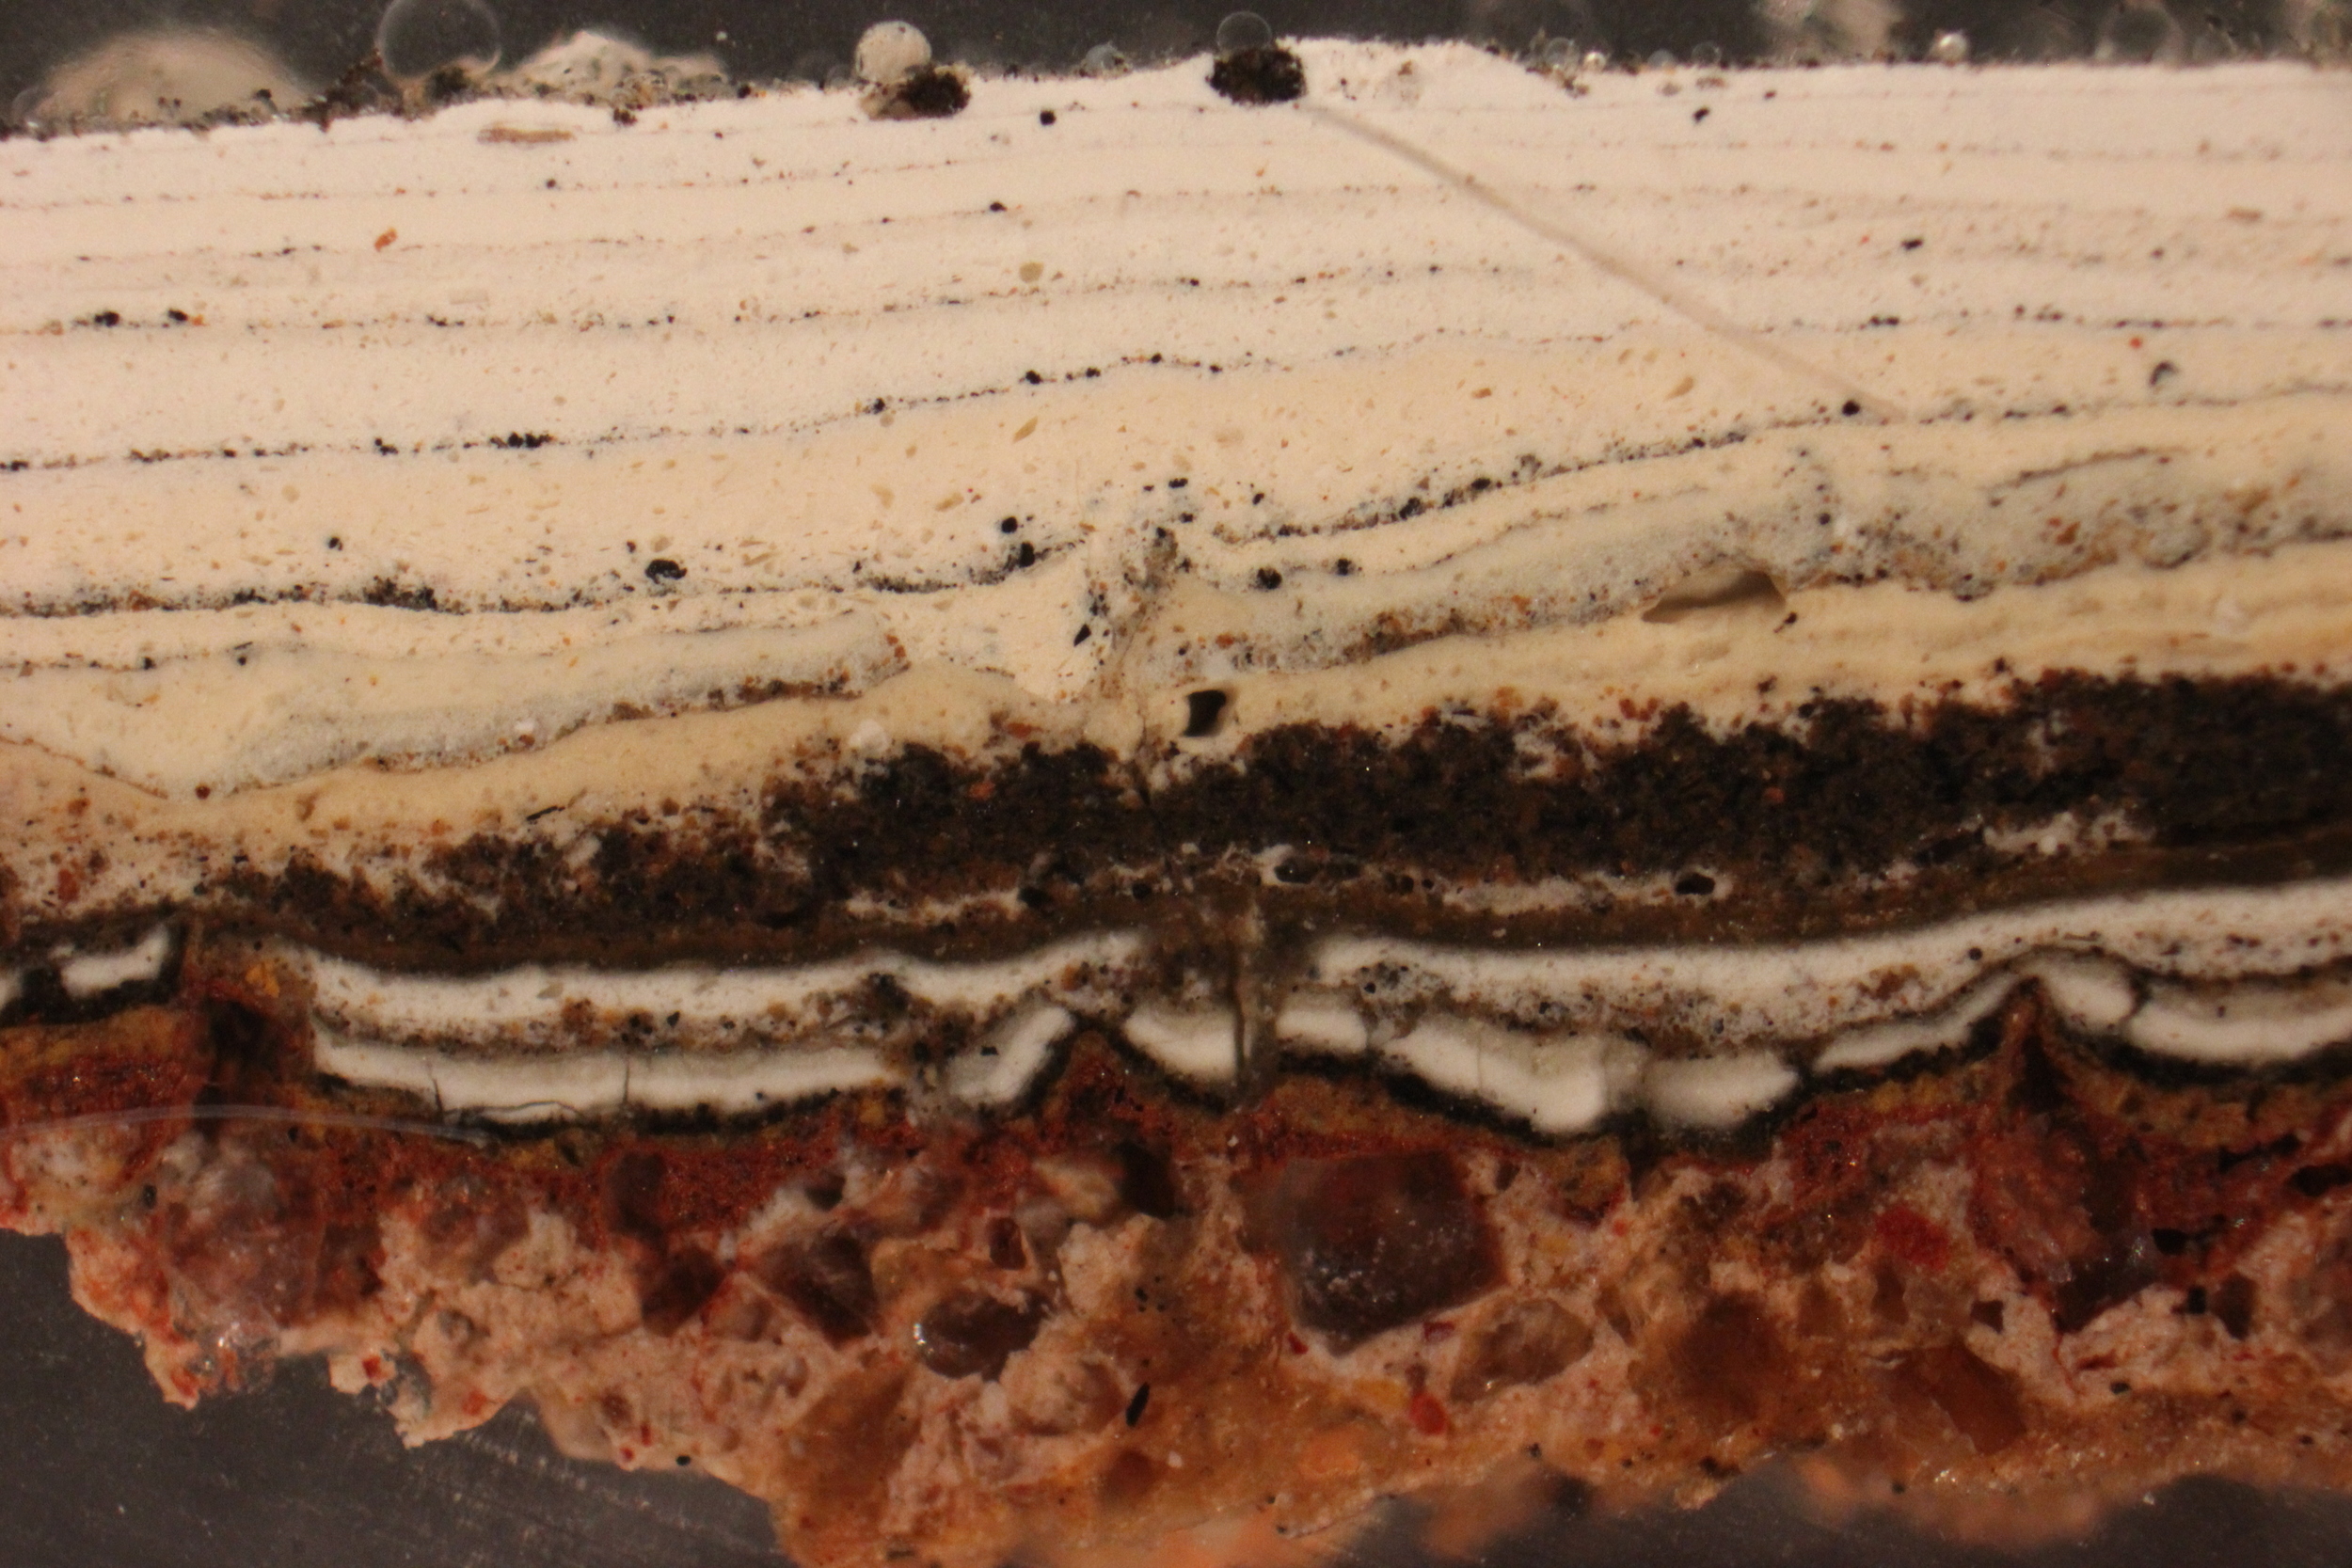
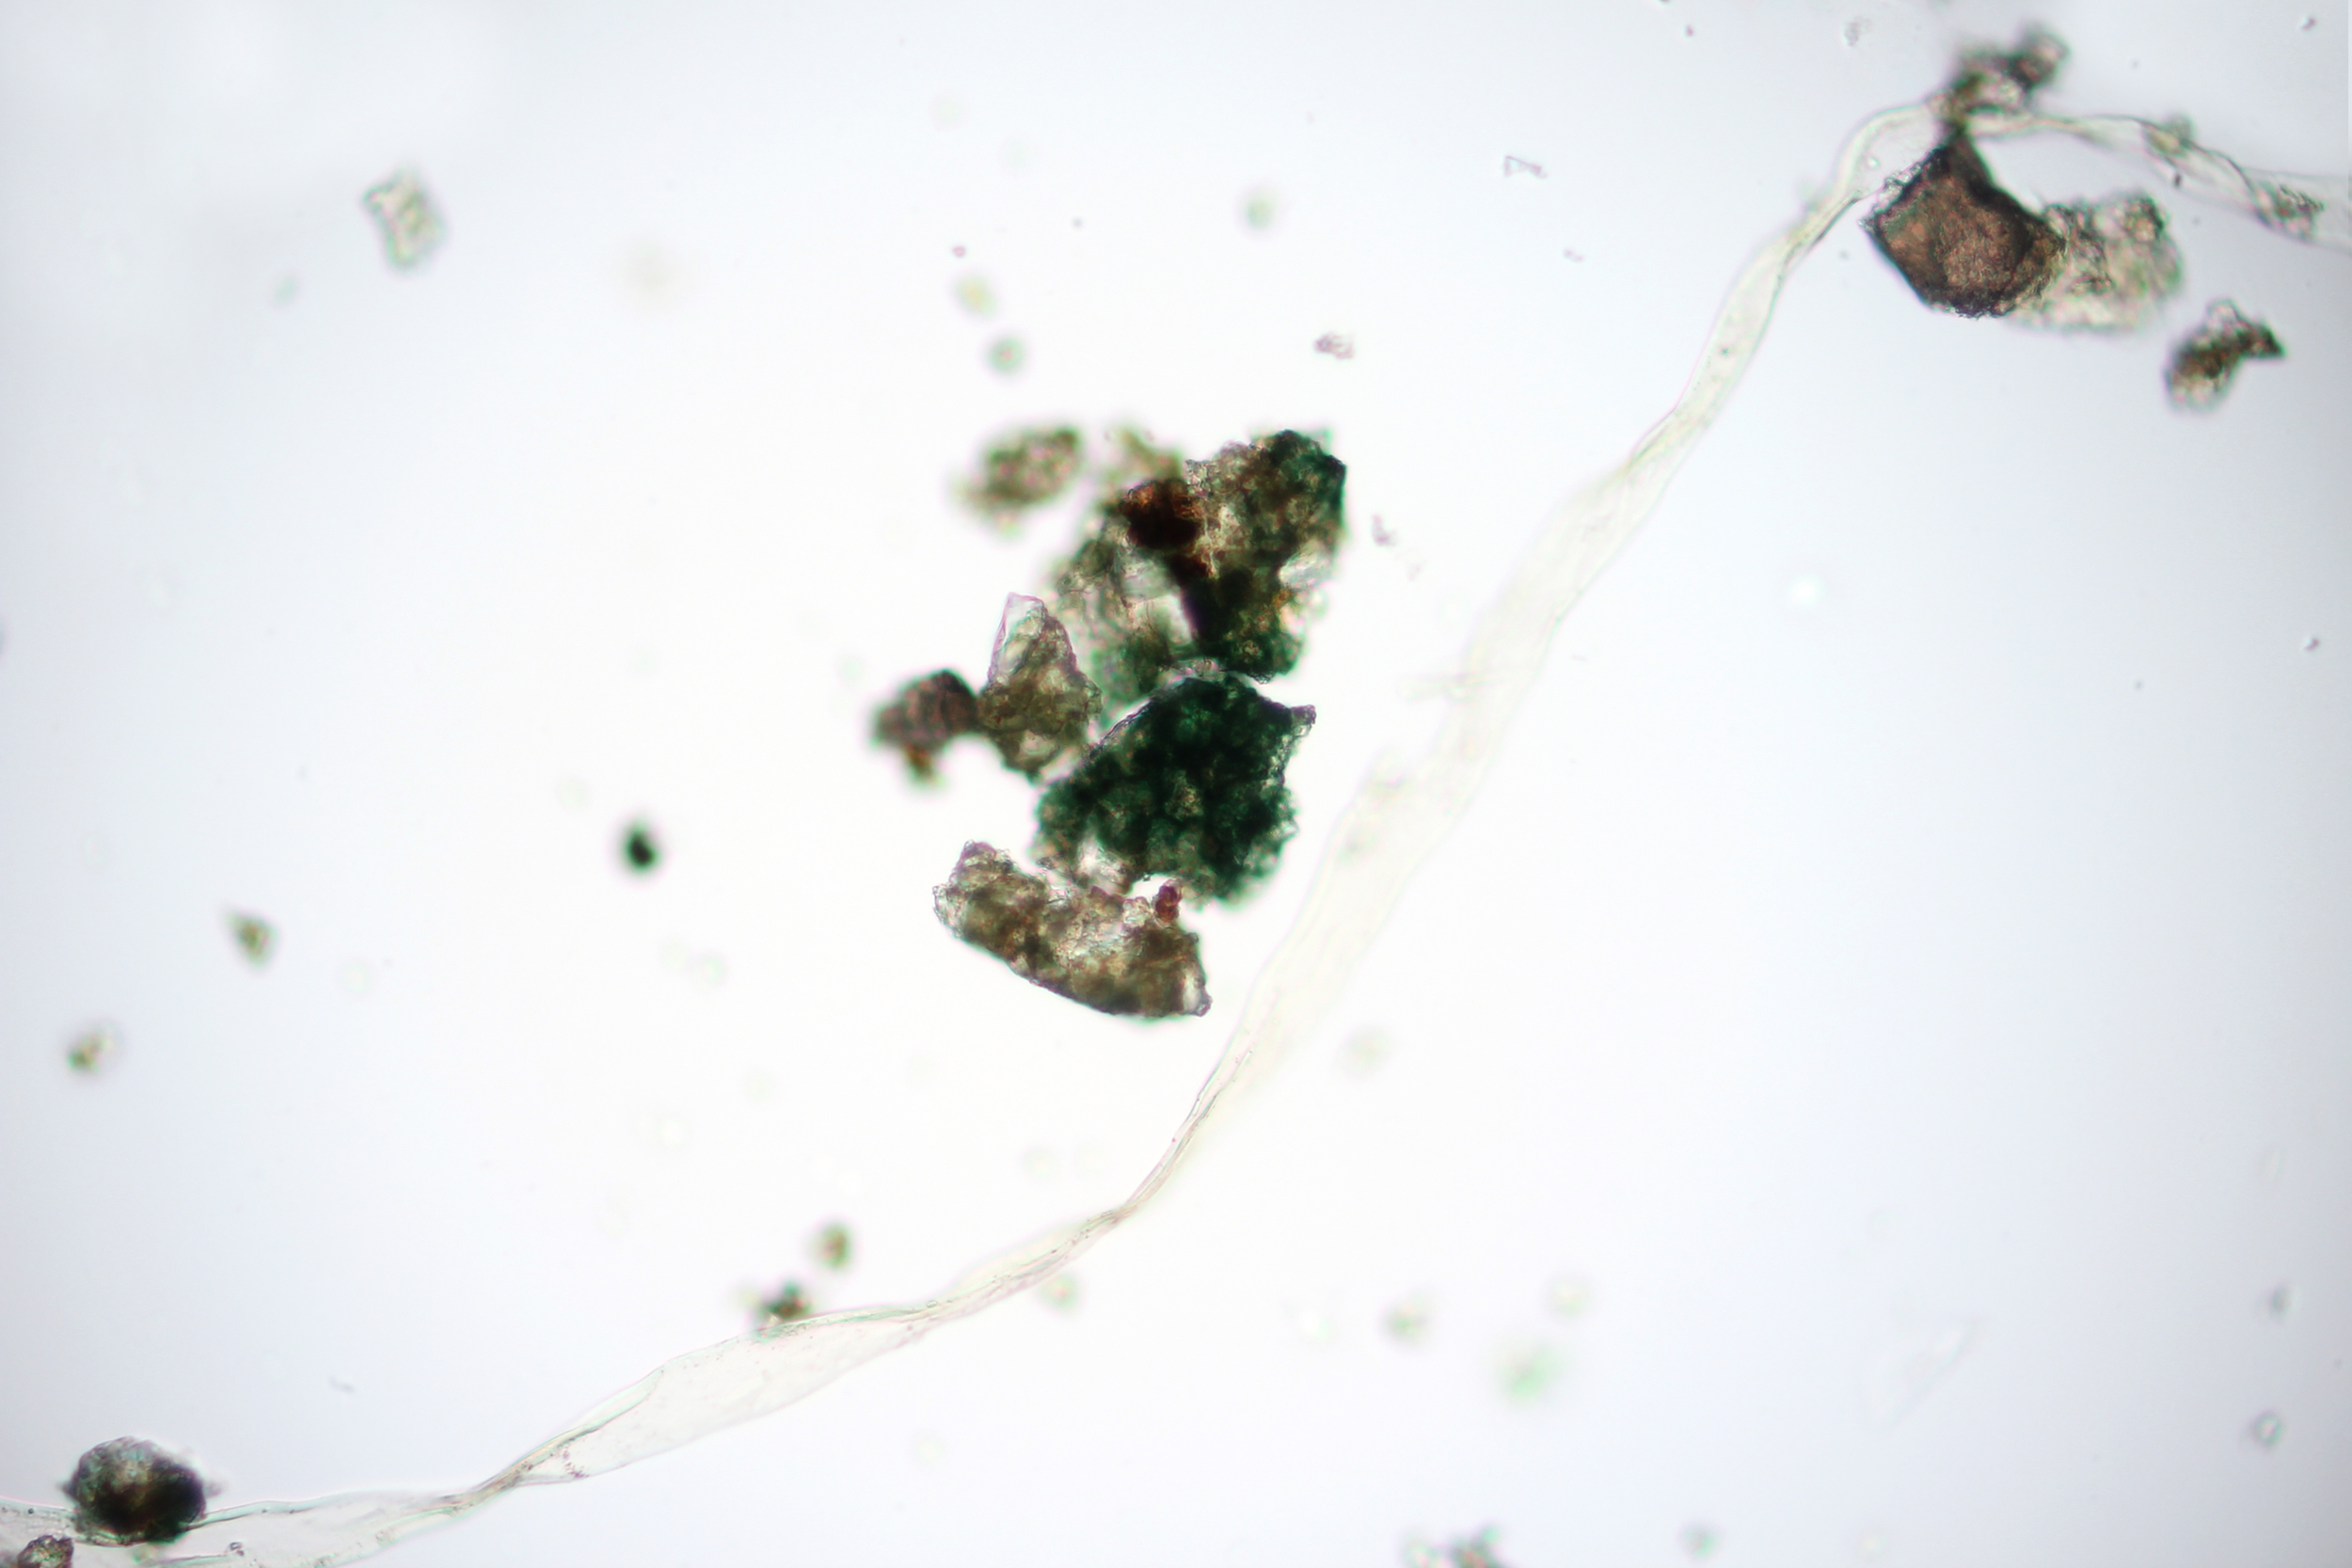
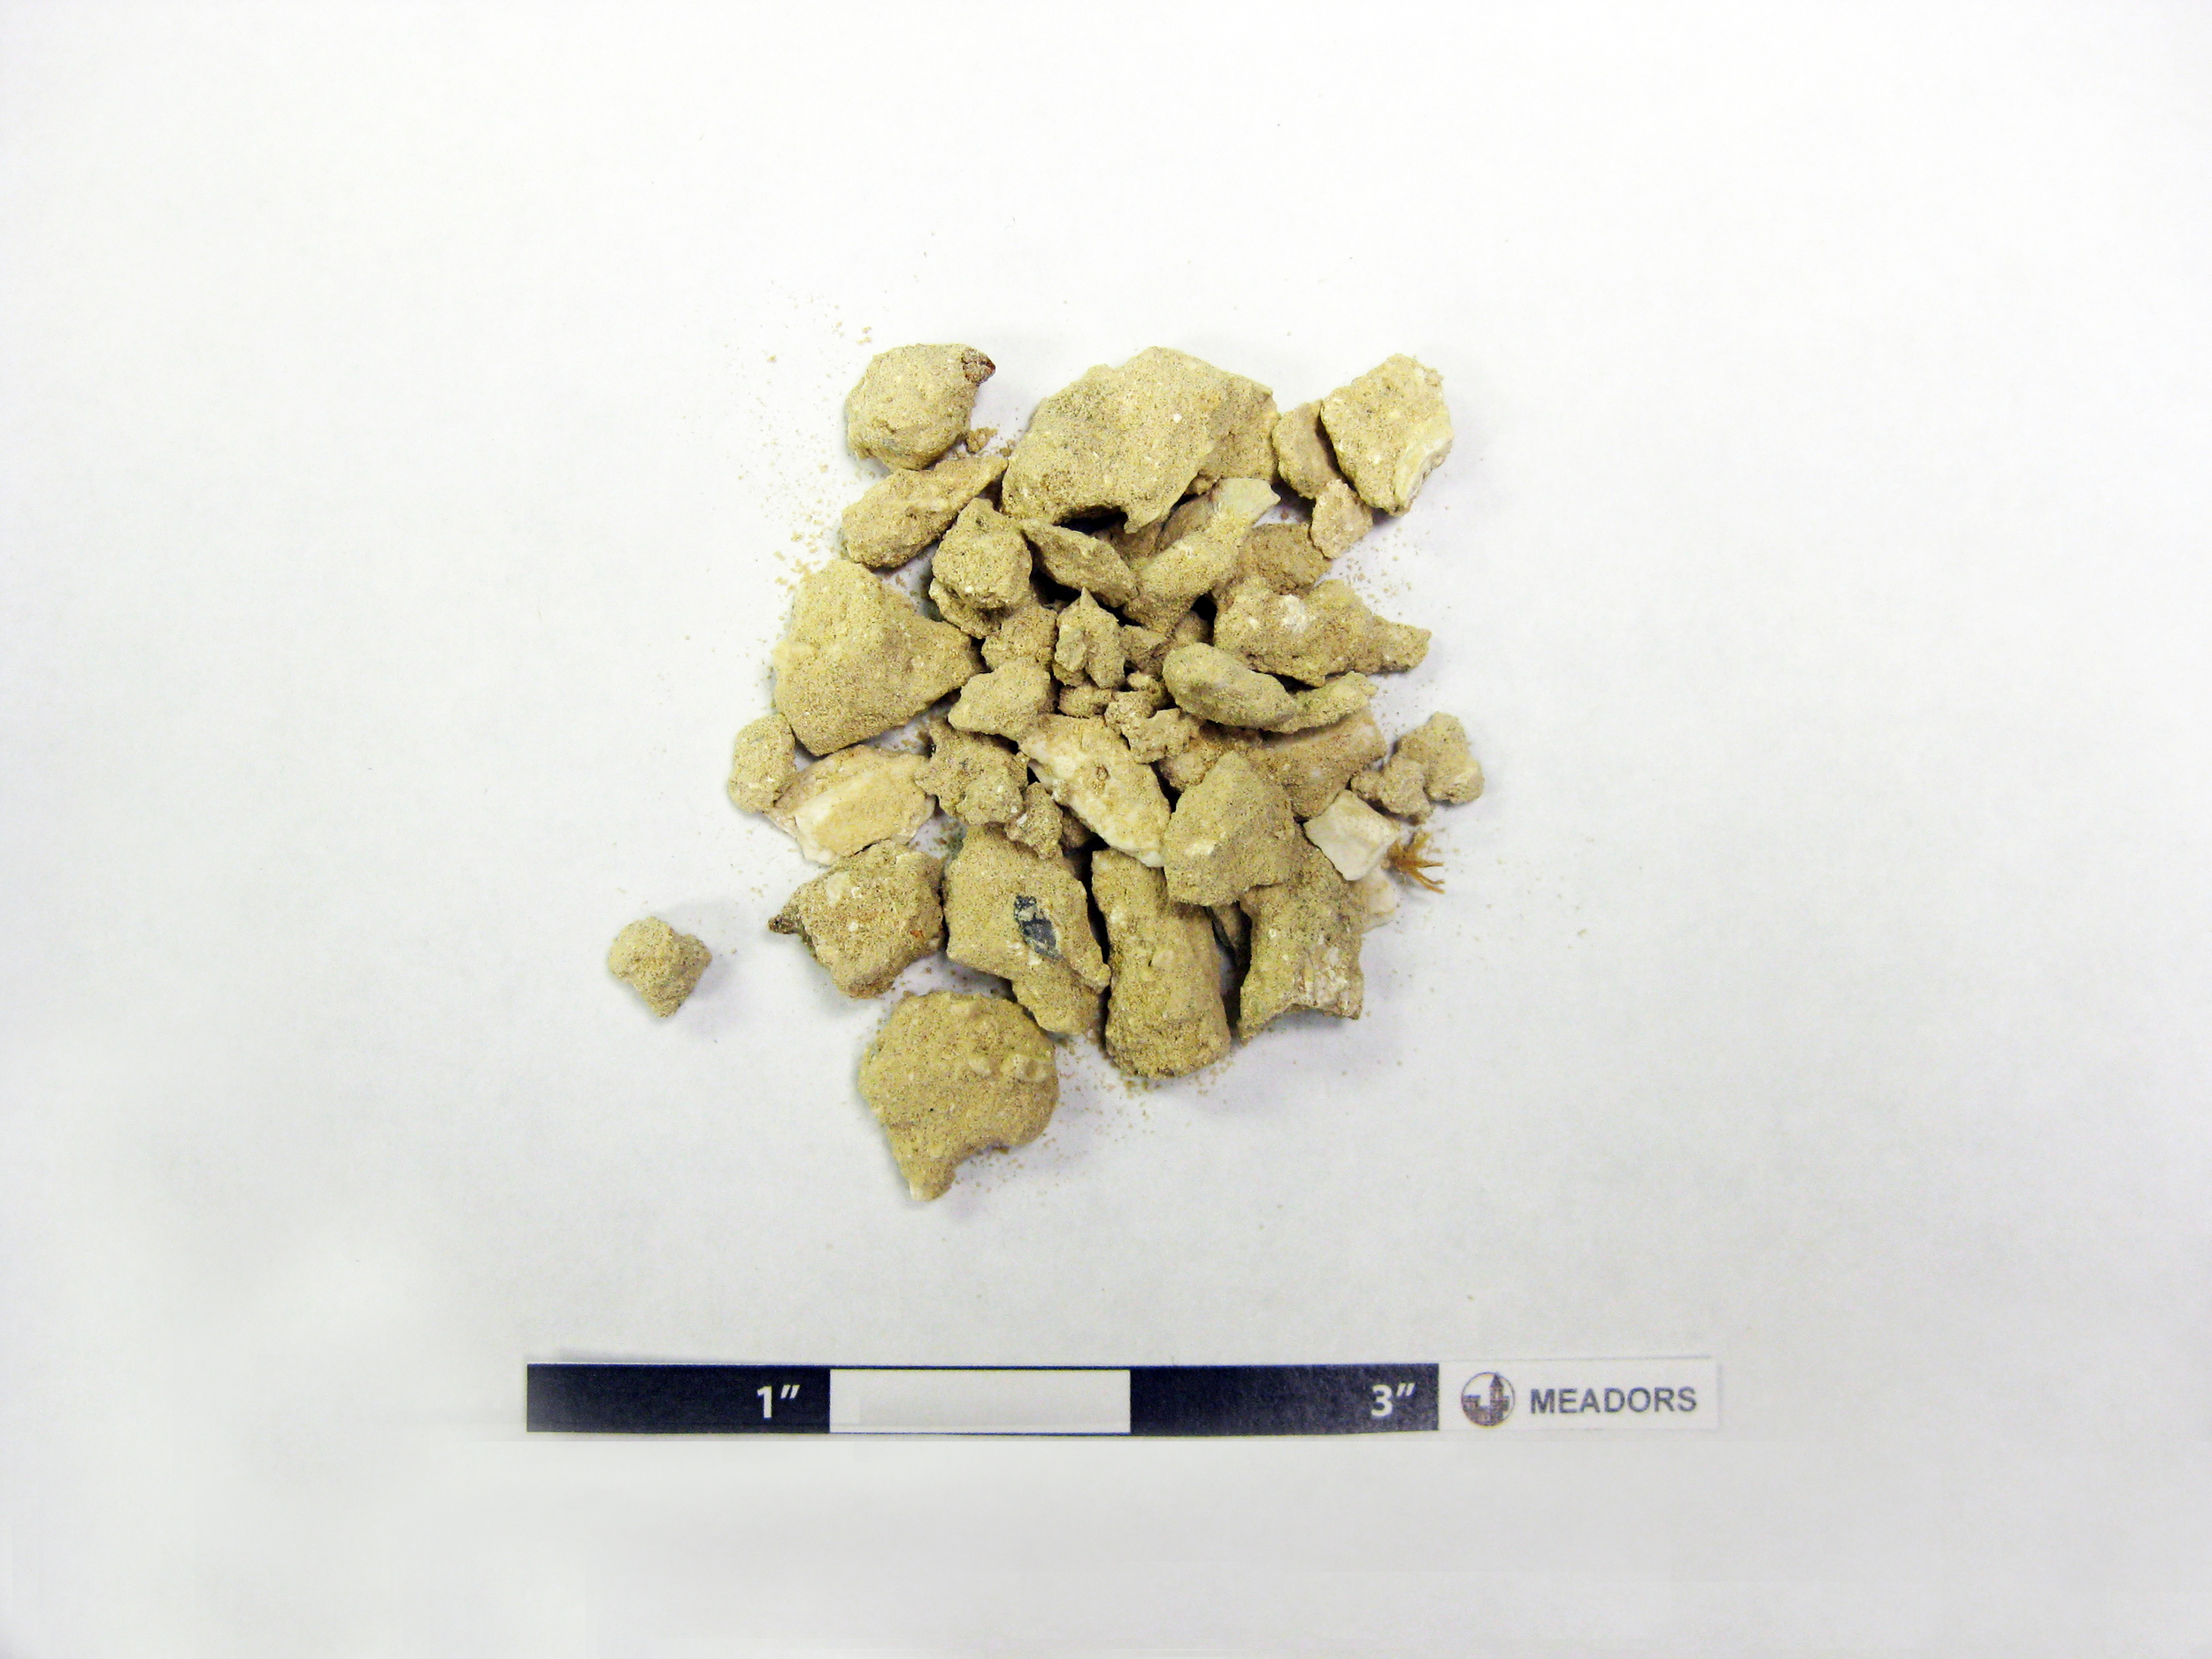
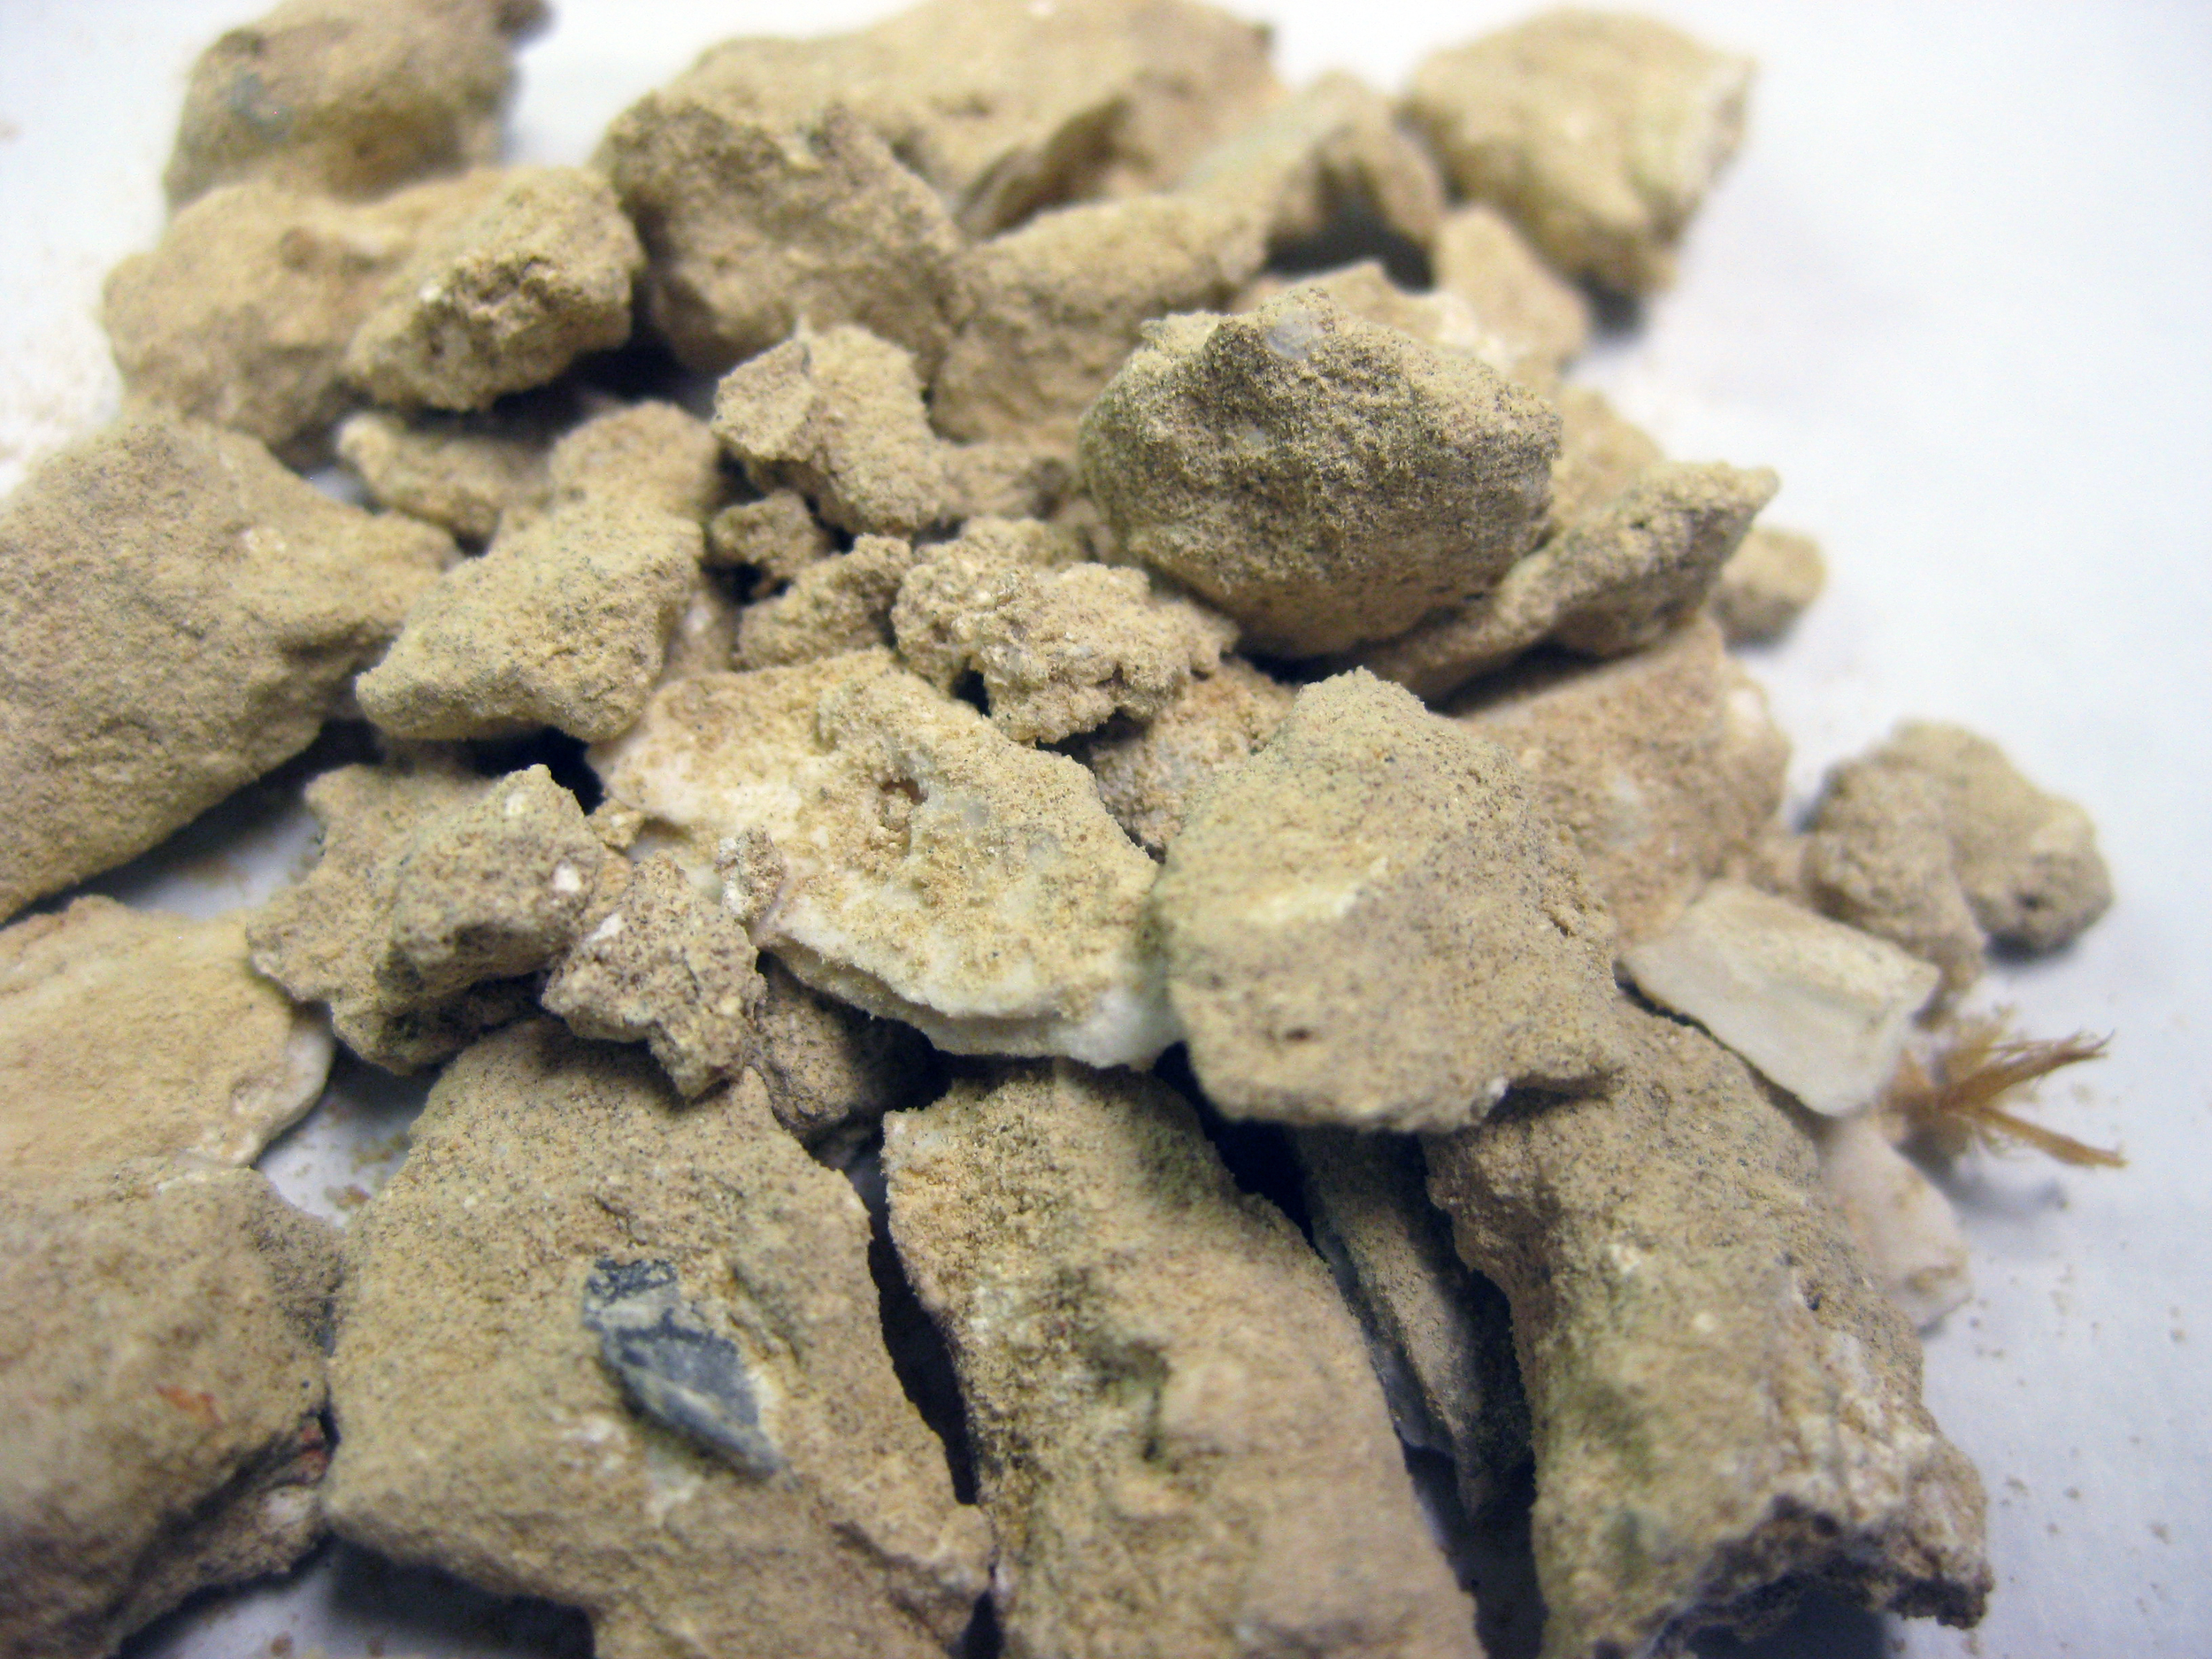
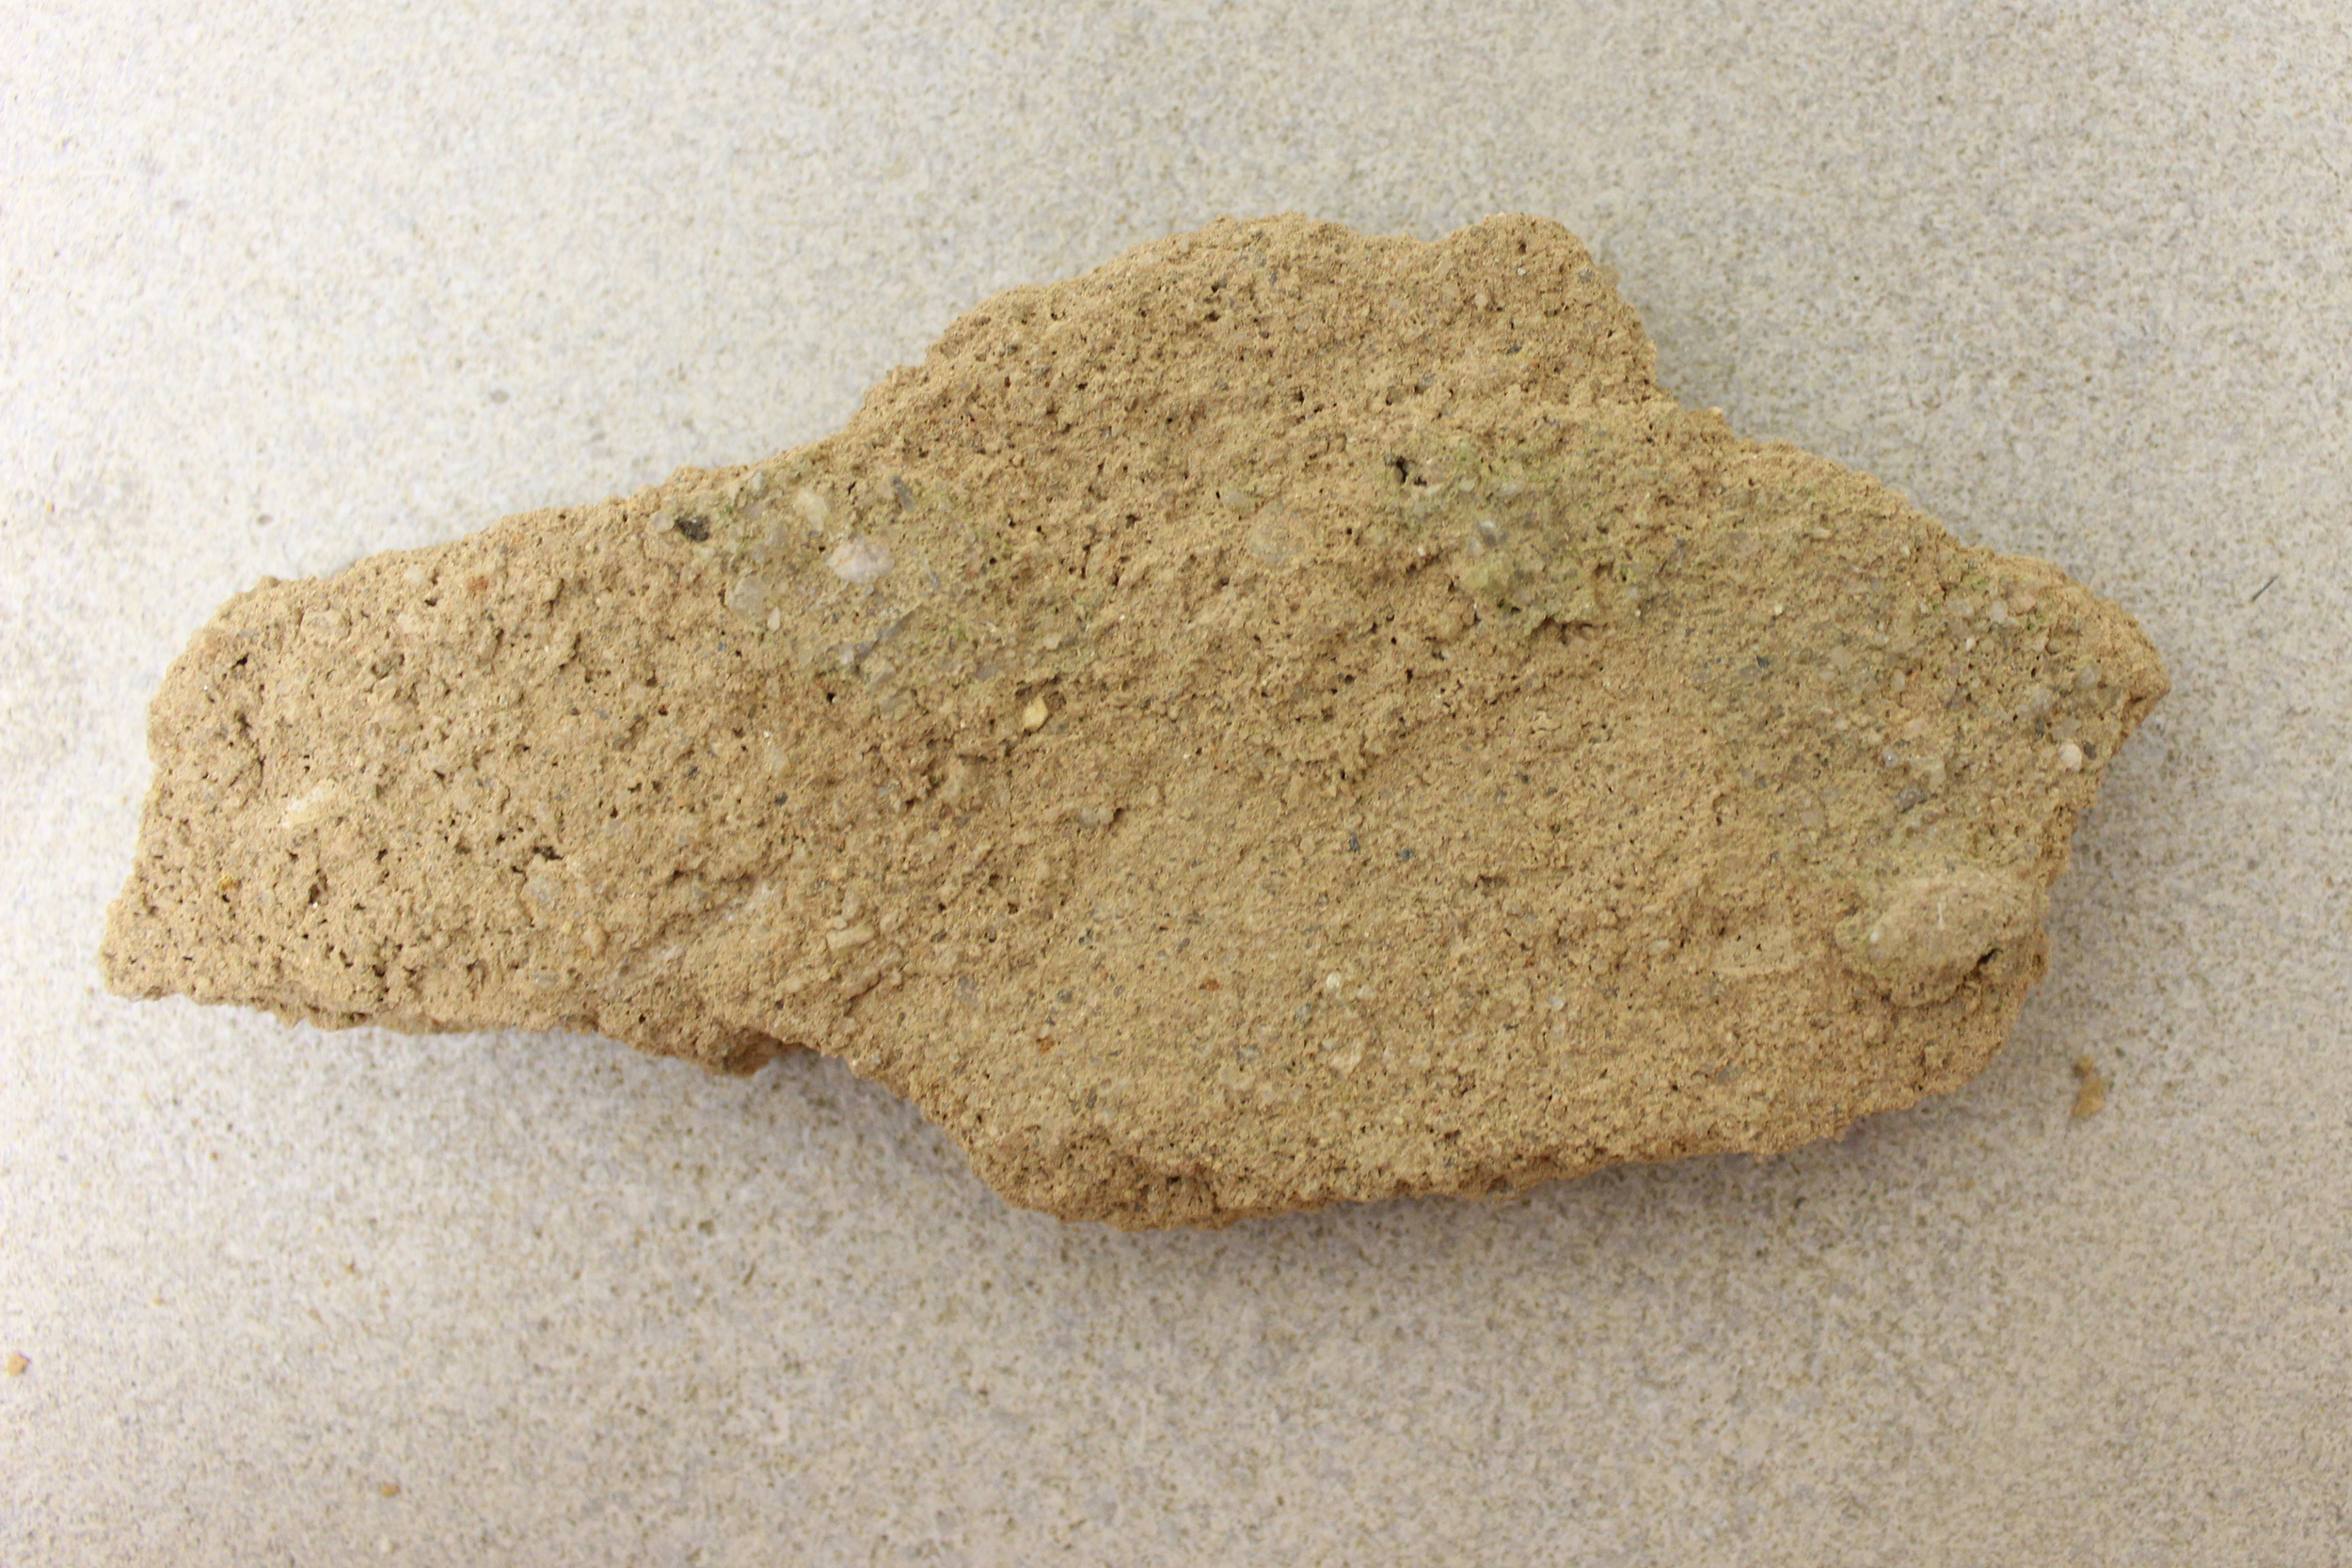
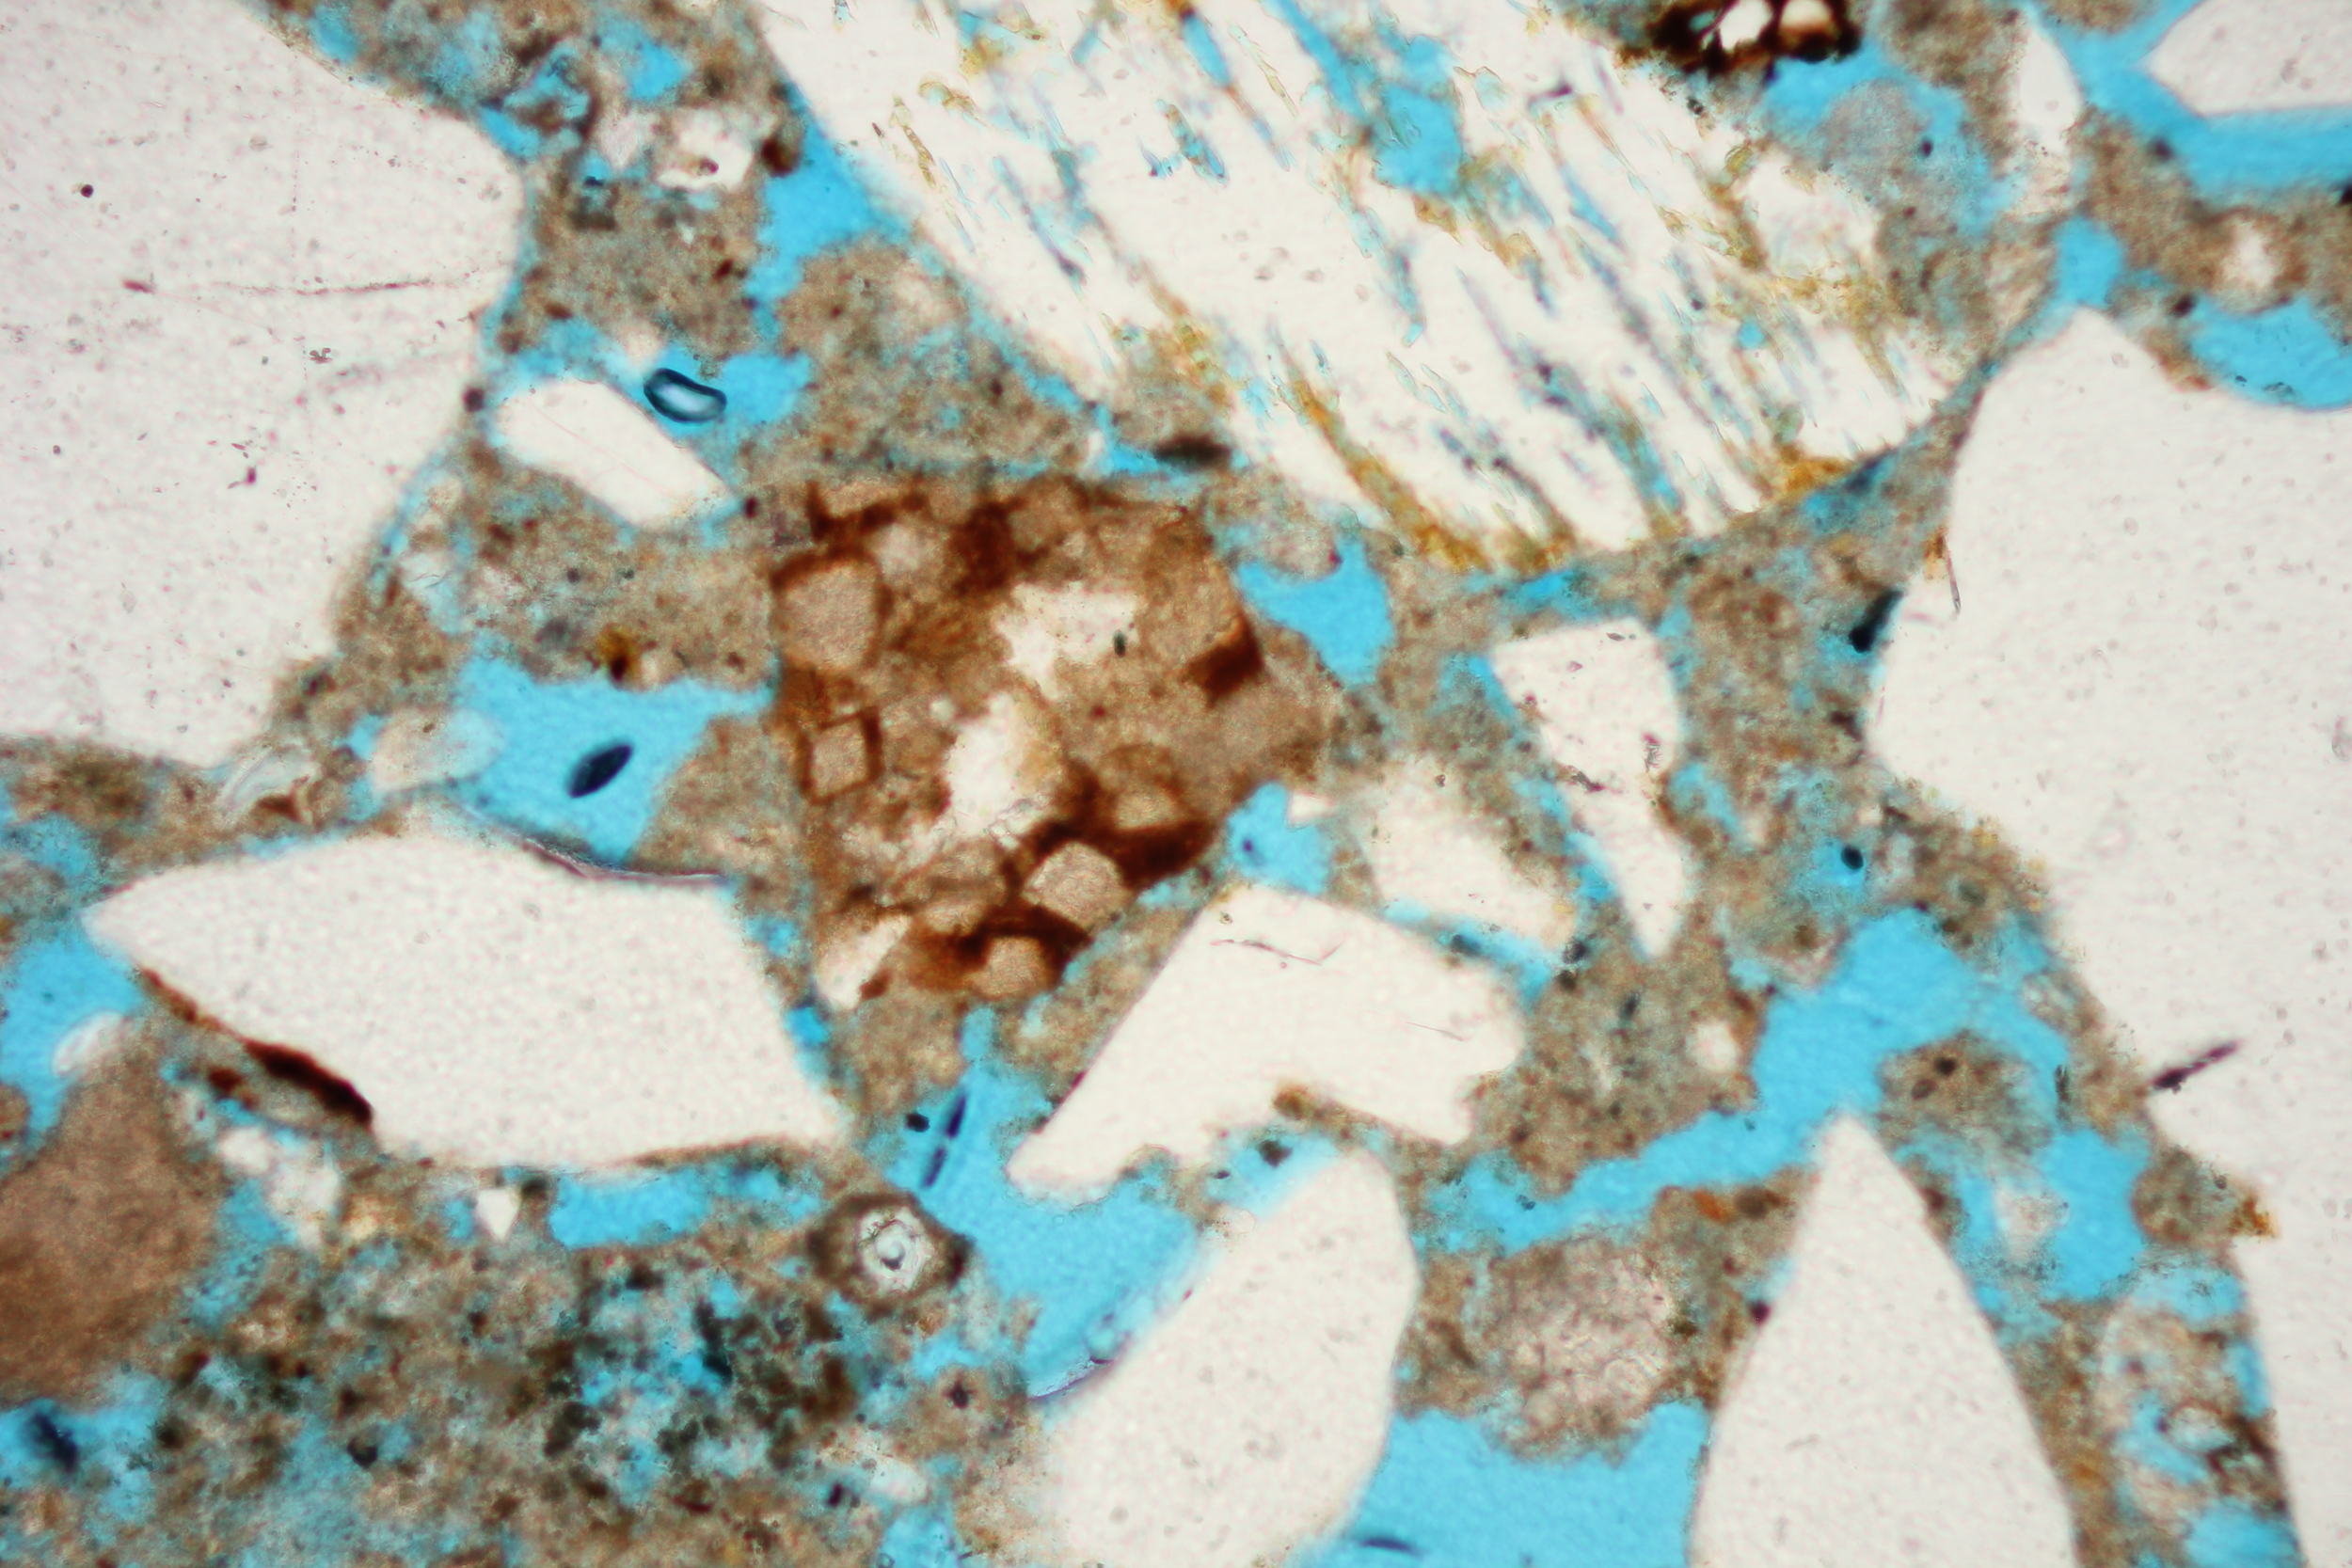
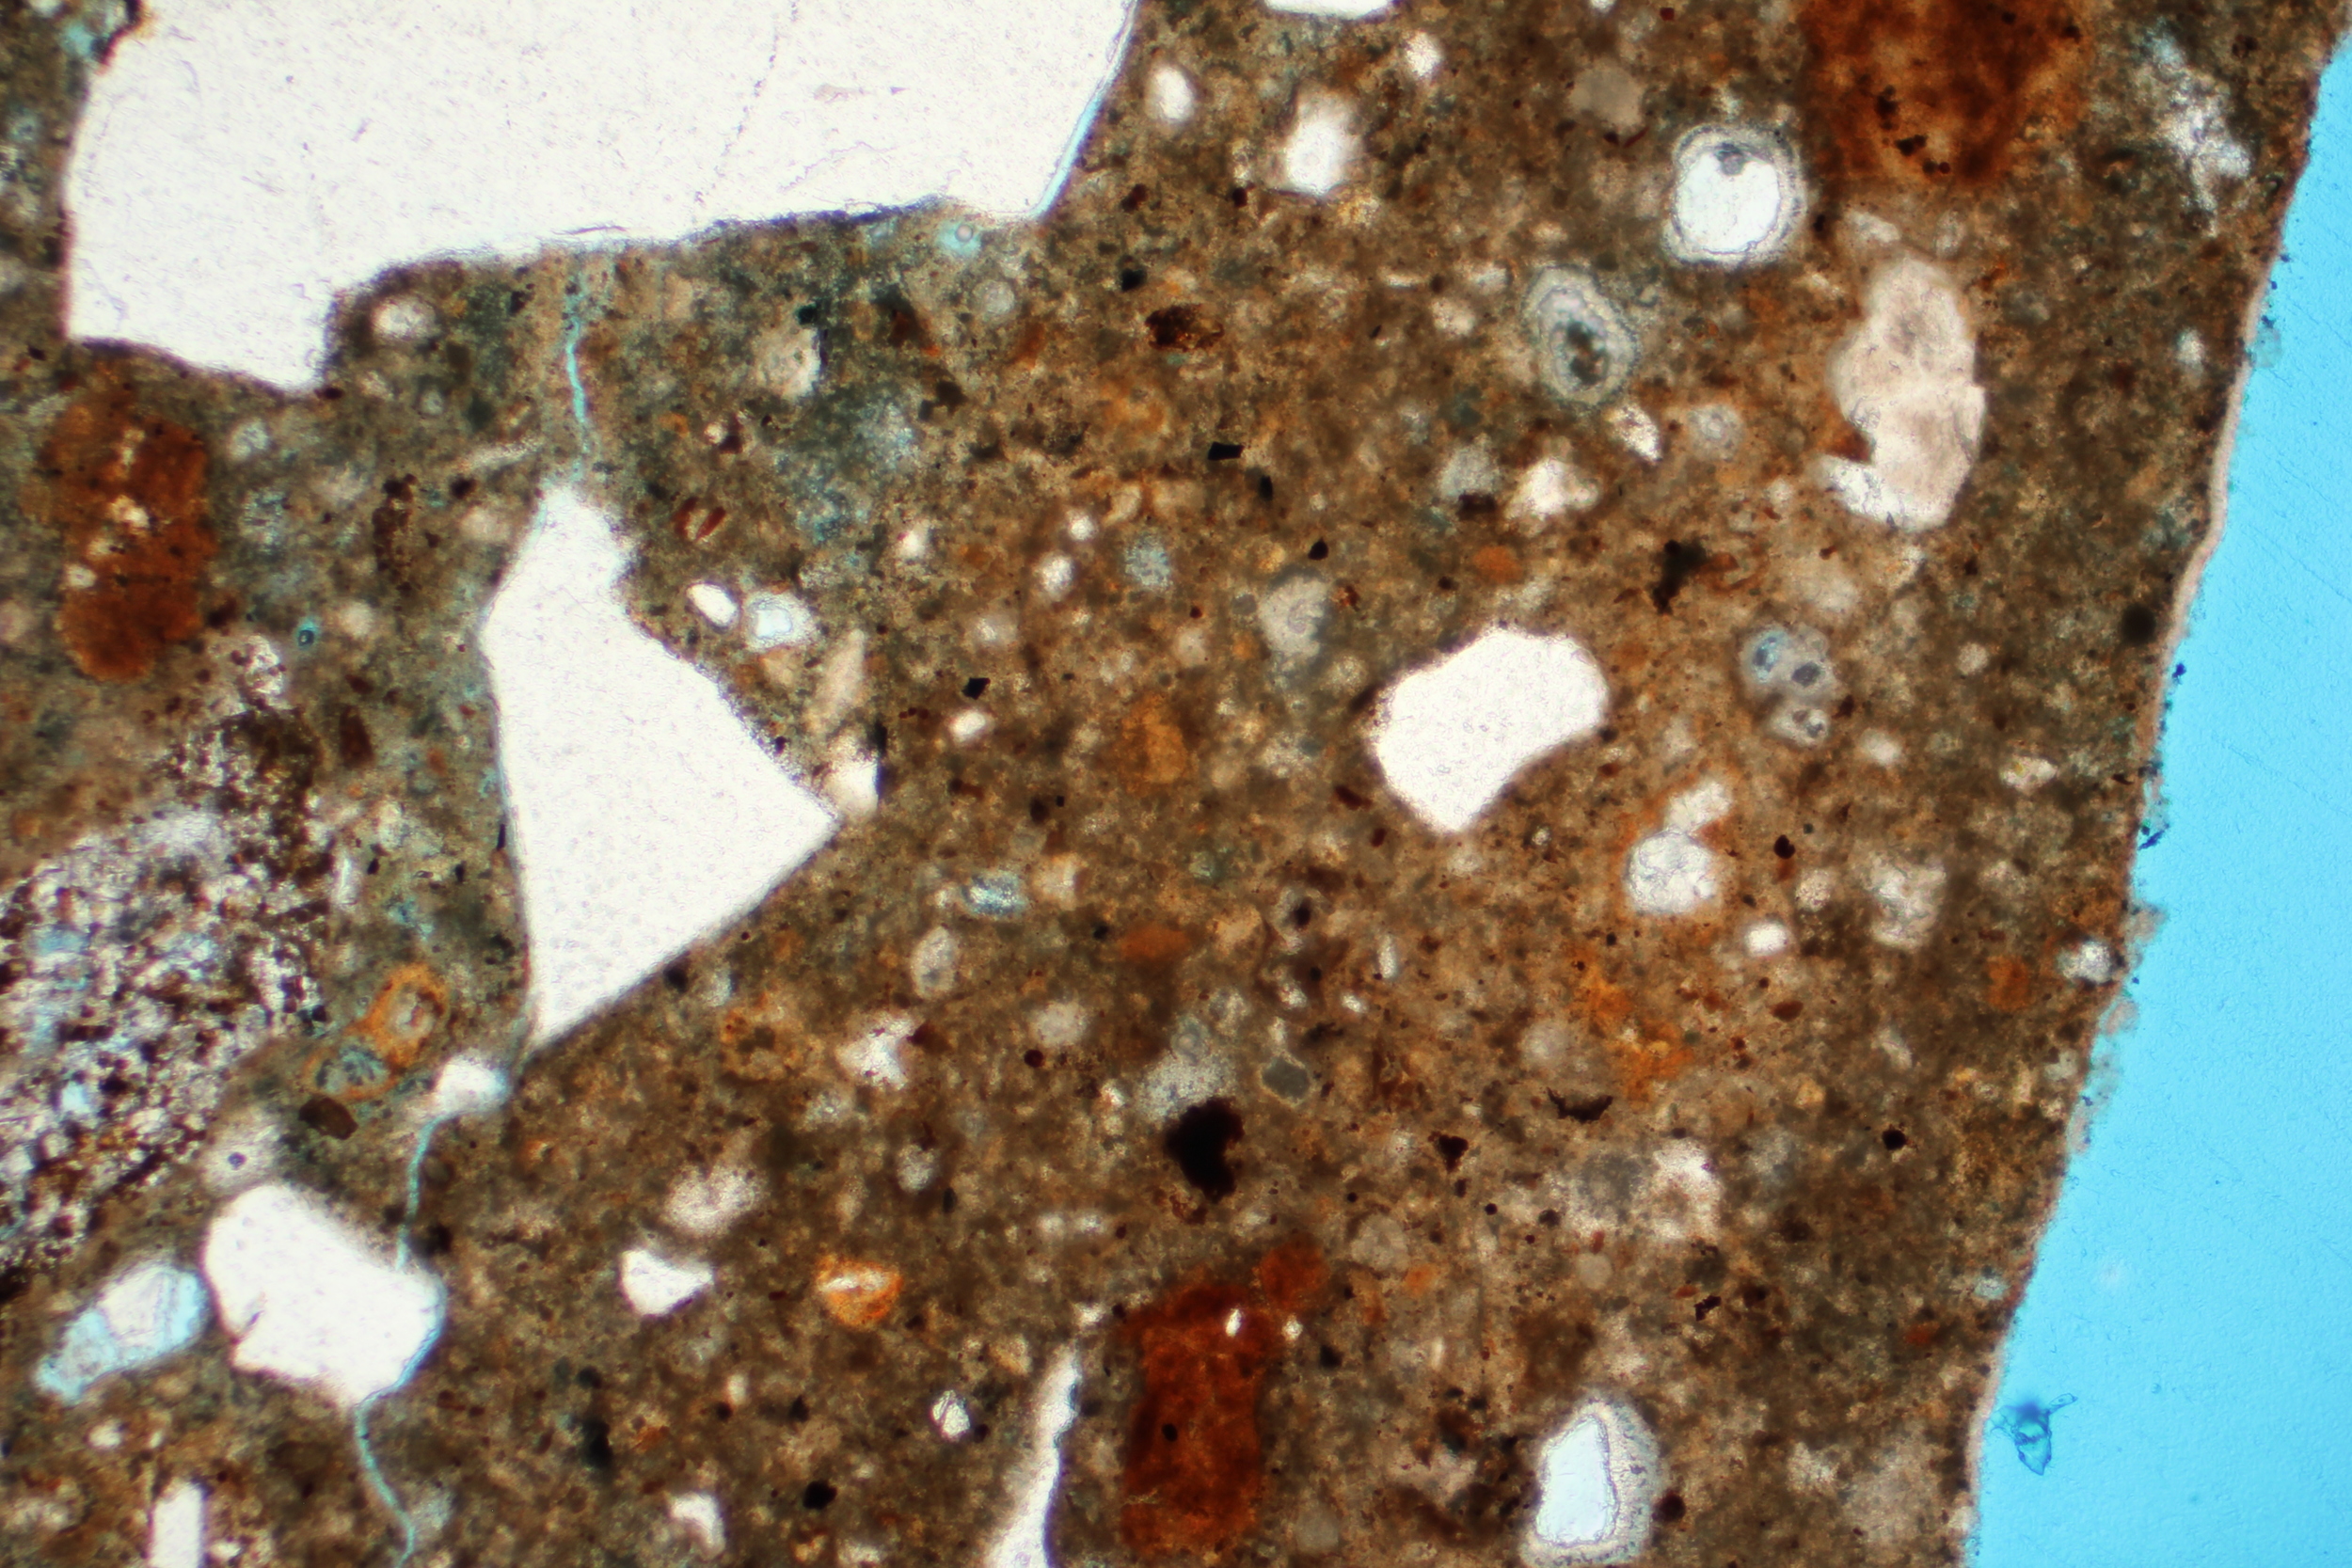
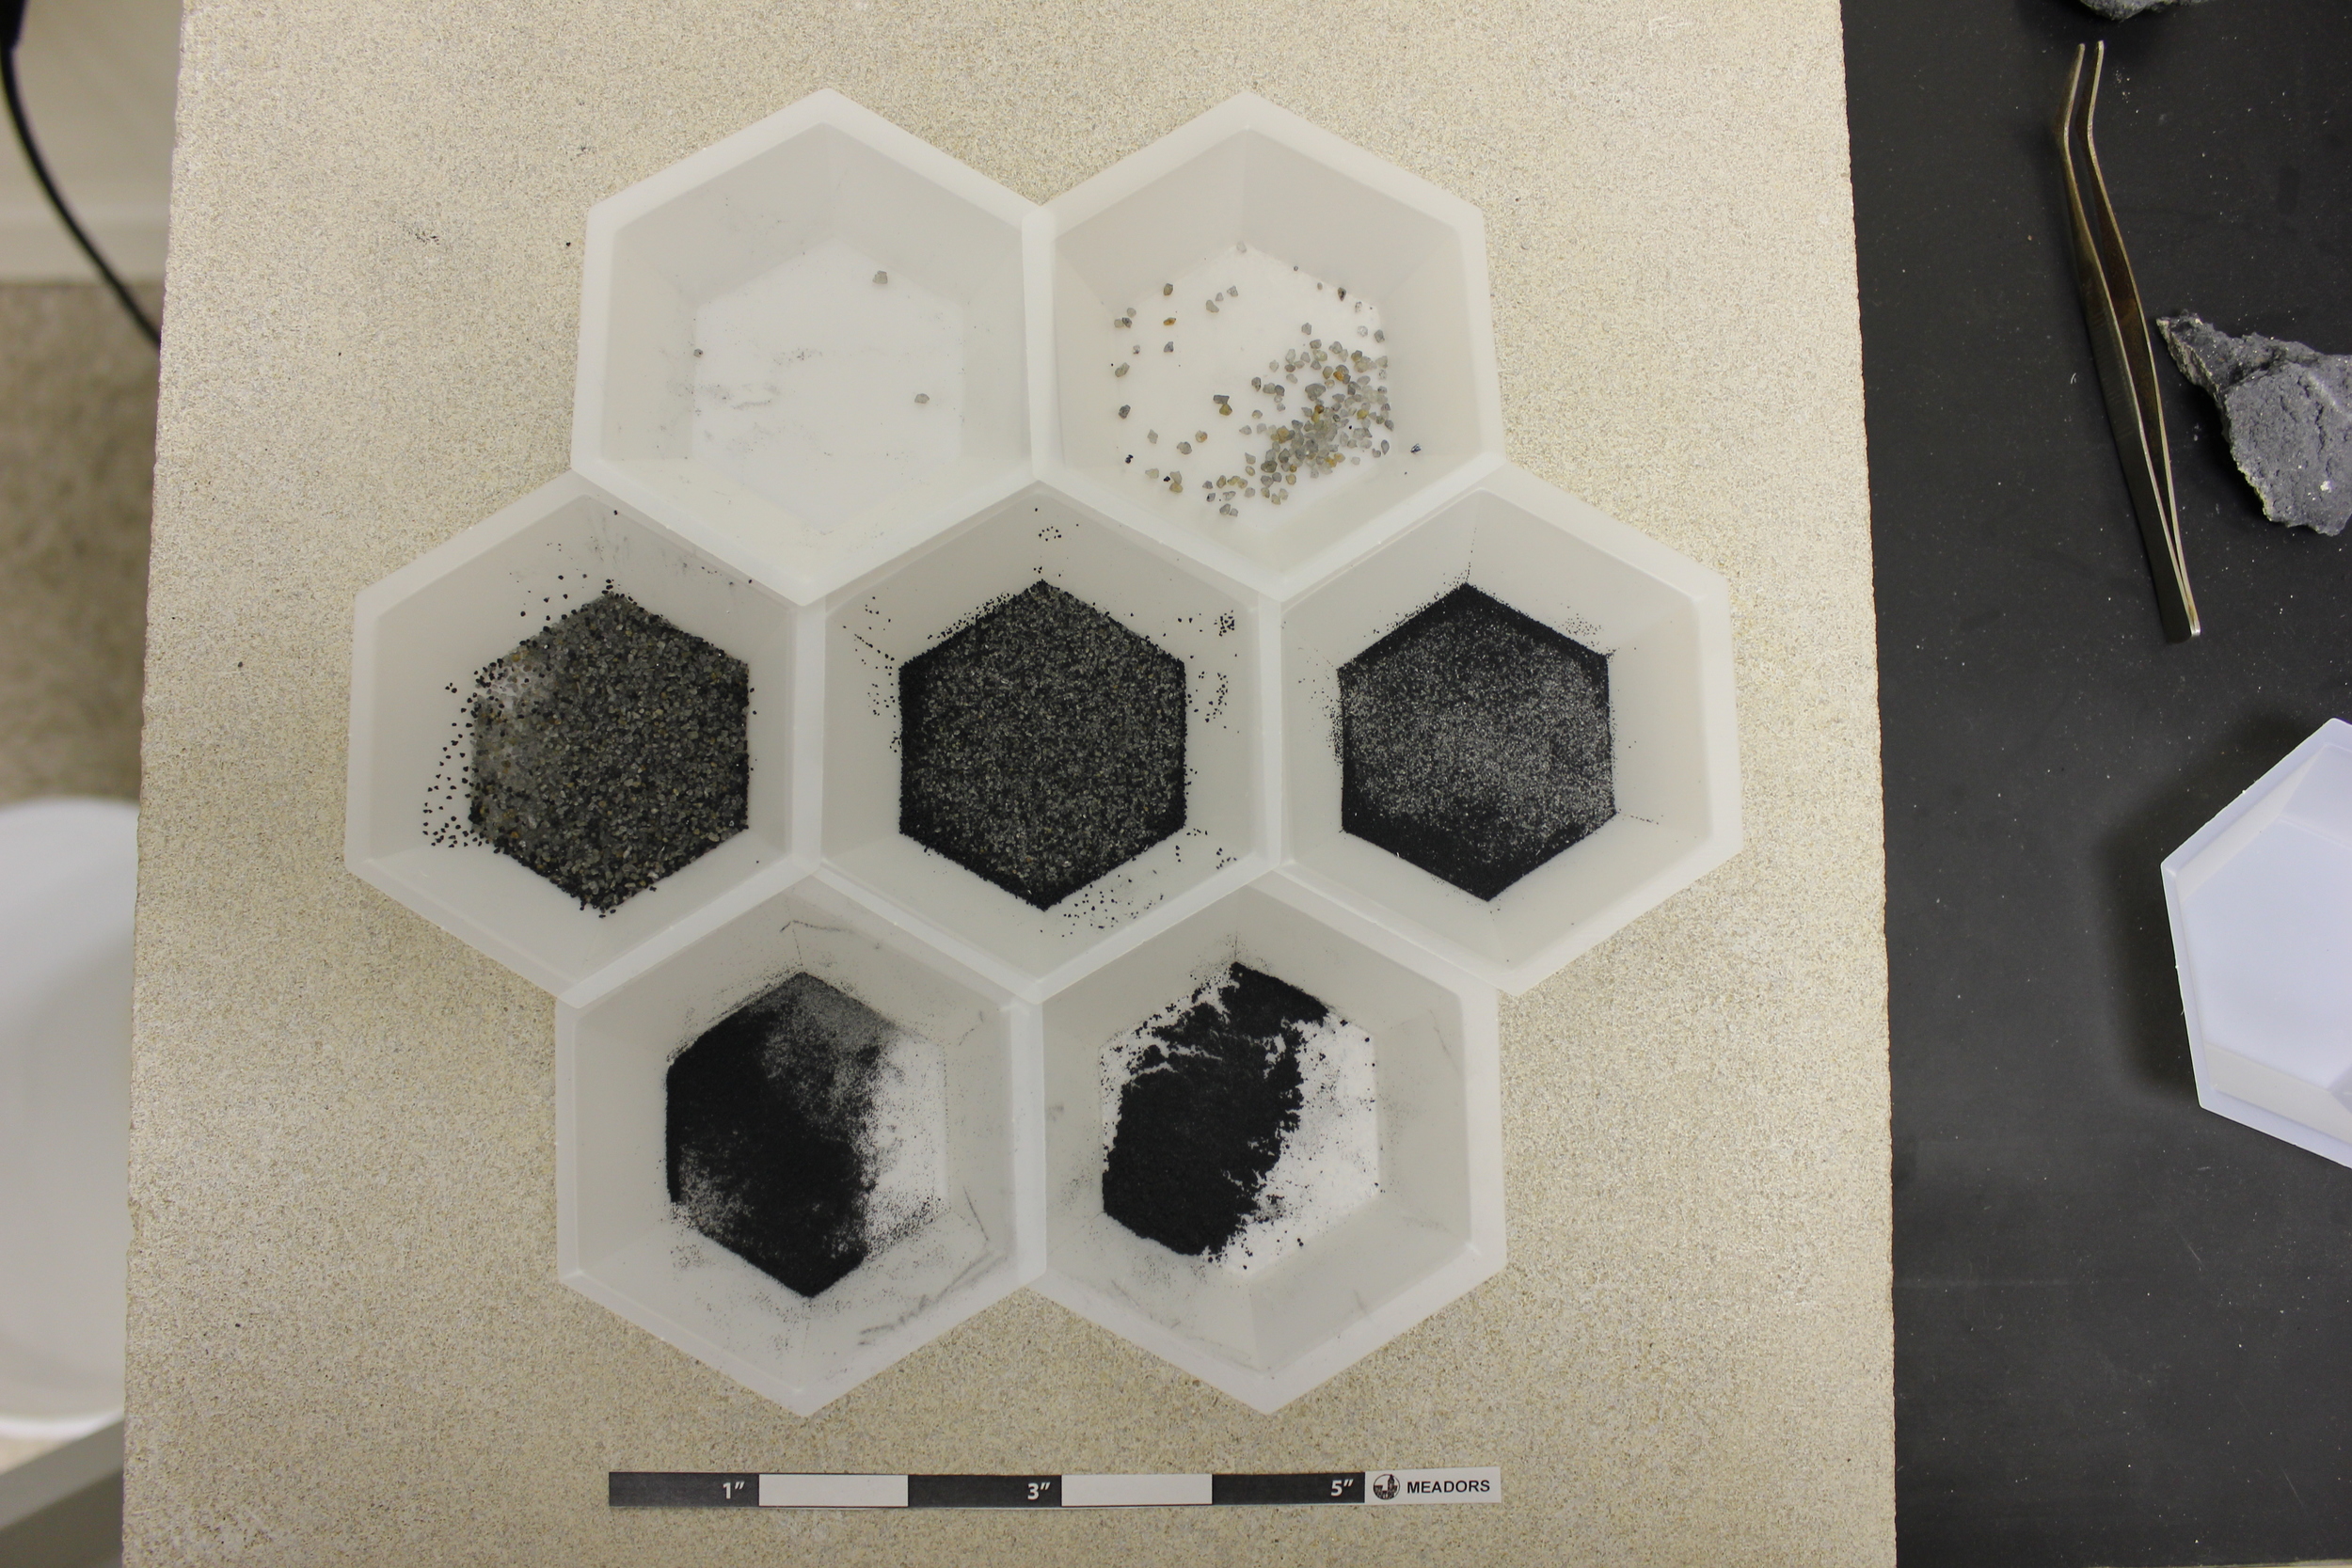
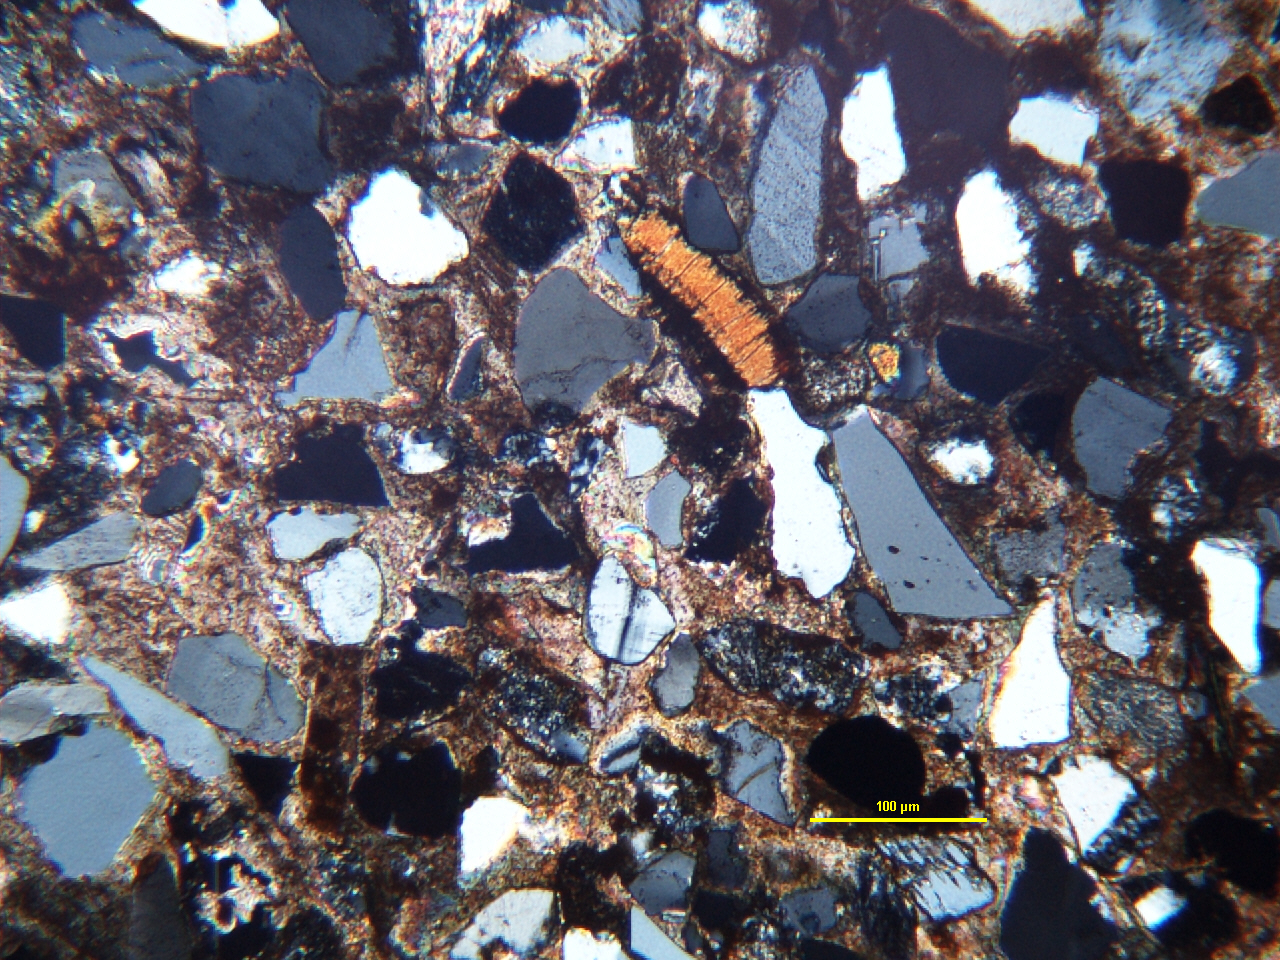
Following on-site sampling, mortar and render samples are brought back to the laboratory and are categorized visually under a microscope with visible light to describe the texture, appearance, and color. Depending on the level of analysis necessary, samples are can be analyzed petrographically and/or tested using wet-digestion methods.
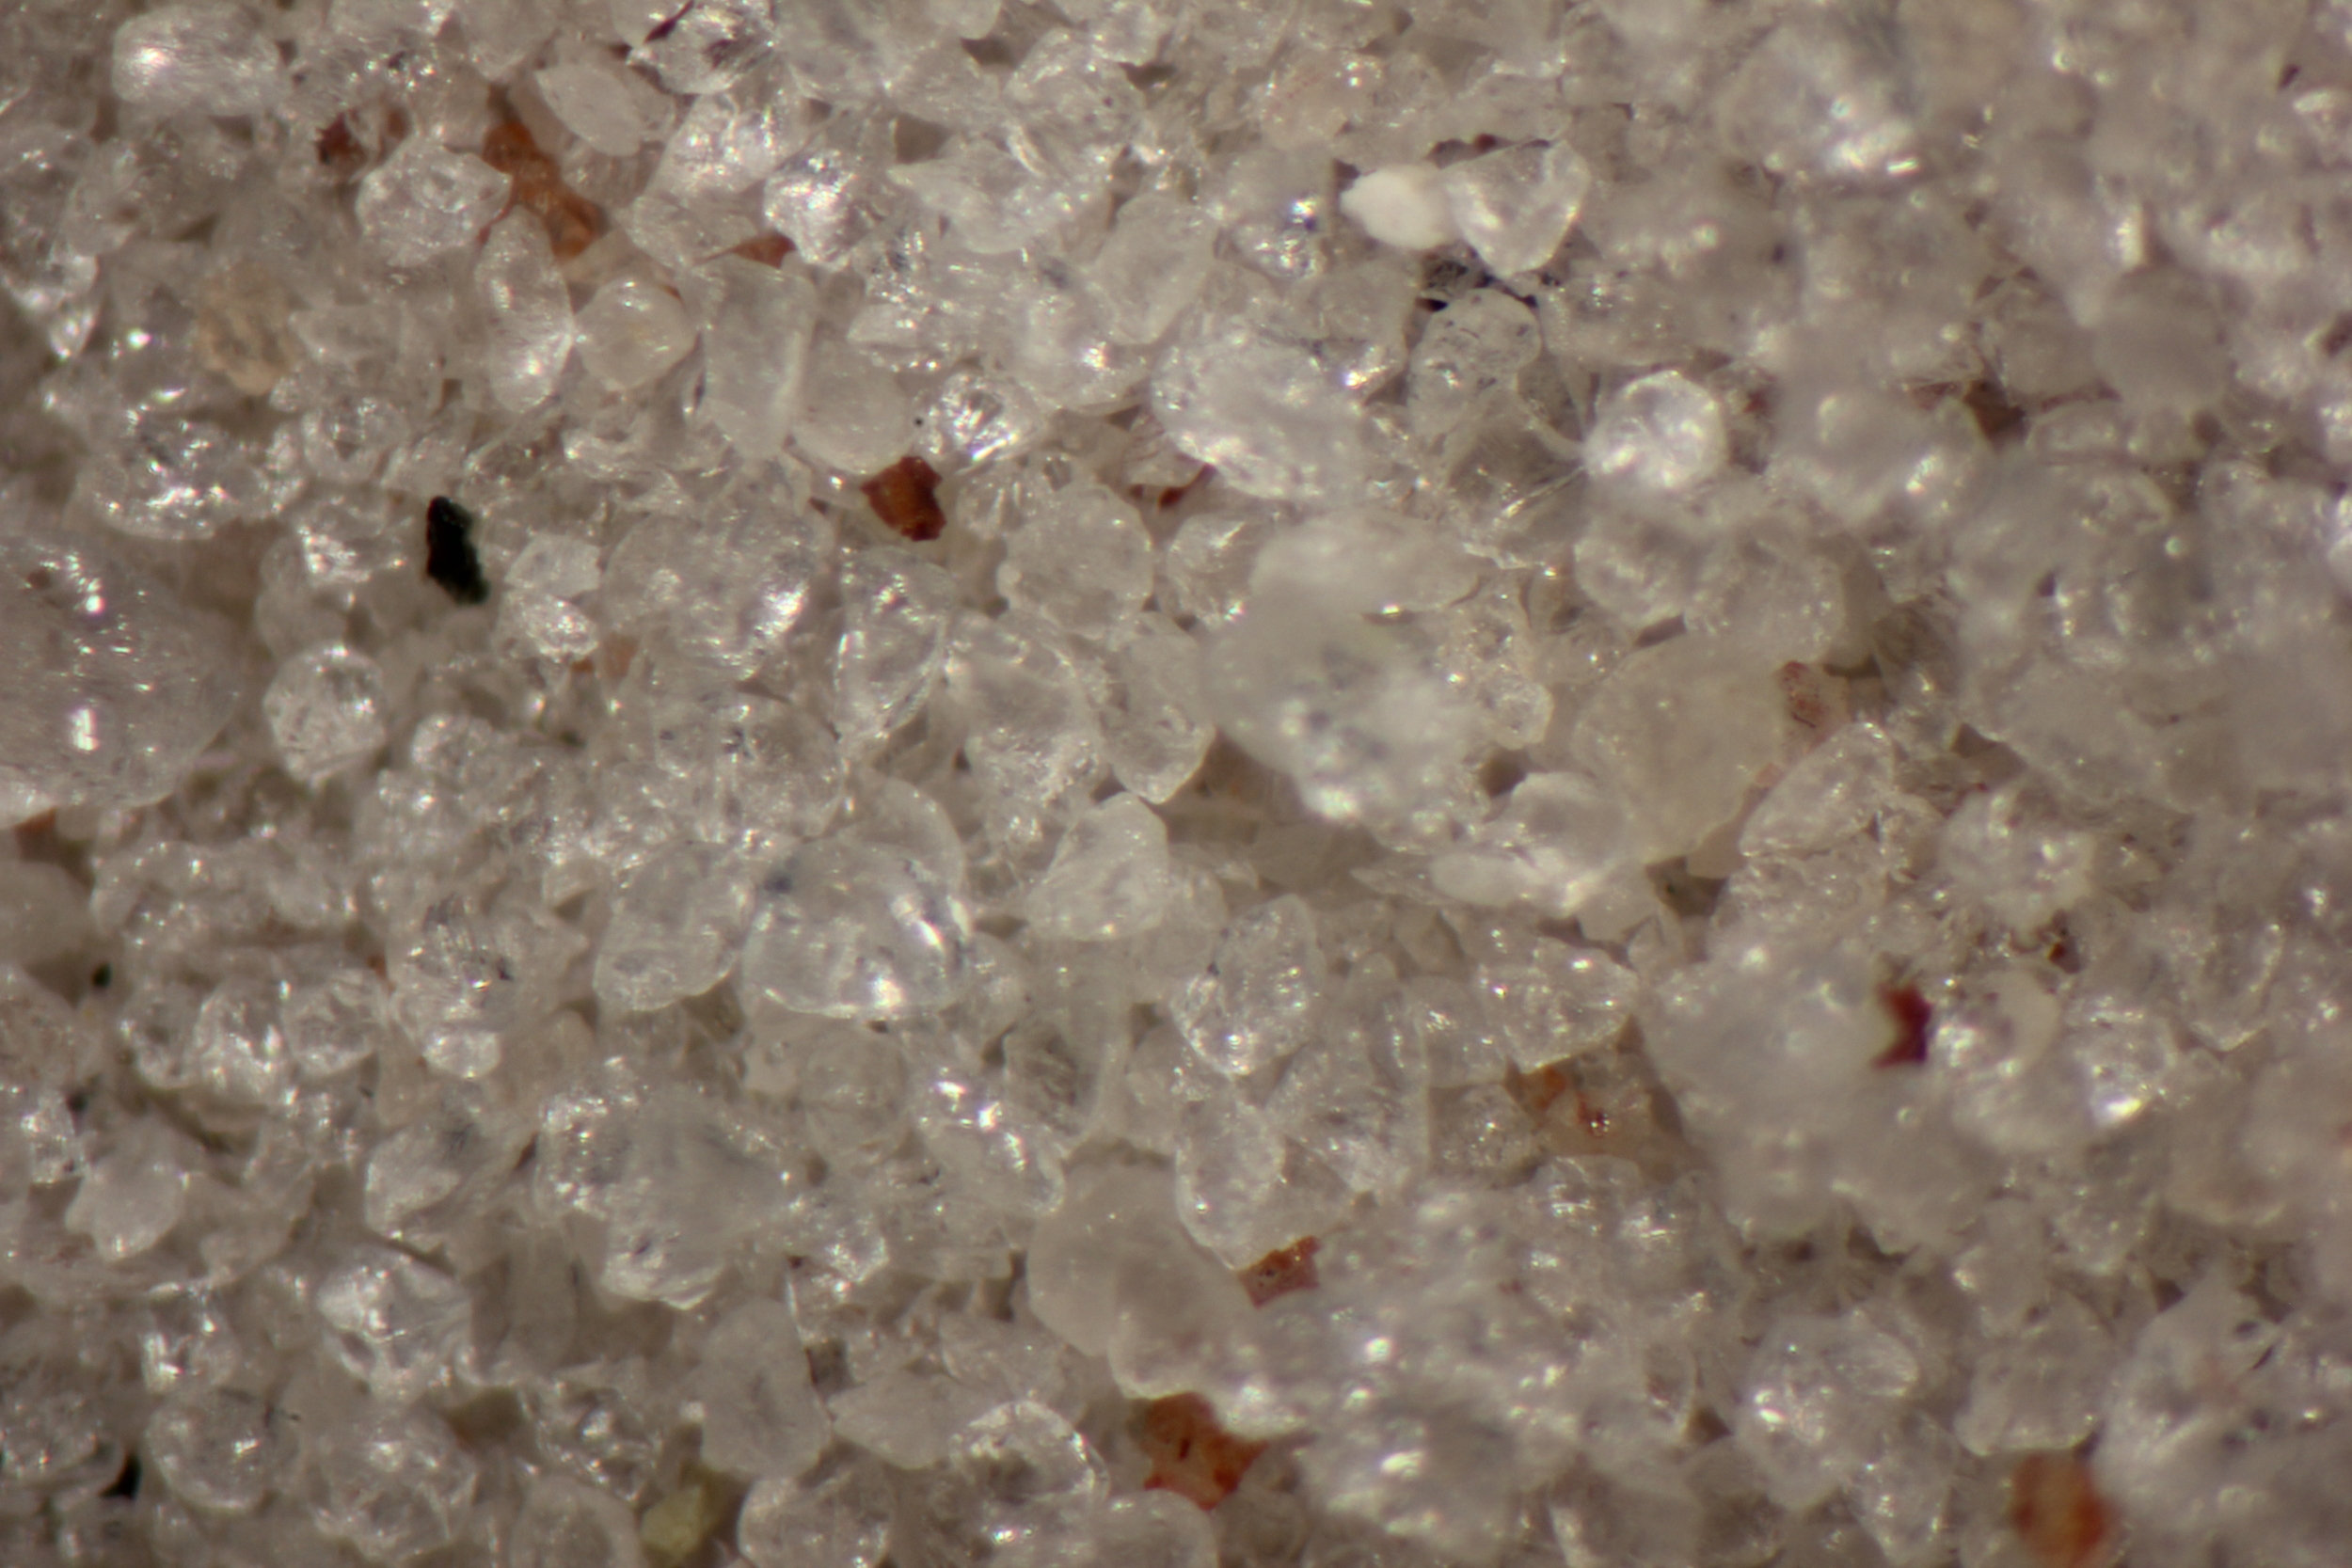
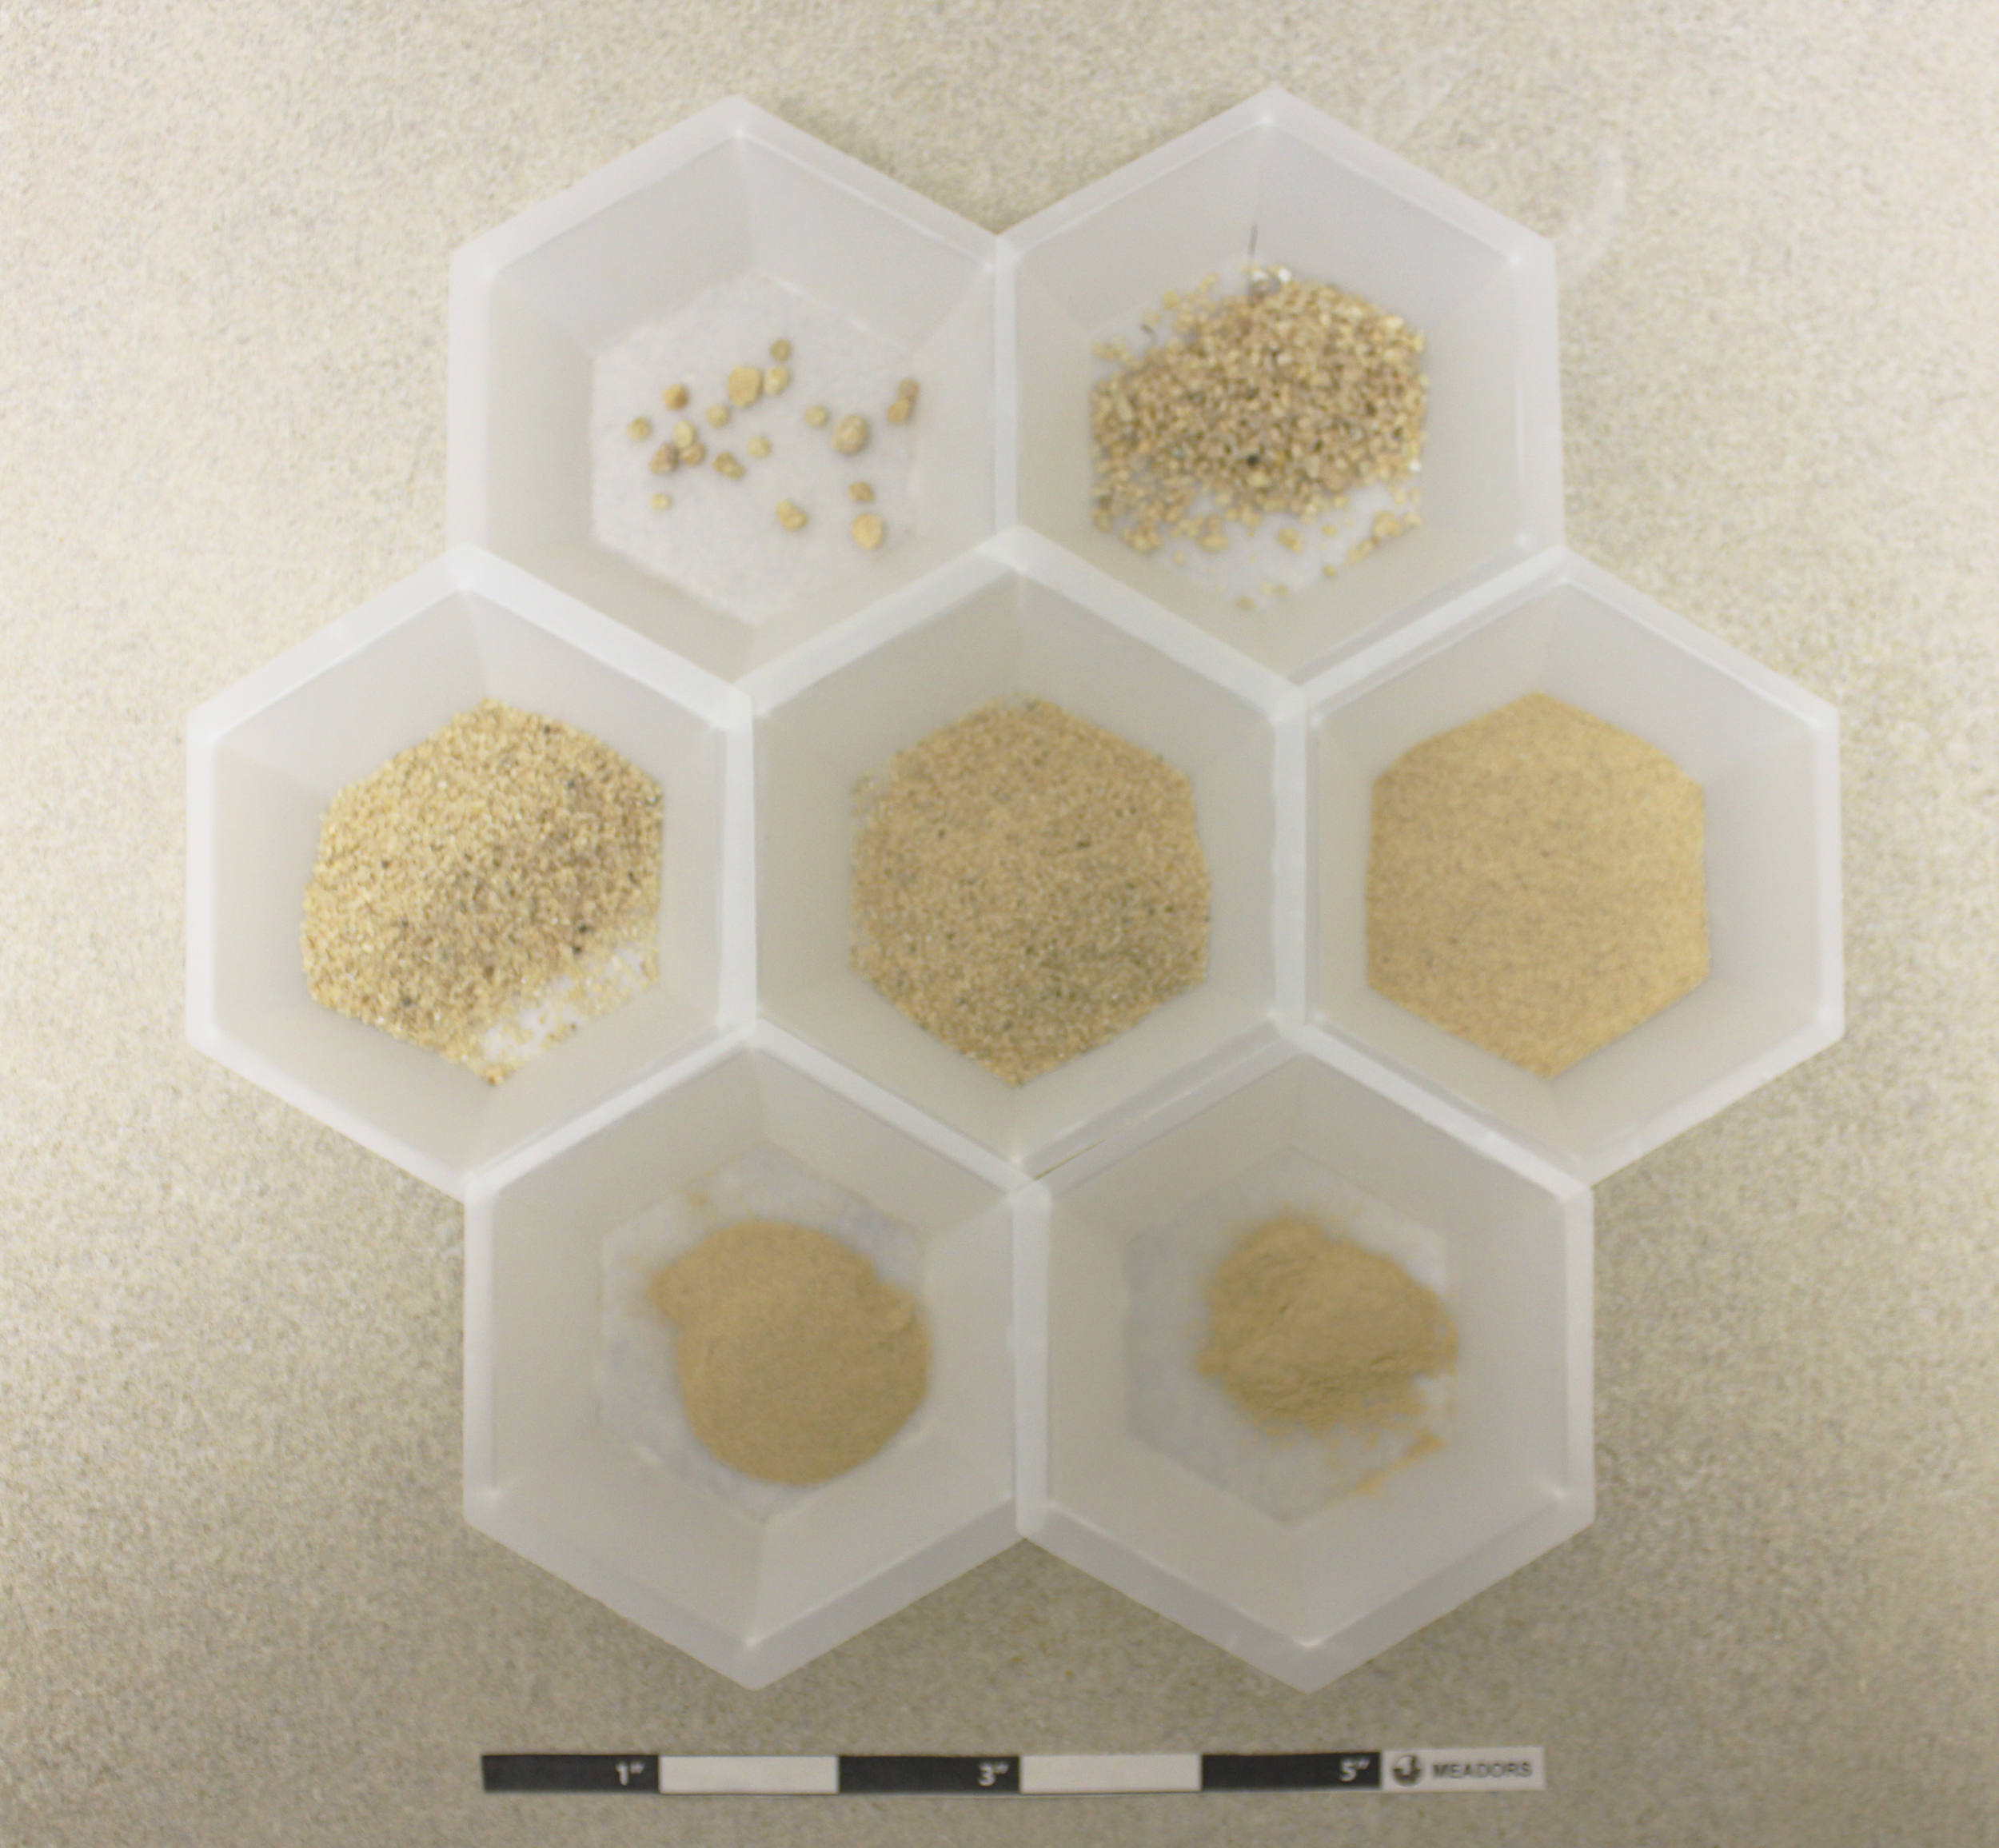
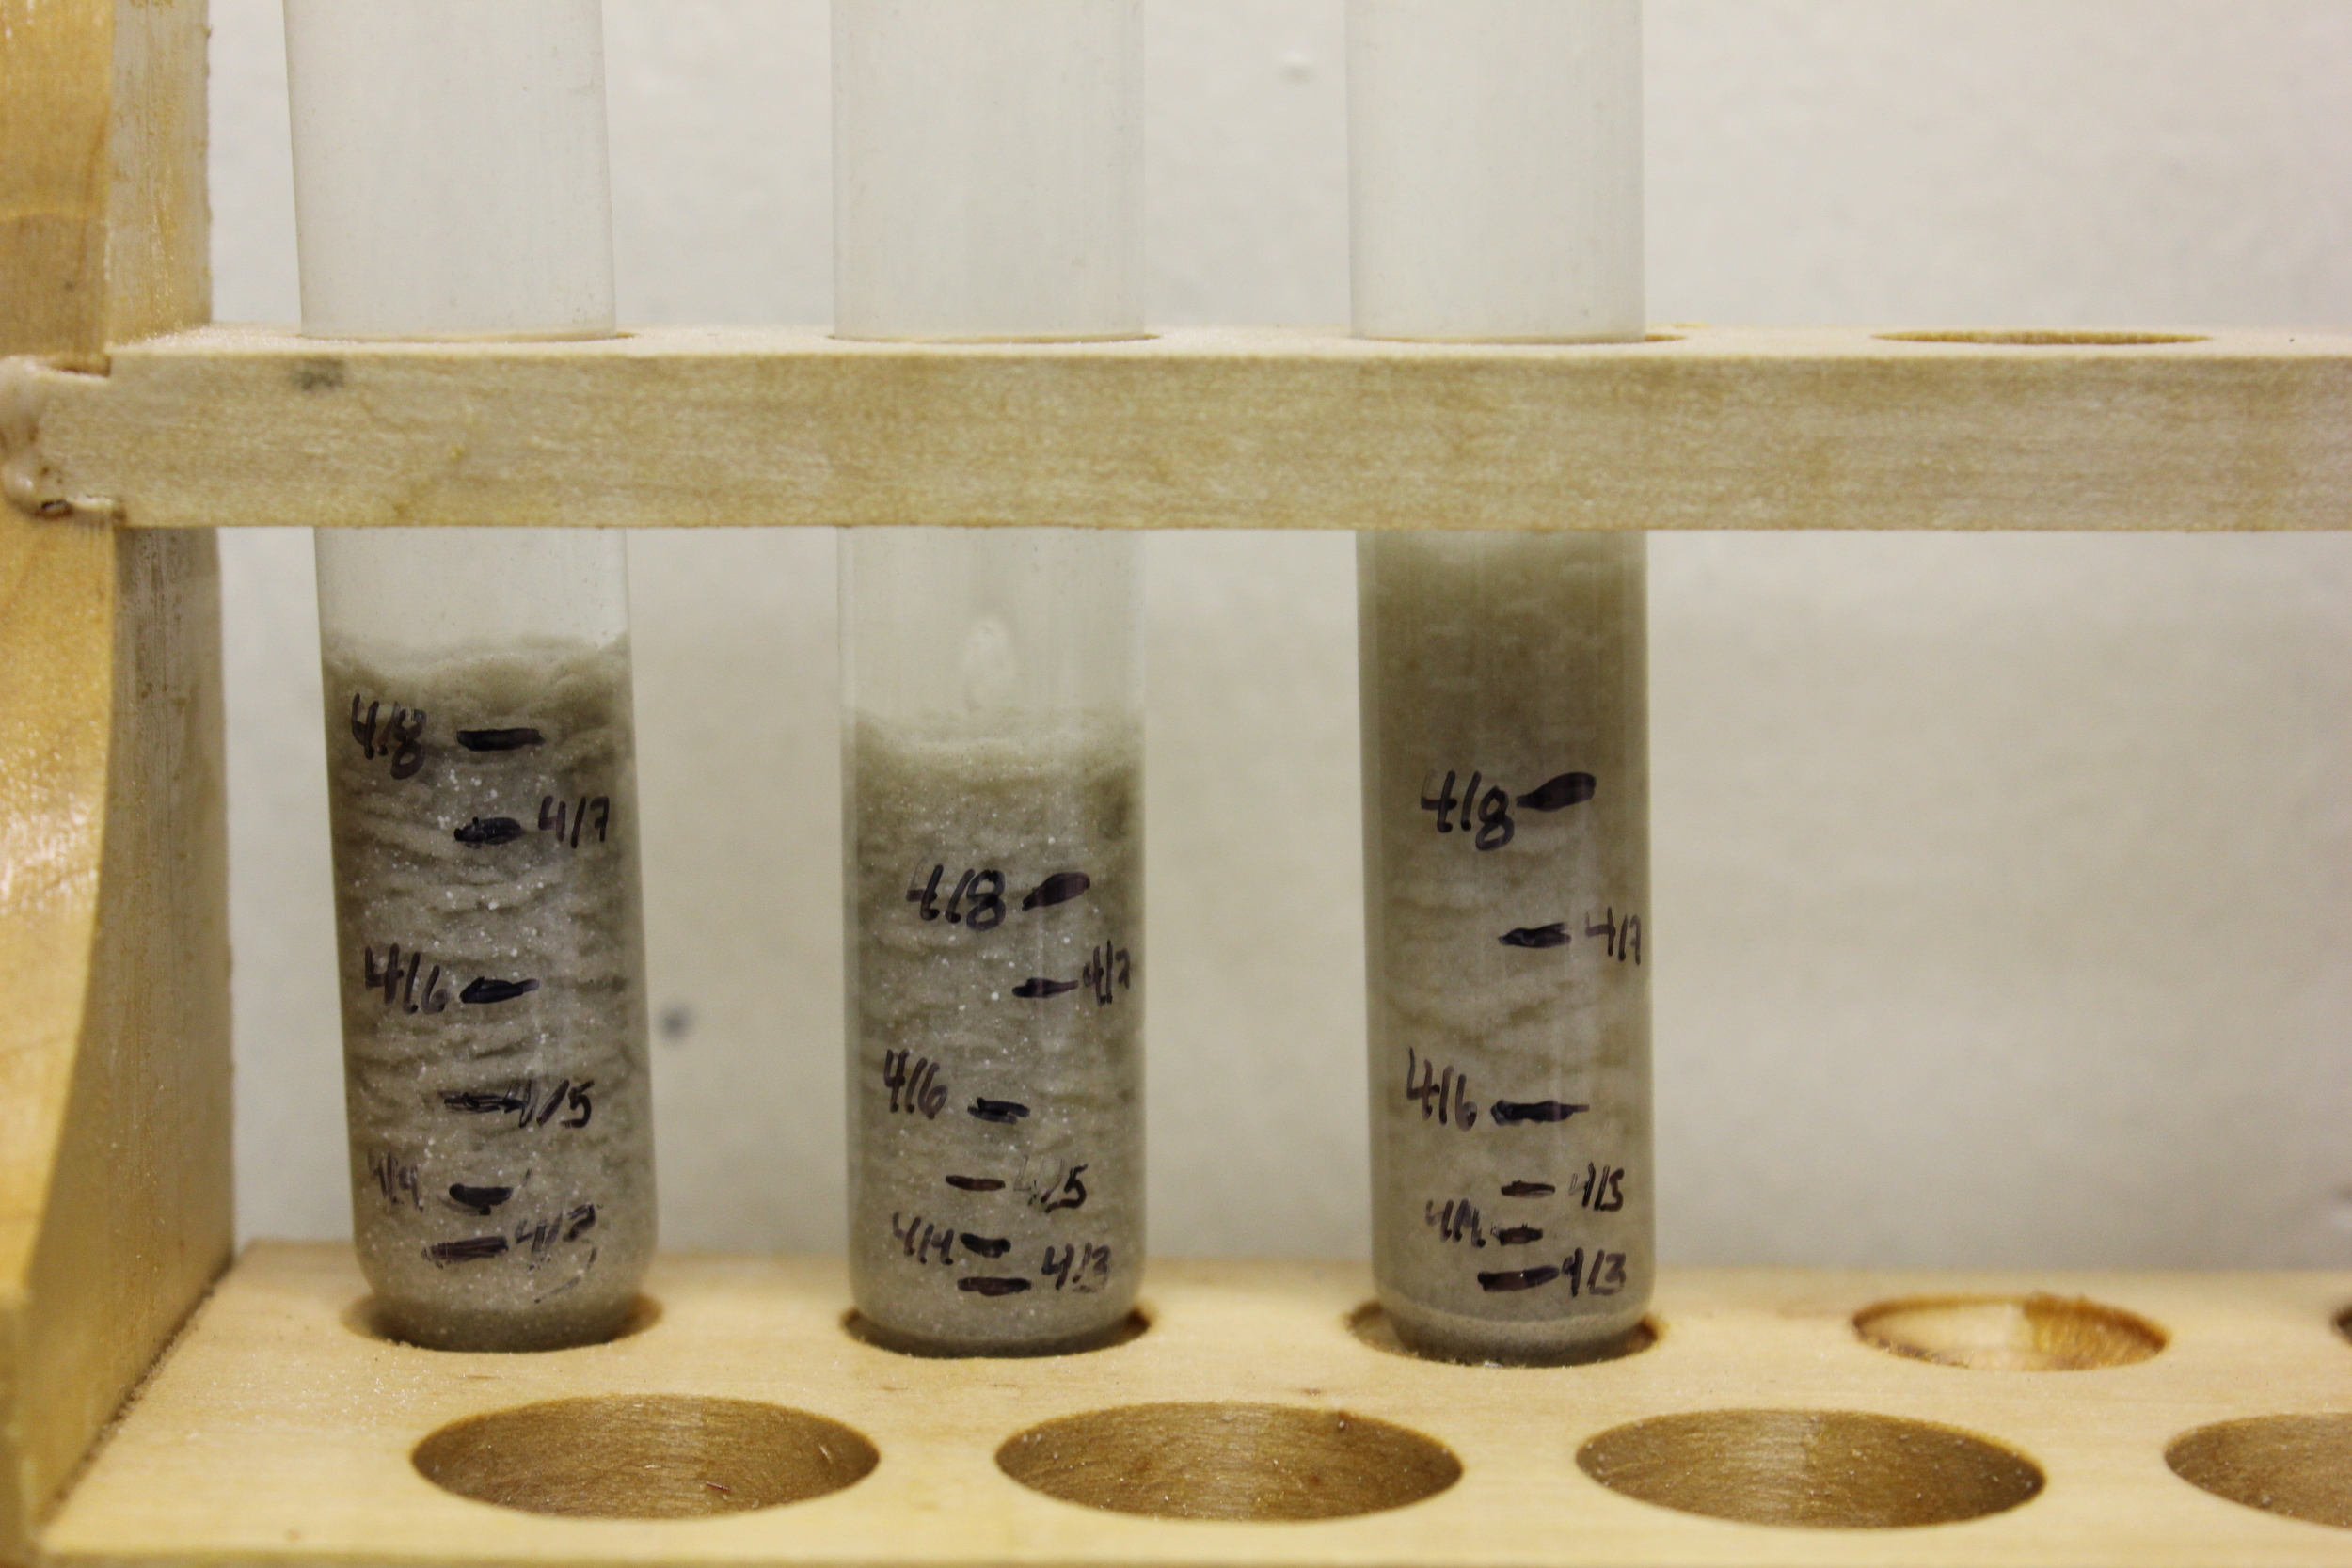
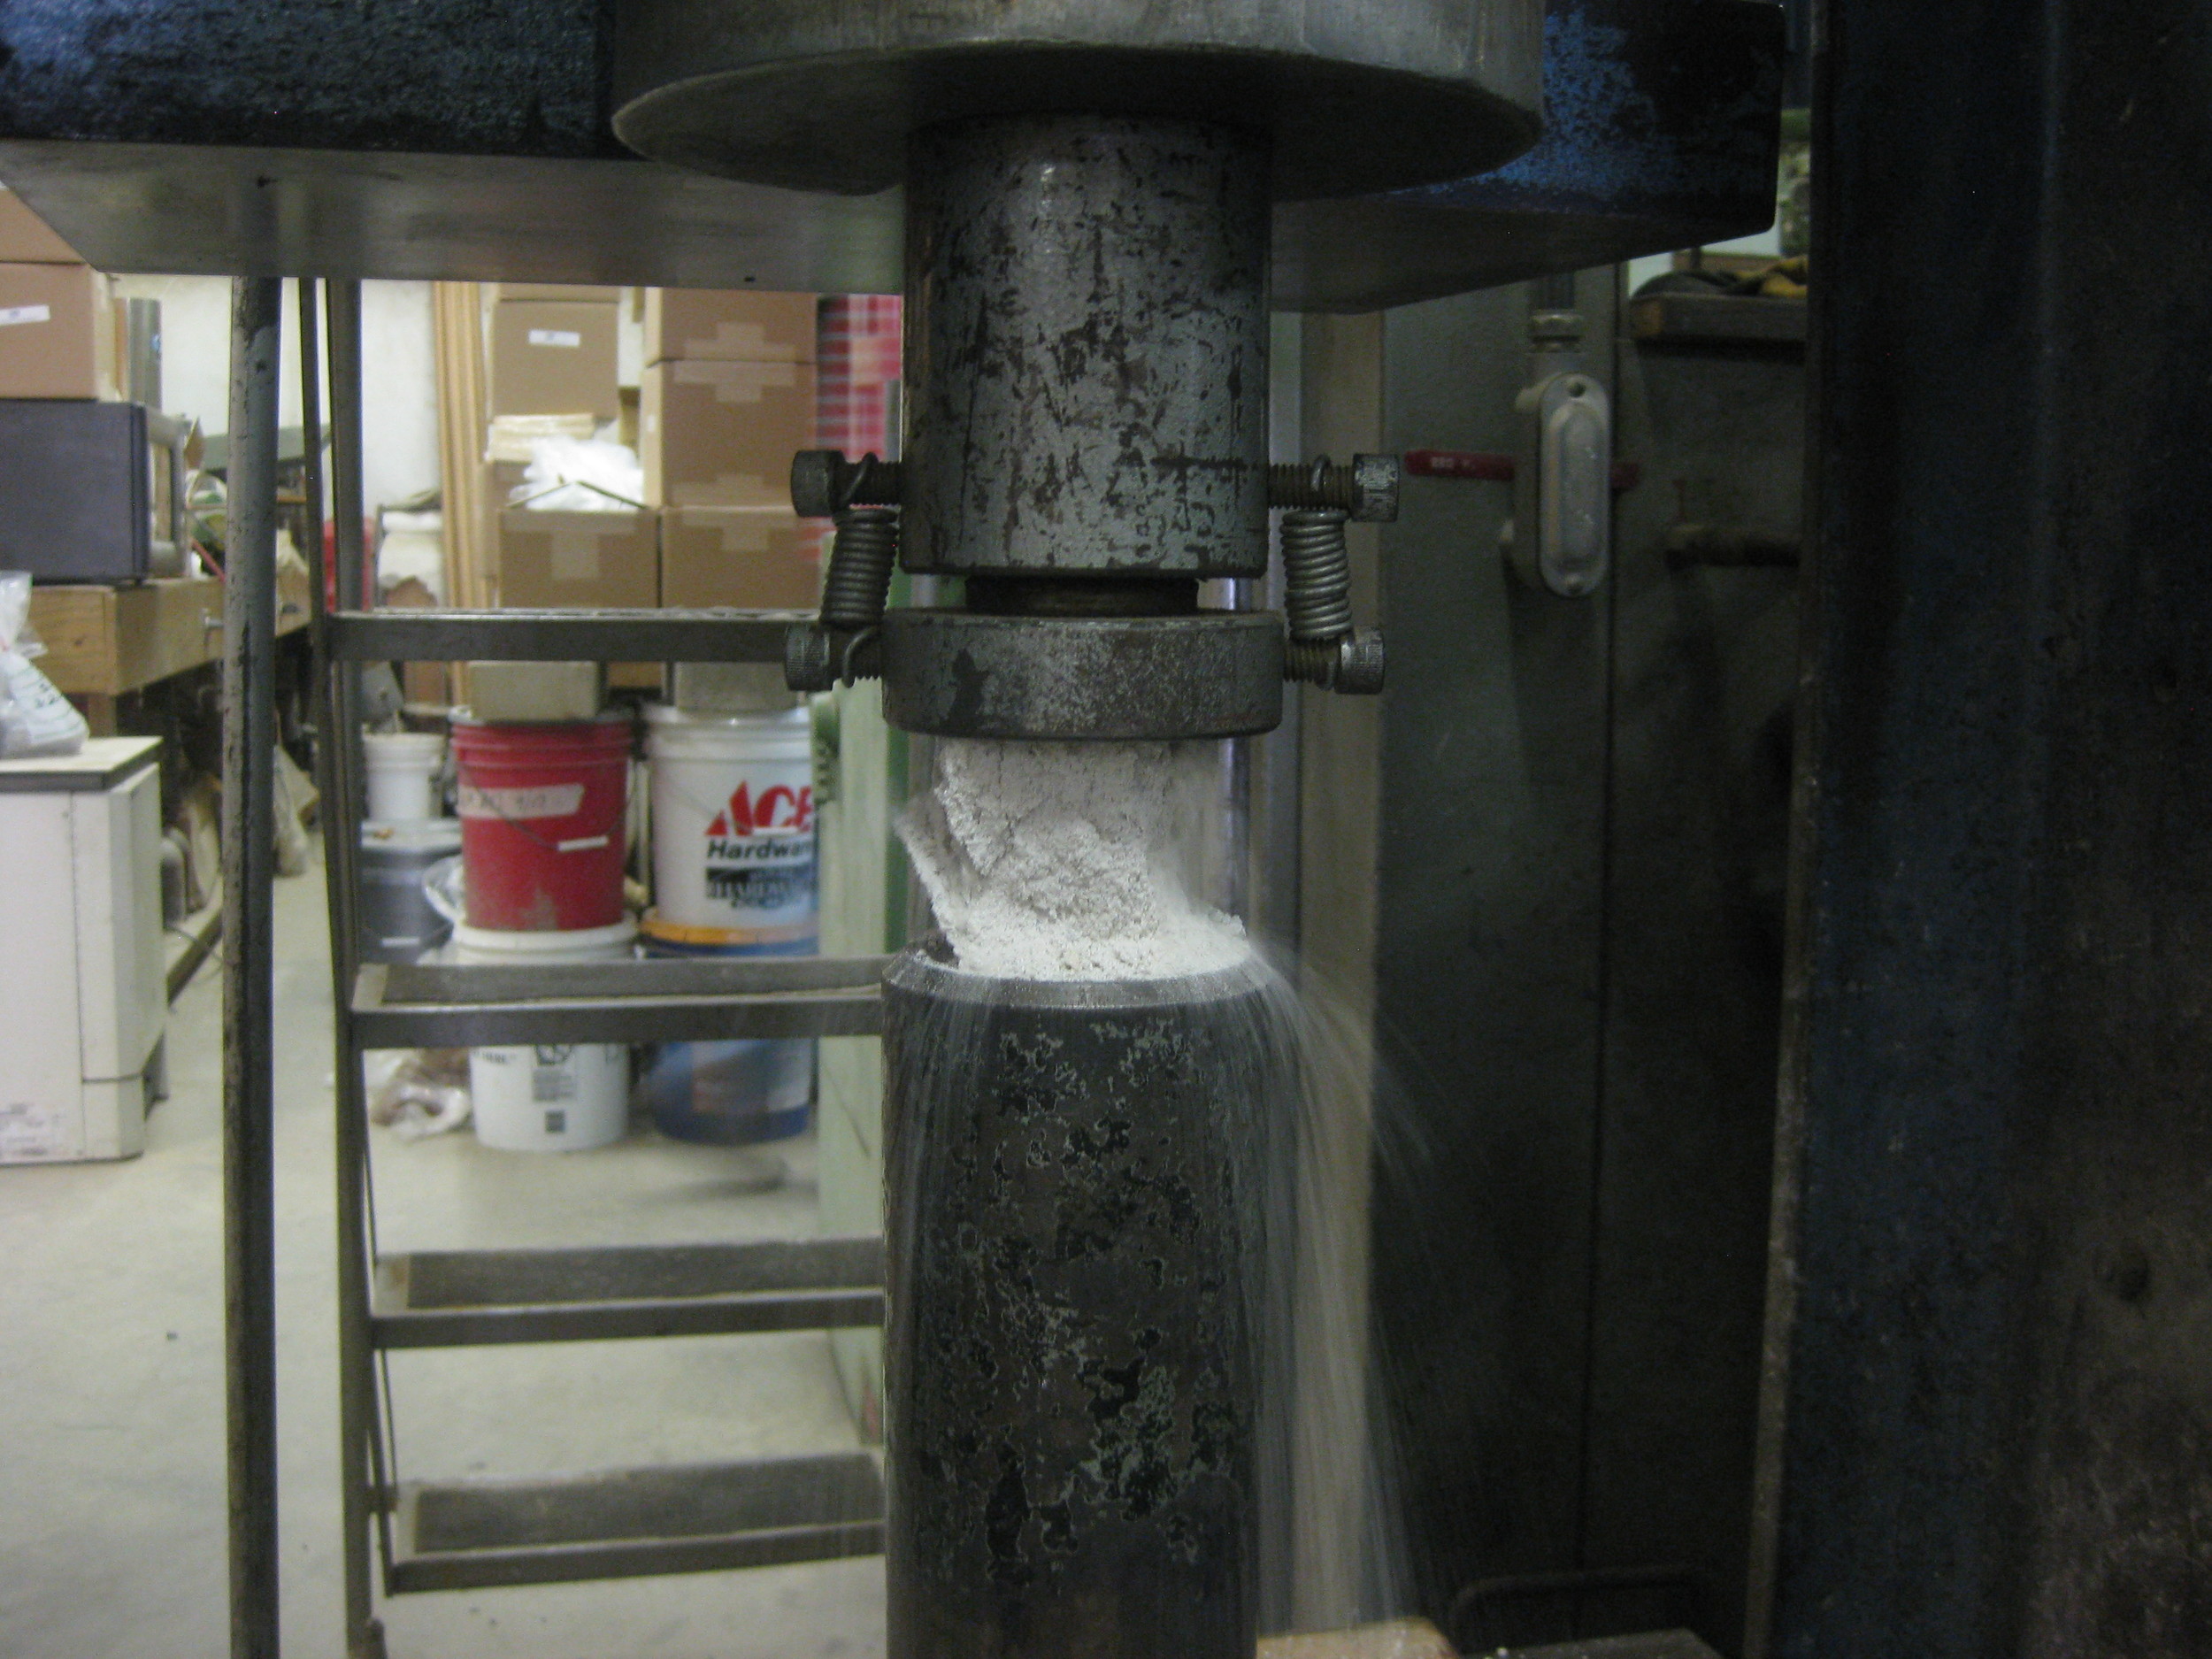
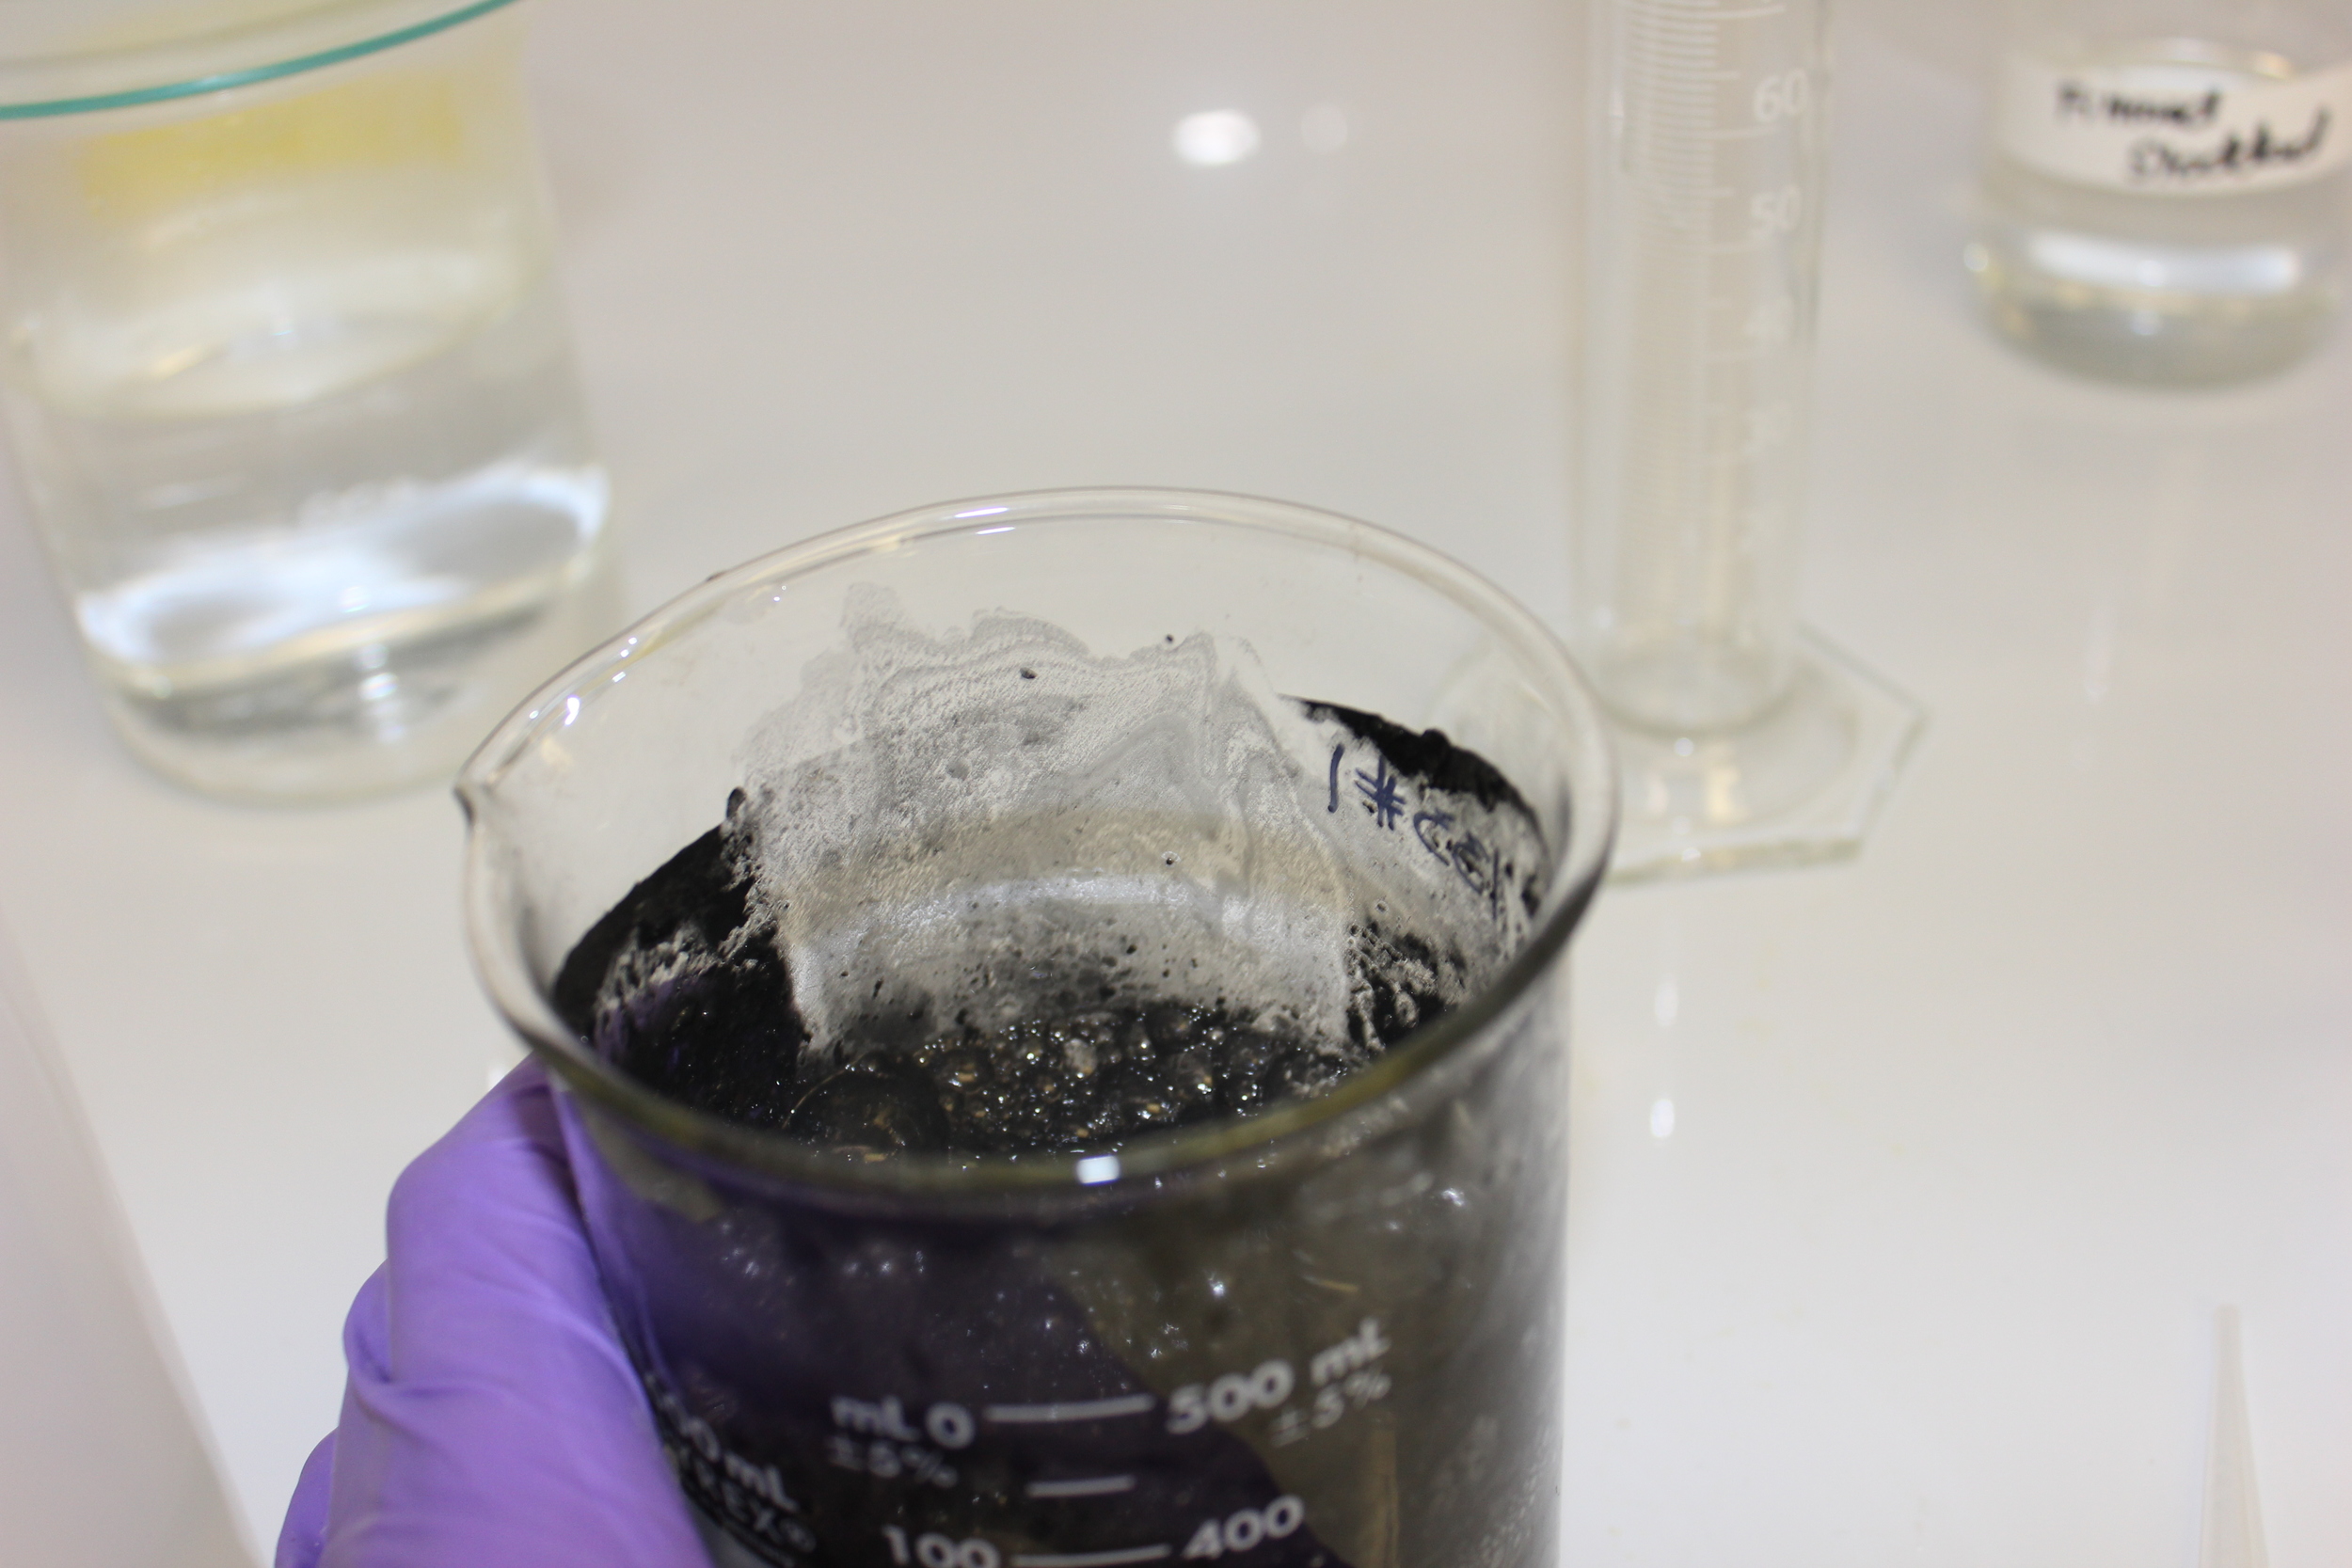
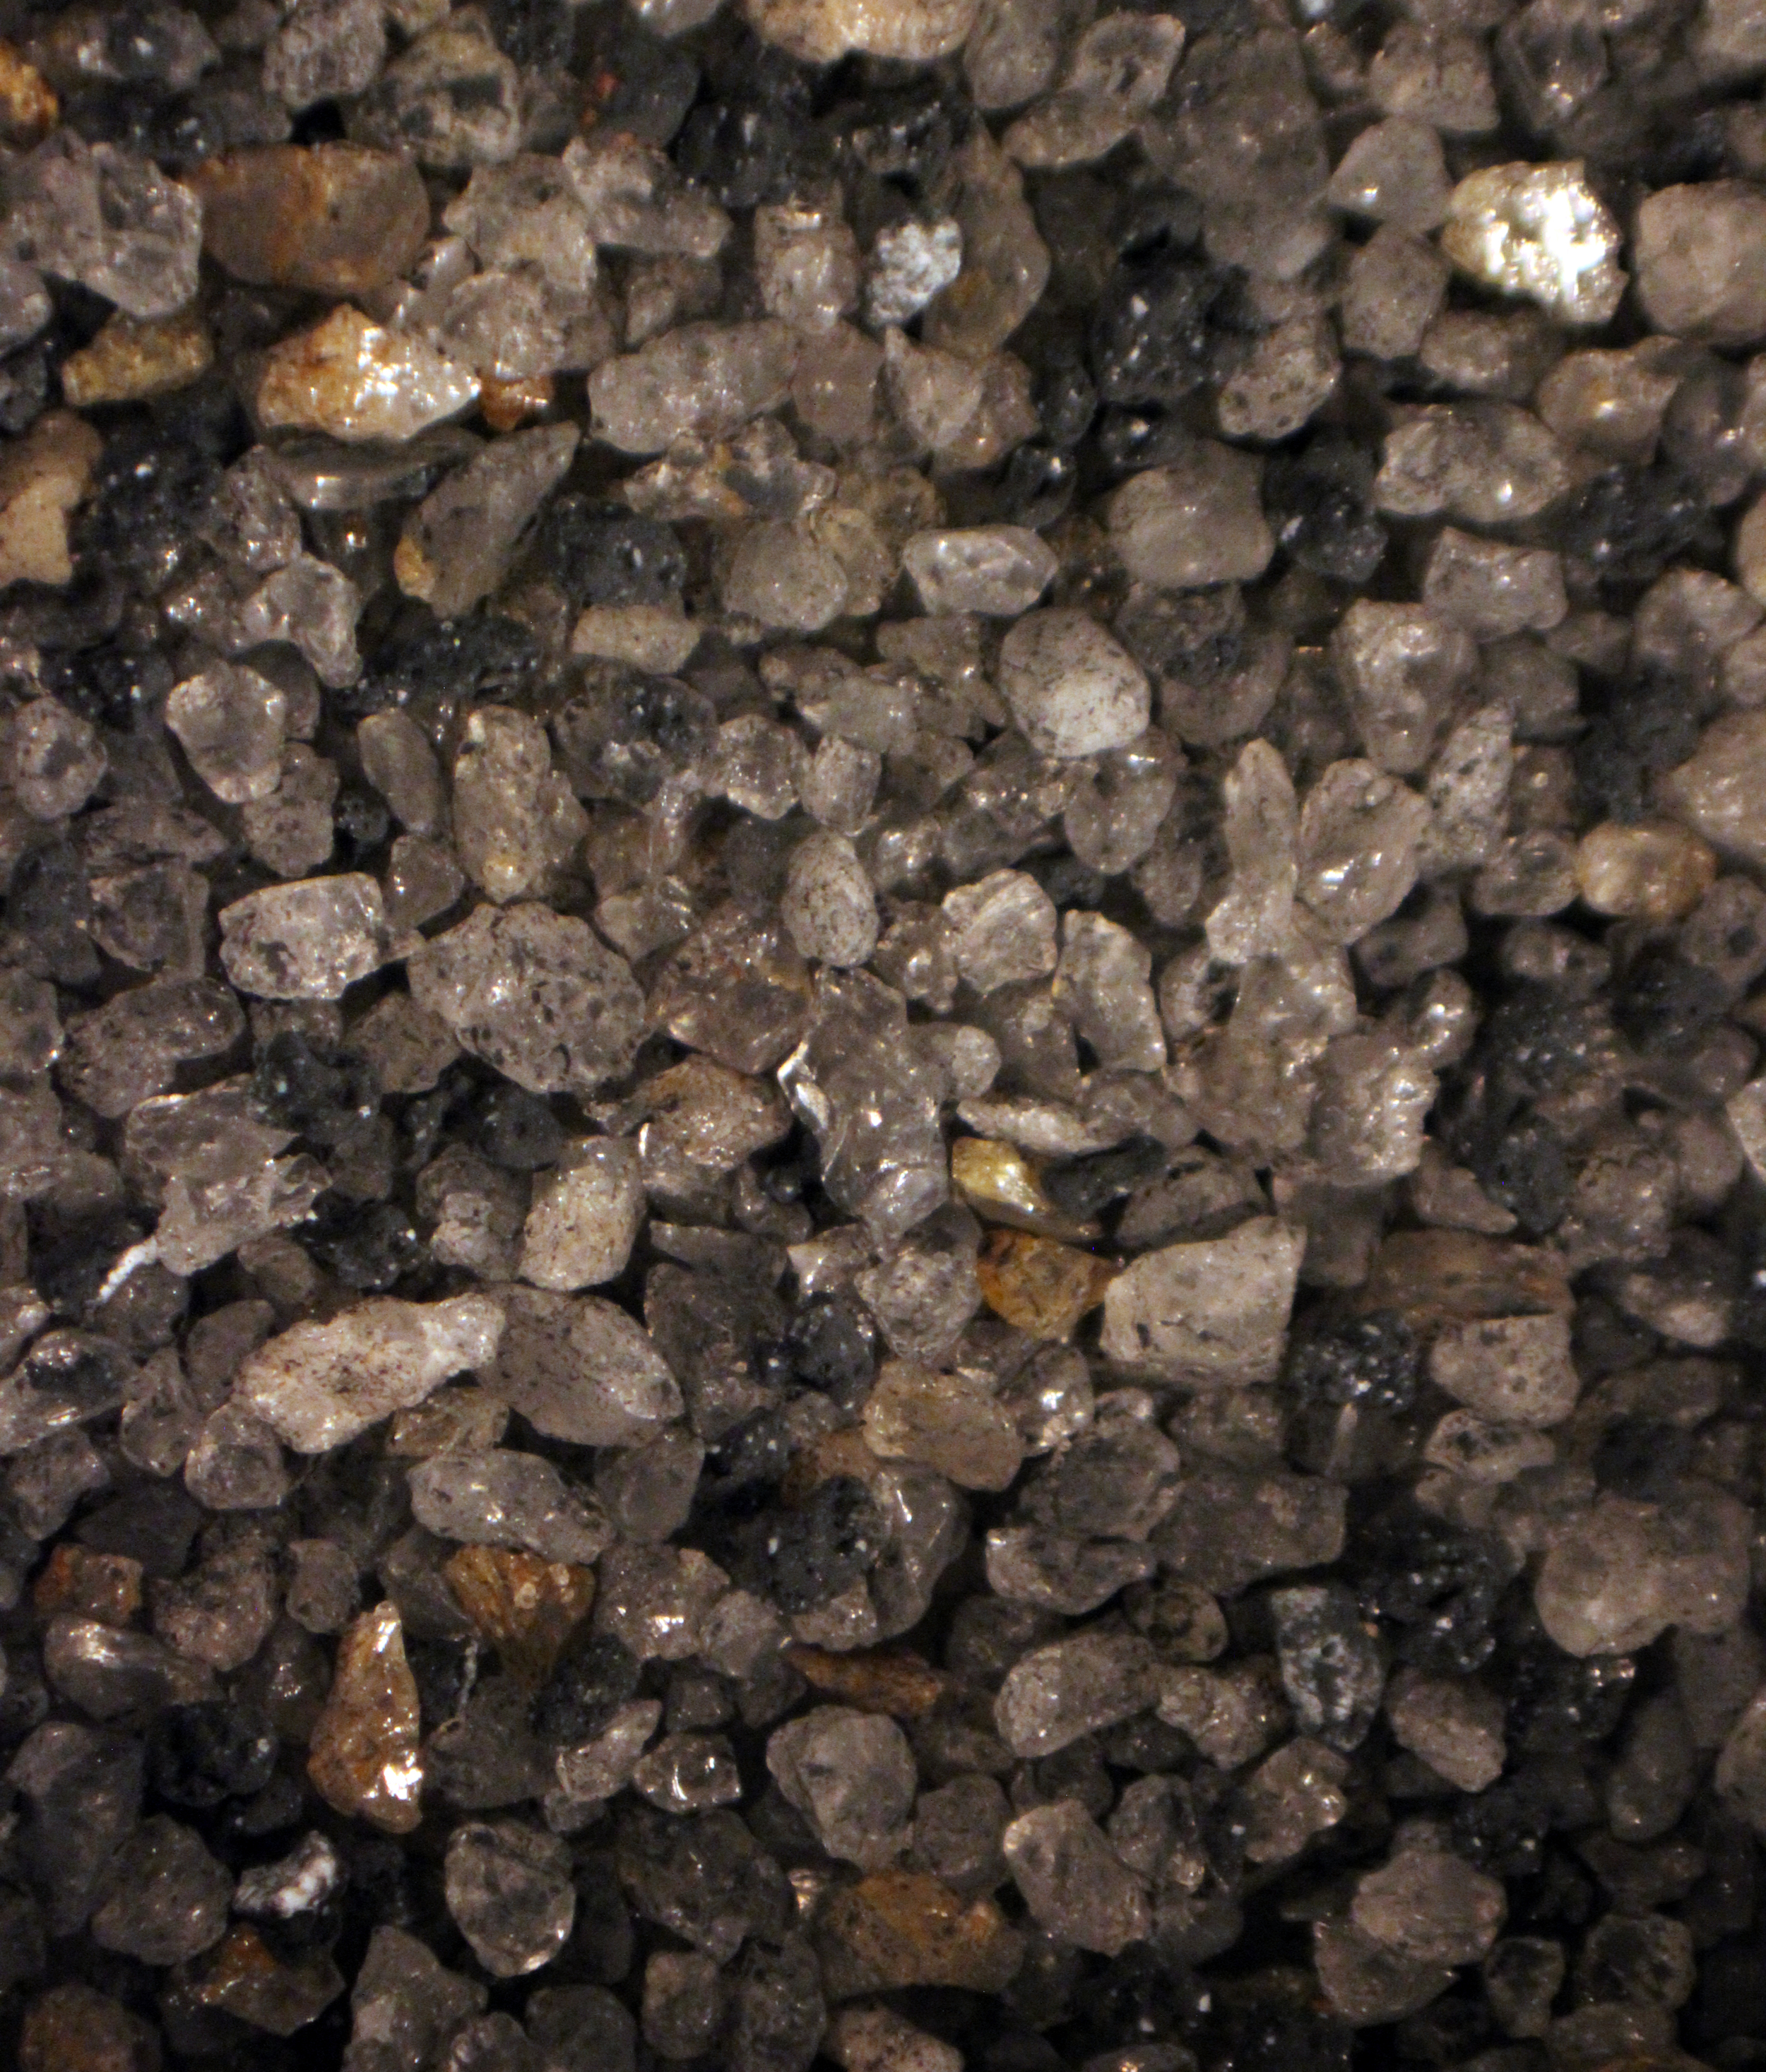
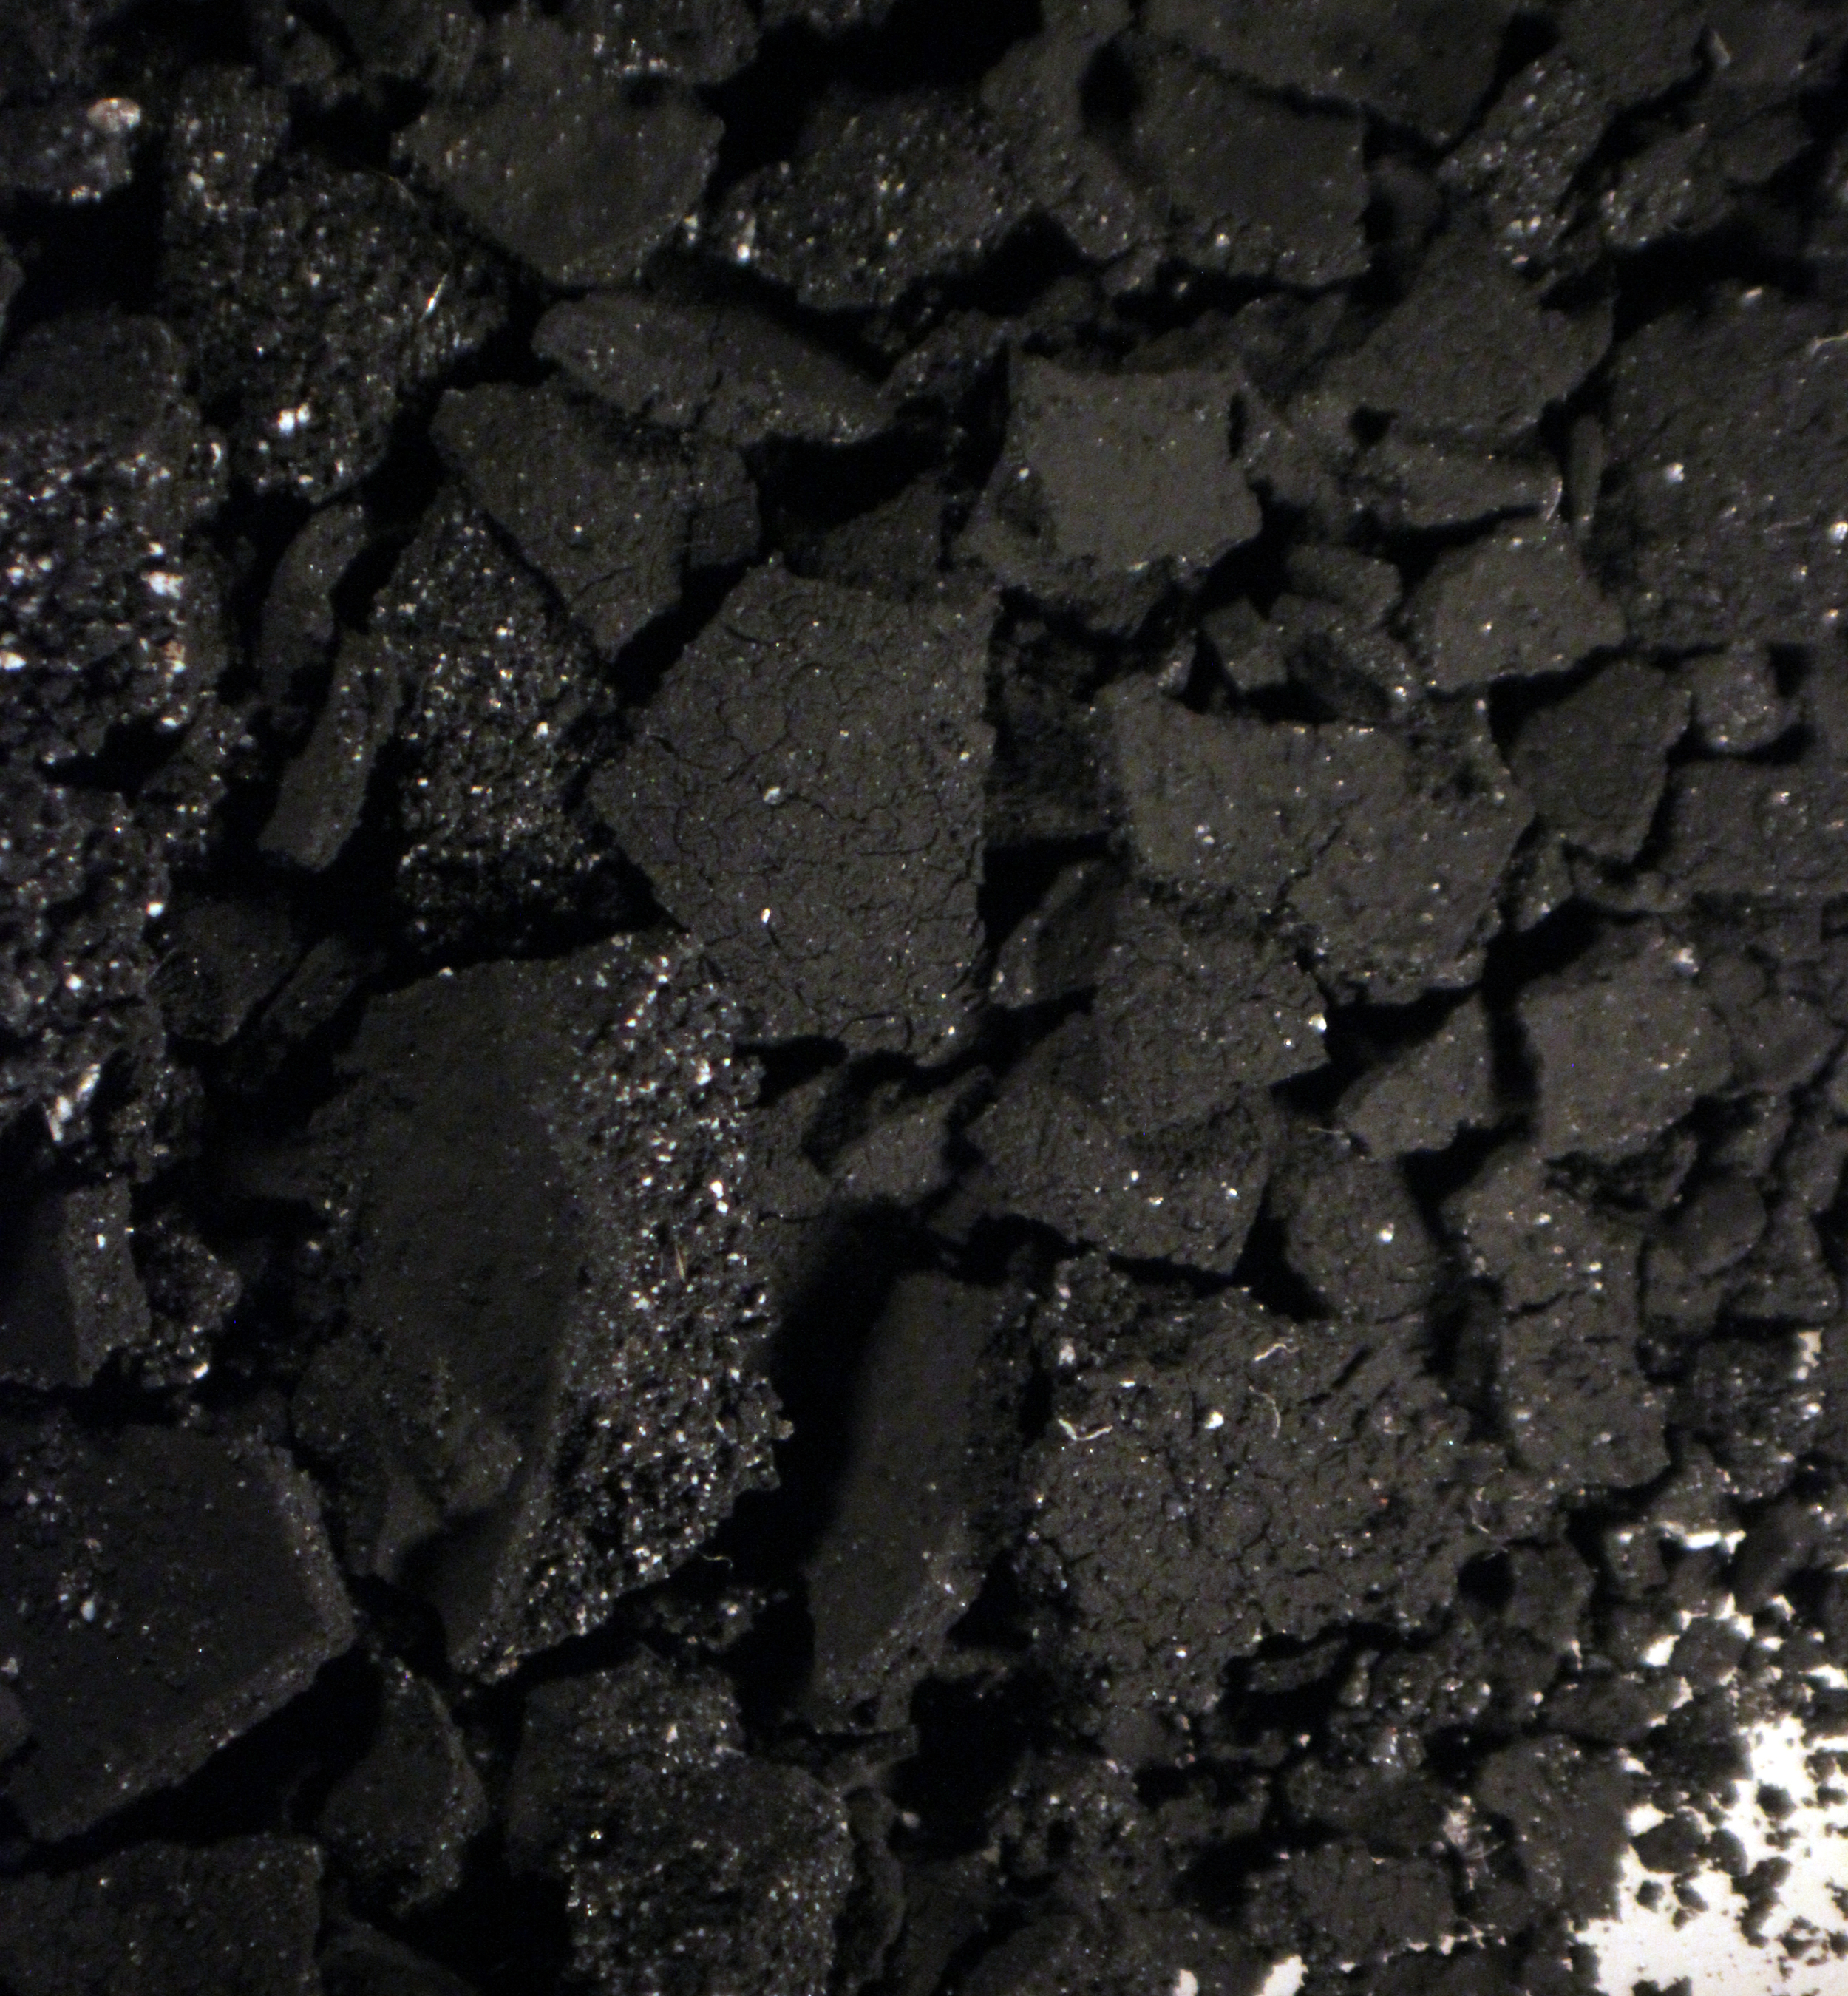
During acid digestion, calcareous materials such as lime are dissolved while the insoluble portions like quartz aggregate and clay fines remain. Percentages of each are calculated based on the original weight and the aggregate is sieved to determine the range of particle sizes in the original material. At the end of analysis, the data is interpreted in order to determine the historic formulation and make recommendations for an appropriate replication mix. A report labeling all sampling, testing, and recommendations is produced and can then be given to a qualified mason or plasterer to use on a specific project.
consolidation and cleaning tests
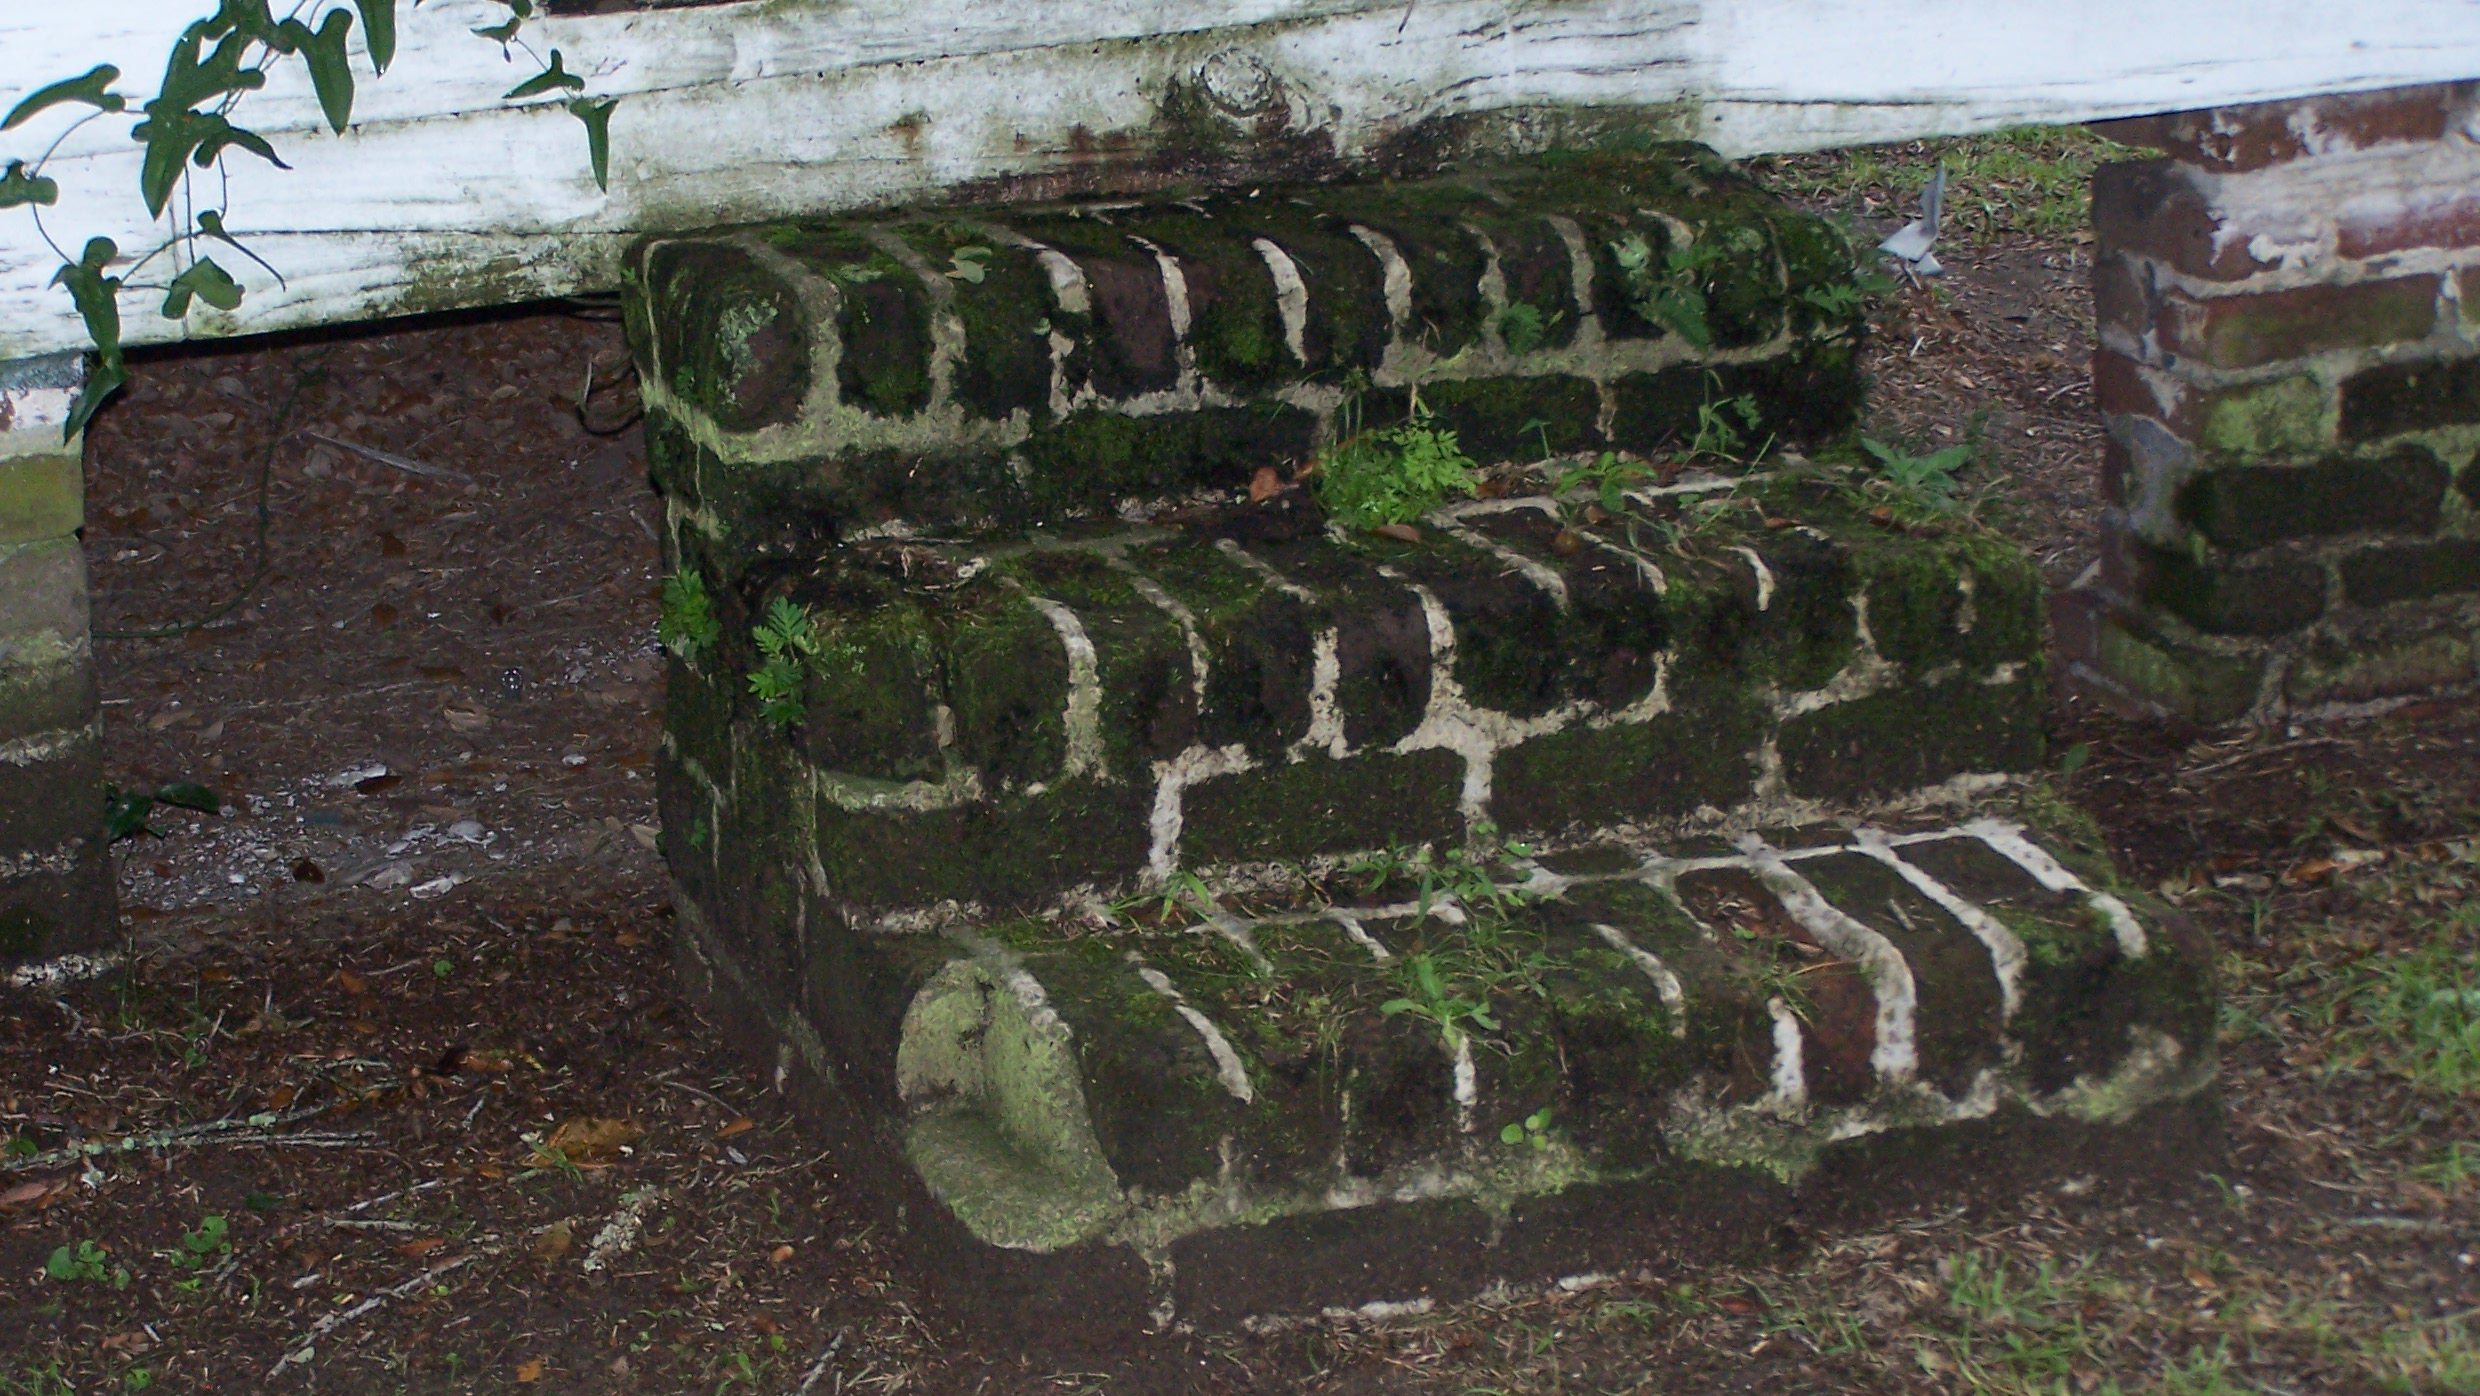

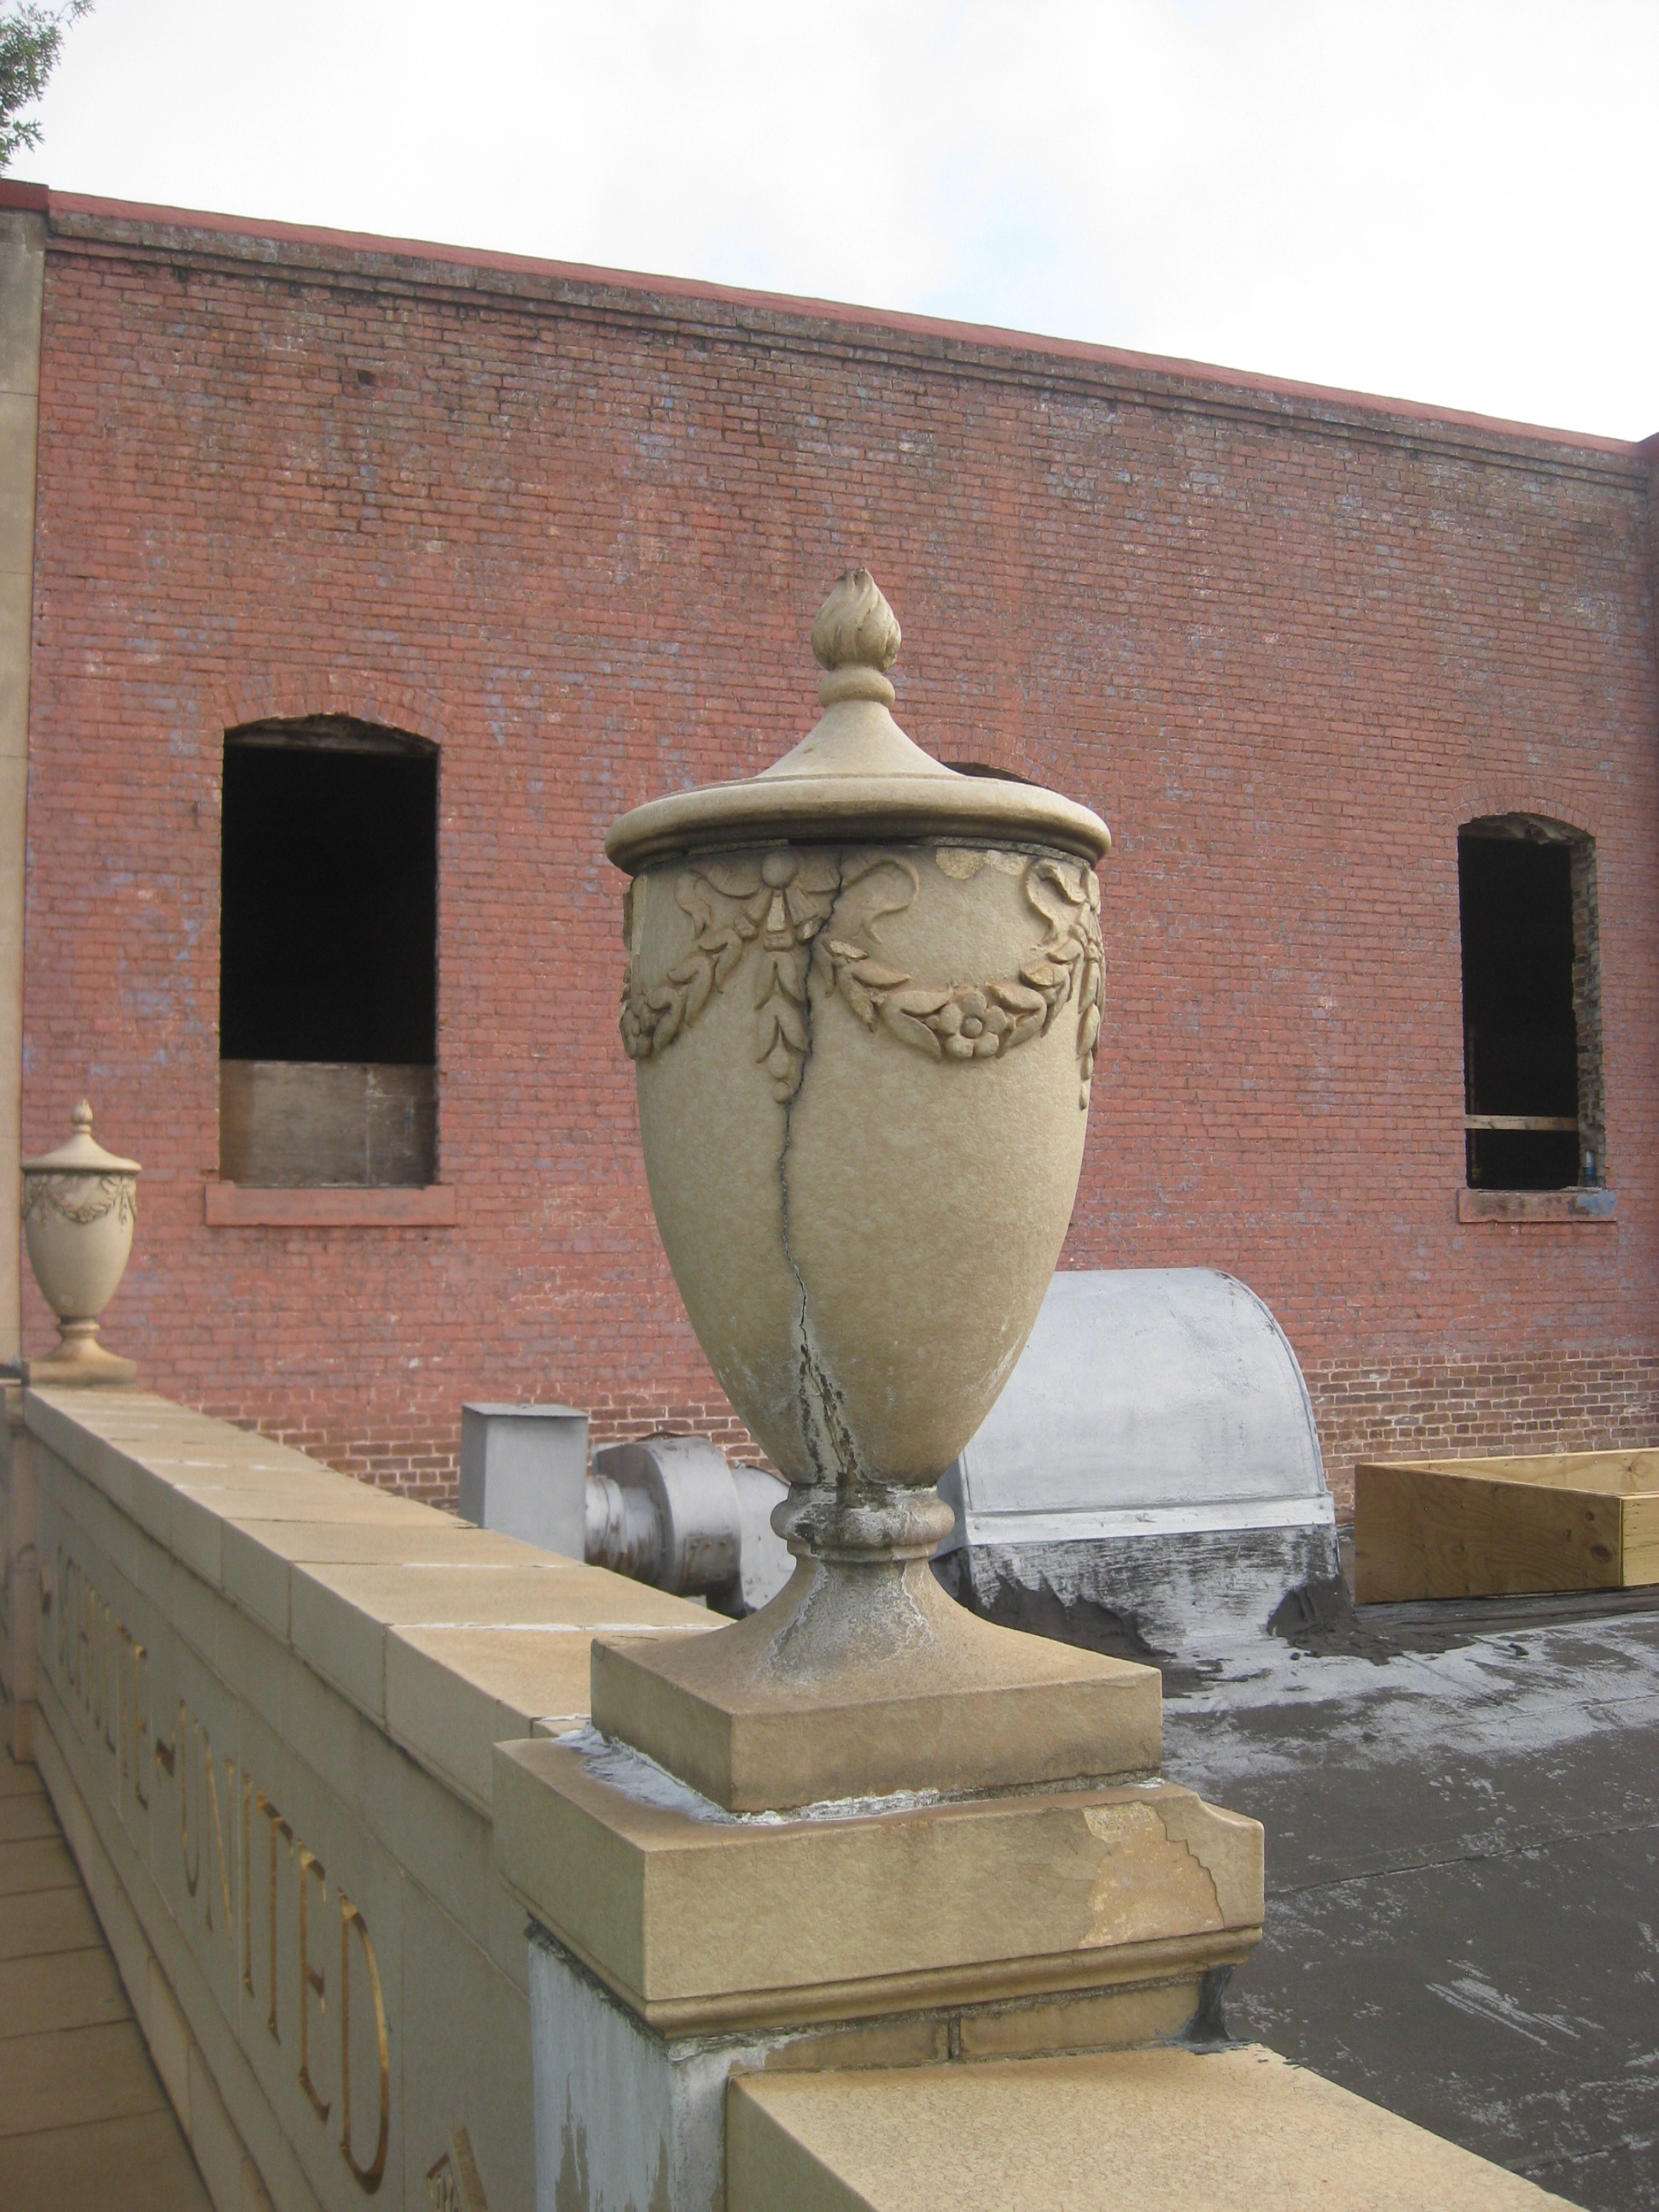
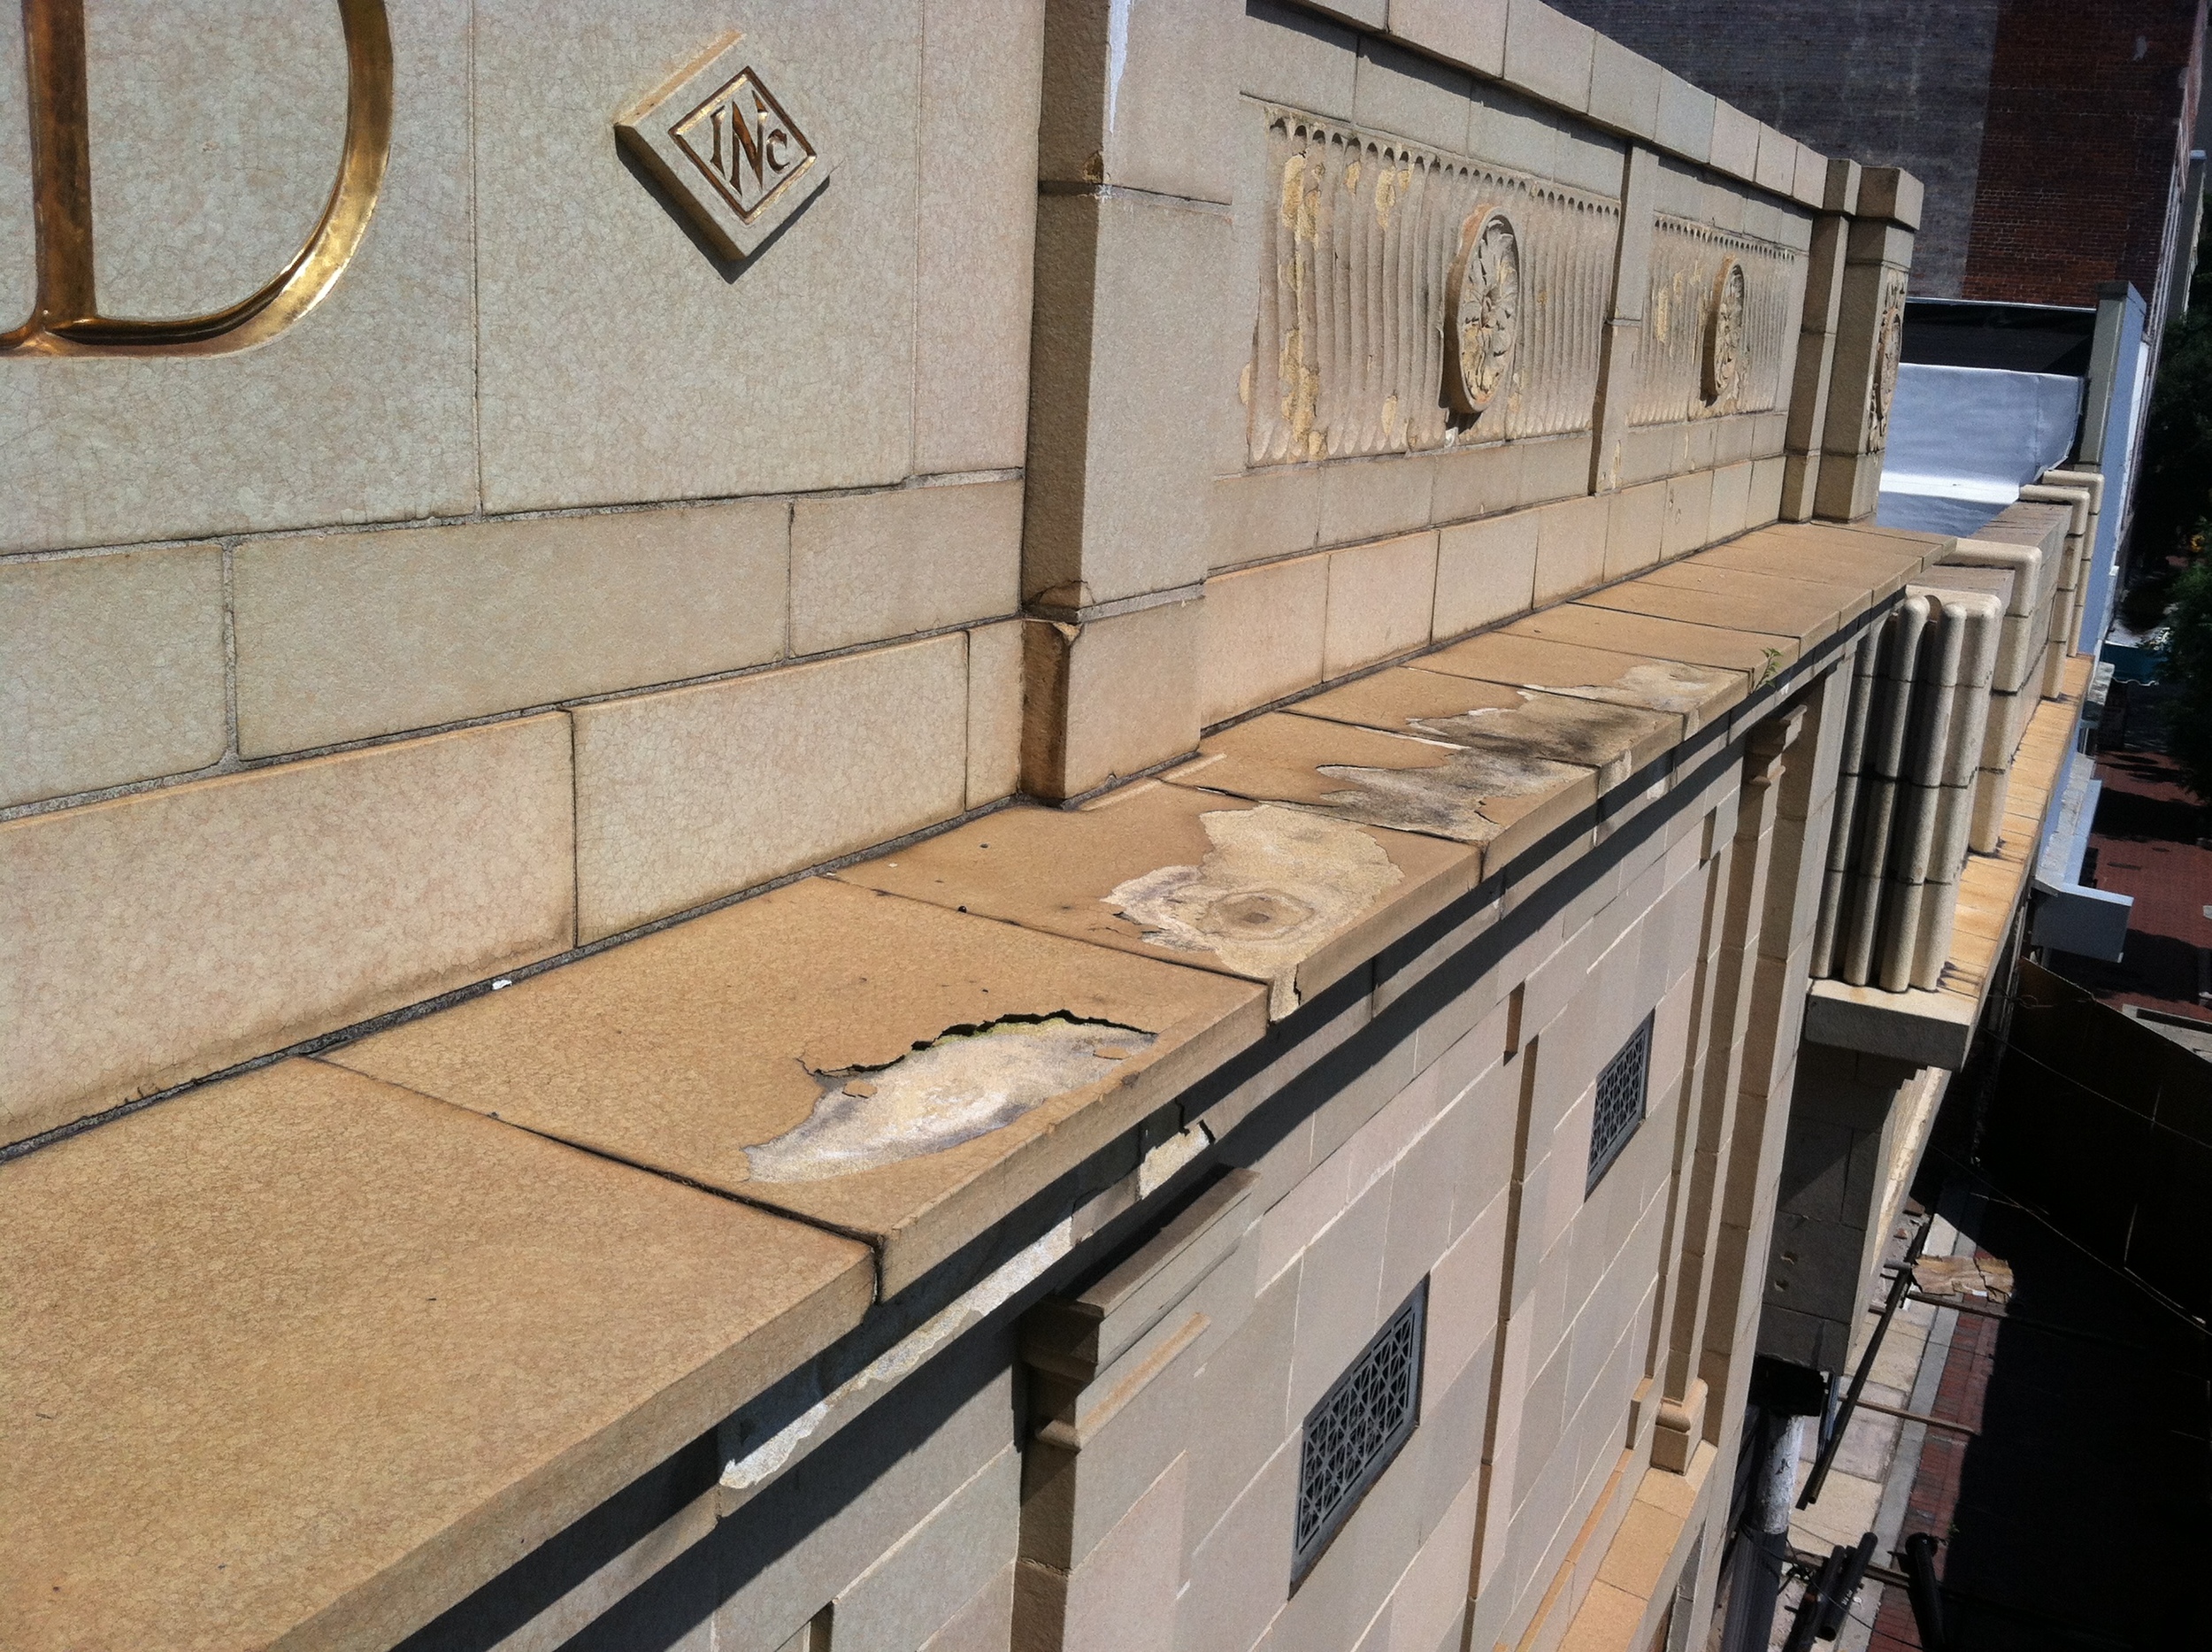
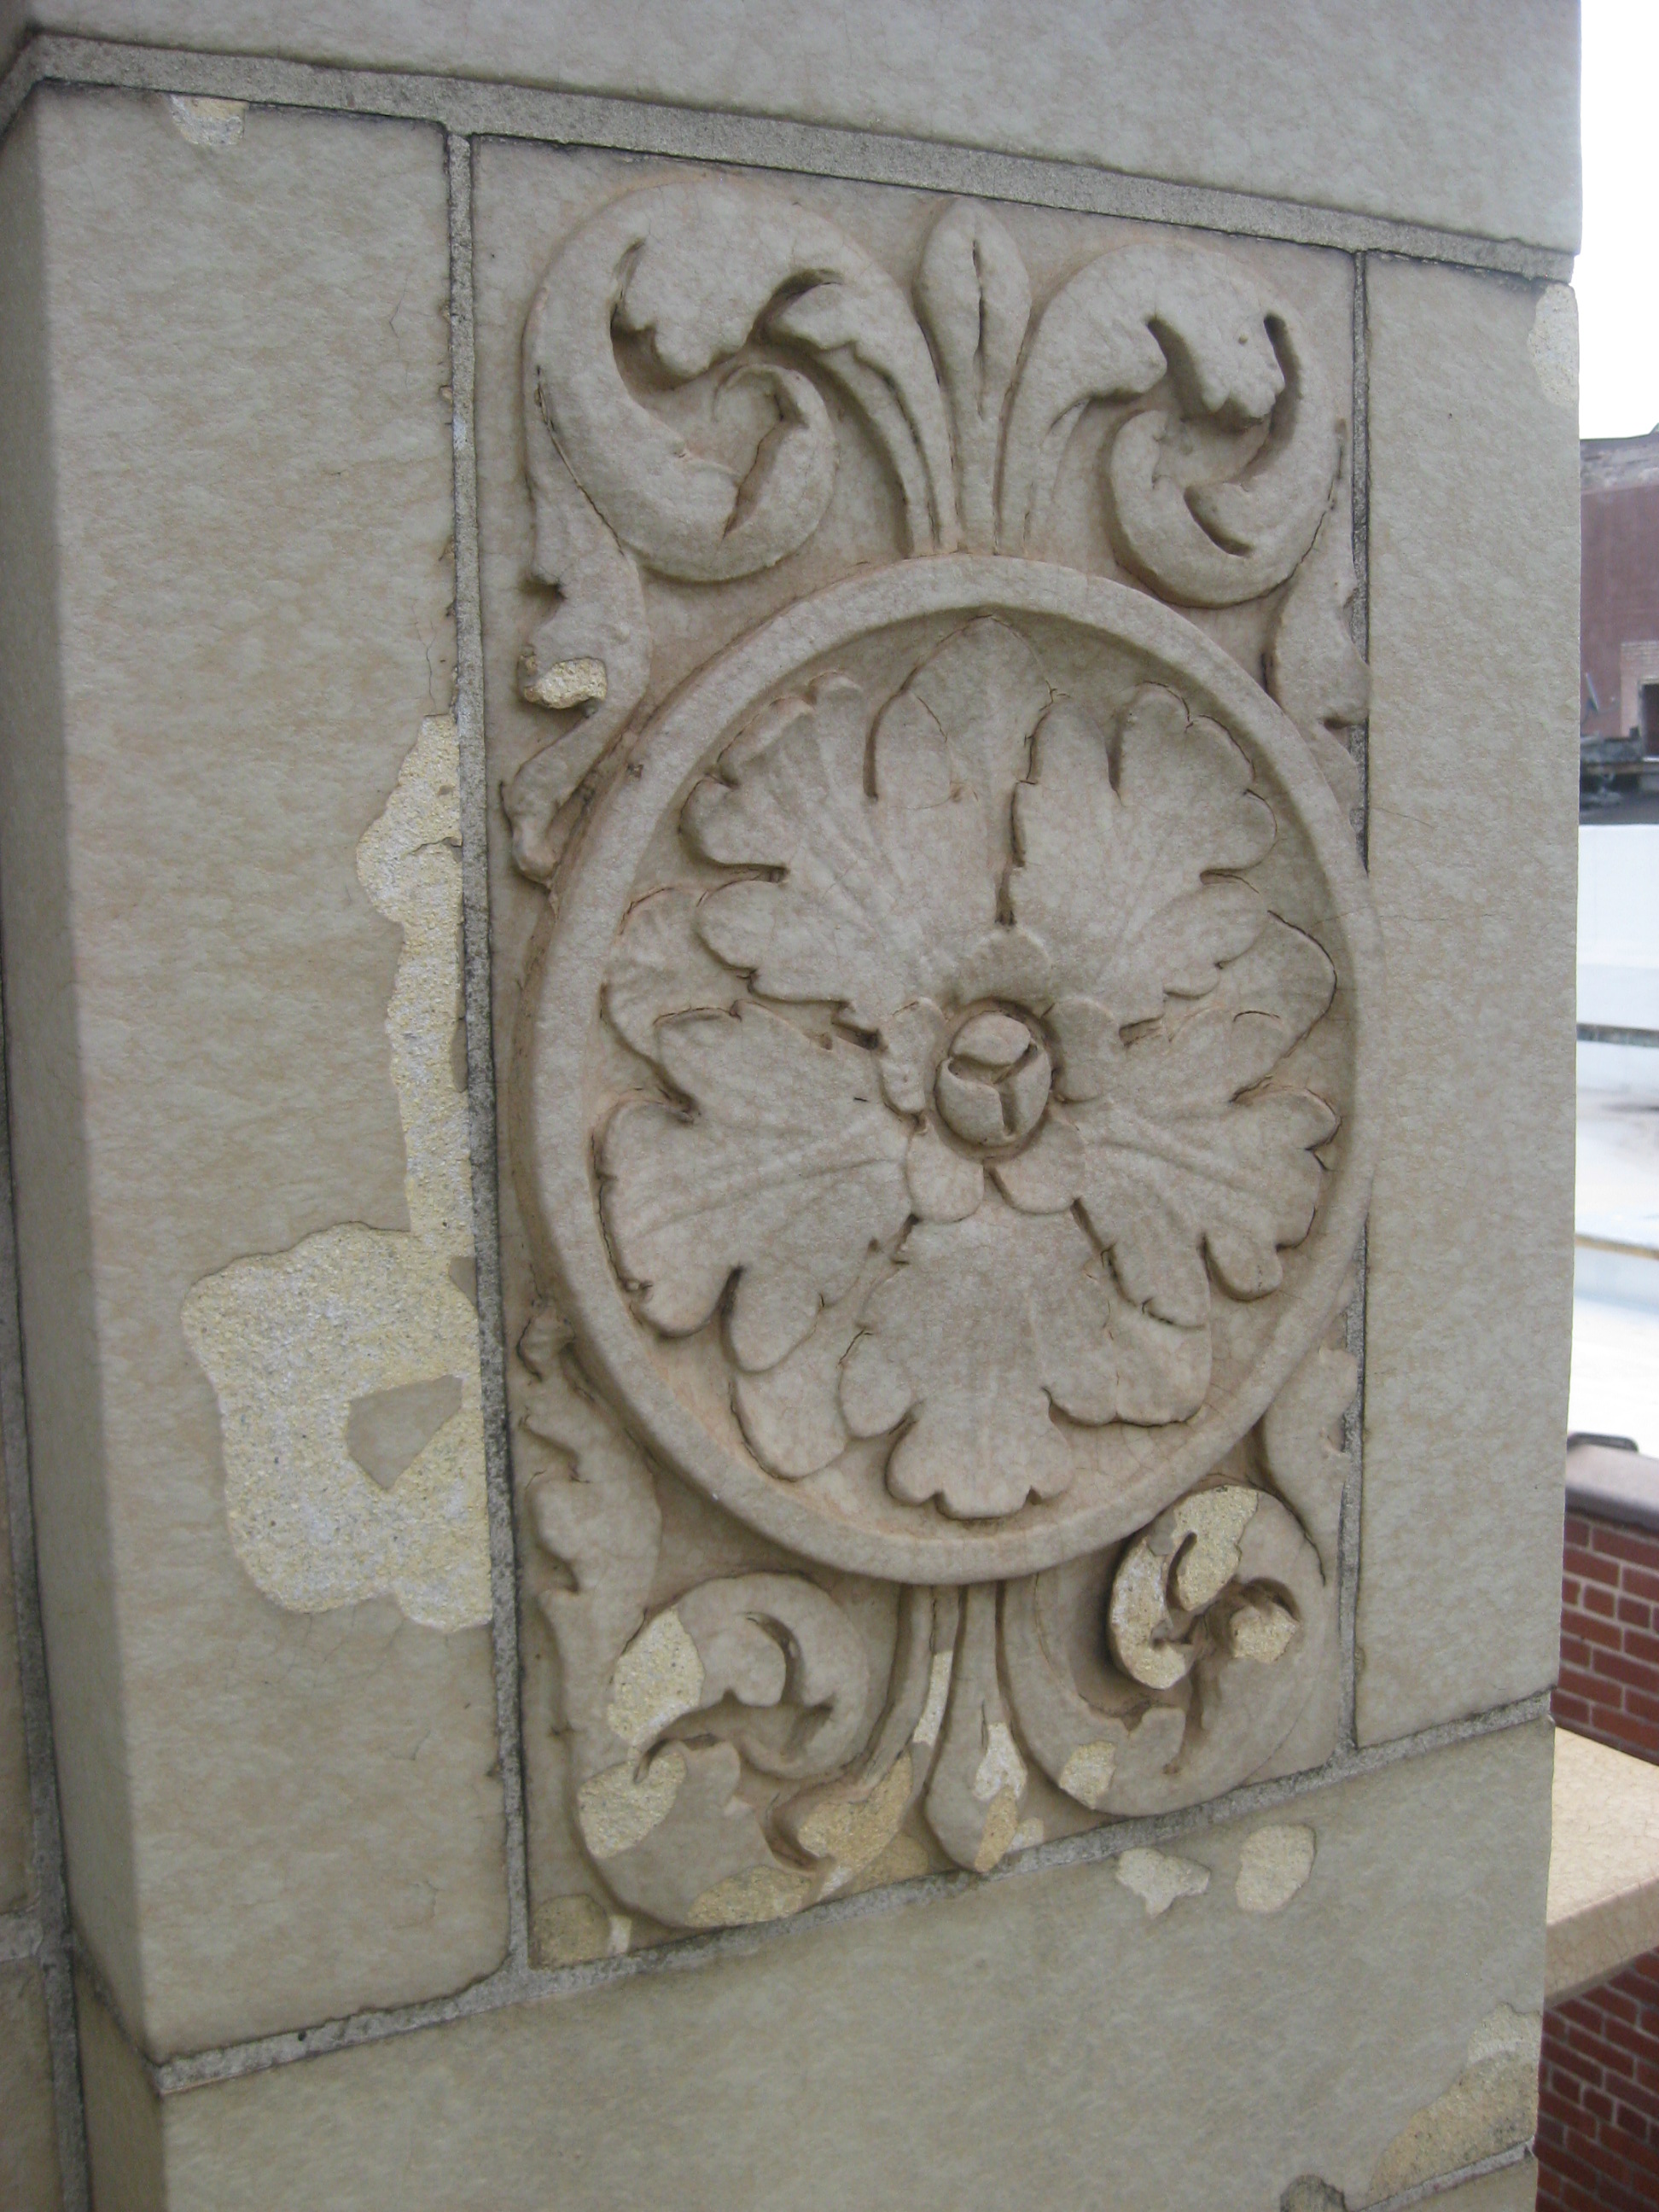
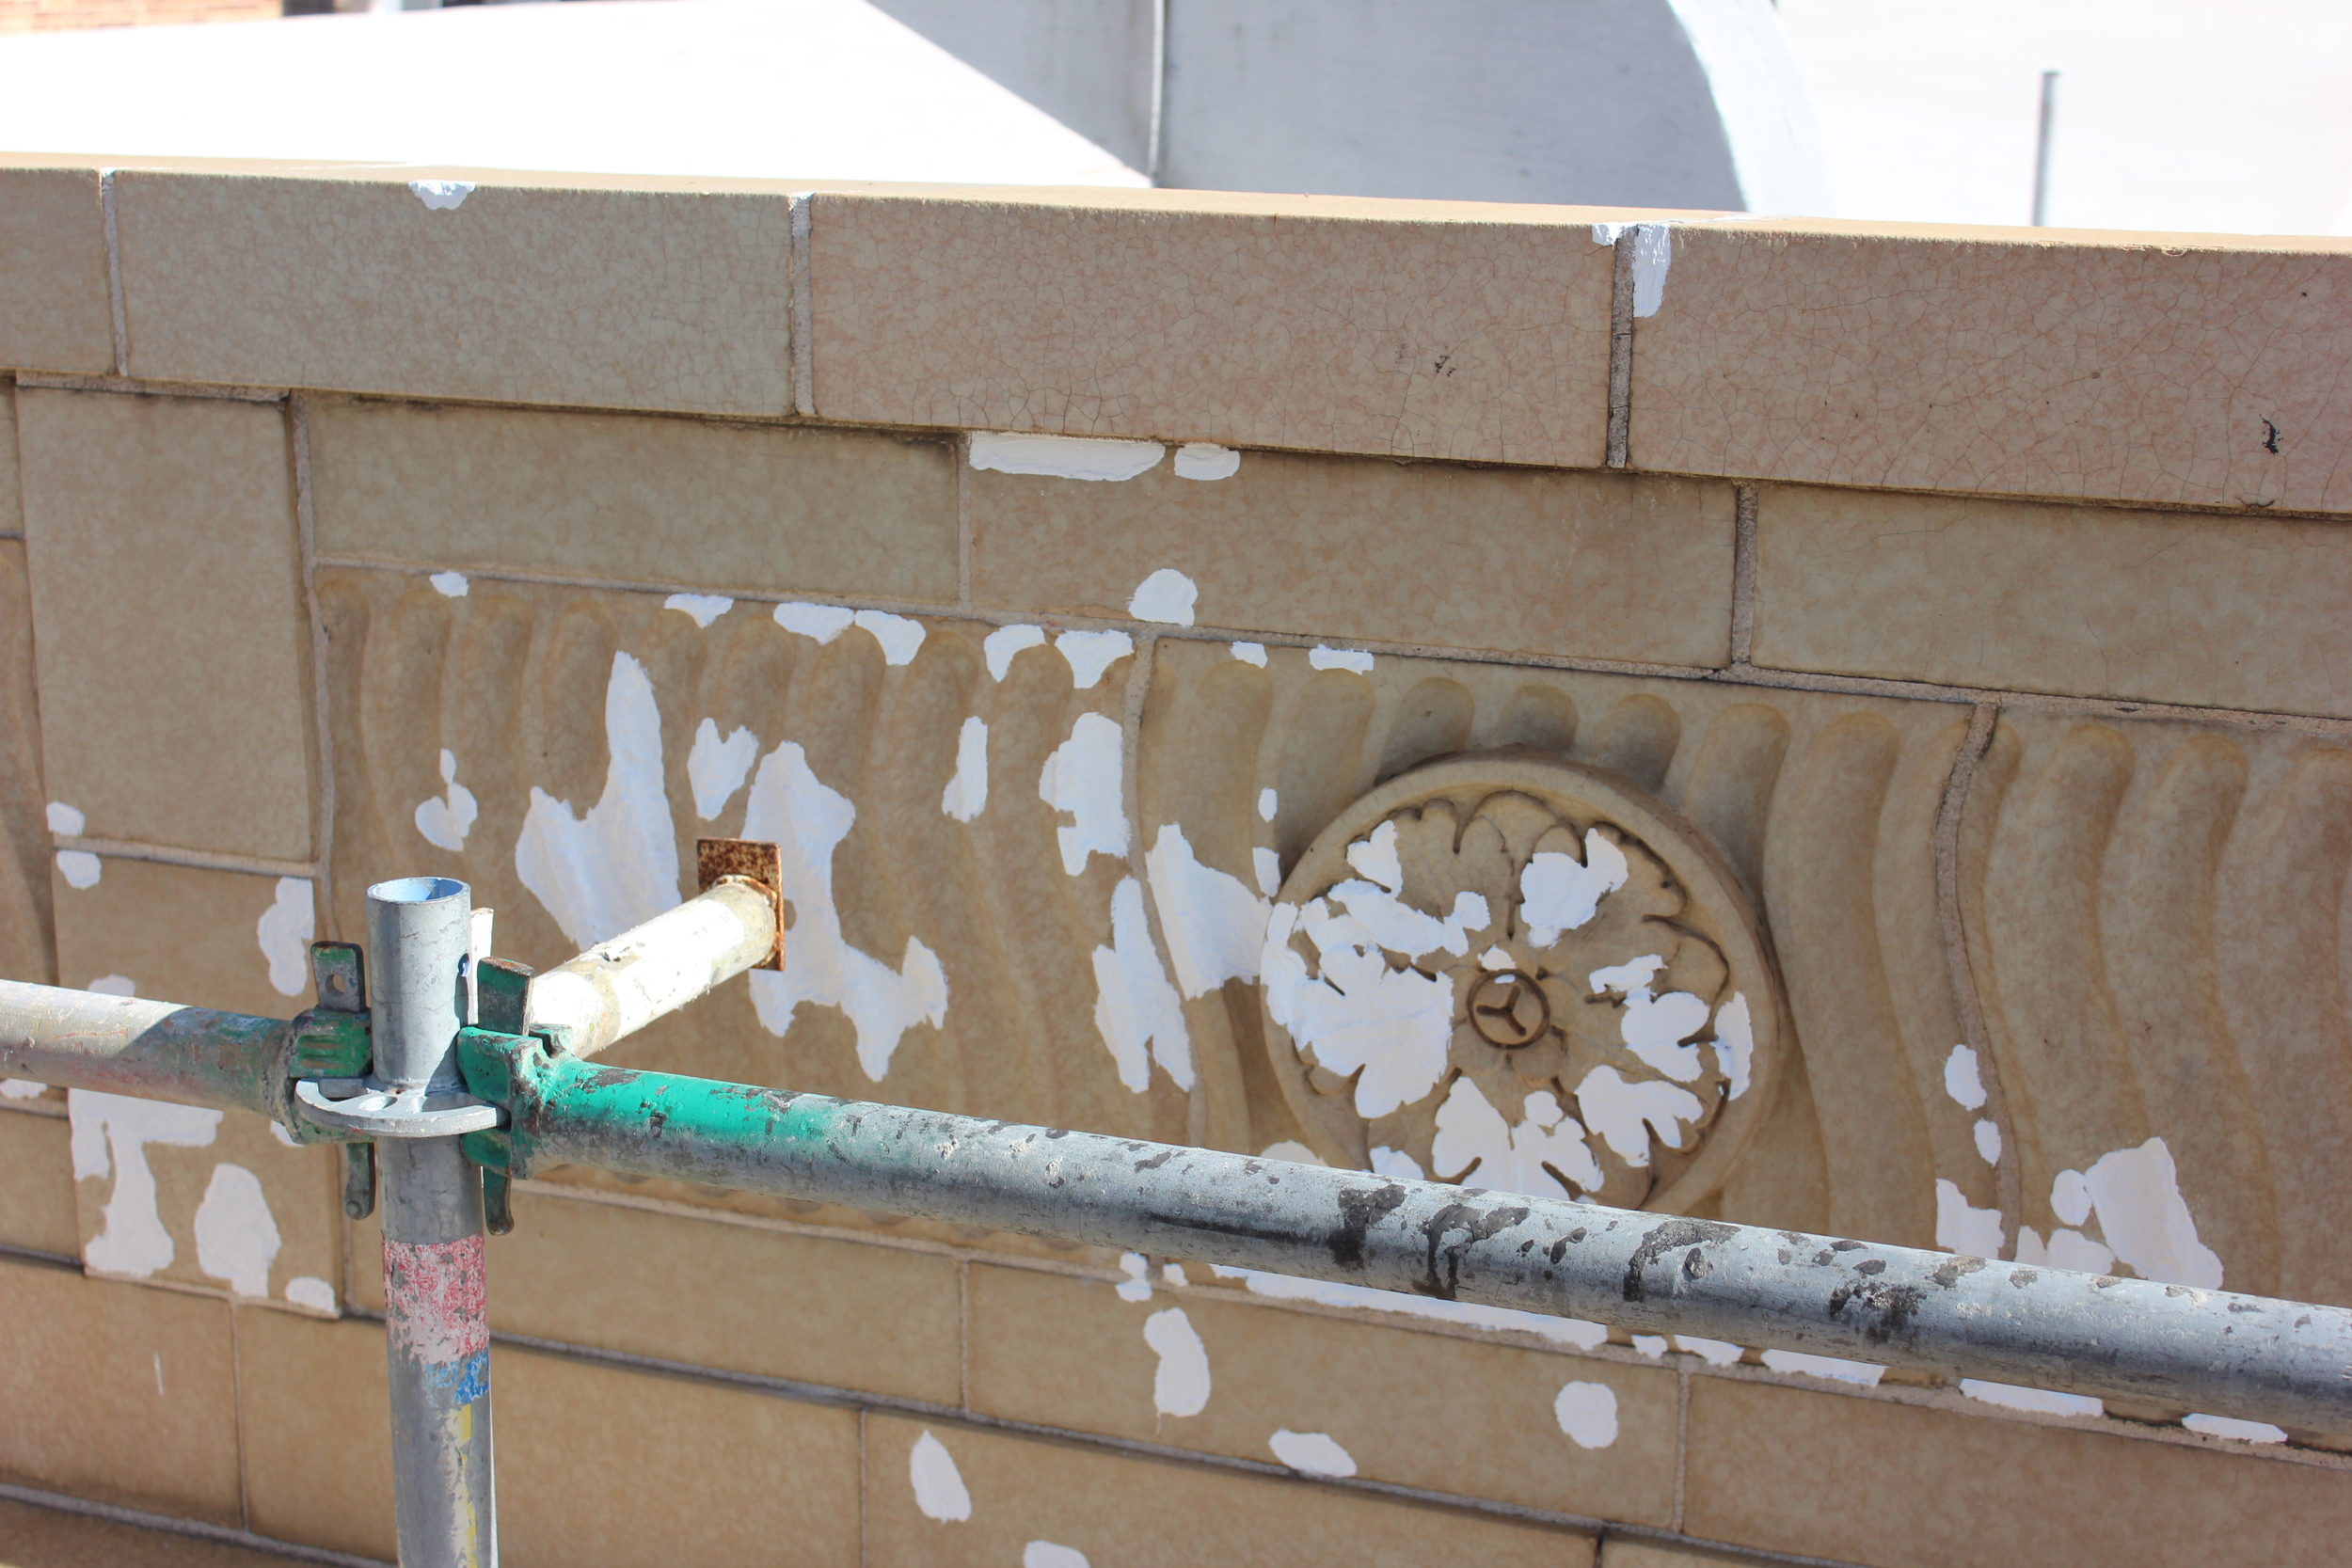
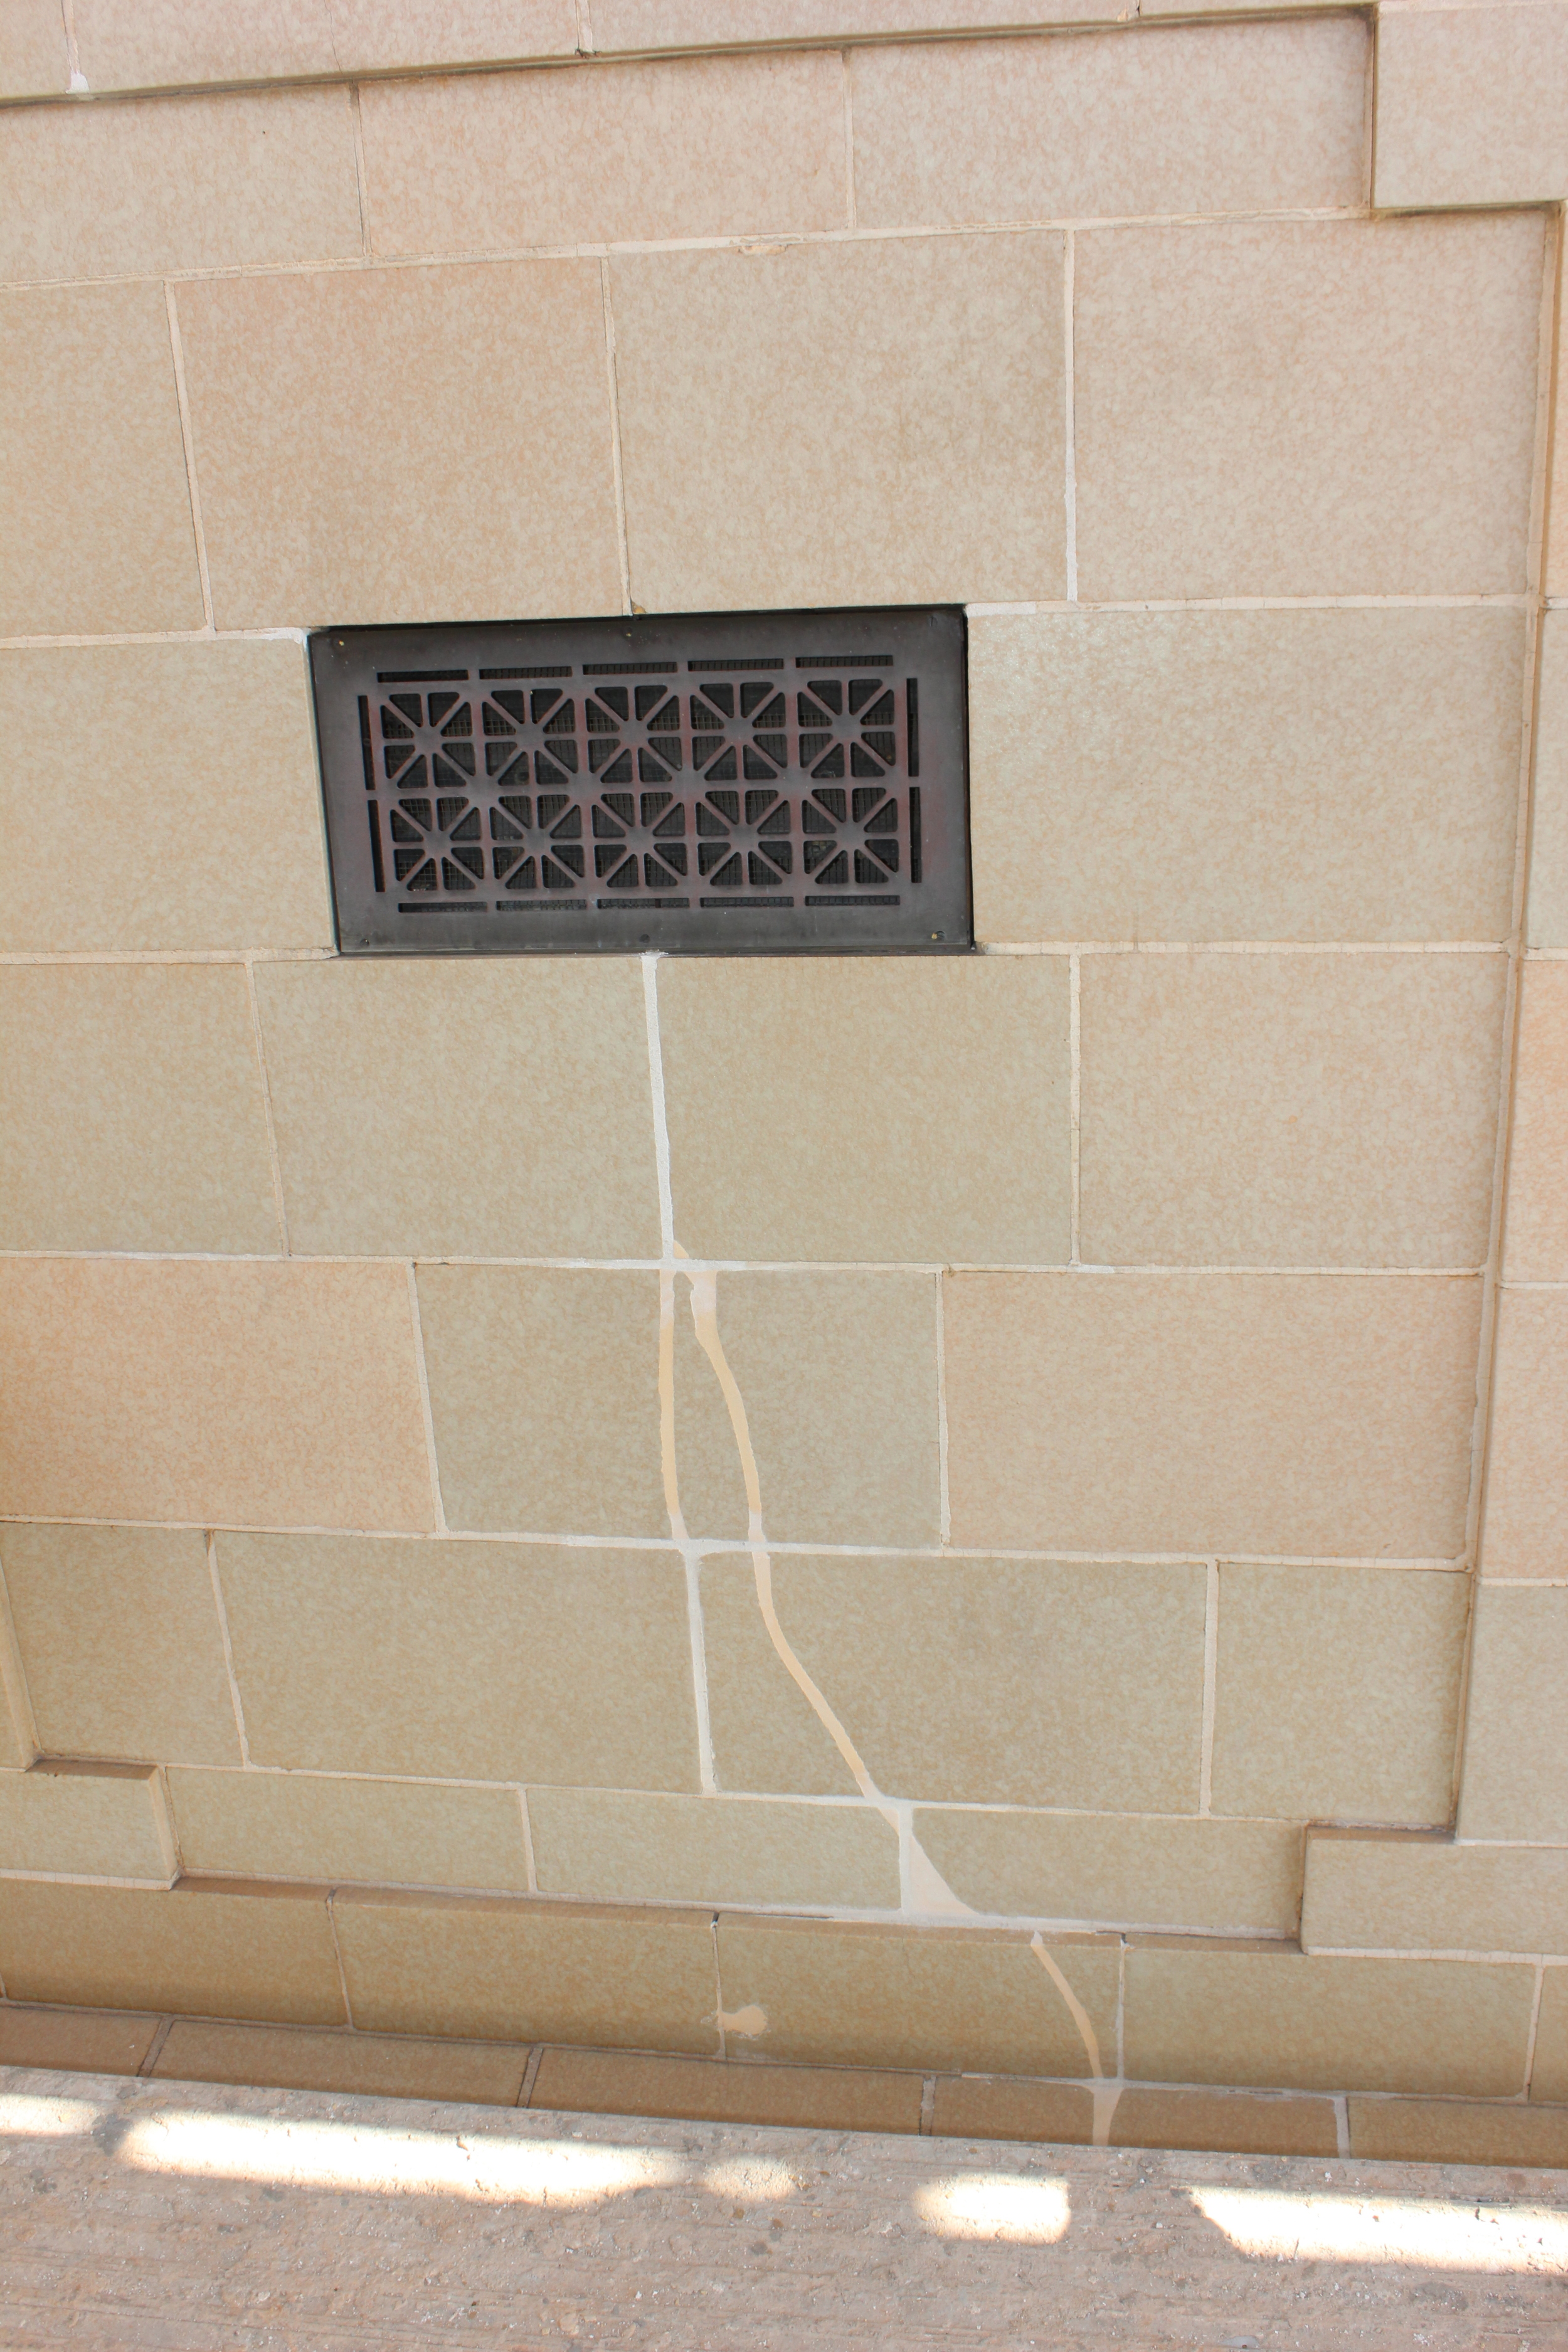
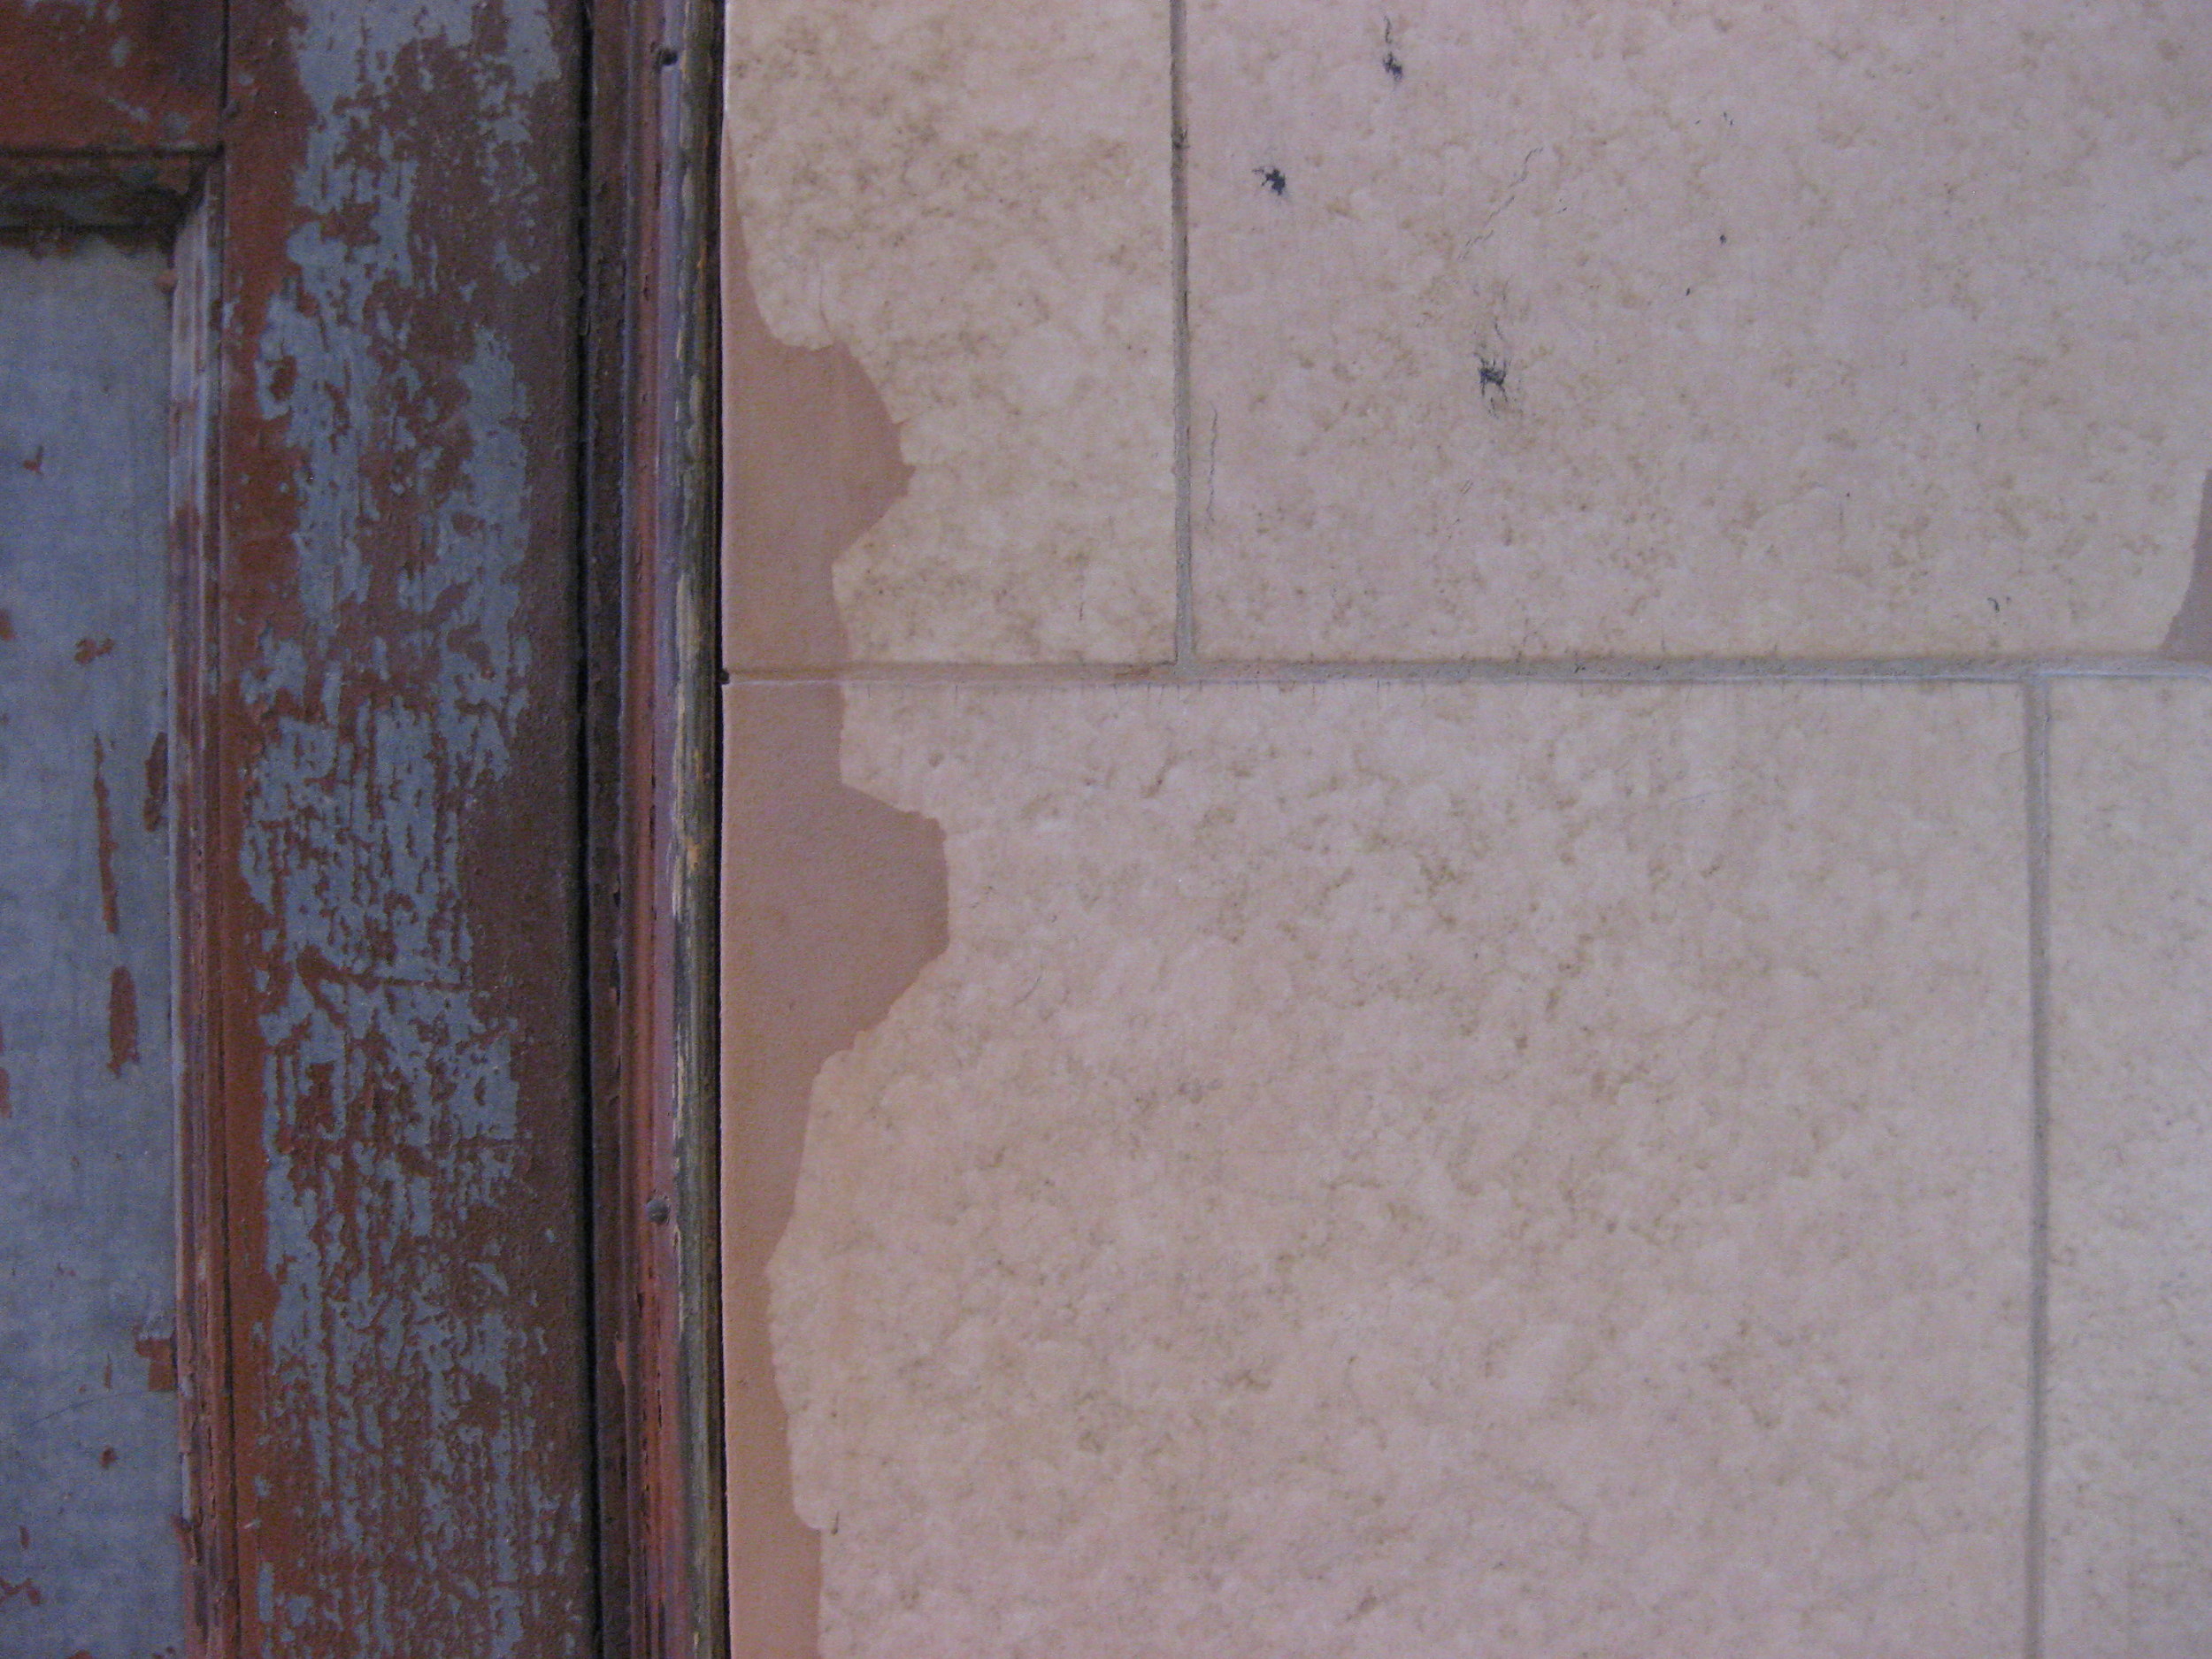


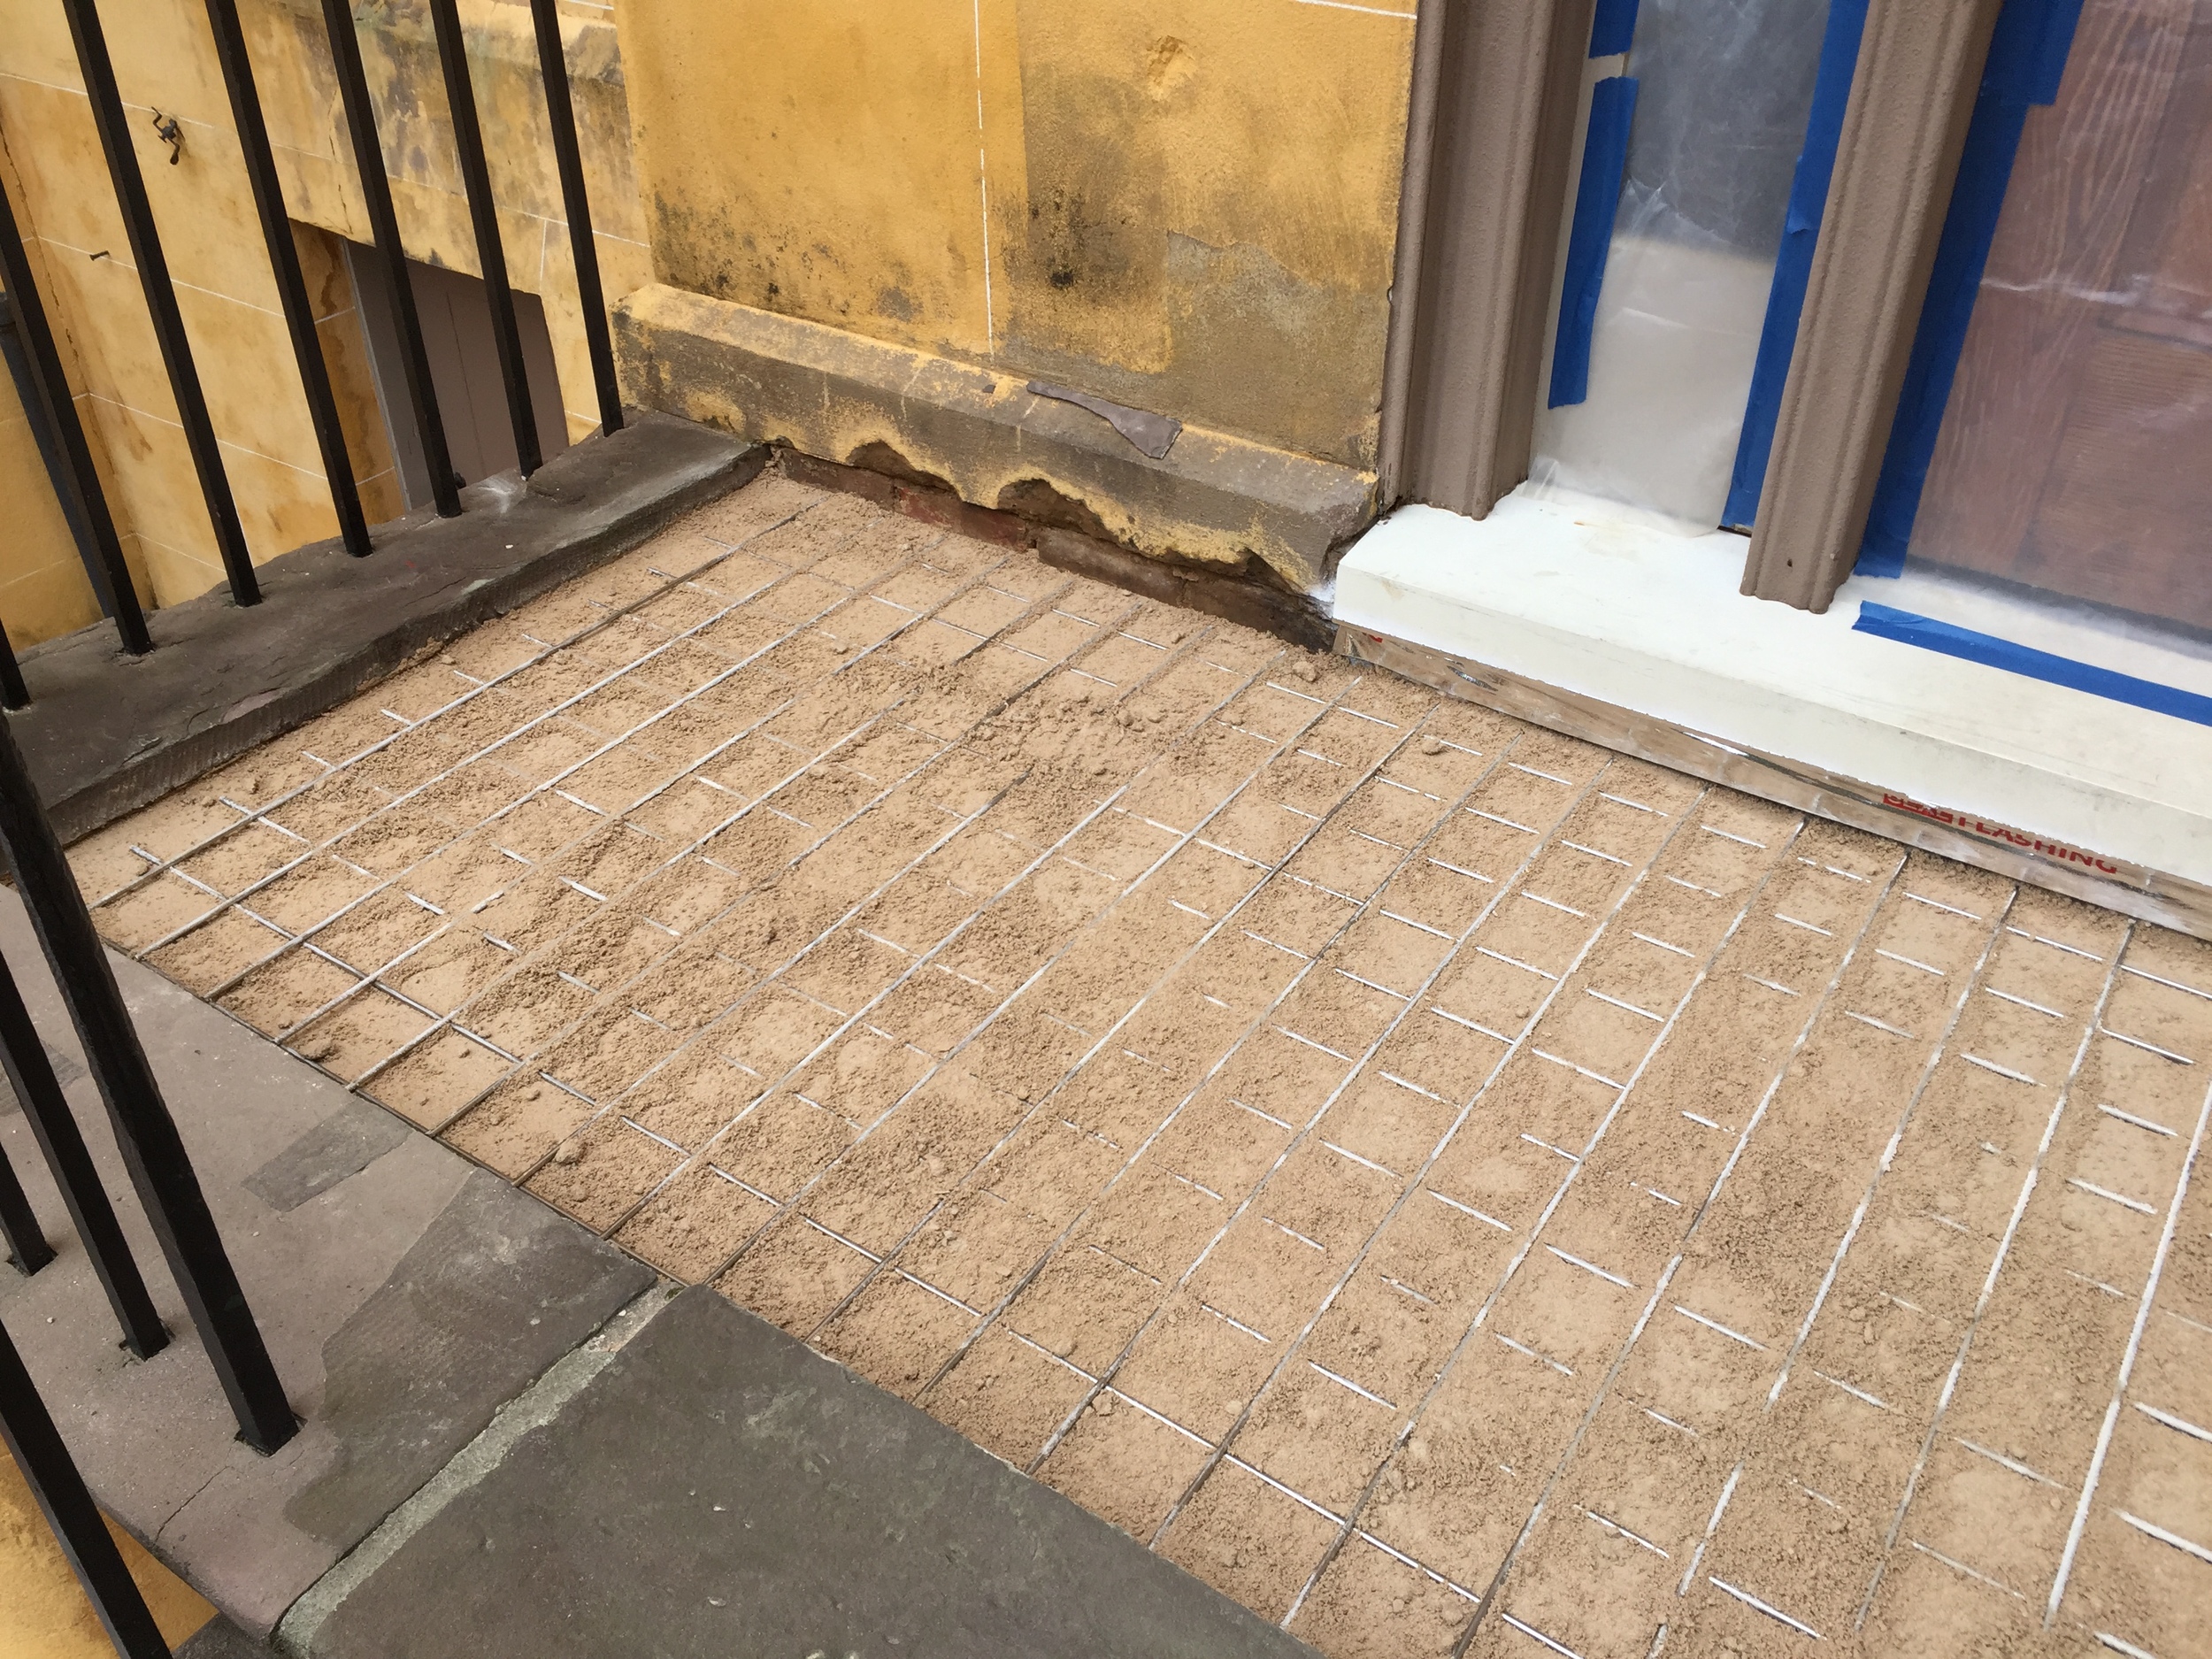
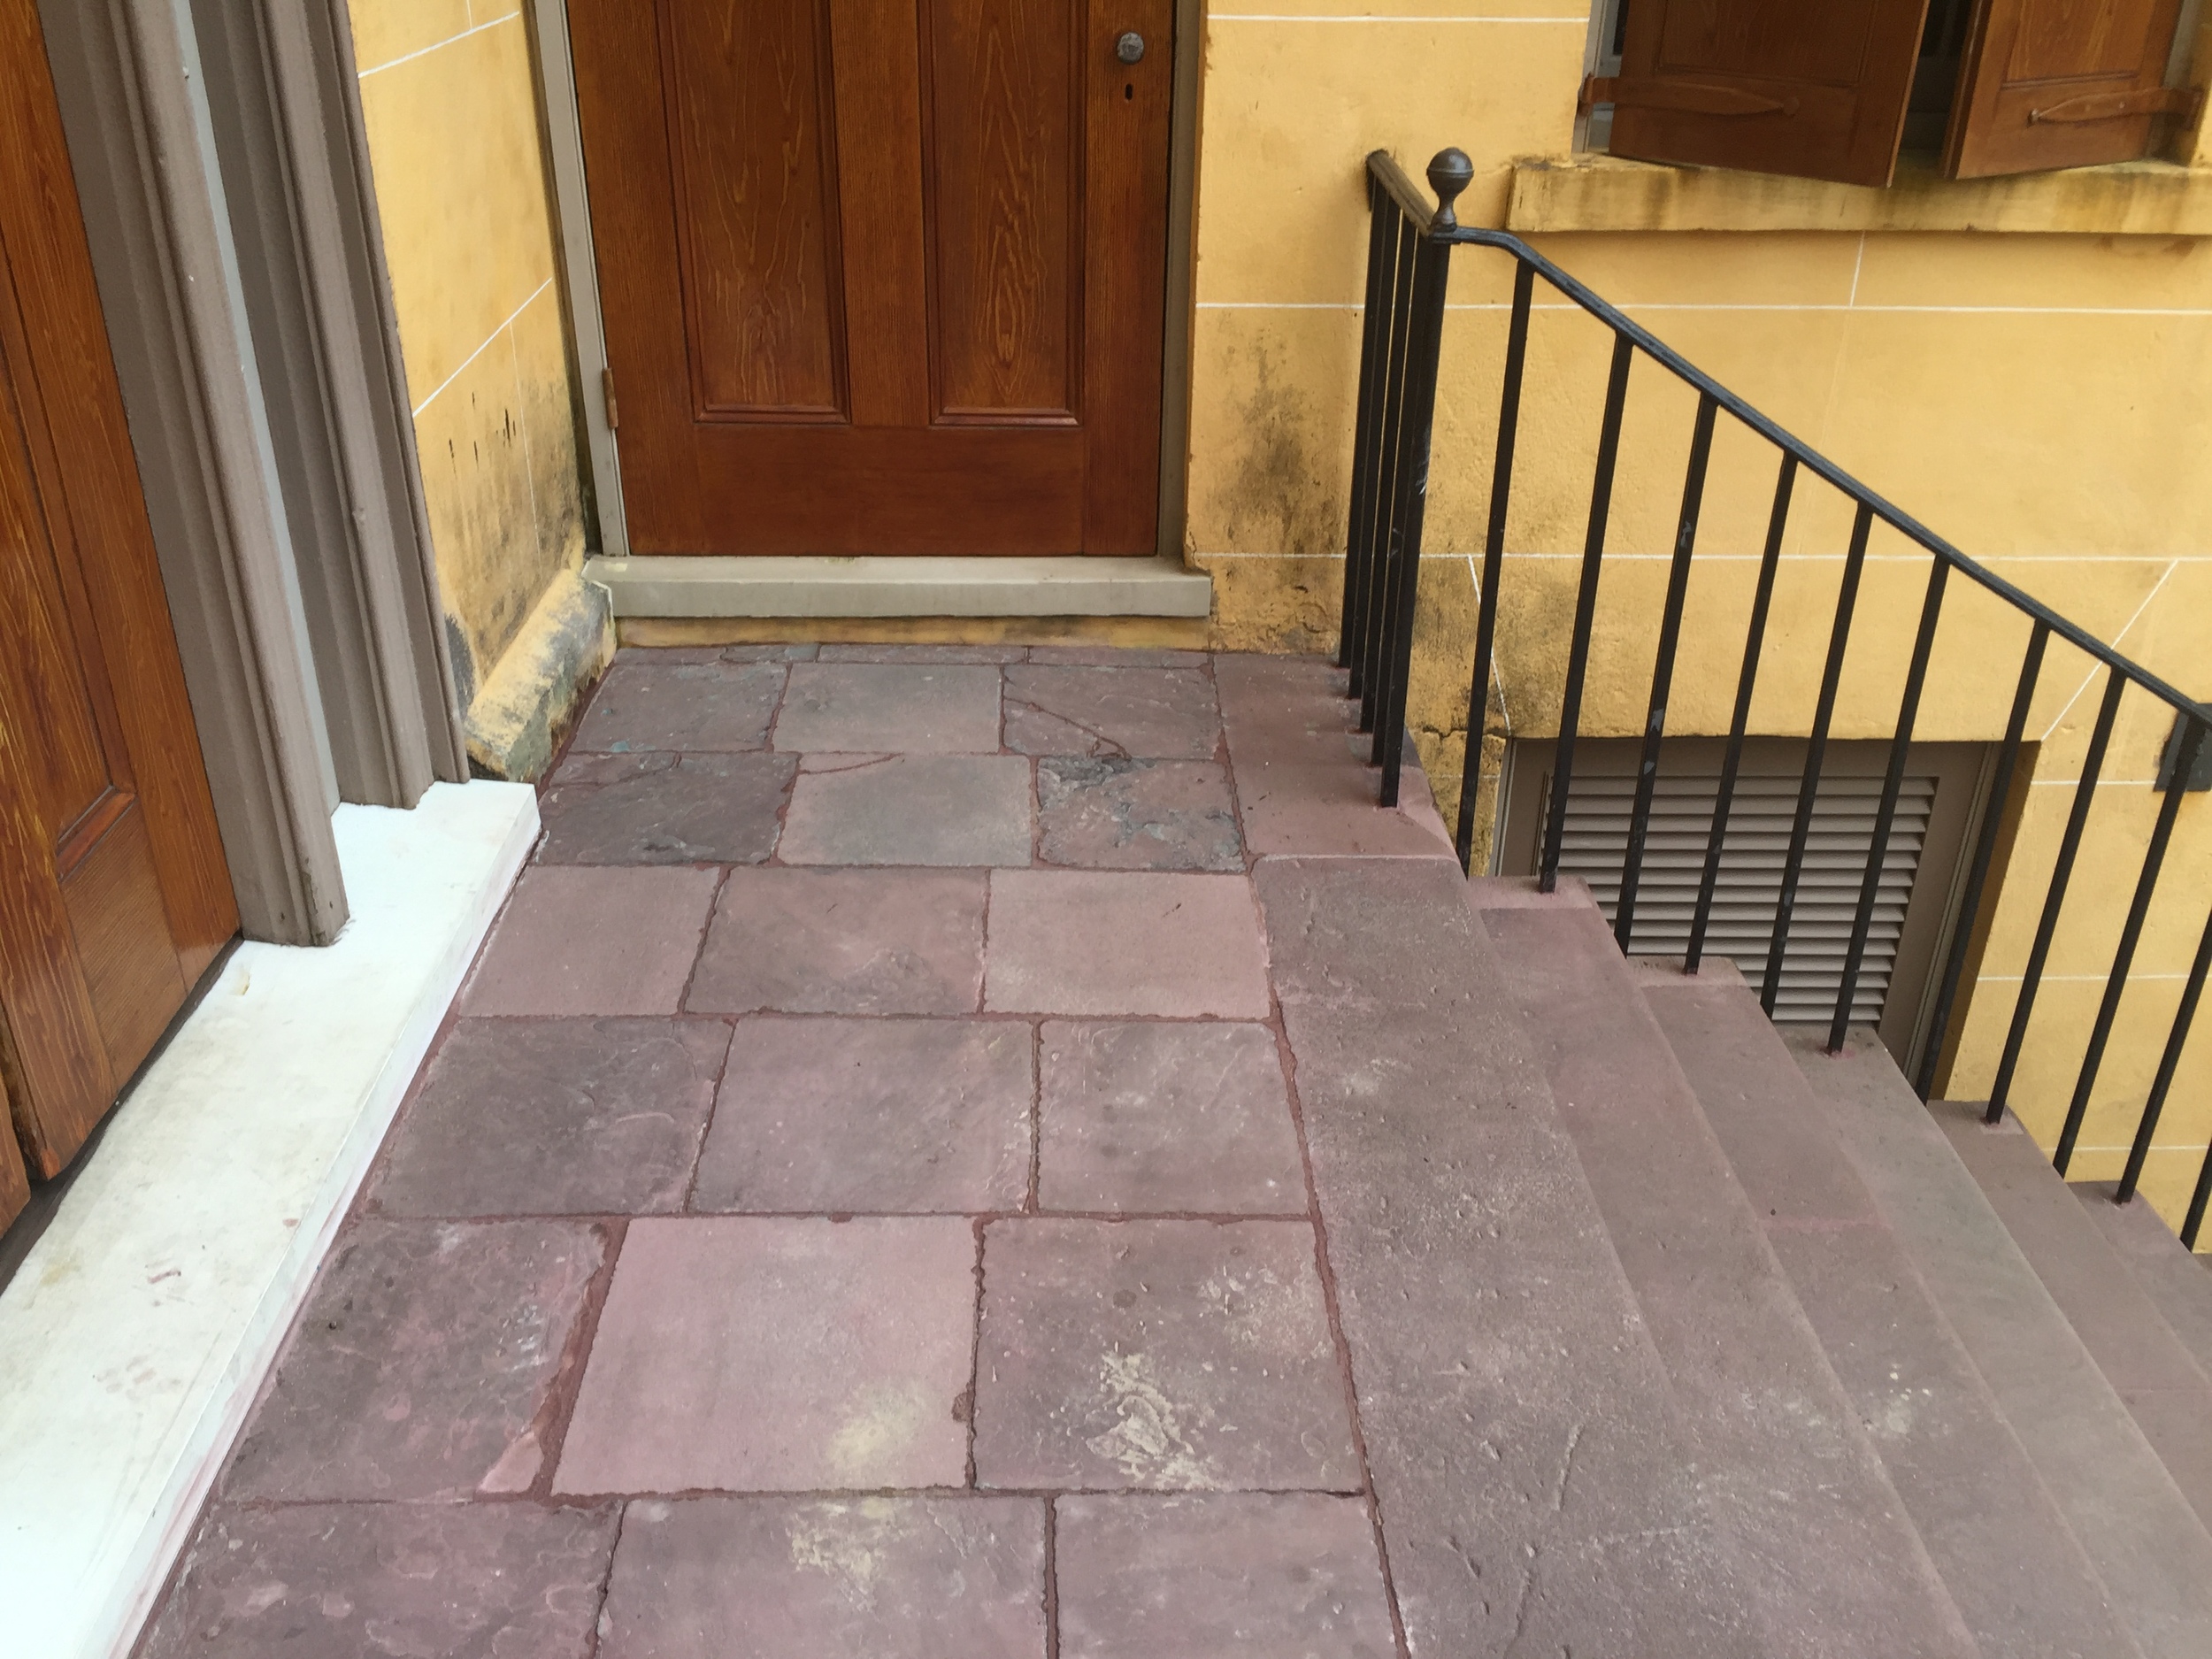
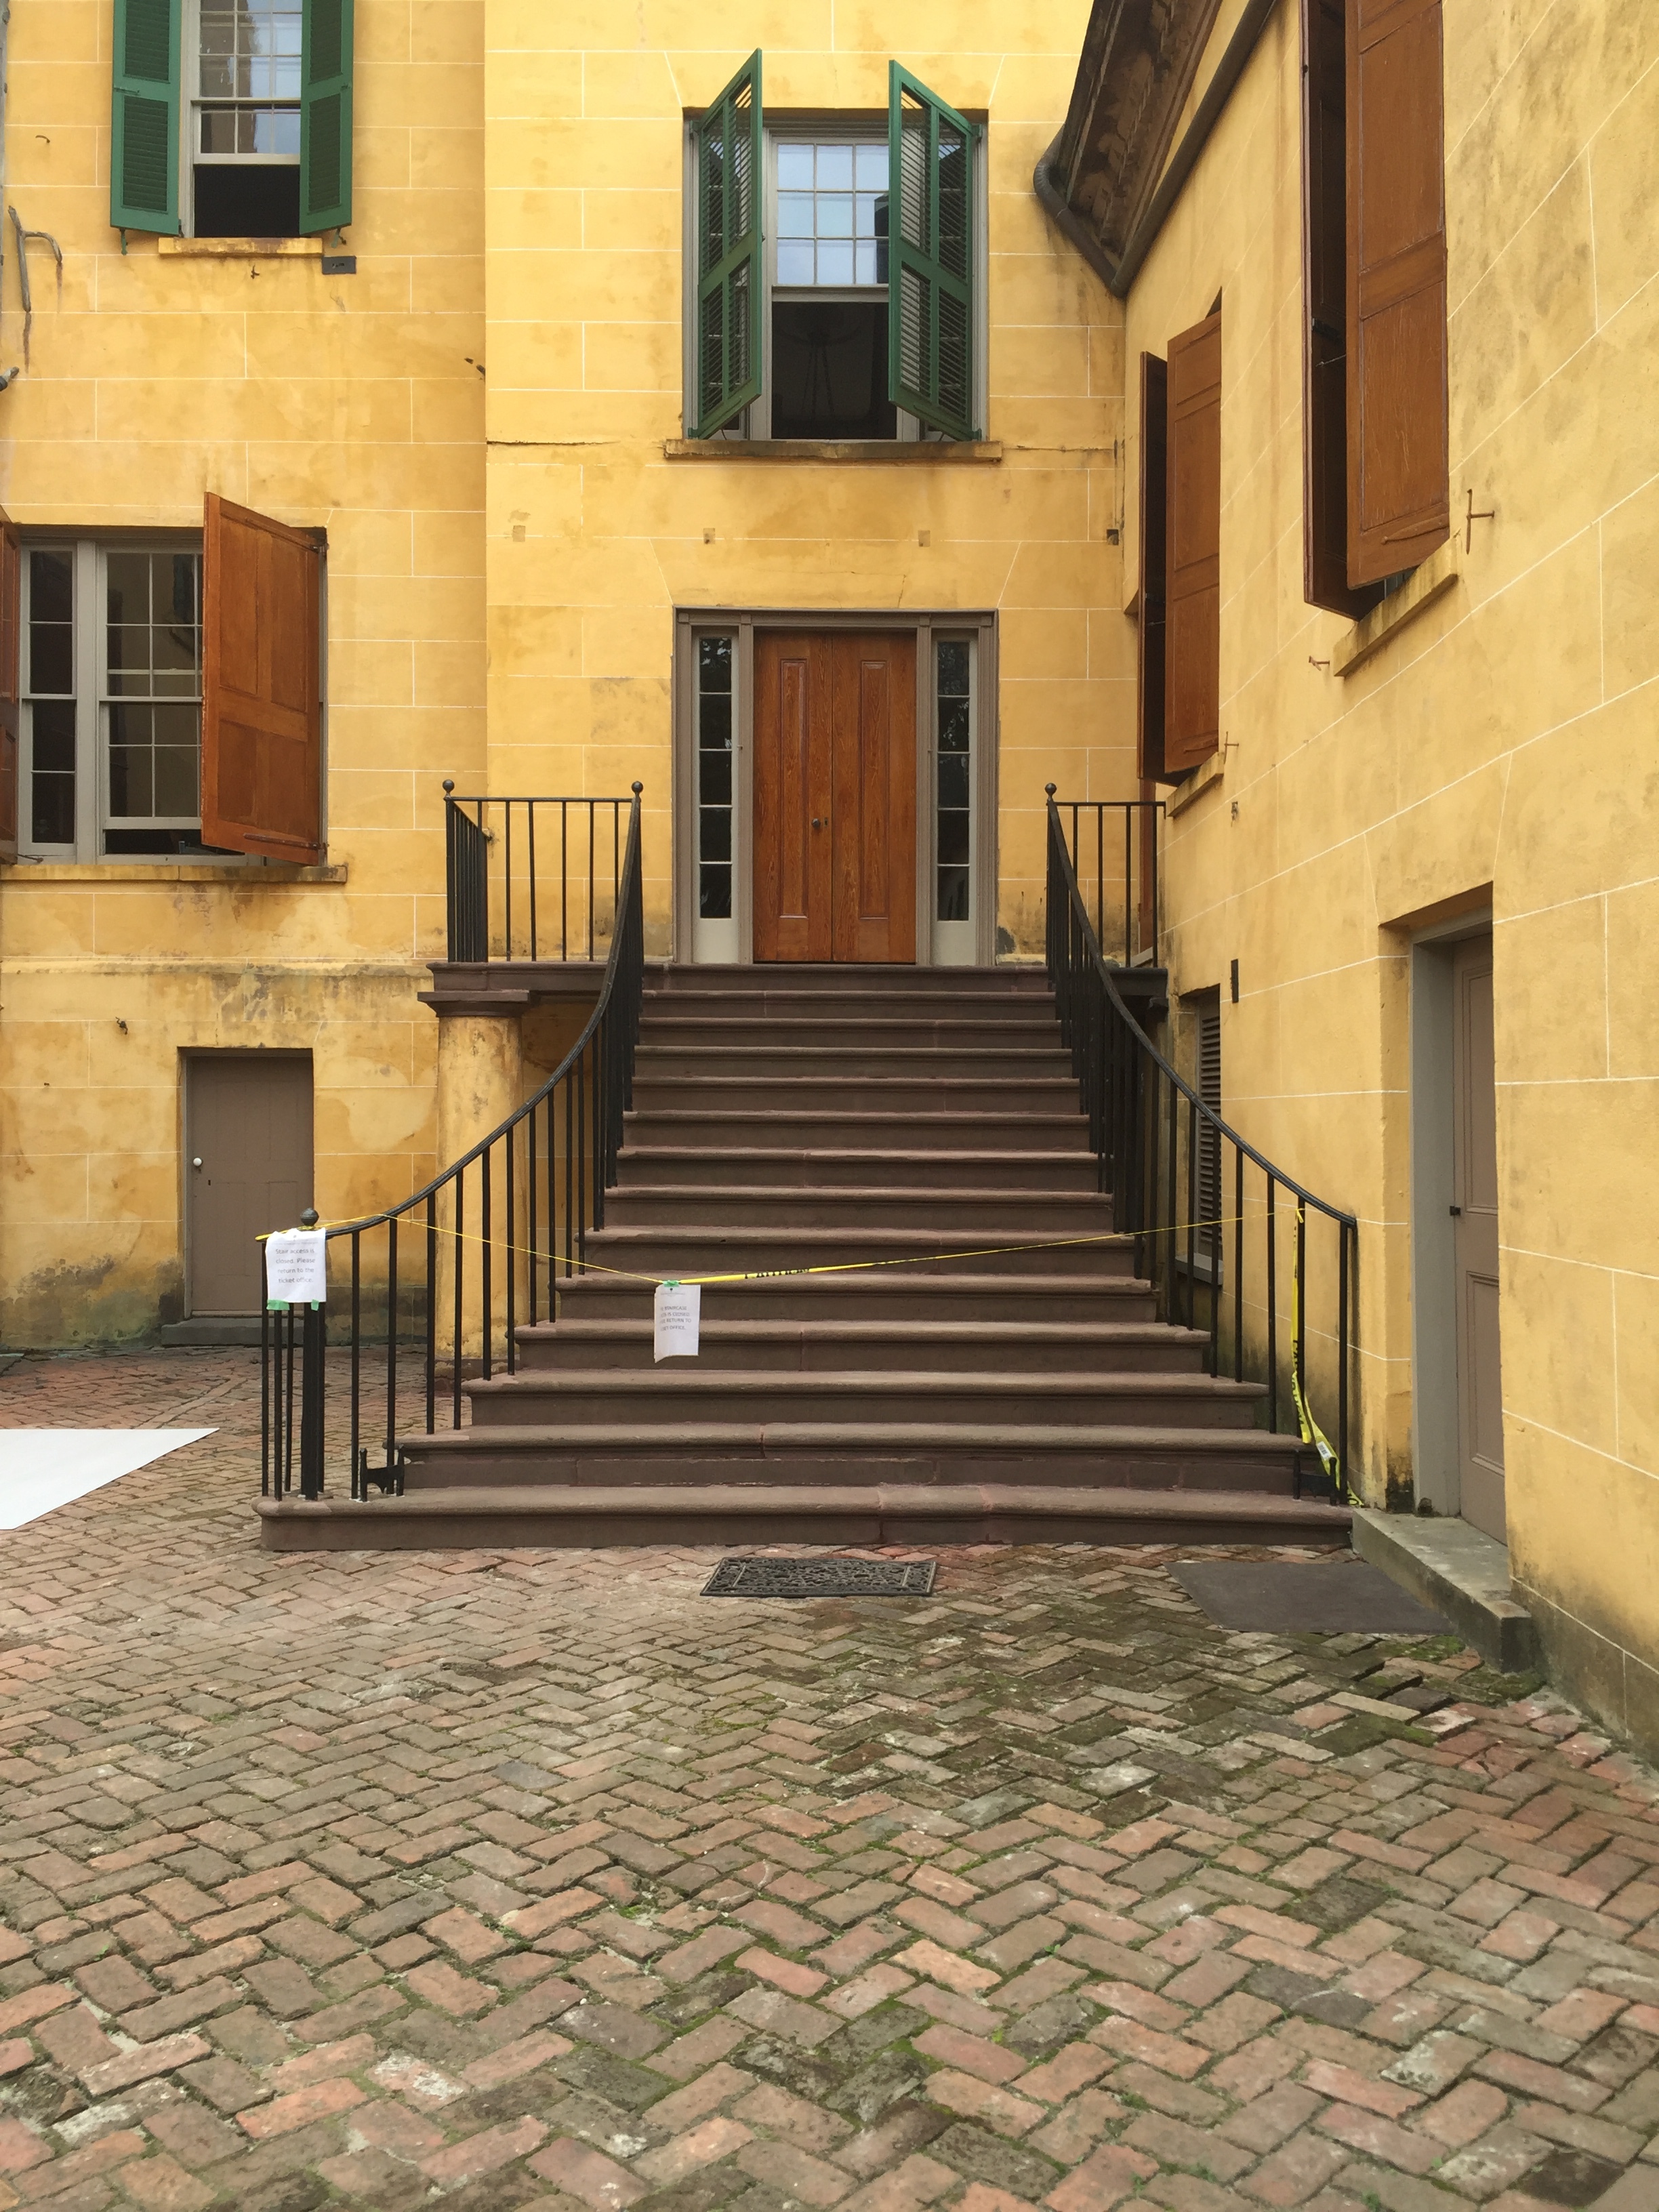
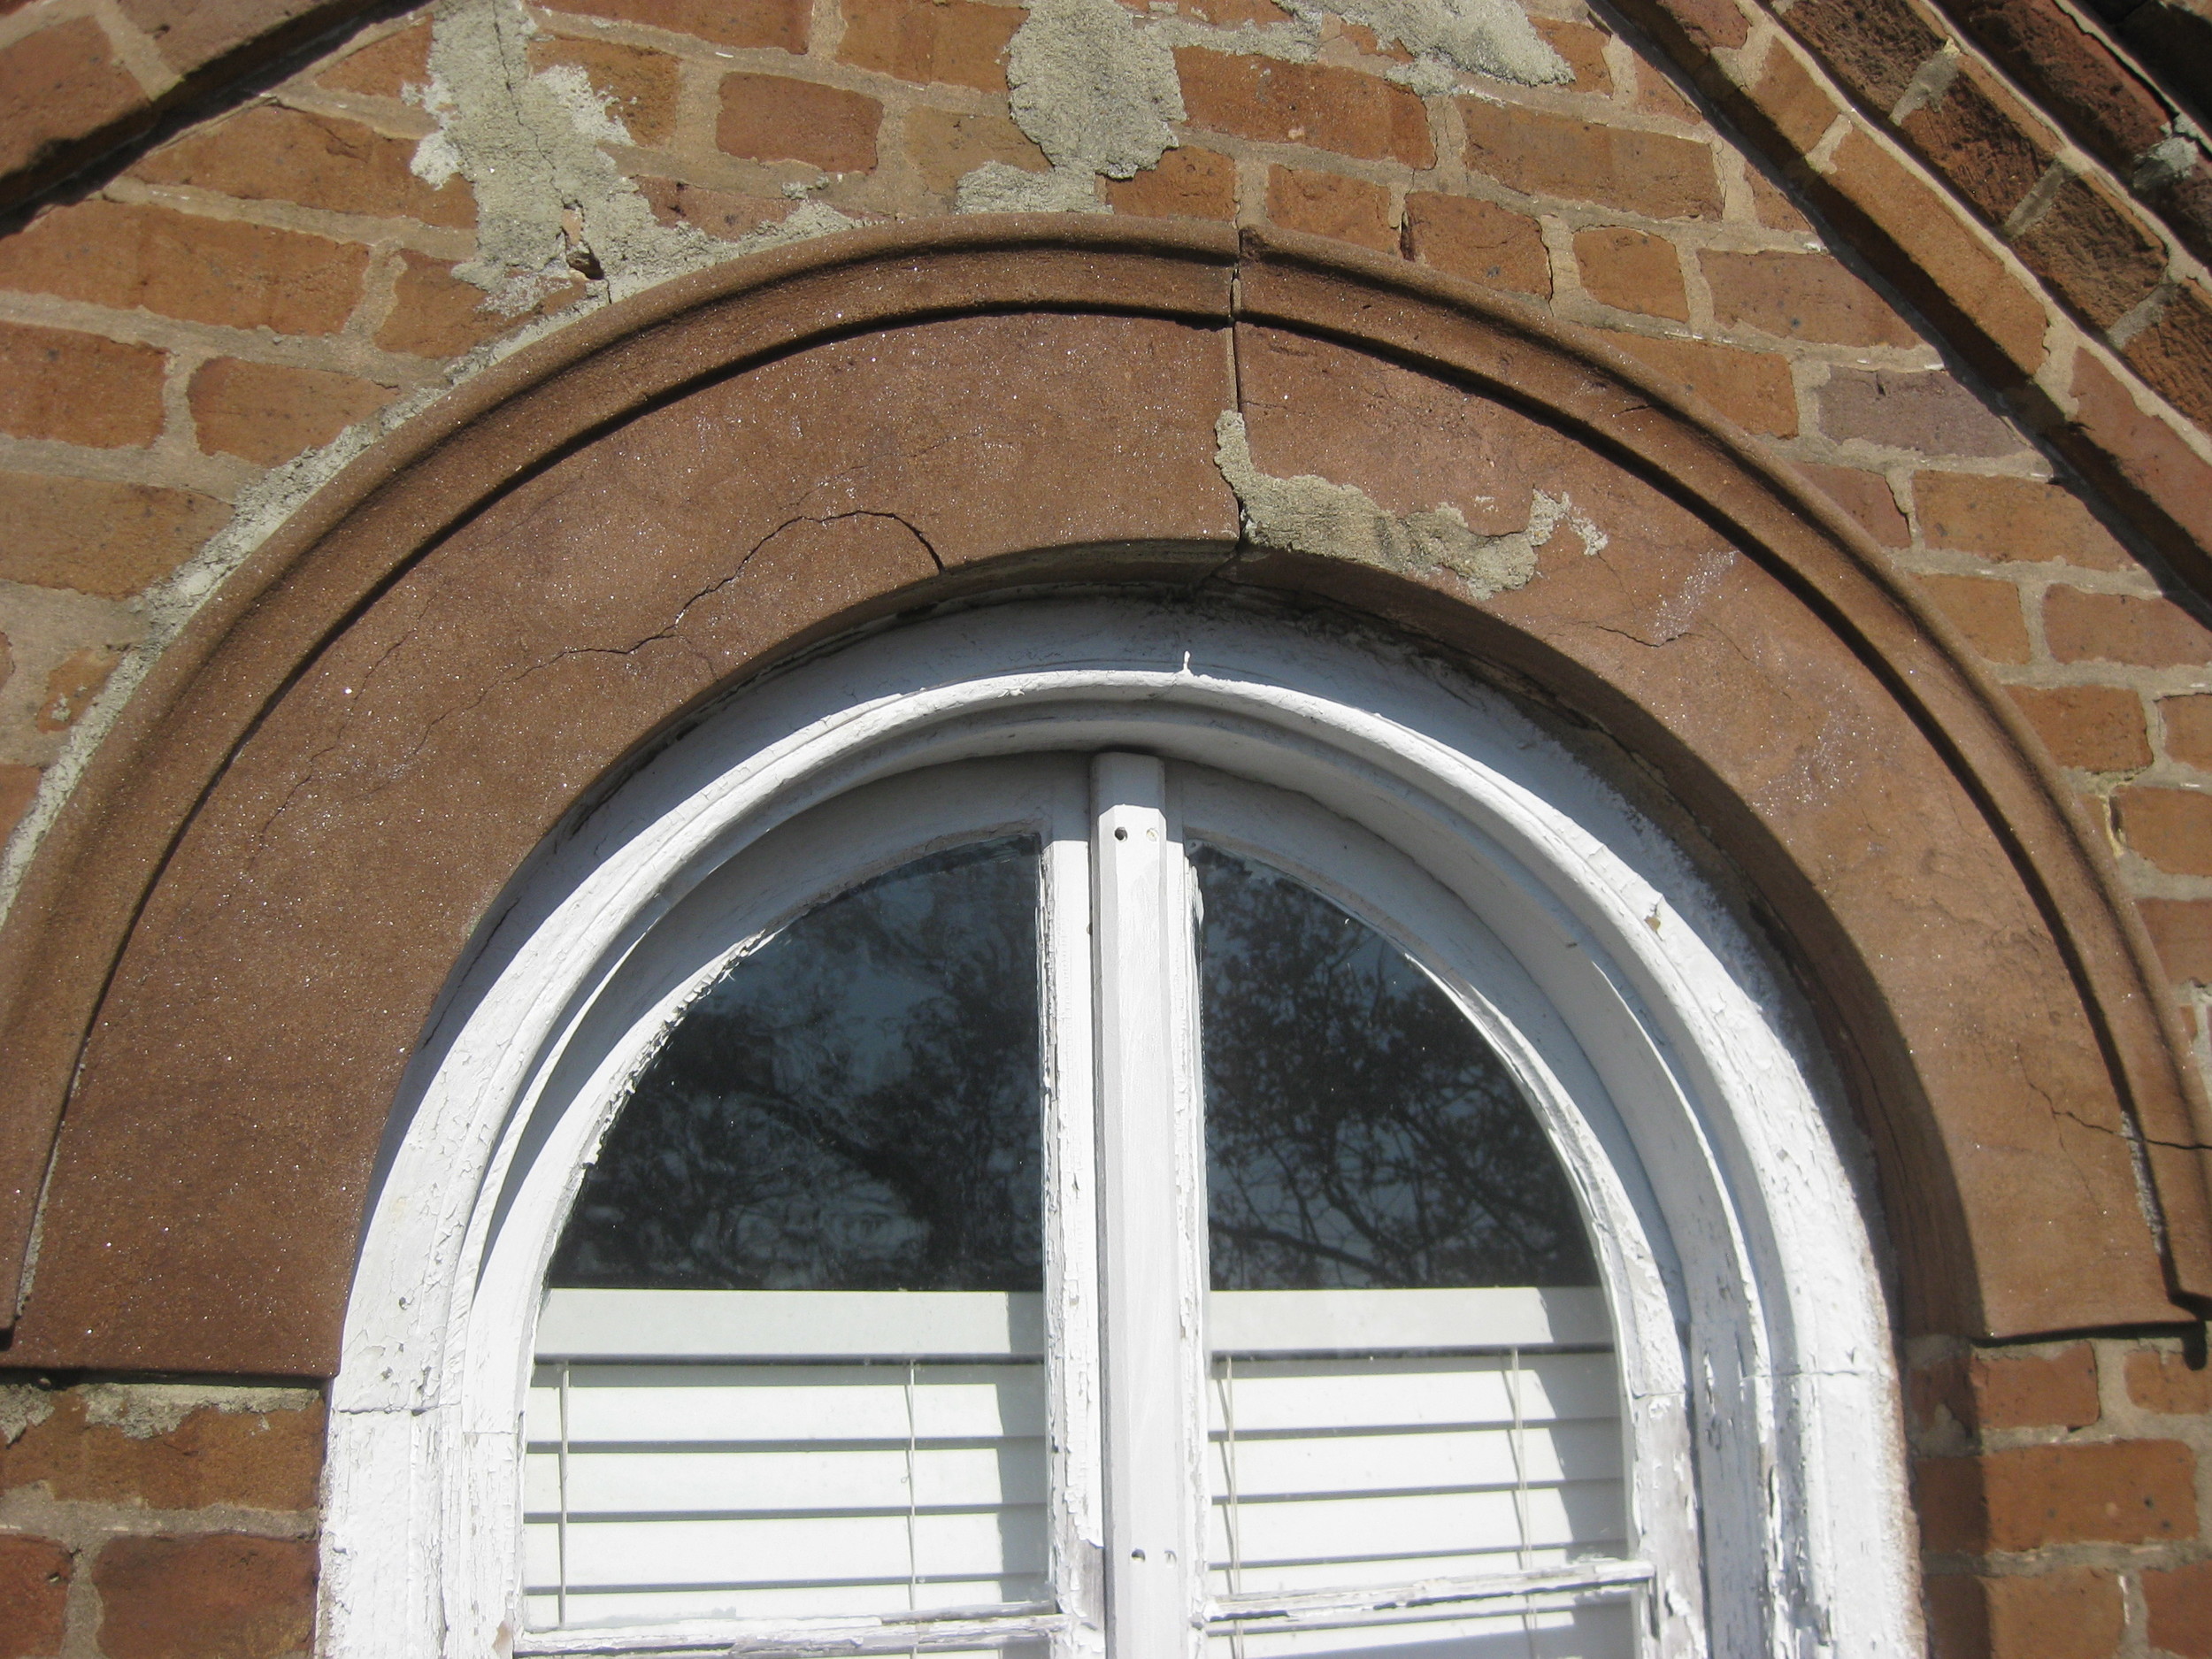
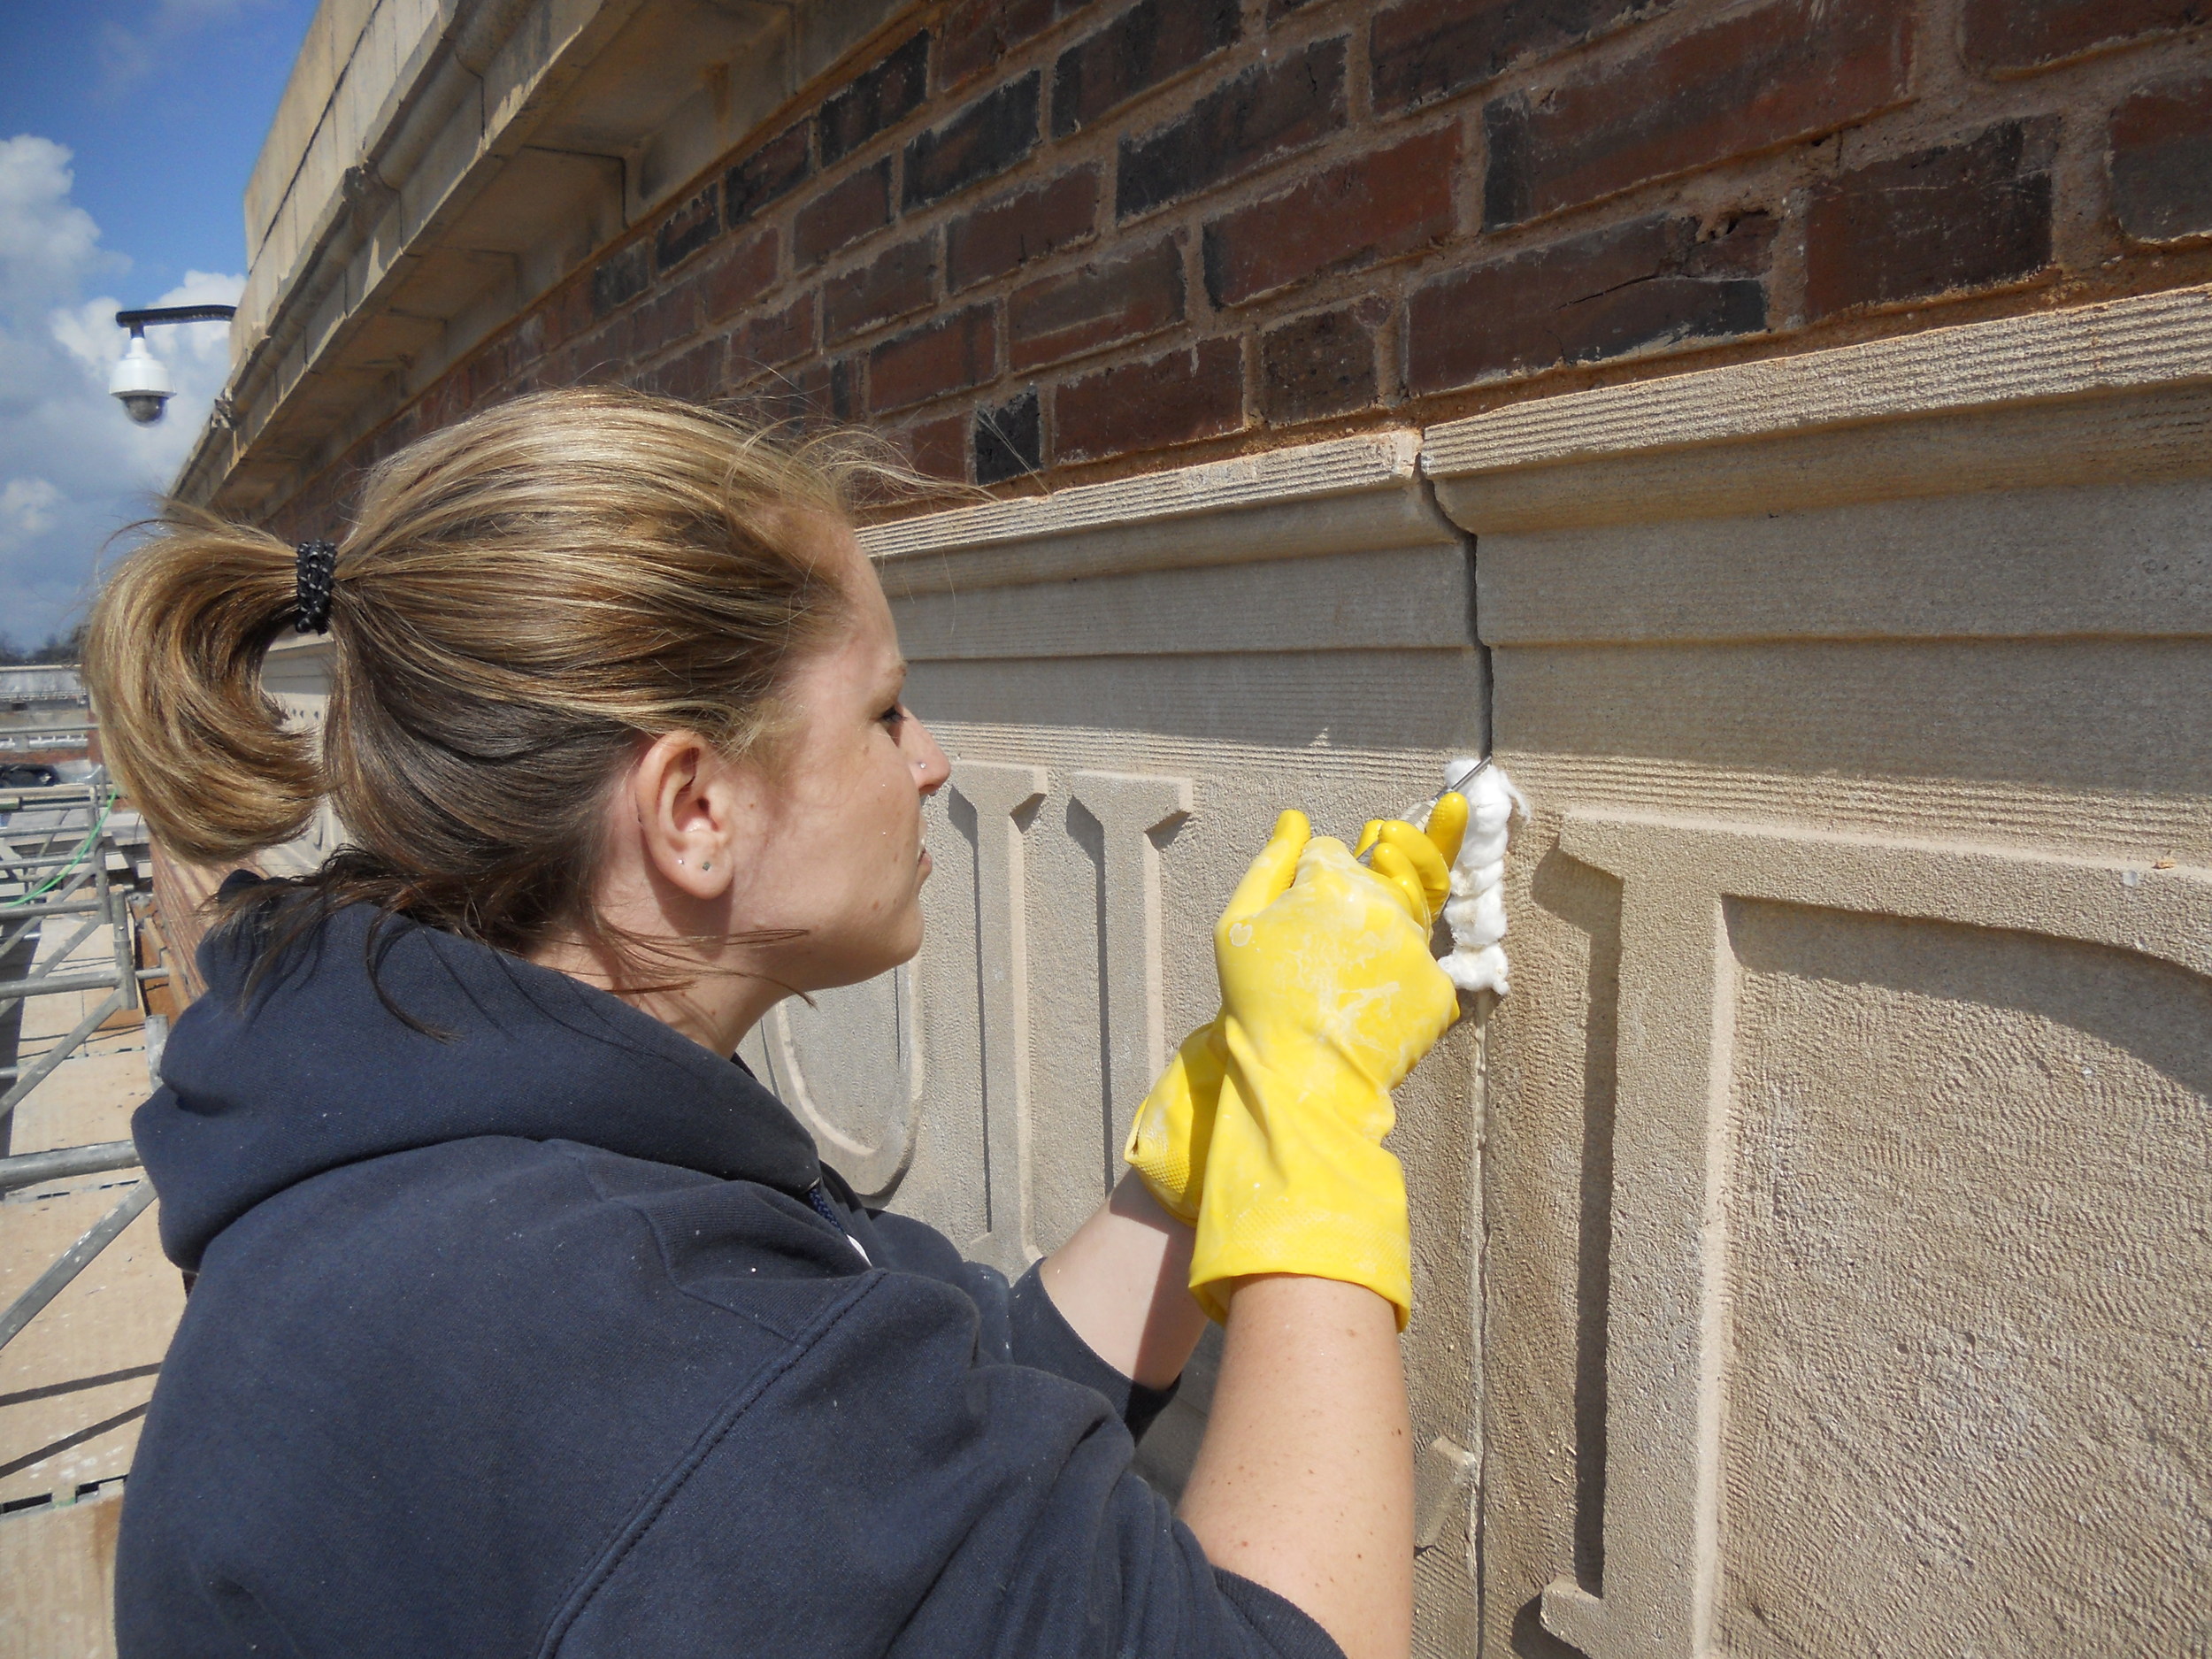
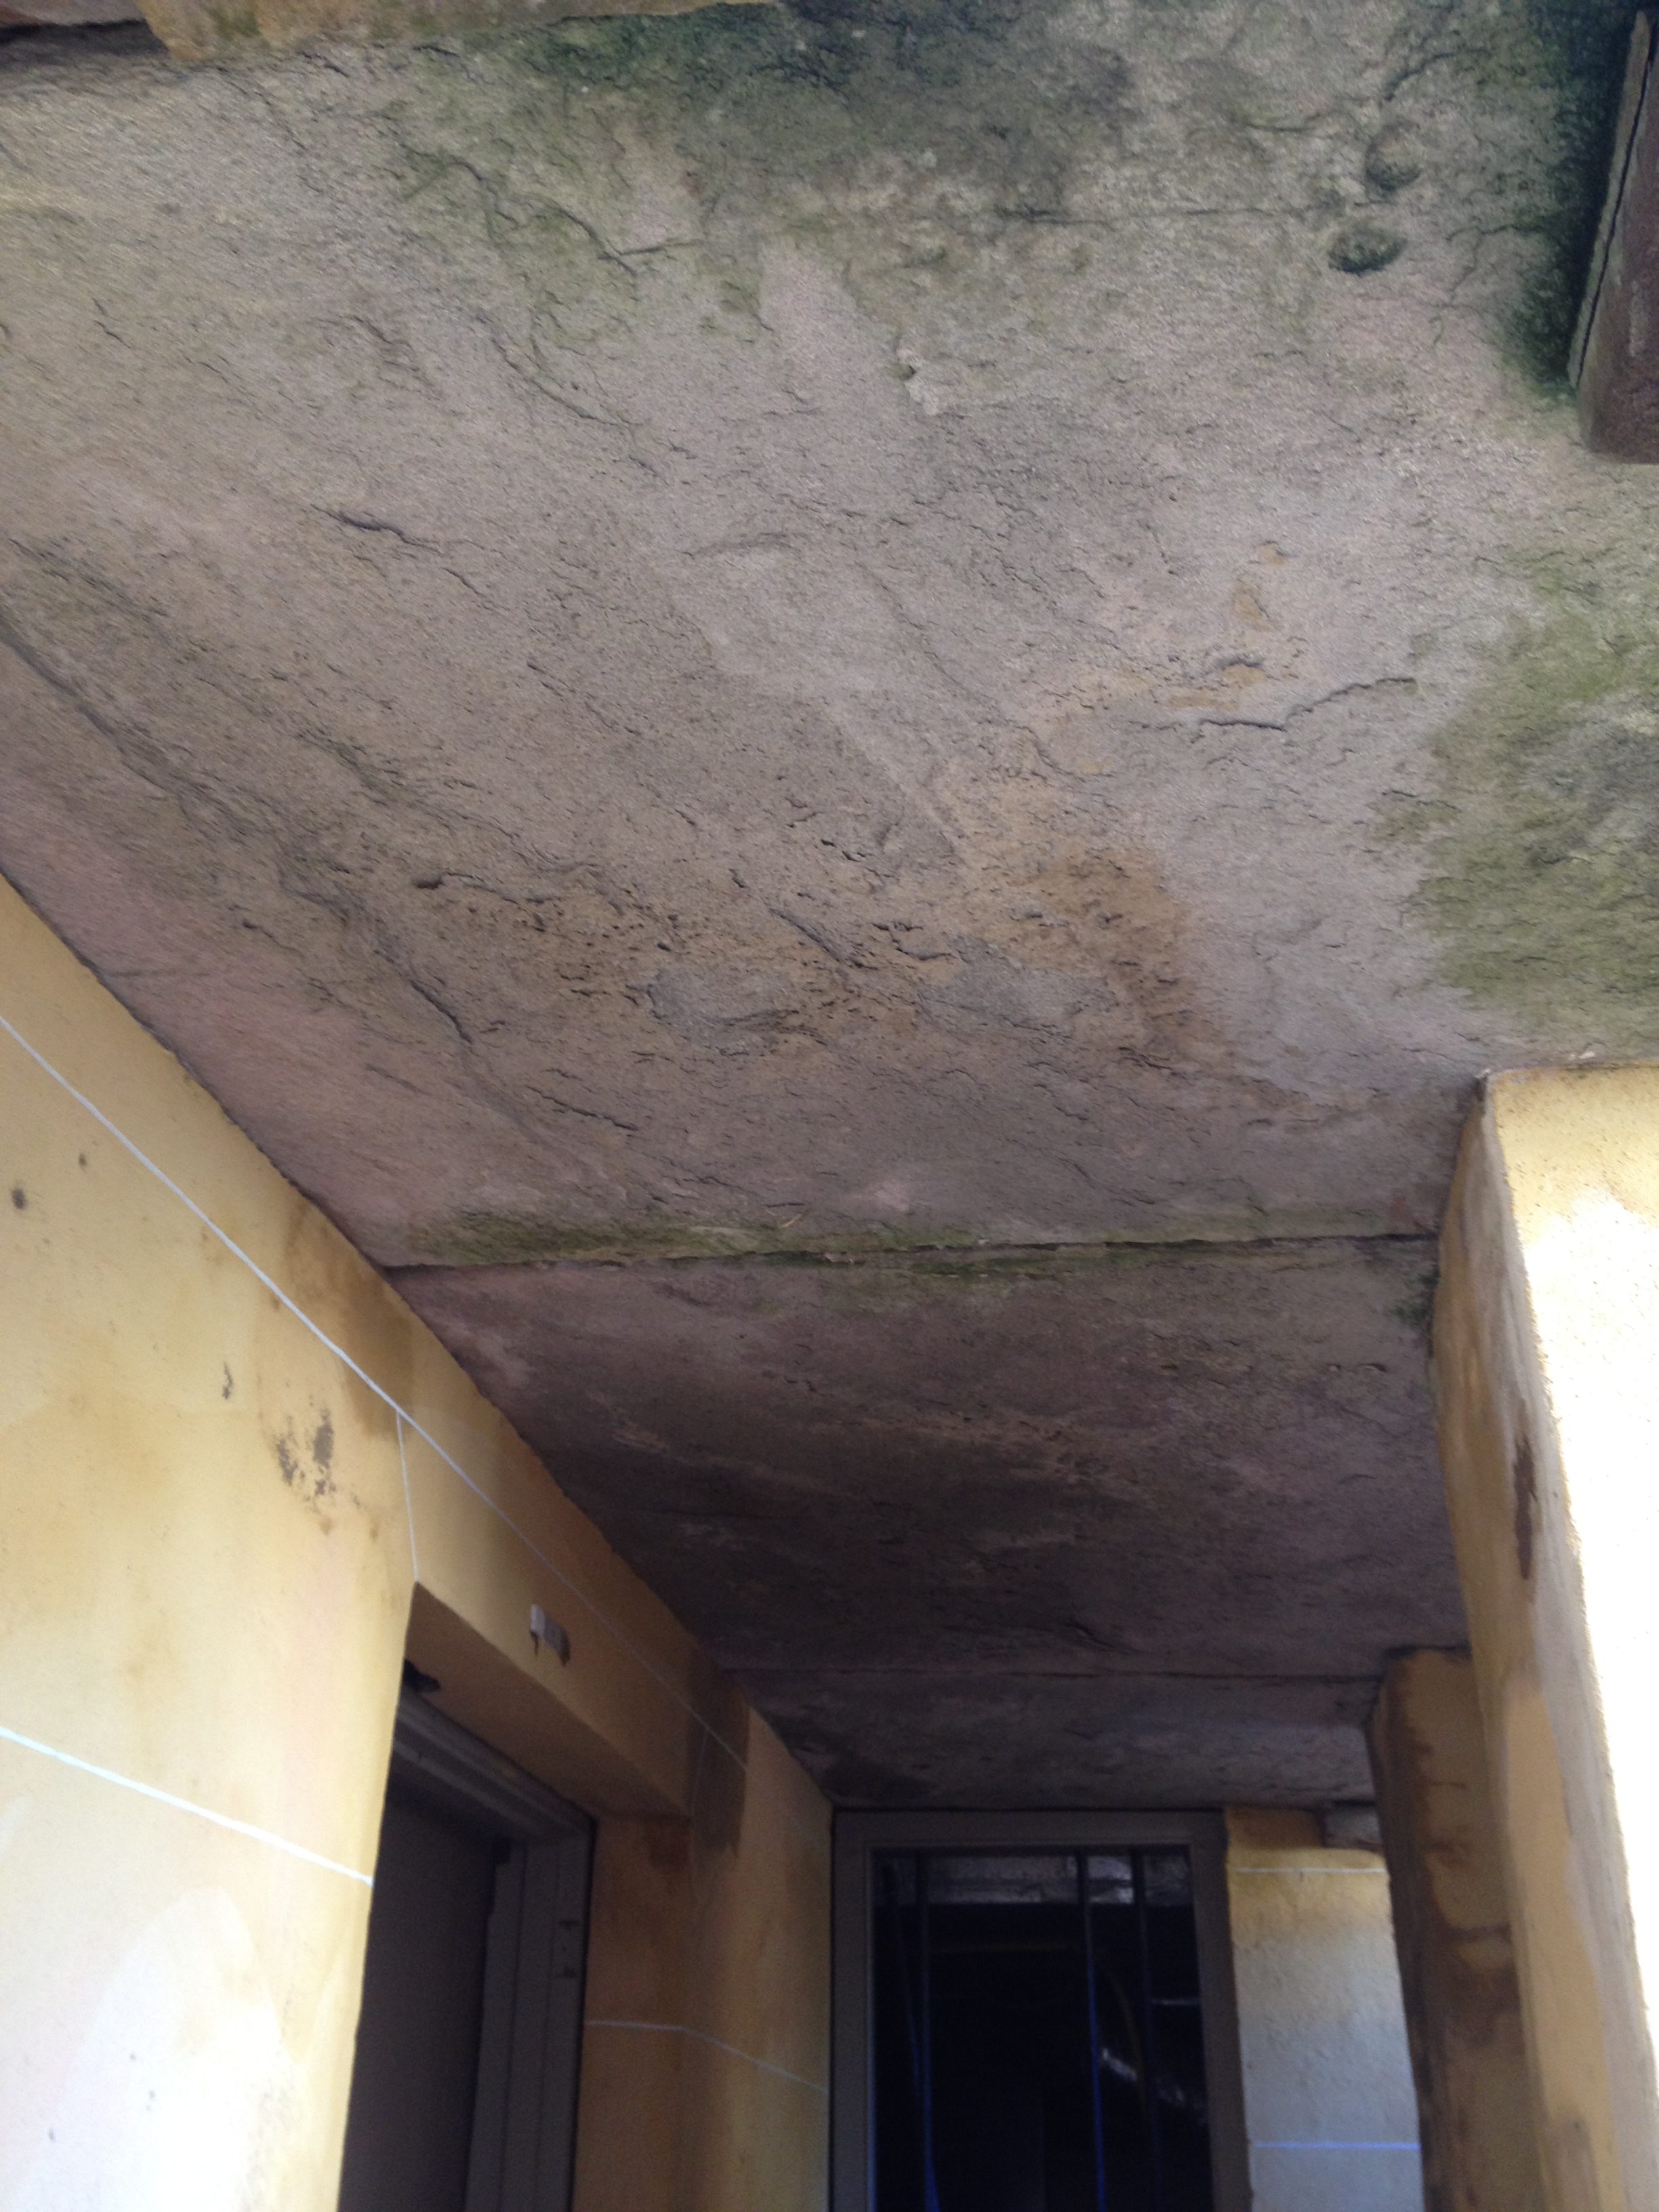
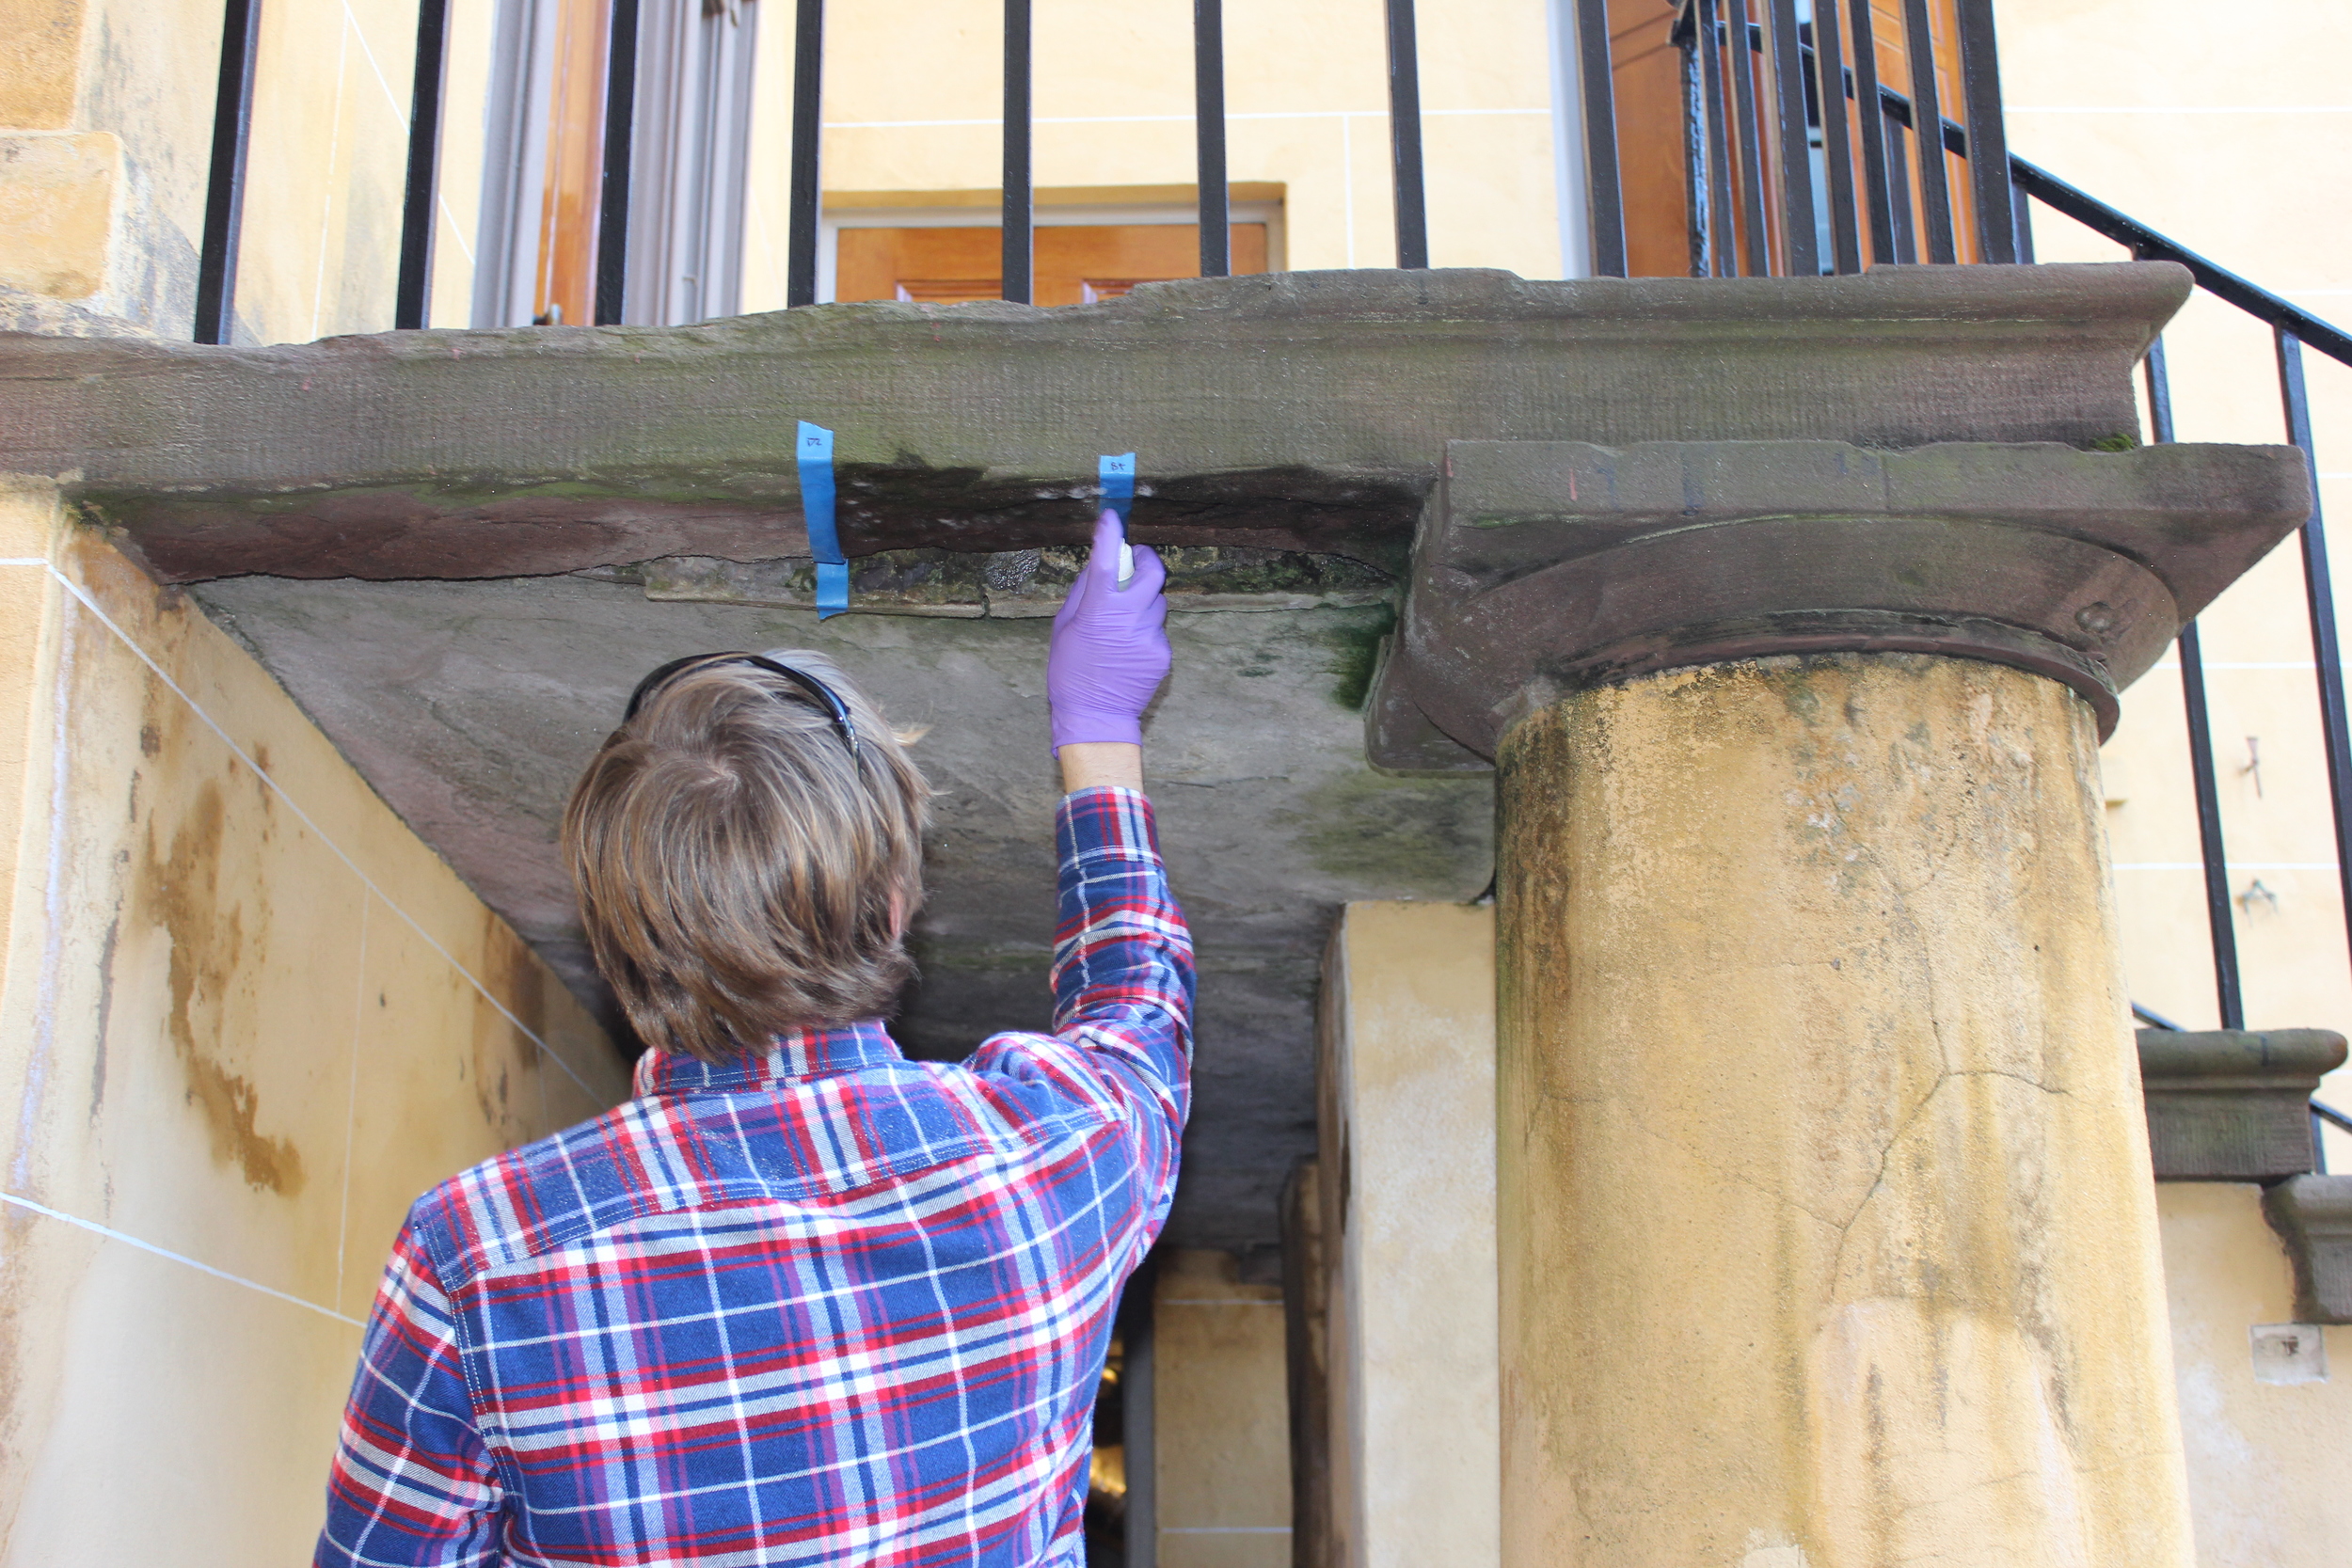
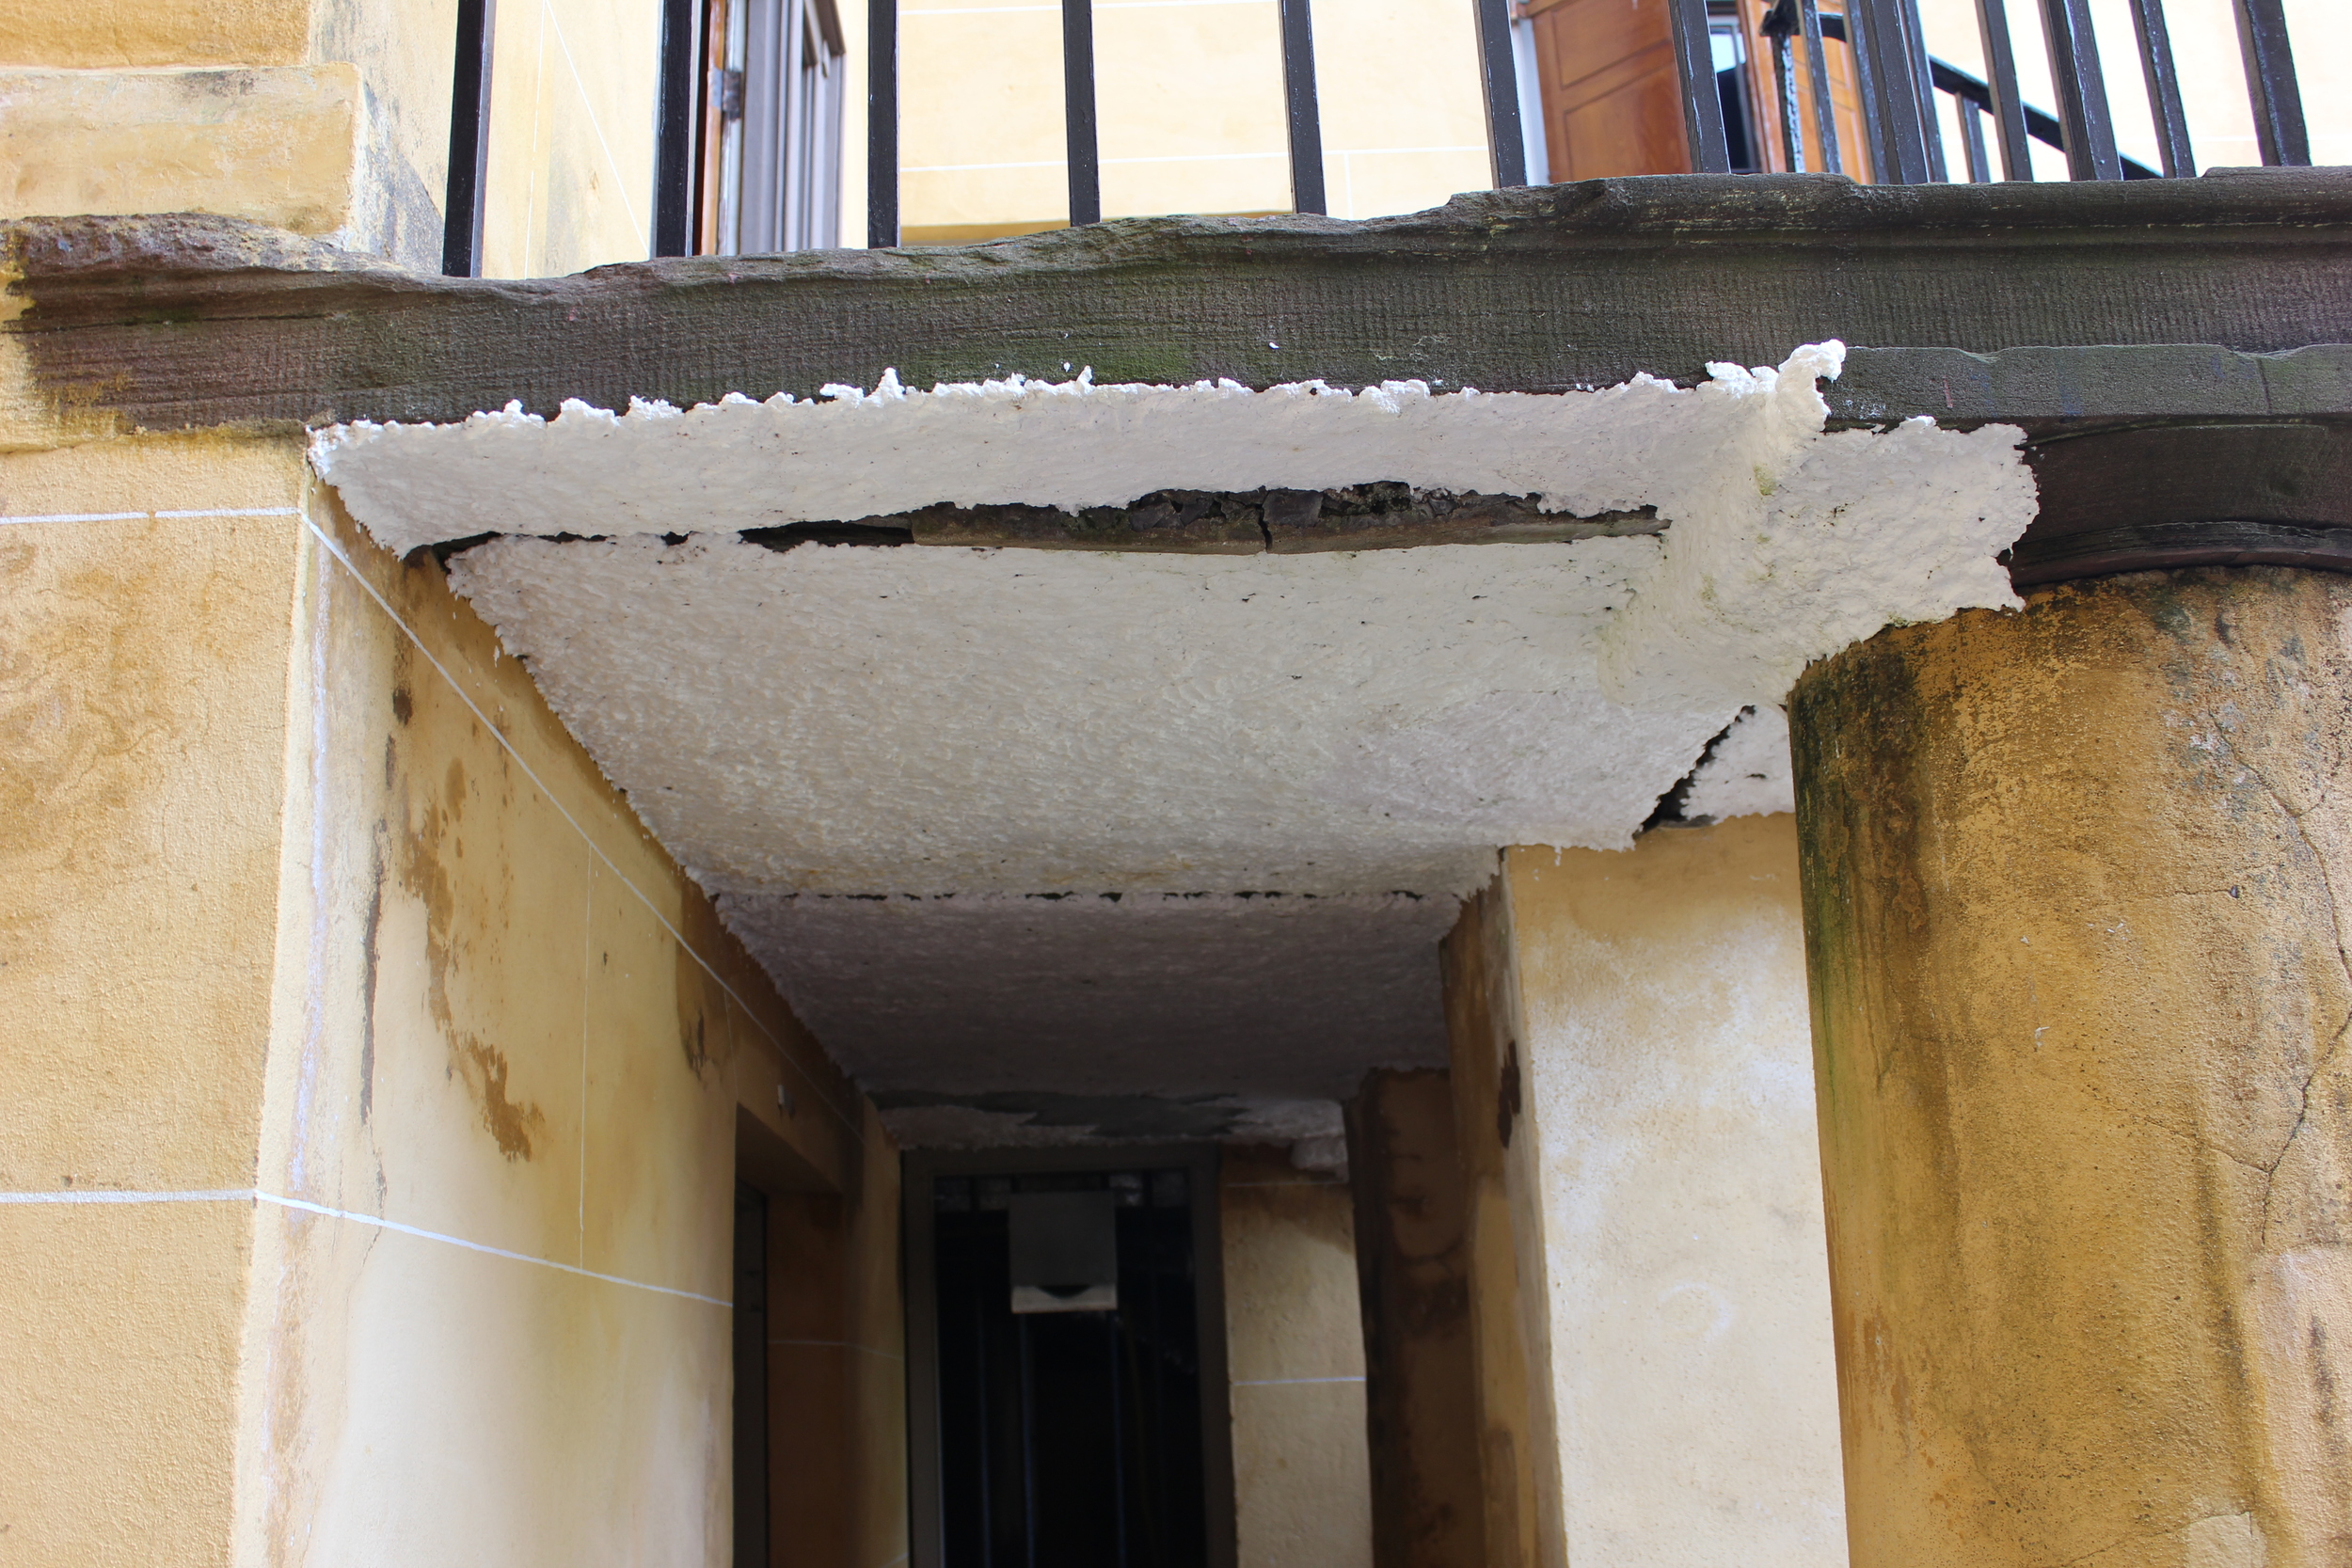
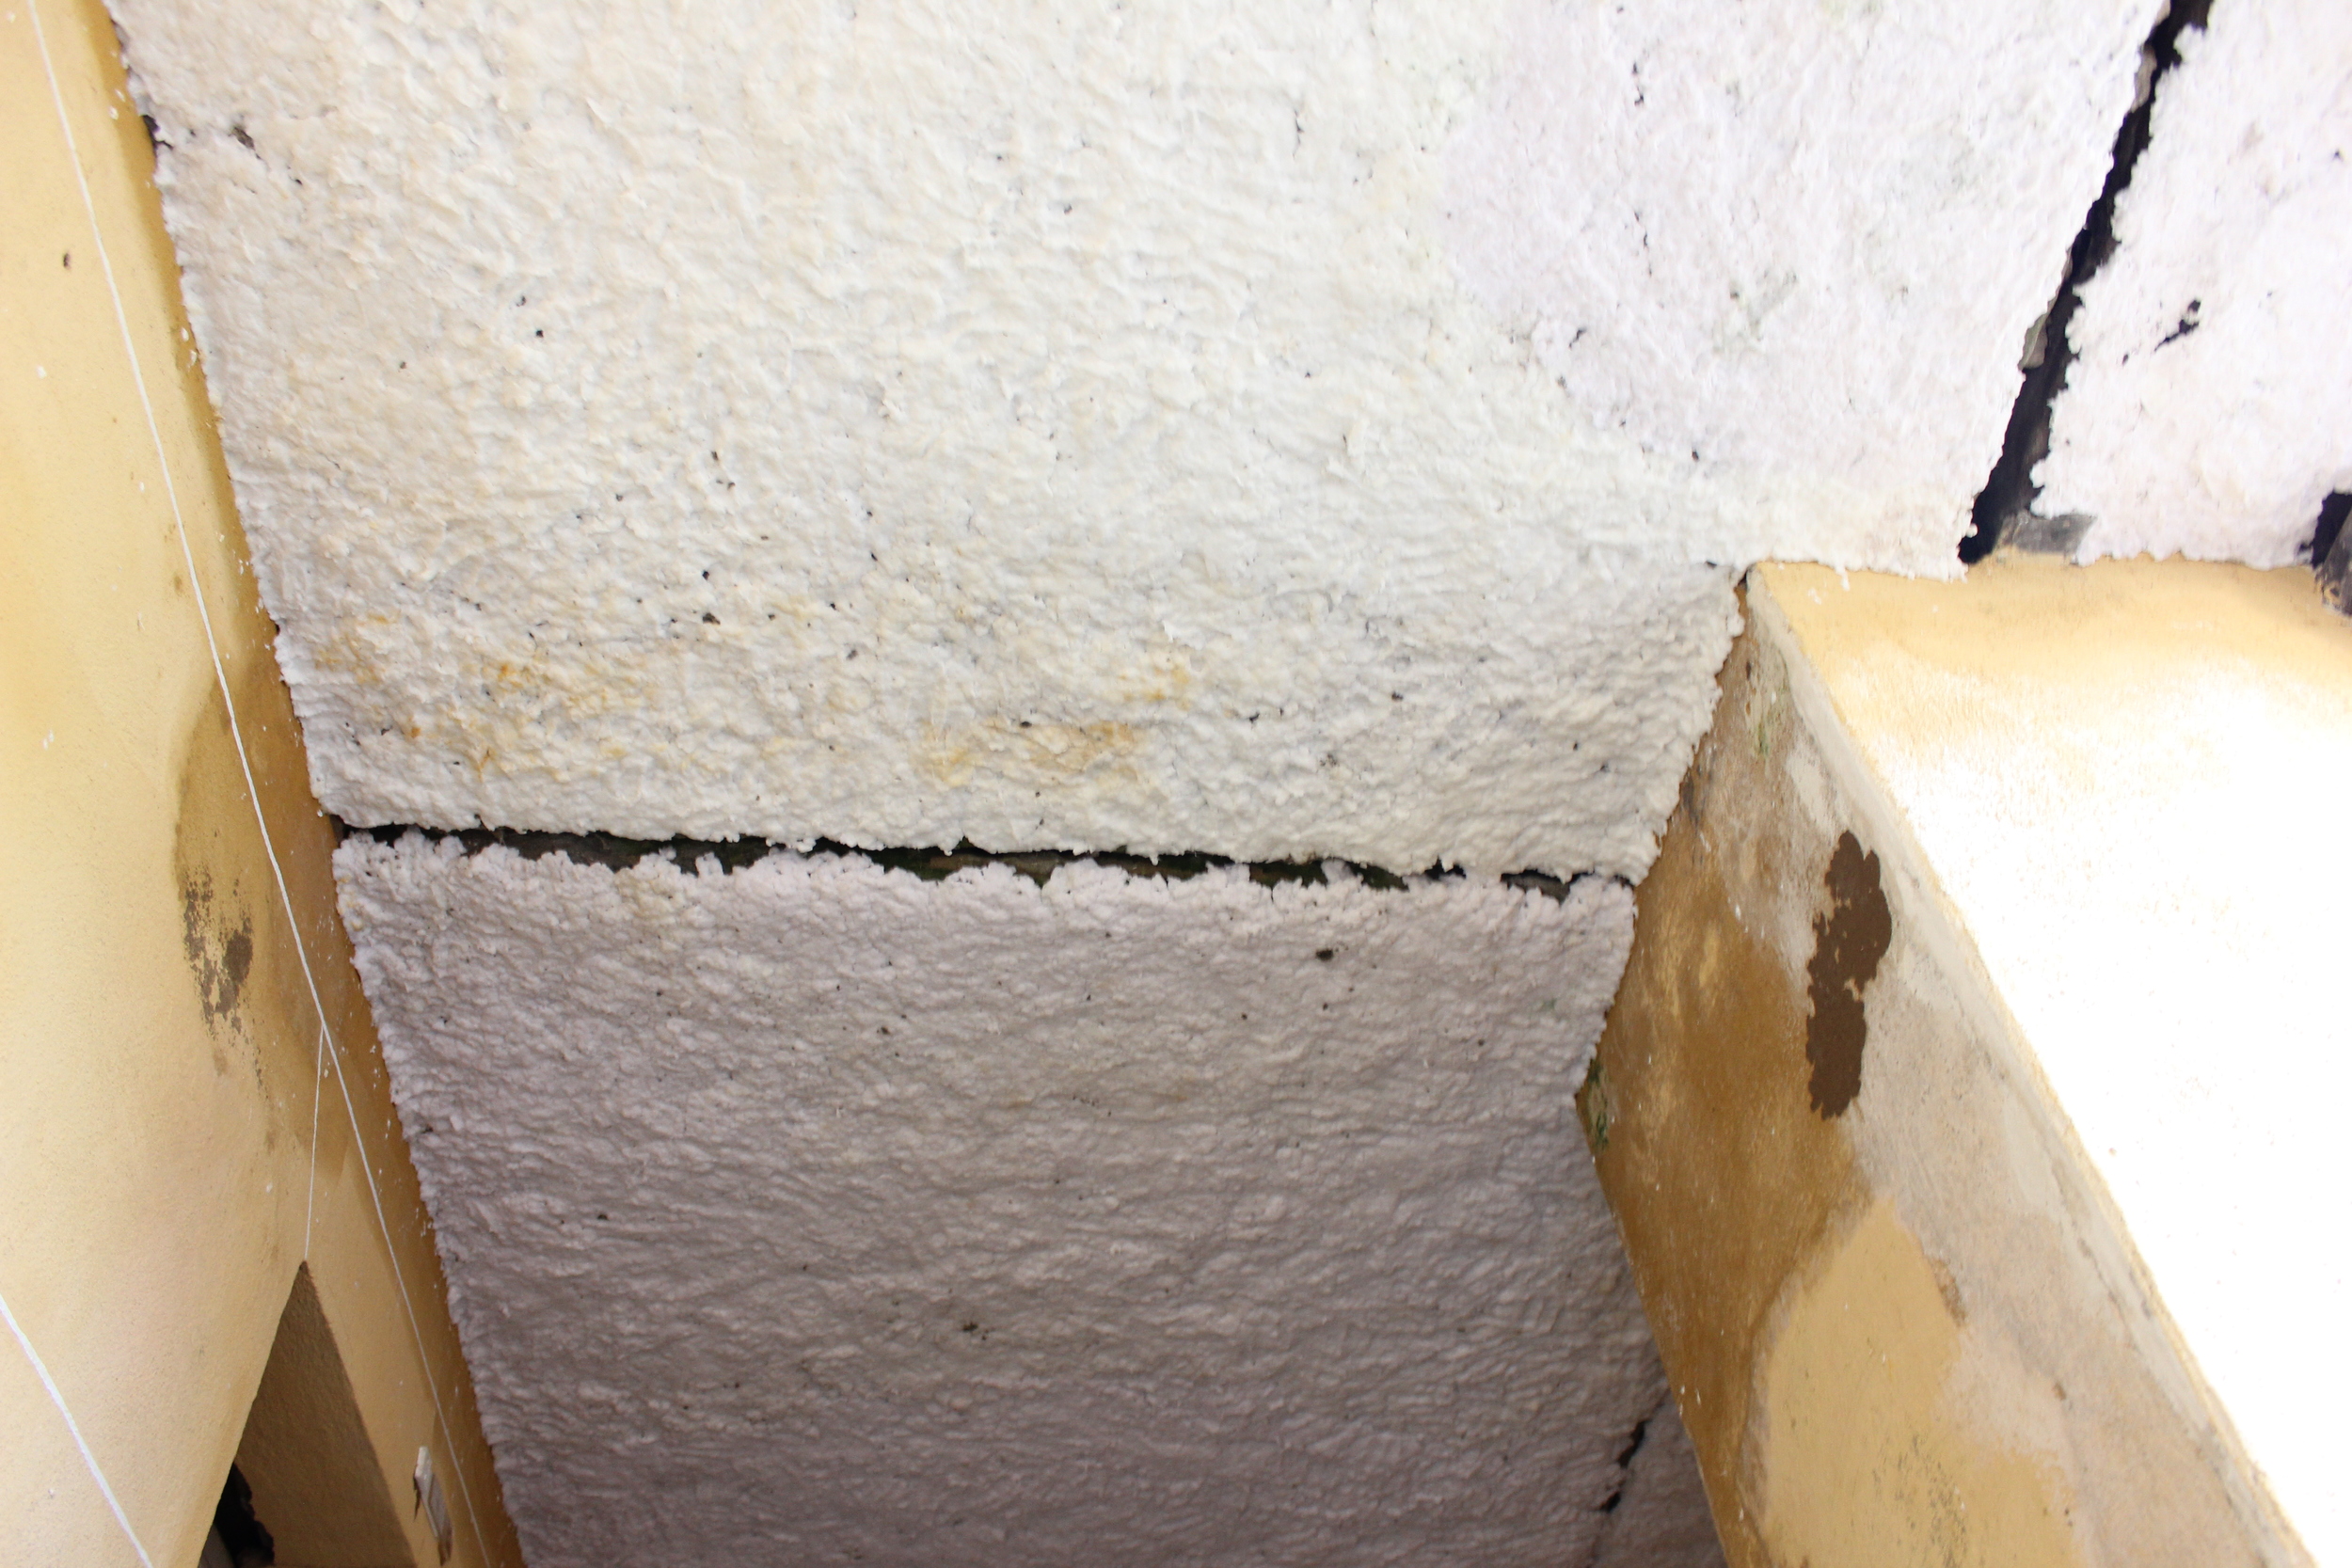
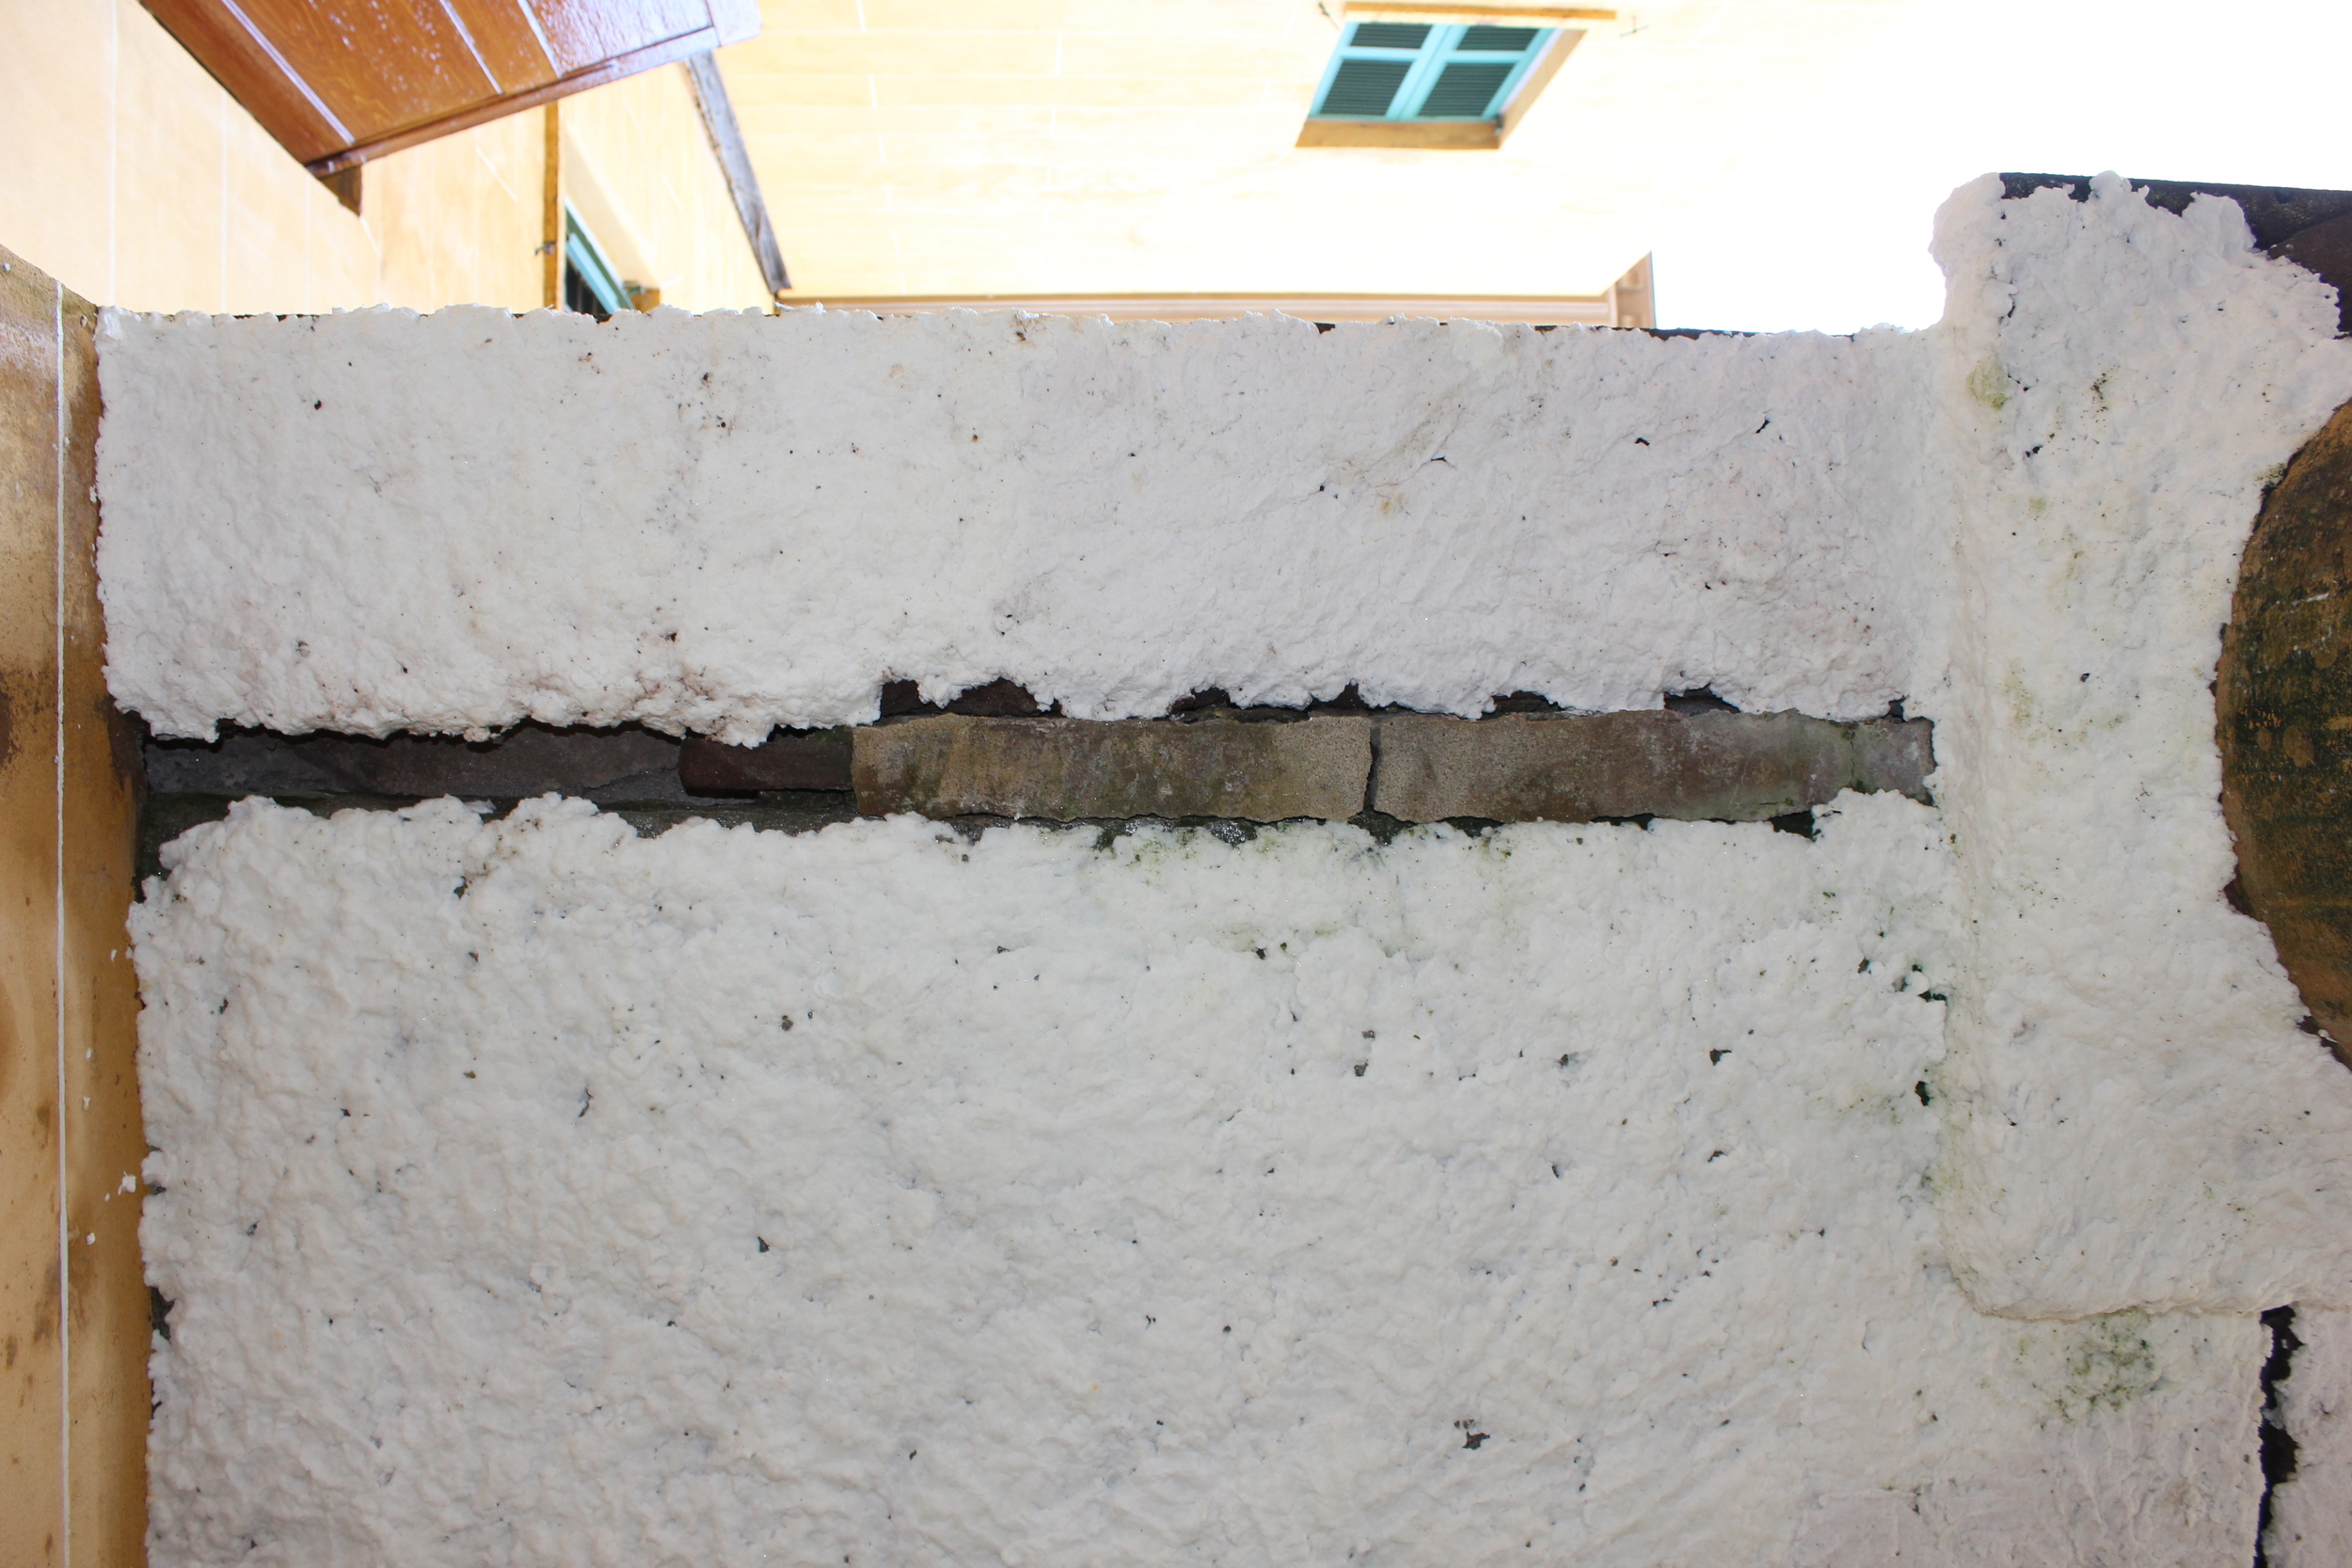
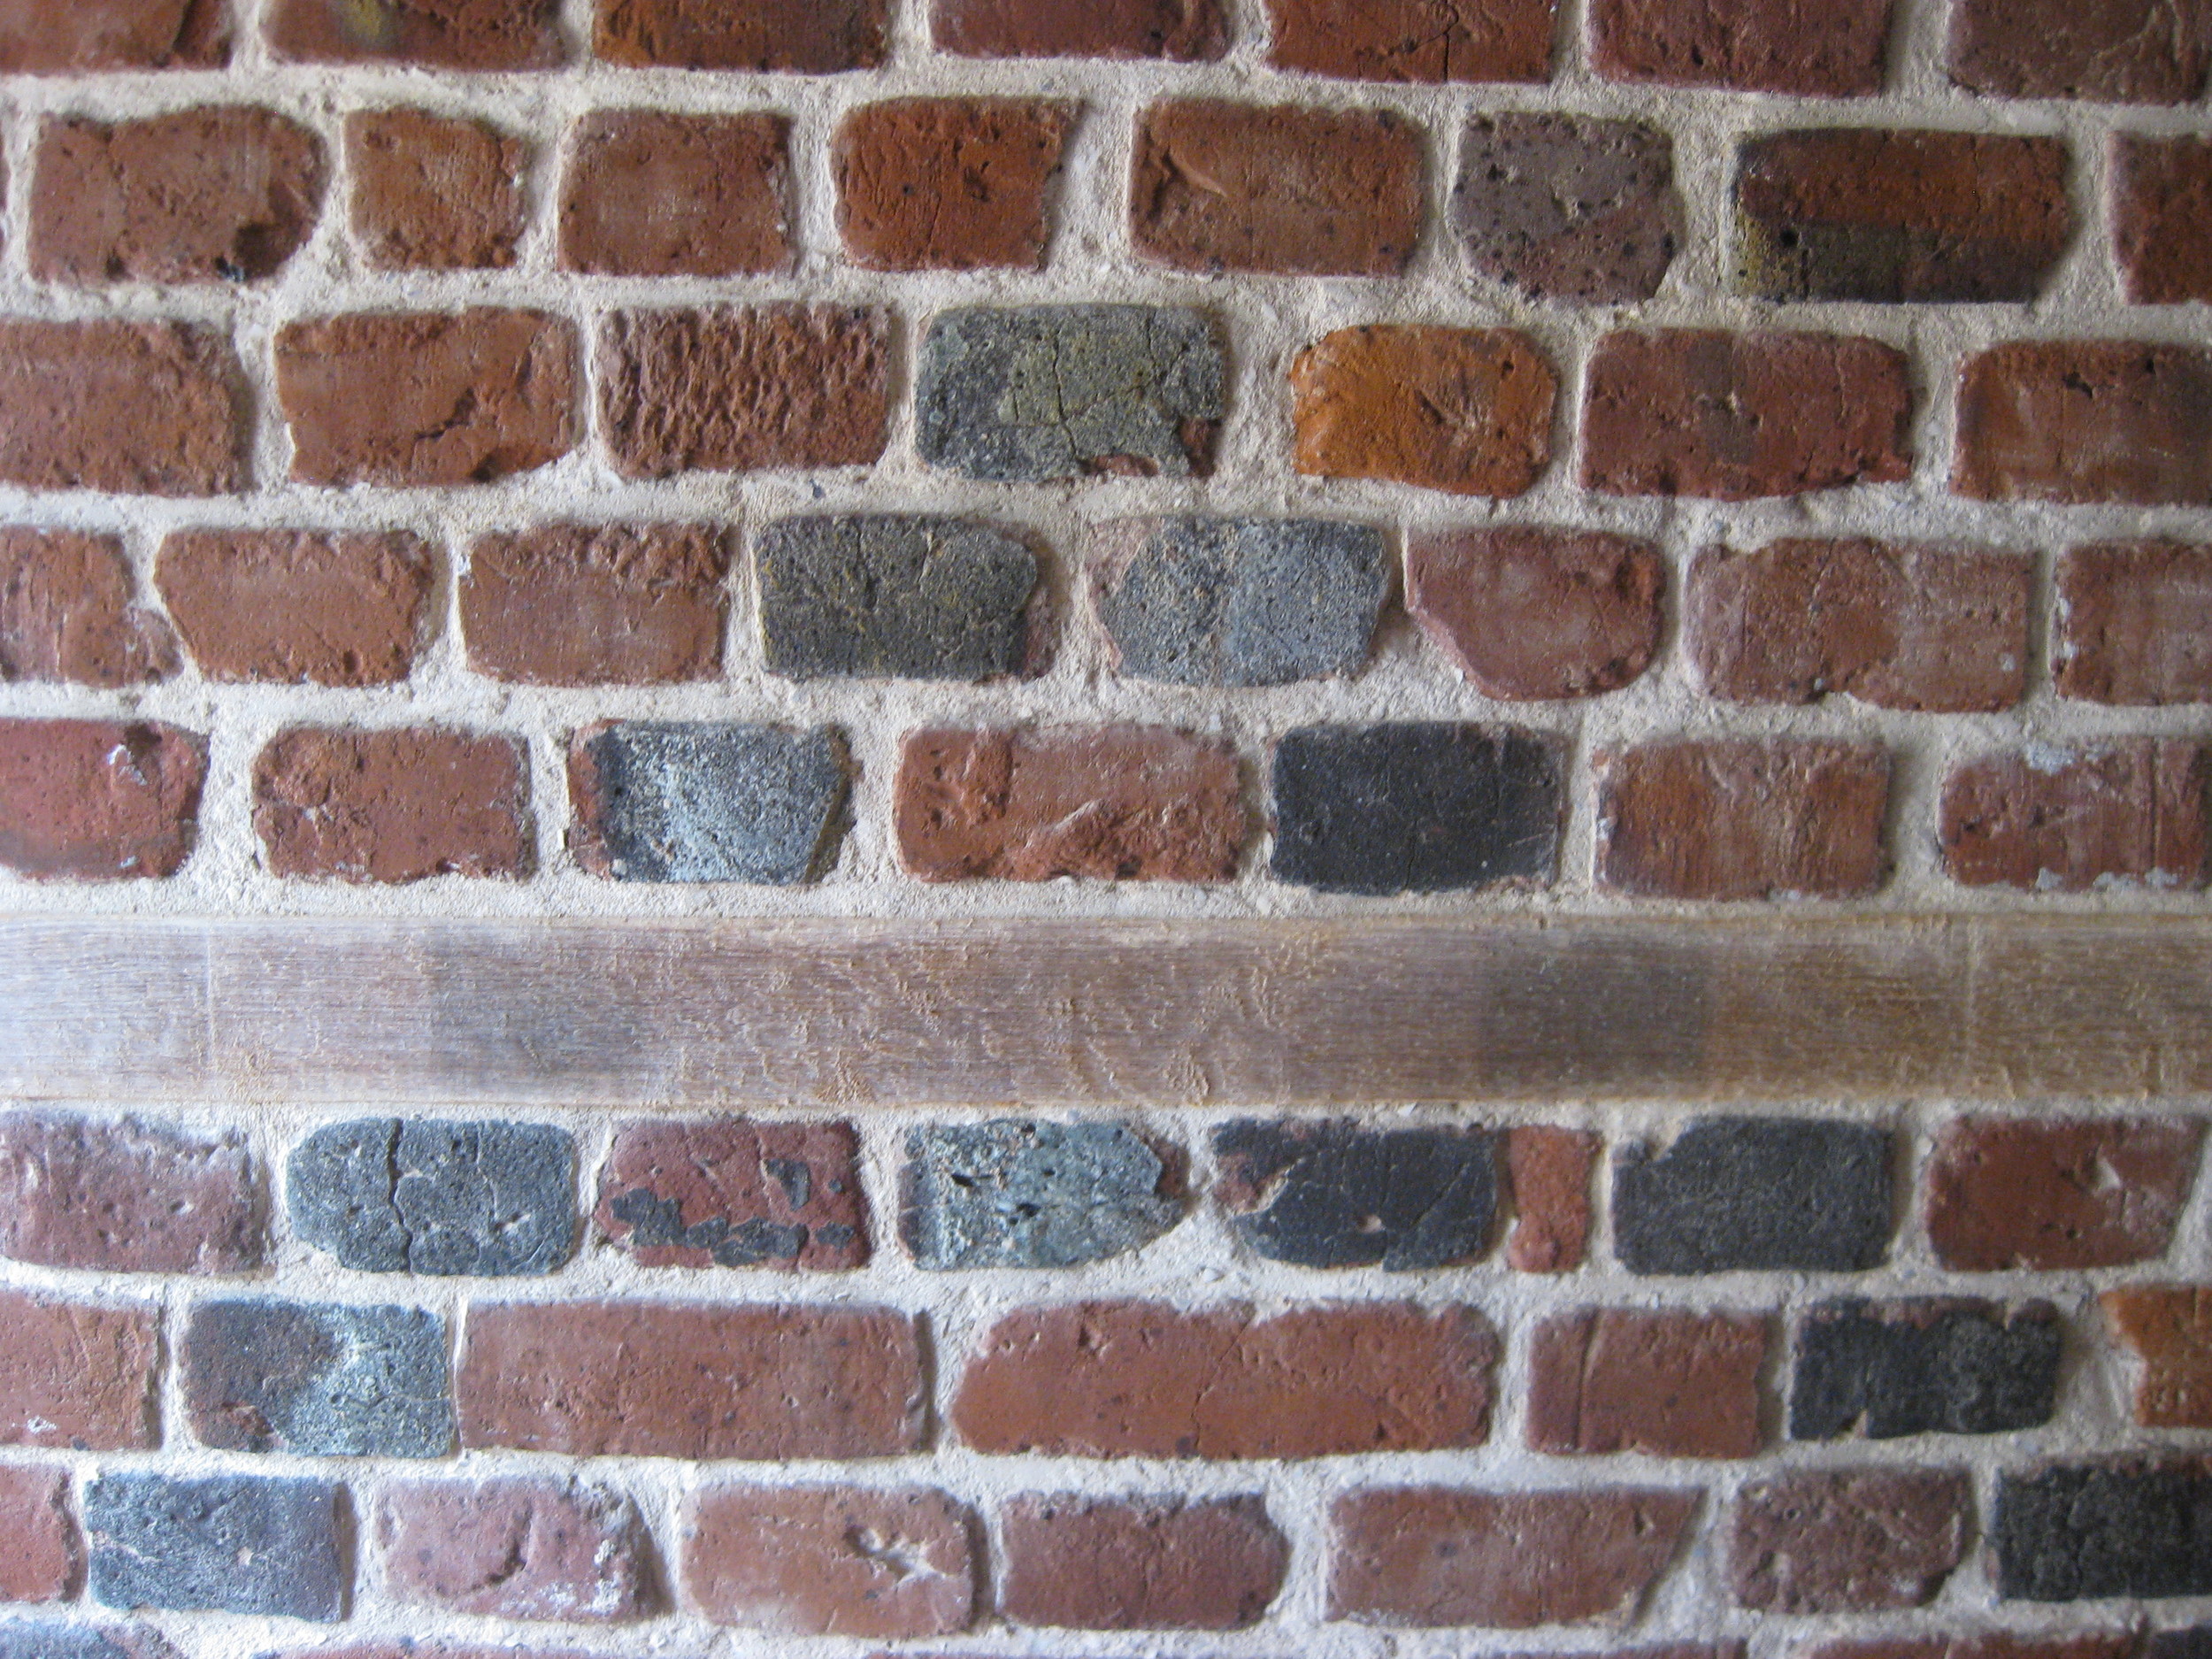
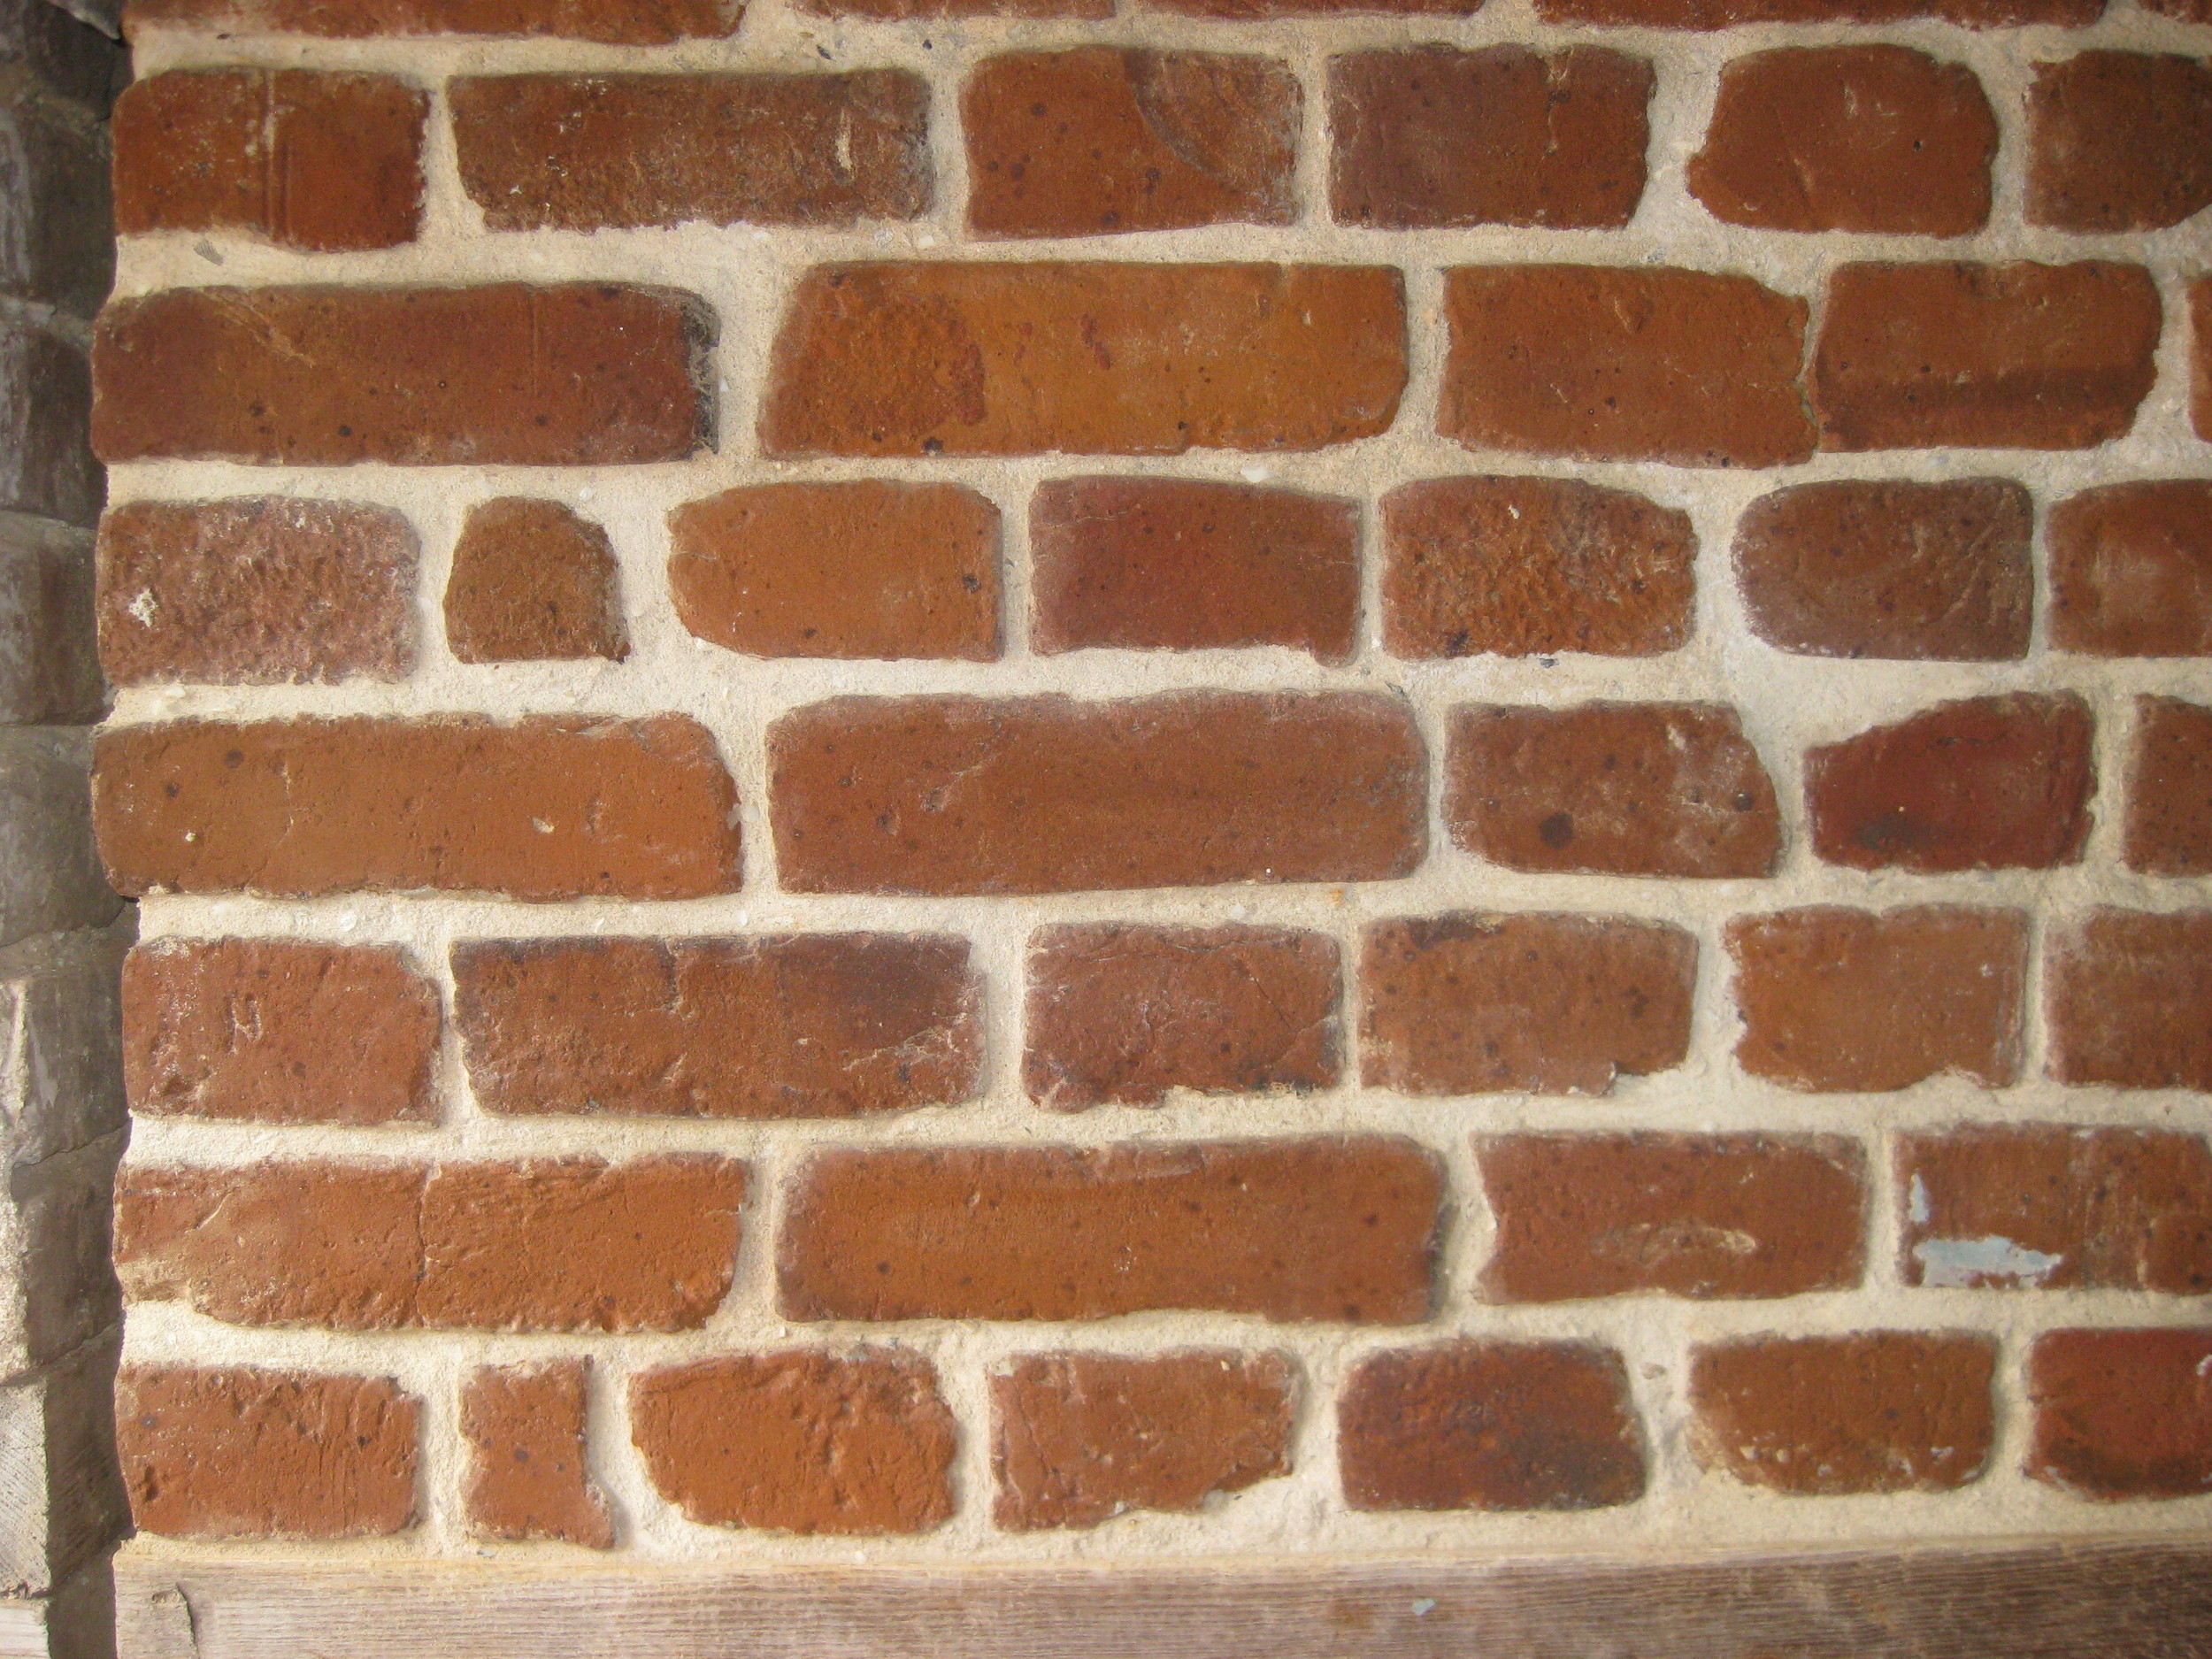
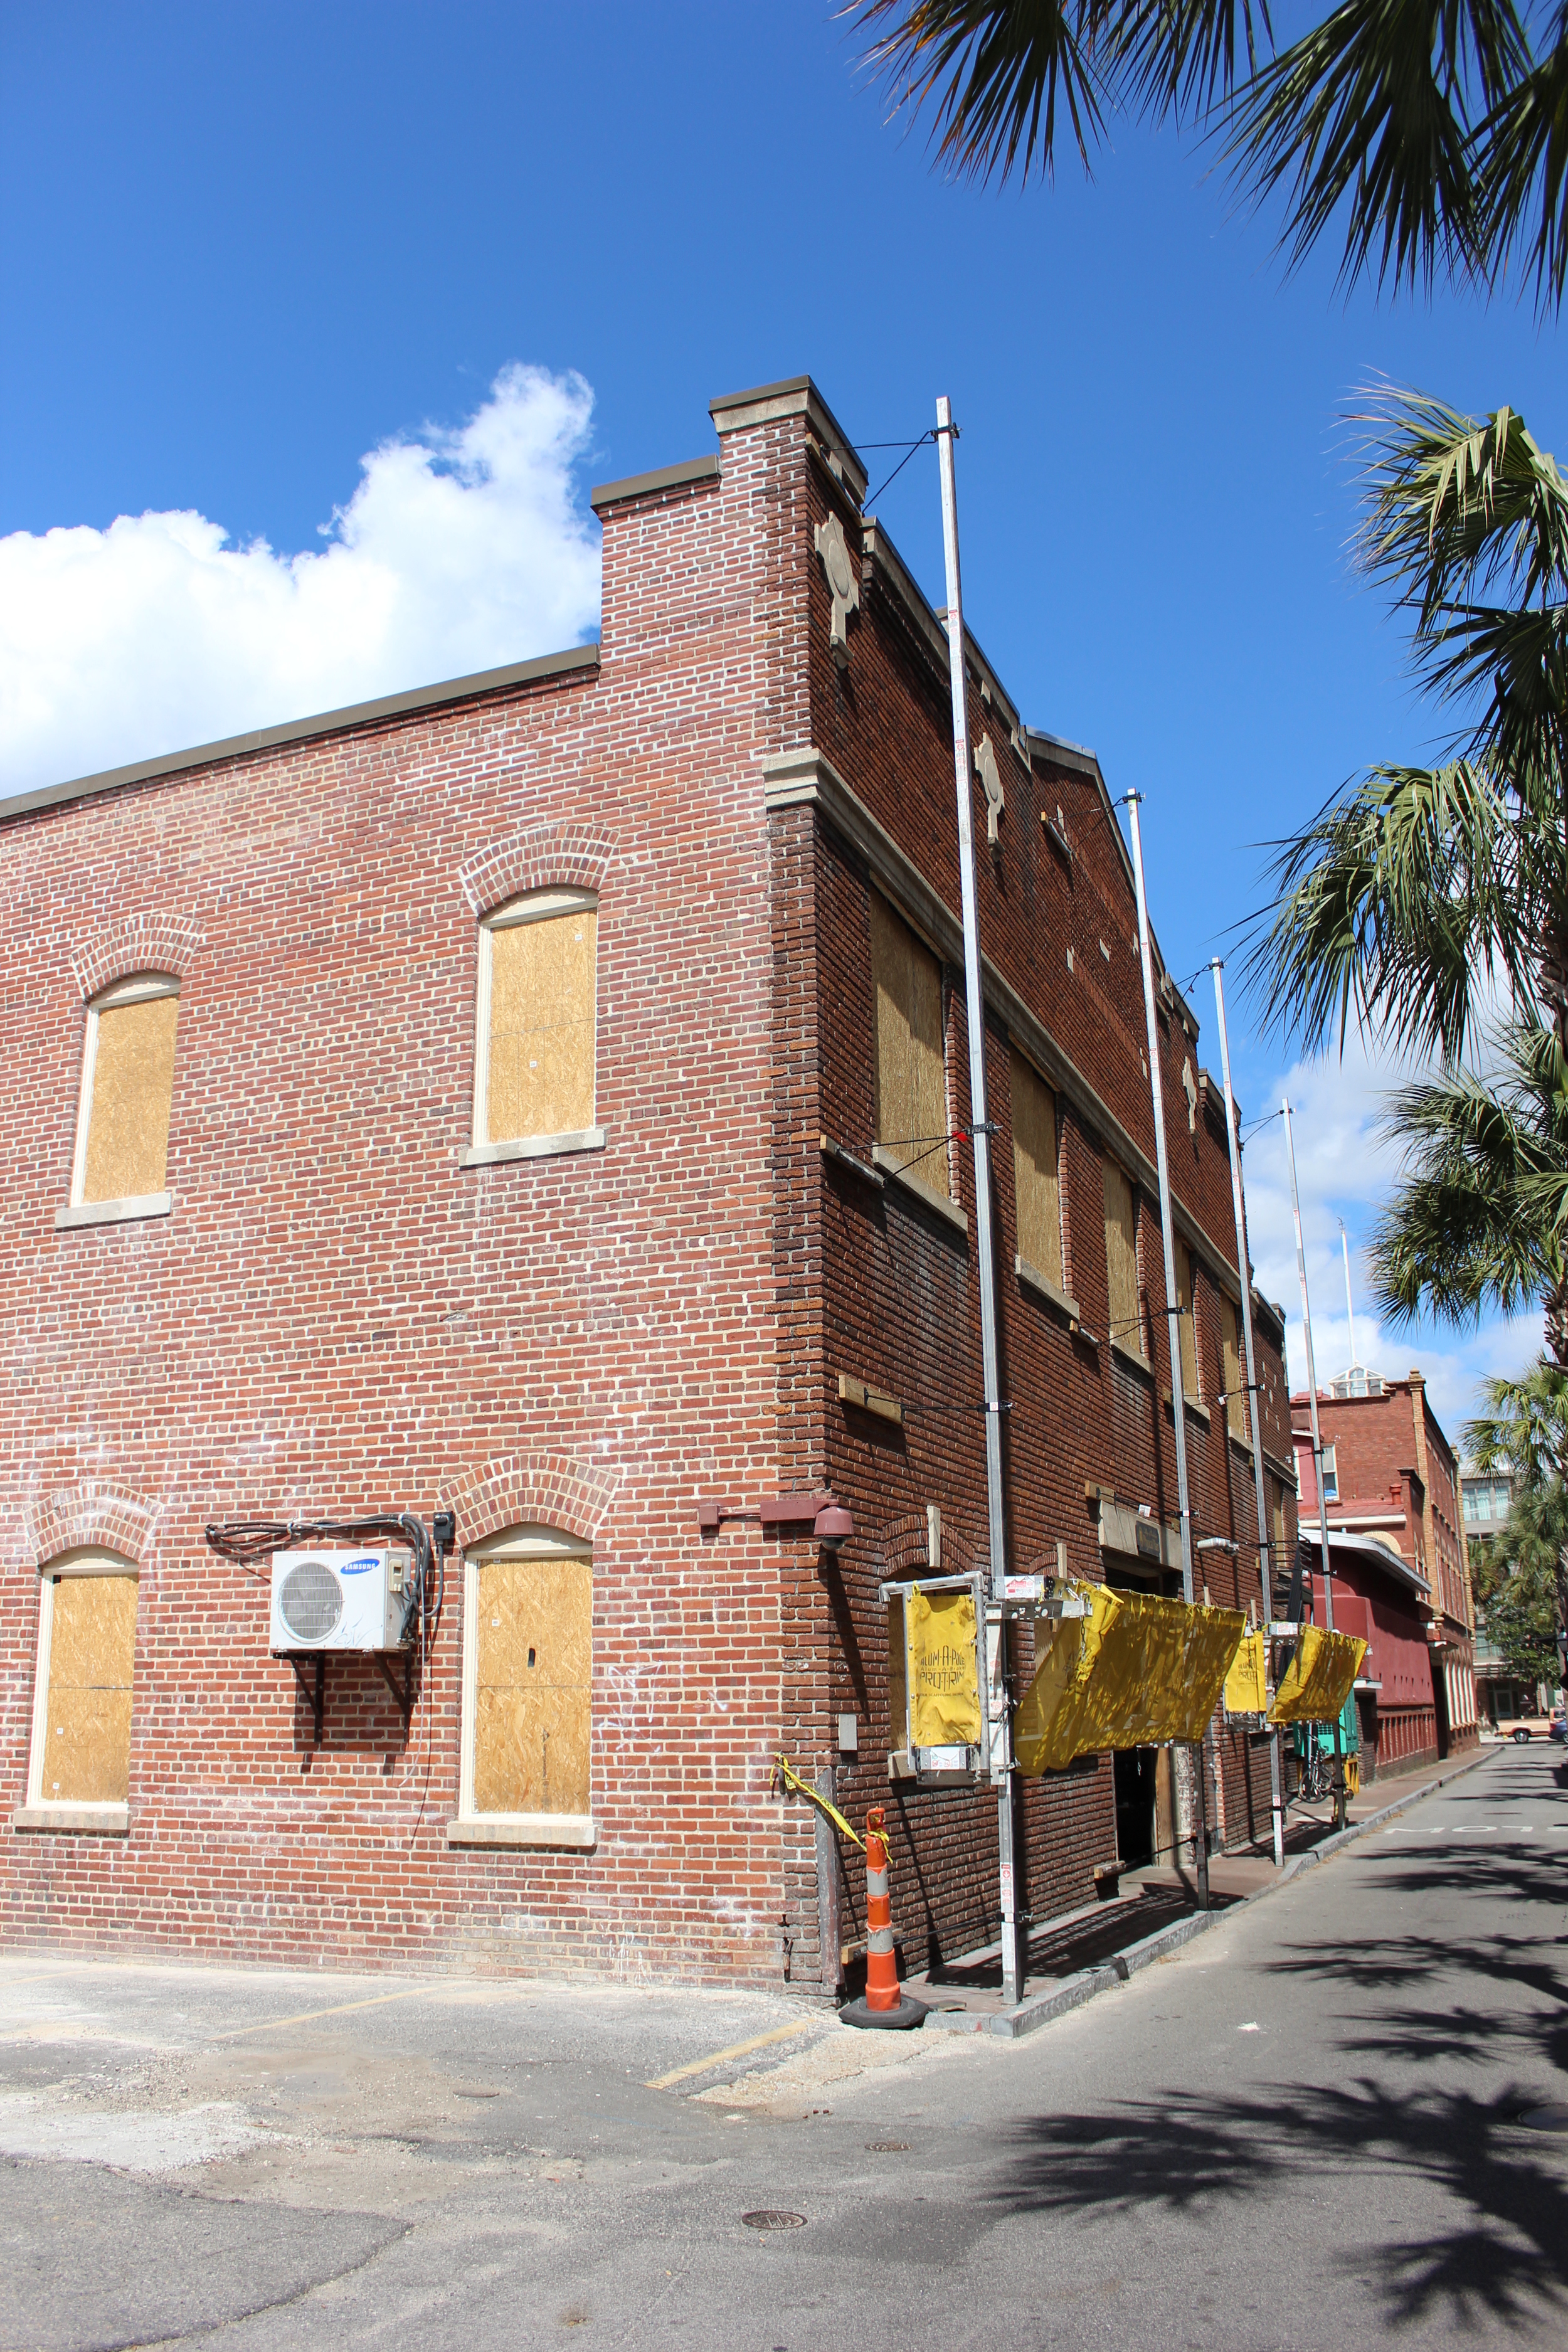
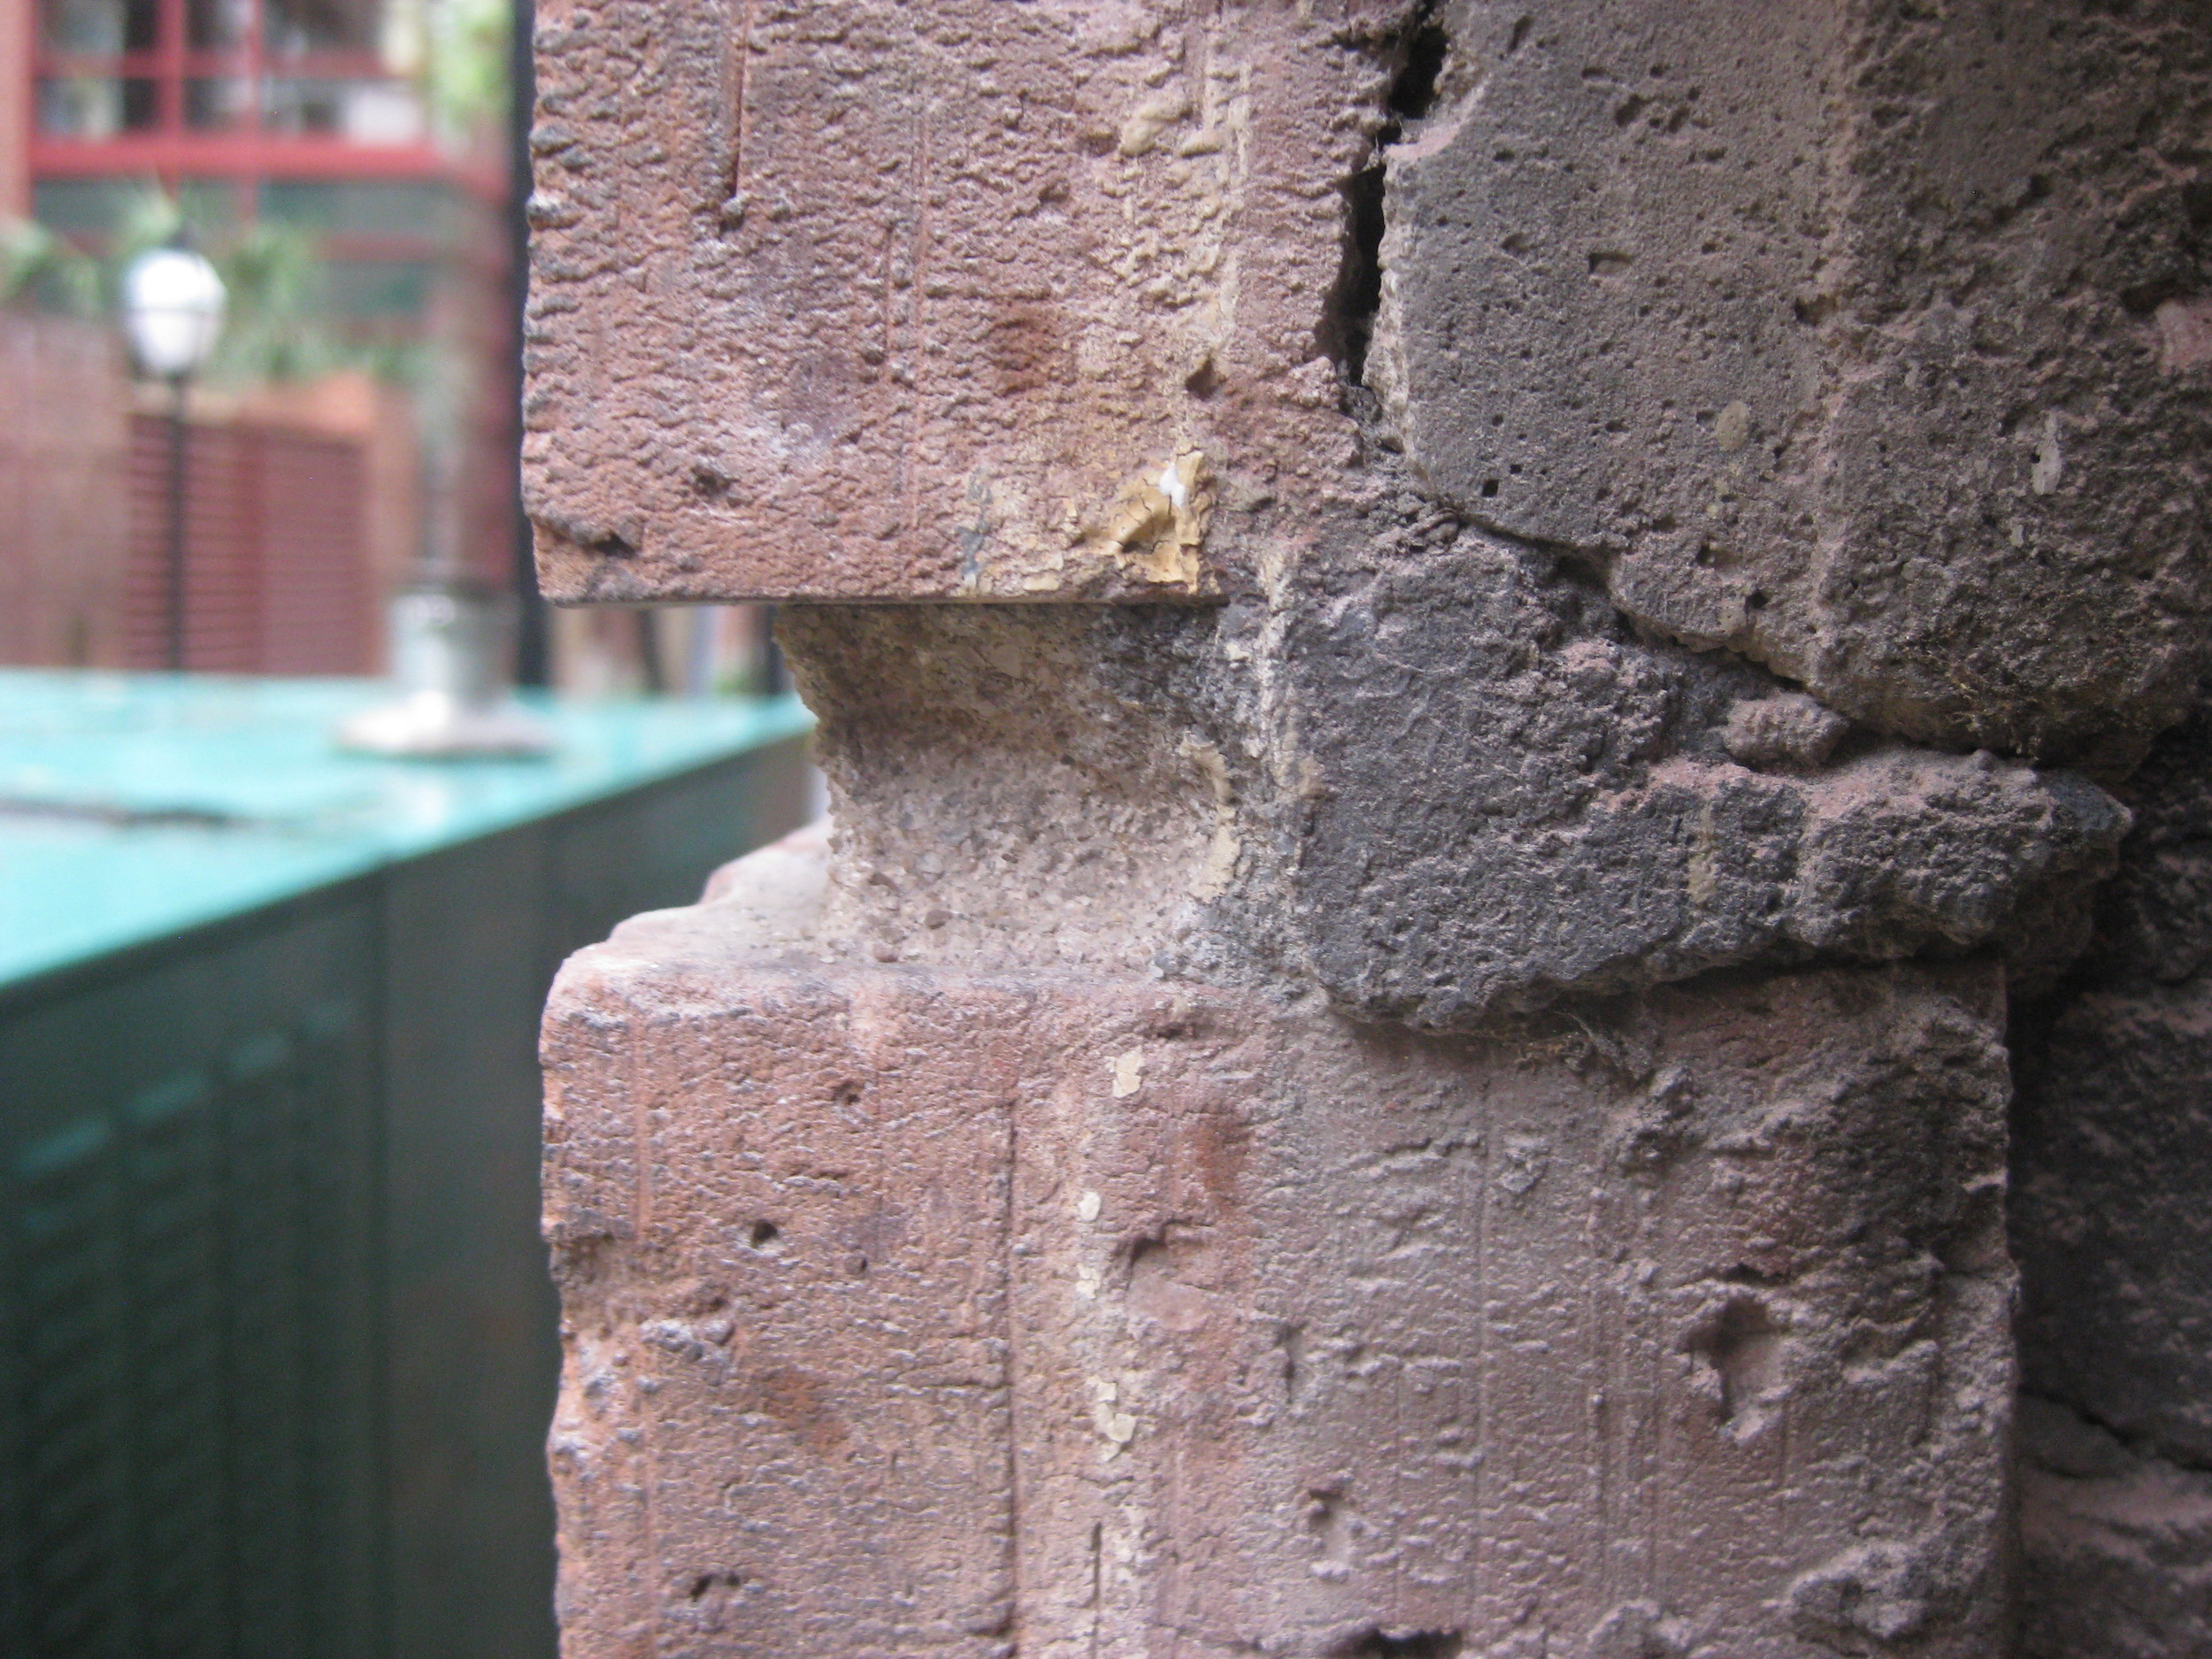
Consolidation and cleaning are two common methods employed to conserve and protect historic stone masonry and terra-cotta. Cleaning of historic materials involves safely removing years of pollution and biological growth from the surface of the stone to dramatically reveal original finishes and surfaces once hidden beneath layers of dirt. When a stone requires the impartation of additional strength without the insertion of pins, a consolidant is typically applied to the surface of the stone. Prior to any action, it is essential to understand the mechanisms behind deterioration in order to alleviate them prior to treatment.
Analysis begins with a characterization of the stone through petrographic analysis and materials research. Historic photos provide an excellent estimate of deterioration rates. Samples are created from the original or a facsimile, and the product is applied to the sample according to manufacturer’s instructions and left to cure. Similar products are applied in order to allow for comparison.